
How to Use Arduino nano 33 BLE sense Rev 2: Examples, Pinouts, and Specs
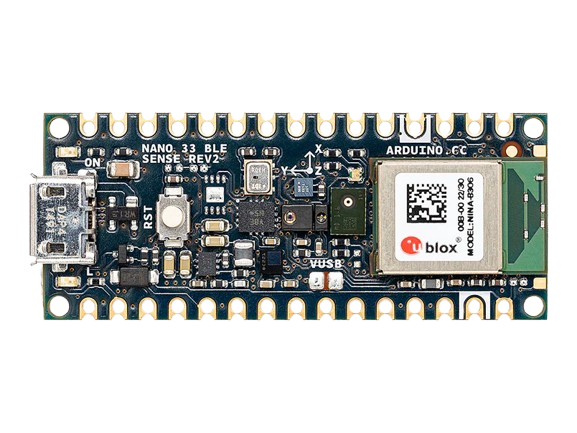
 Design with Arduino nano 33 BLE sense Rev 2 in Cirkit Designer
Introduction
The Arduino Nano 33 BLE Sense Rev 2 is a compact and versatile microcontroller board designed for advanced IoT and wearable applications. Manufactured by Arduino, this board features Bluetooth Low Energy (BLE) capabilities, a powerful ARM Cortex-M4 processor, and a suite of integrated sensors. Its small form factor and robust processing power make it ideal for projects requiring wireless communication, environmental sensing, and machine learning at the edge.
Explore Projects Built with Arduino nano 33 BLE sense Rev 2
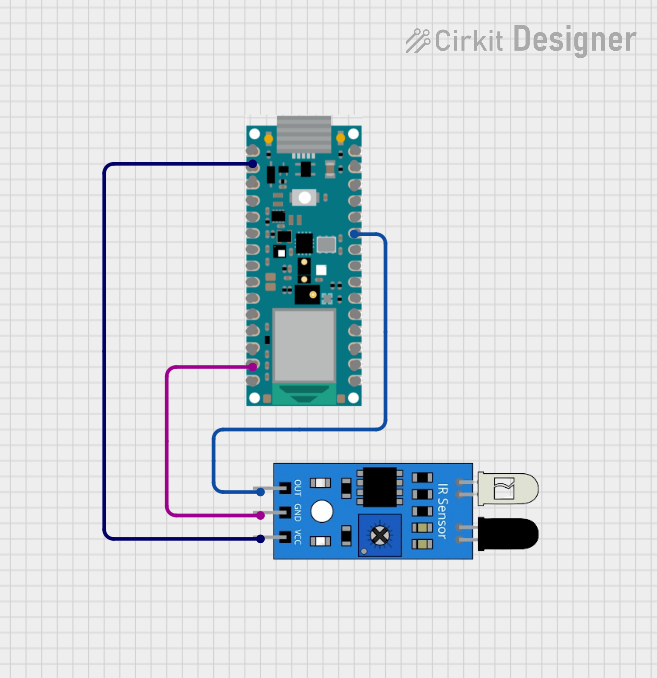 Open Project in Cirkit Designer
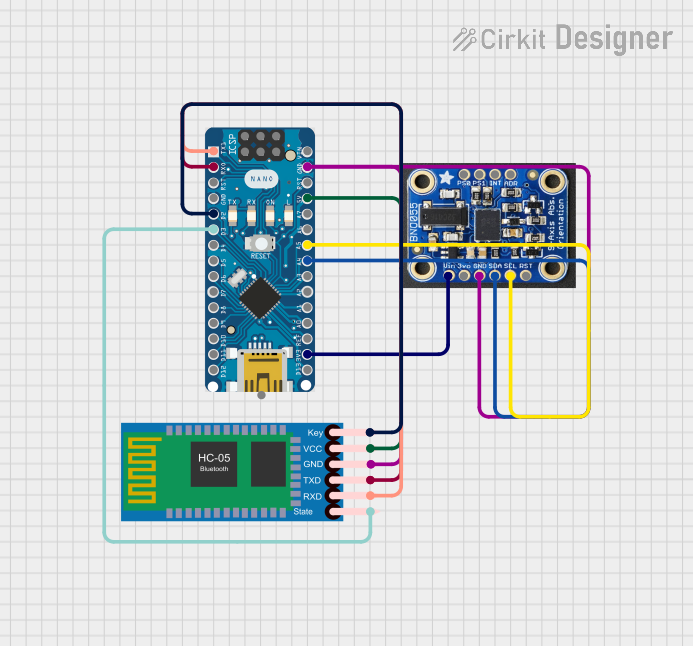 Open Project in Cirkit Designer
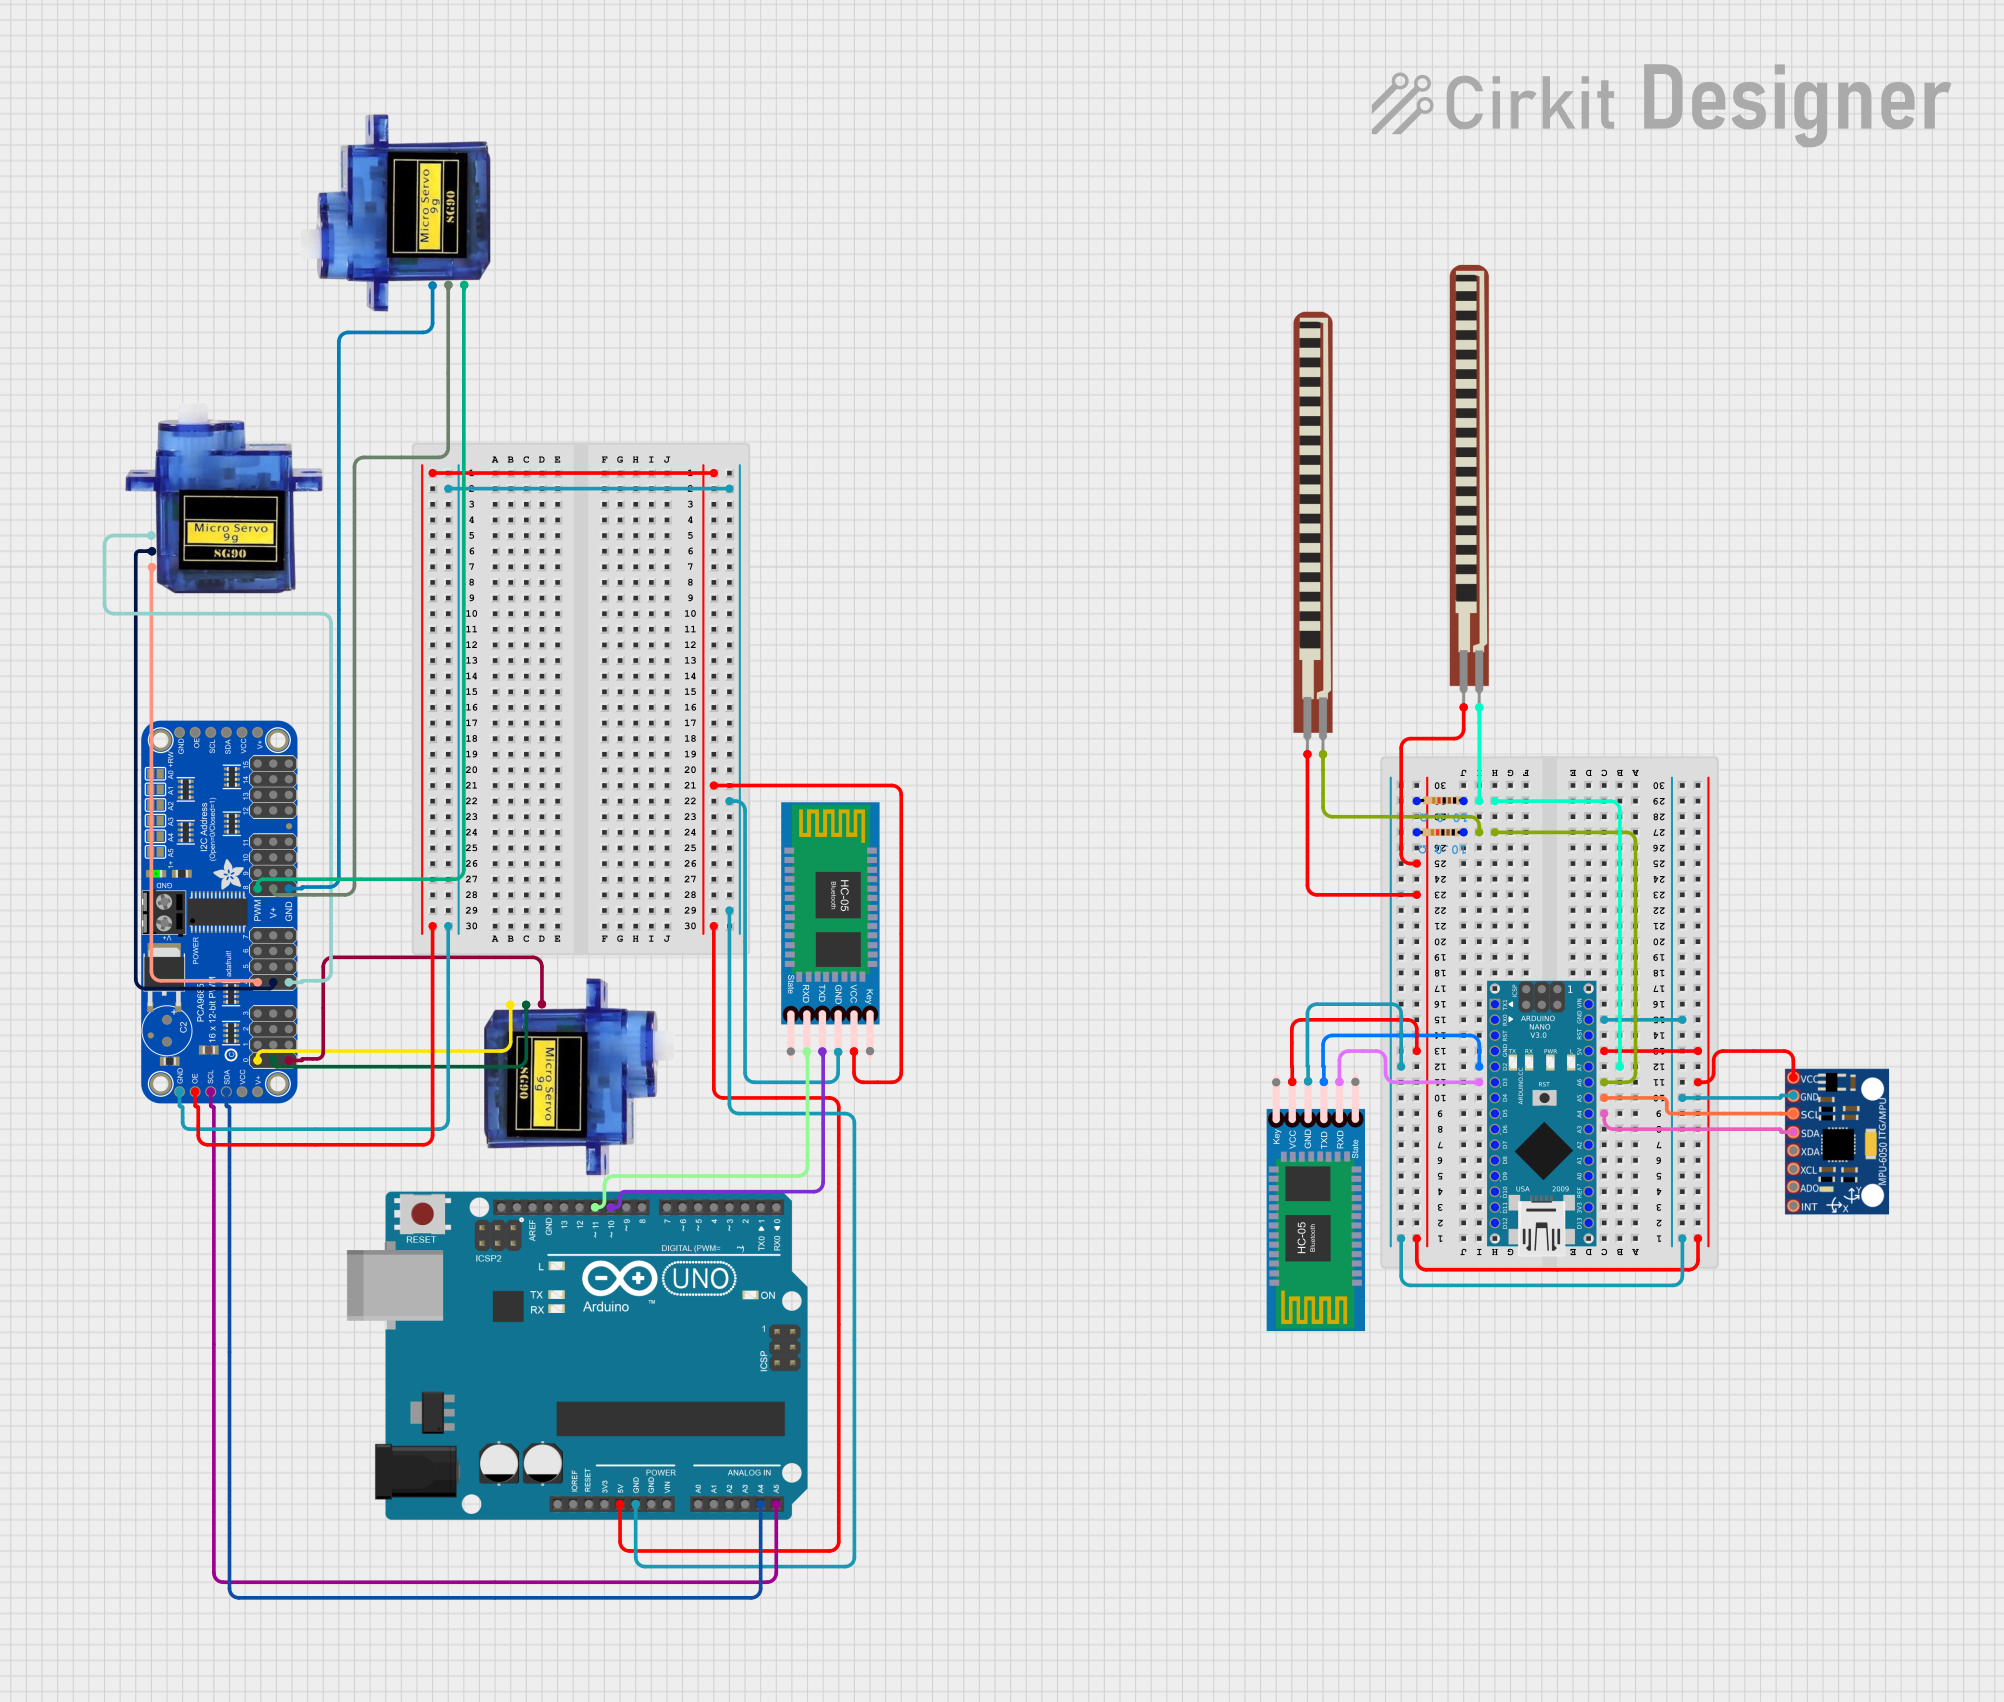 Open Project in Cirkit Designer
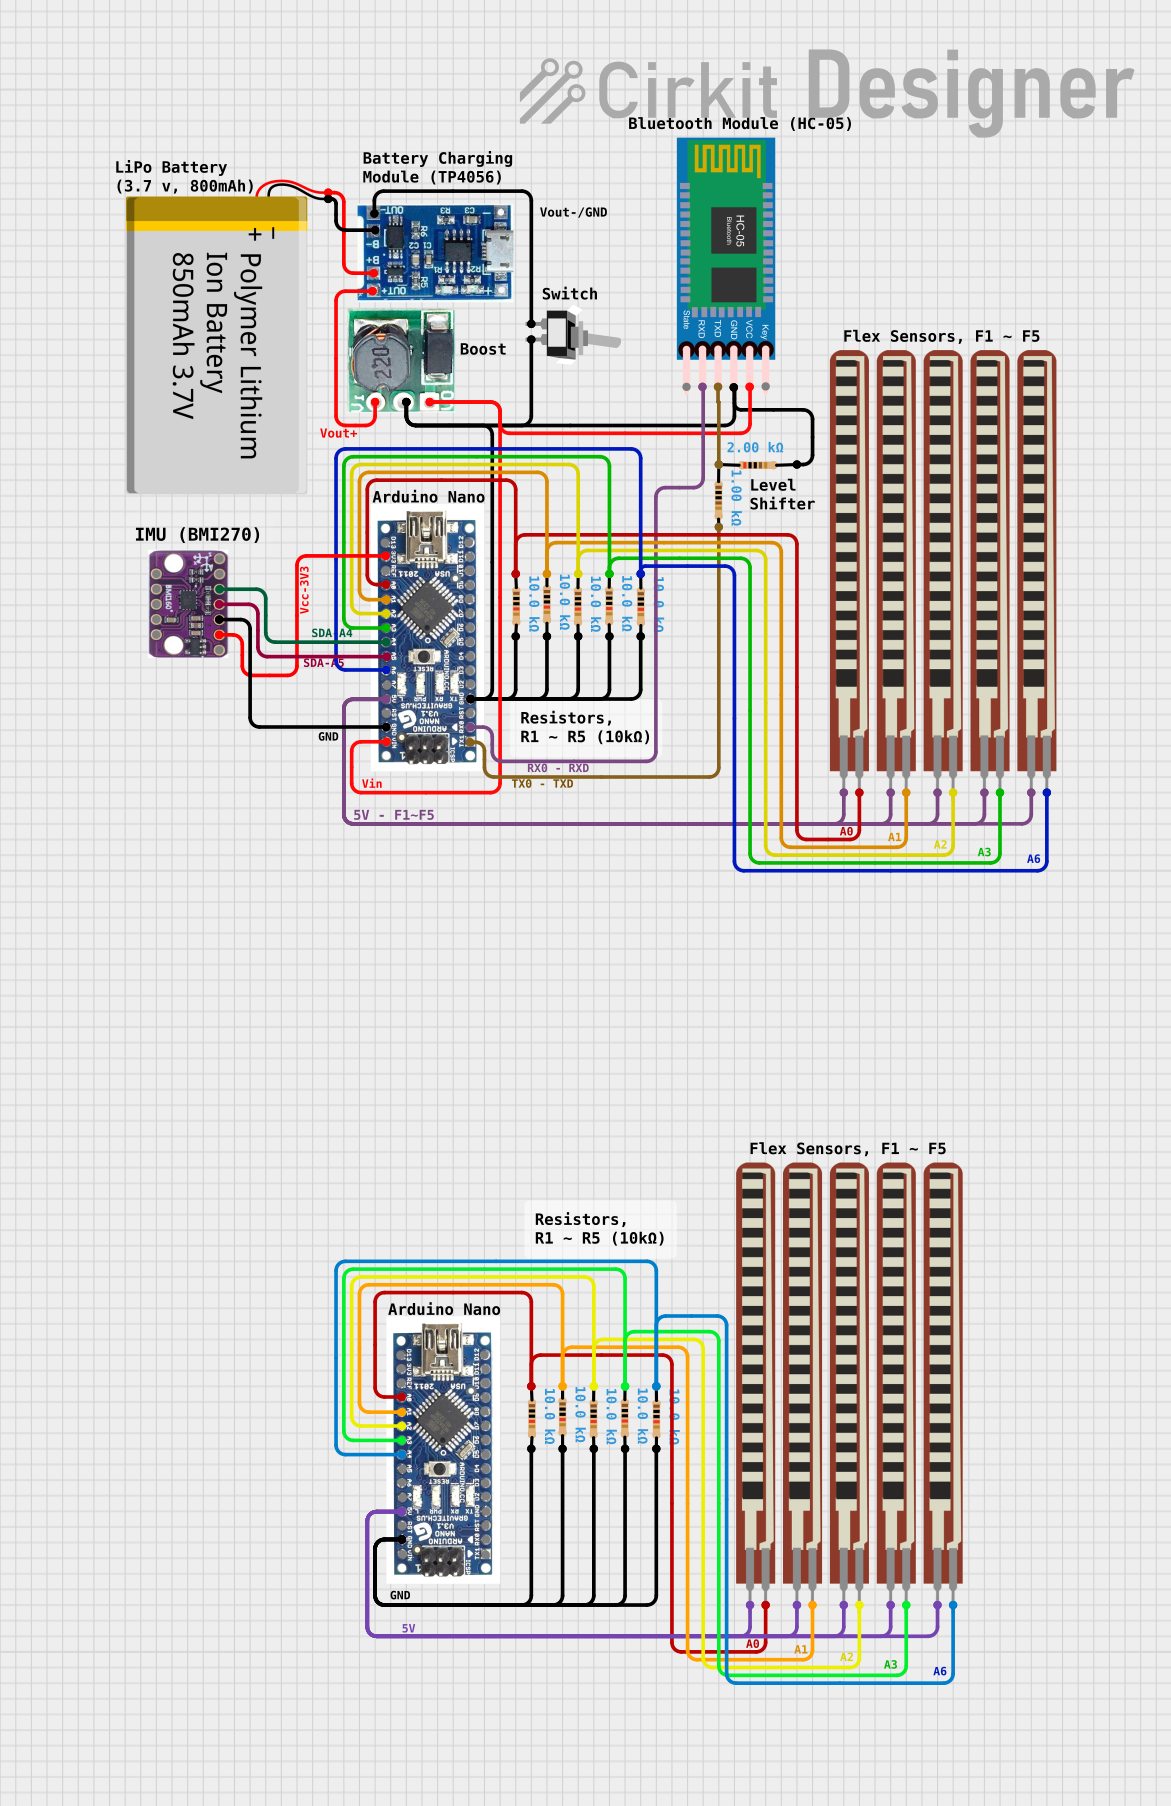 Open Project in Cirkit Designer
Explore Projects Built with Arduino nano 33 BLE sense Rev 2
Open Project in Cirkit DesignerOpen Project in Cirkit DesignerOpen Project in Cirkit DesignerOpen Project in Cirkit DesignerCommon Applications and Use Cases
- IoT (Internet of Things) devices and smart home automation
- Wearable technology and fitness trackers
- Environmental monitoring (e.g., temperature, humidity, air quality)
- Machine learning and AI-based edge computing
- Robotics and gesture recognition
- Prototyping BLE-enabled devices
Technical Specifications
The following table outlines the key technical details of the Arduino Nano 33 BLE Sense Rev 2:
| Specification | Details |
|---|---|
| Microcontroller | Nordic nRF52840 (ARM Cortex-M4, 32-bit, 64 MHz) |
| Operating Voltage | 3.3V |
| Input Voltage (VIN) | 5V |
| Digital I/O Pins | 14 (12 PWM capable) |
| Analog Input Pins | 8 |
| Flash Memory | 1 MB |
| SRAM | 256 KB |
| EEPROM | None |
| Connectivity | Bluetooth 5.0 Low Energy (BLE), NFC |
| Integrated Sensors | Temperature, humidity, pressure, light, color, gesture, and microphone |
| Power Consumption | ~1.5 mA in idle mode |
| Dimensions | 45 x 18 mm |
| Weight | 5 g |
Pin Configuration and Descriptions
The Arduino Nano 33 BLE Sense Rev 2 features a standard pinout. Below is a table describing the key pins:
| Pin | Type | Description |
|---|---|---|
| VIN | Power Input | Input voltage (5V) for powering the board. |
| 3.3V | Power Output | Regulated 3.3V output for external components. |
| GND | Ground | Ground connection. |
| A0–A7 | Analog Input | Analog input pins (12-bit ADC). |
| D0–D13 | Digital I/O | Digital input/output pins (PWM capable on D2–D13). |
| SDA | I2C Data | Data line for I2C communication. |
| SCL | I2C Clock | Clock line for I2C communication. |
| RX | UART Receive | UART receive pin for serial communication. |
| TX | UART Transmit | UART transmit pin for serial communication. |
| SWDIO | Debug Interface | Serial Wire Debug I/O for programming/debugging. |
| SWCLK | Debug Interface | Serial Wire Debug clock for programming/debugging. |
| RESET | Reset | Resets the microcontroller. |
Usage Instructions
How to Use the Component in a Circuit
Powering the Board:
- Connect the board to a computer or USB power source using a micro-USB cable.
- Alternatively, supply 5V to the VIN pin and connect GND to ground.
Programming the Board:
- Install the Arduino IDE and add the "Arduino nRF528x Boards" package via the Board Manager.
- Select "Arduino Nano 33 BLE Sense" as the board in the IDE.
- Write your code and upload it to the board via the USB connection.
Using Sensors:
- The board includes multiple sensors (e.g., temperature, humidity, microphone). Use the appropriate libraries (e.g.,
Arduino_LSM9DS1for motion sensors) to interface with them.
- The board includes multiple sensors (e.g., temperature, humidity, microphone). Use the appropriate libraries (e.g.,
BLE Communication:
- Use the
ArduinoBLElibrary to create BLE peripherals or central devices. - Define BLE characteristics and services to send or receive data wirelessly.
- Use the
Important Considerations and Best Practices
- Voltage Levels: Ensure all connected components operate at 3.3V logic levels to avoid damaging the board.
- Power Supply: Avoid exceeding the 5V input voltage on the VIN pin.
- Heat Management: While the board is efficient, prolonged high-performance tasks may generate heat. Ensure proper ventilation.
- Sensor Calibration: Some sensors may require calibration for accurate readings. Refer to the respective sensor library documentation.
- BLE Range: The BLE range may vary depending on environmental factors. Test in the intended environment for optimal performance.
Example Code: Reading Temperature and Sending via BLE
Below is an example of how to read temperature data from the onboard sensor and send it via BLE:
#include <ArduinoBLE.h>
#include <Arduino_HTS221.h> // Library for the onboard temperature sensor

BLEService tempService("1809"); // BLE Temperature Service
BLEFloatCharacteristic tempCharacteristic("2A6E", BLERead | BLENotify);

void setup() {
  Serial.begin(9600);
  while (!Serial);

  // Initialize BLE
  if (!BLE.begin()) {
    Serial.println("Failed to initialize BLE!");
    while (1);
  }
  Serial.println("BLE initialized.");

  // Initialize temperature sensor
  if (!HTS.begin()) {
    Serial.println("Failed to initialize temperature sensor!");
    while (1);
  }
  Serial.println("Temperature sensor initialized.");

  // Set up BLE service and characteristic
  BLE.setLocalName("Nano33BLE_Temp");
  BLE.setAdvertisedService(tempService);
  tempService.addCharacteristic(tempCharacteristic);
  BLE.addService(tempService);

  // Start advertising
  BLE.advertise();
  Serial.println("BLE advertising started.");
}

void loop() {
  // Listen for BLE connections
  BLEDevice central = BLE.central();

  if (central) {
    Serial.print("Connected to central: ");
    Serial.println(central.address());

    while (central.connected()) {
      // Read temperature and update BLE characteristic
      float temperature = HTS.readTemperature();
      tempCharacteristic.writeValue(temperature);

      Serial.print("Temperature: ");
      Serial.print(temperature);
      Serial.println(" °C");

      delay(1000); // Update every second
    }

    Serial.println("Central disconnected.");
  }
}
Troubleshooting and FAQs
Common Issues and Solutions
Board Not Recognized by the IDE:
- Ensure the correct board and port are selected in the Arduino IDE.
- Update the USB drivers if necessary.
BLE Connection Fails:
- Verify that the BLE central device supports Bluetooth 5.0.
- Reduce interference by testing in a less crowded wireless environment.
Sensors Not Responding:
- Check that the required libraries are installed and included in the code.
- Ensure the board is powered correctly and not in a low-power state.
Overheating:
- Avoid running intensive tasks for extended periods without proper ventilation.
FAQs
Q: Can I use the board with a 5V sensor?
A: No, the board operates at 3.3V logic levels. Use a level shifter to interface with 5V sensors.
Q: What is the maximum BLE range?
A: The BLE range is approximately 10–30 meters, depending on environmental conditions.
Q: Does the board support Wi-Fi?
A: No, the Nano 33 BLE Sense Rev 2 only supports Bluetooth Low Energy (BLE) and NFC.
Q: Can I use this board for machine learning?
A: Yes, the board is compatible with TensorFlow Lite for Microcontrollers, enabling on-device ML applications.