
How to Use USB Host Shield: Examples, Pinouts, and Specs
 Design with USB Host Shield in Cirkit Designer
Introduction
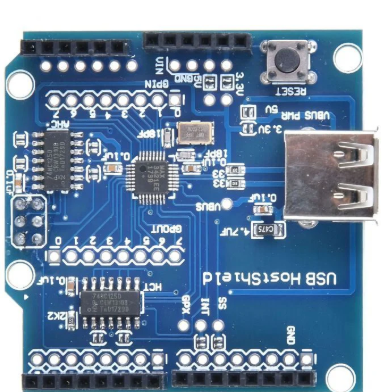
The USB Host Shield is an add-on board that enables microcontrollers, such as the Arduino, to interface with USB devices. It acts as a USB host, allowing the microcontroller to communicate with and control peripherals like keyboards, mice, game controllers, USB flash drives, and more. This shield is particularly useful in projects requiring USB device integration, such as robotics, data logging, and human-machine interfaces.
Explore Projects Built with USB Host Shield
 Open Project in Cirkit Designer
 Open Project in Cirkit Designer
 Open Project in Cirkit Designer
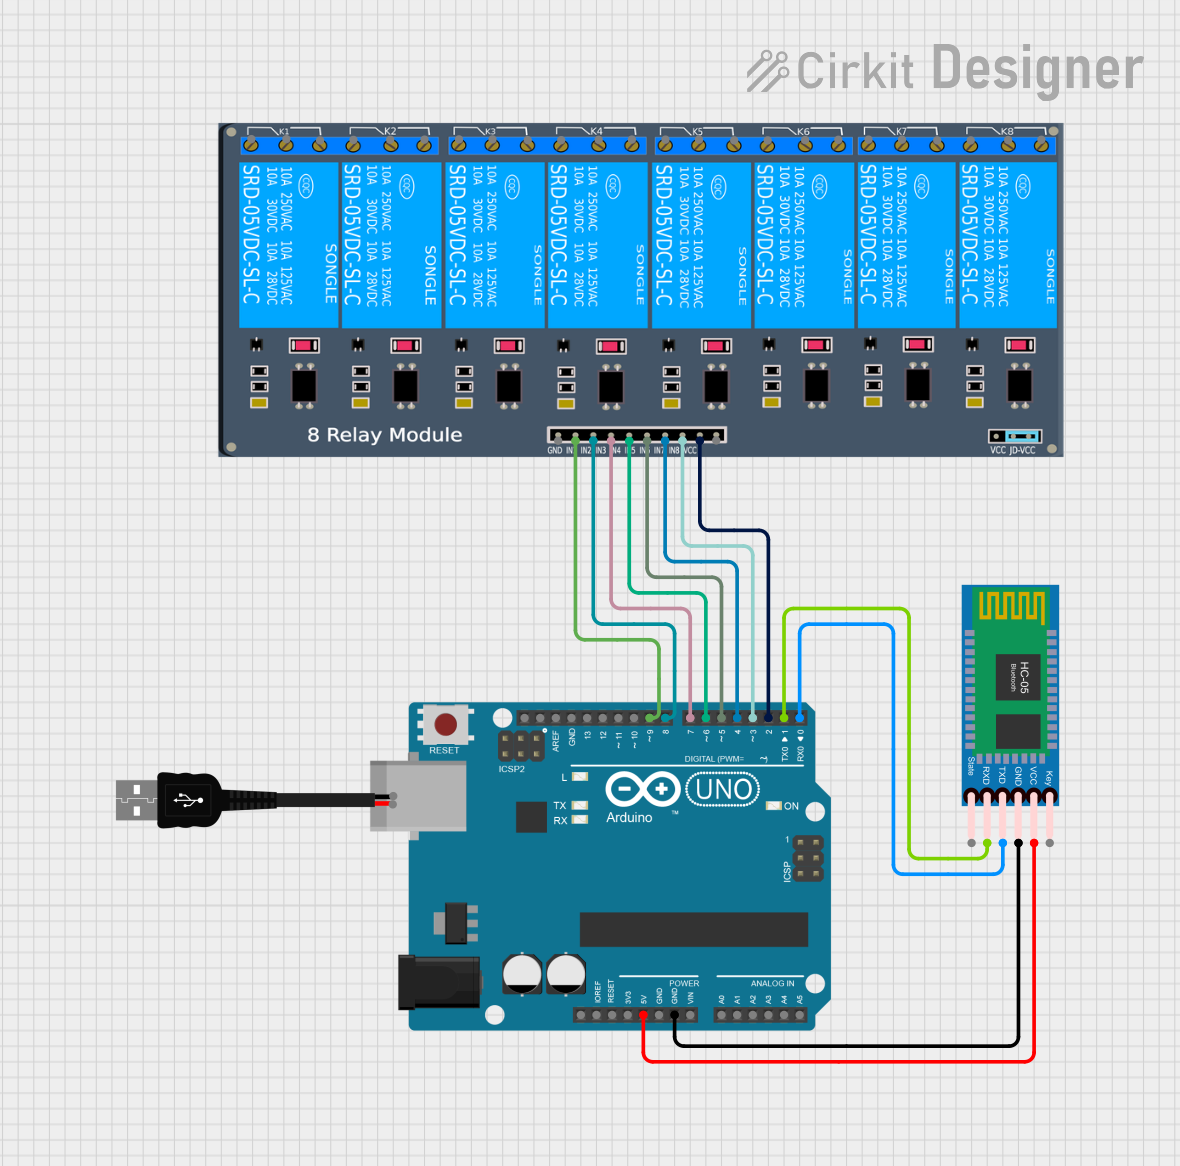
 Open Project in Cirkit Designer
Explore Projects Built with USB Host Shield

 Open Project in Cirkit Designer
 Open Project in Cirkit Designer
 Open Project in Cirkit Designer
 Open Project in Cirkit Designer
Common Applications and Use Cases
- Robotics: Control robots using USB game controllers or joysticks.
- Data Logging: Read and write data to USB flash drives.
- Human-Machine Interfaces: Interface with USB keyboards, mice, or barcode scanners.
- Custom USB Applications: Develop projects requiring communication with USB peripherals.
Technical Specifications
The USB Host Shield is based on the MAX3421E USB peripheral/host controller IC. Below are its key technical details:
Key Technical Details
- Operating Voltage: 5V (from the Arduino board)
- Communication Interface: SPI (Serial Peripheral Interface)
- USB Standard: USB 2.0 (Full-Speed, 12 Mbps)
- Controller IC: MAX3421E
- Current Consumption: ~100mA (excluding connected USB devices)
- Dimensions: Matches standard Arduino shield form factor
- Operating Temperature: -40°C to +85°C
Pin Configuration and Descriptions
The USB Host Shield connects to the Arduino via its SPI pins and additional control pins. Below is the pin configuration:
| Pin | Description |
|---|---|
| D10 | SPI Chip Select (SS) - Used to select the MAX3421E for communication |
| D11 | SPI MOSI (Master Out Slave In) - Data sent from Arduino to the USB Host Shield |
| D12 | SPI MISO (Master In Slave Out) - Data sent from the USB Host Shield to Arduino |
| D13 | SPI SCK (Clock) - Synchronizes data transfer between Arduino and the shield |
| D9 | INT (Interrupt) - Indicates events like USB device connection or data transfer |
| D7 | GPX (General Purpose Interrupt) - Optional interrupt for advanced applications |
| D8 | RESET - Resets the MAX3421E controller |
| USB-A | USB Type-A Port - Connects to USB devices |
Usage Instructions
How to Use the USB Host Shield in a Circuit
Hardware Setup:
- Mount the USB Host Shield onto an Arduino board, ensuring proper alignment of the pins.
- Connect a USB device (e.g., keyboard, mouse, or flash drive) to the USB Type-A port on the shield.
- Power the Arduino board via USB or an external power source.
Install Required Libraries:
- Download and install the USB Host Shield Library 2.0 from the Arduino Library Manager or GitHub.
- Navigate to Sketch > Include Library > Manage Libraries, search for "USB Host Shield Library 2.0," and install it.
Basic Example Code: Below is an example sketch to detect and print the details of a connected USB device:
#include <Usb.h> // Core USB library #include <usbhub.h> // USB hub support USB Usb; // Create USB object USBHub Hub(&Usb); // Create USB hub object (optional, for hubs) void setup() { Serial.begin(9600); // Initialize serial communication if (Usb.Init() == -1) { Serial.println("USB Host Shield initialization failed!"); while (1); // Halt if initialization fails } Serial.println("USB Host Shield initialized successfully."); } void loop() { Usb.Task(); // Poll the USB bus for events }- Upload the code to your Arduino board.
- Open the Serial Monitor to view messages about the USB device connection.
Important Considerations and Best Practices
- Power Supply: Ensure the Arduino board can supply sufficient current for the connected USB device. For high-power devices, consider using an external power source.
- Library Compatibility: Use the latest version of the USB Host Shield Library 2.0 for optimal performance and compatibility.
- Device Support: Not all USB devices are supported. Check the library documentation for a list of compatible devices.
- Interrupt Pins: Ensure the interrupt pin (D9) is not used by other shields or components in your project.
Troubleshooting and FAQs
Common Issues and Solutions
USB Host Shield Initialization Fails:
- Cause: Incorrect wiring or a faulty shield.
- Solution: Ensure the shield is properly seated on the Arduino and all pins are aligned. Check for physical damage to the shield.
USB Device Not Detected:
- Cause: Unsupported USB device or insufficient power.
- Solution: Verify the device is supported by the USB Host Shield Library. Use an external power source if the device requires more current.
Serial Monitor Shows No Output:
- Cause: Incorrect baud rate or USB library not initialized.
- Solution: Ensure the Serial Monitor is set to 9600 baud. Check that the
Usb.Init()function is called in the setup.
Data Transfer Errors:
- Cause: Poor USB cable quality or electrical noise.
- Solution: Use a high-quality USB cable and ensure proper grounding in your circuit.
FAQs
Q: Can I use the USB Host Shield with boards other than Arduino?
A: Yes, the shield can be used with other microcontrollers that support SPI communication, but additional configuration may be required.Q: Does the USB Host Shield support USB 3.0 devices?
A: The shield supports USB 2.0 devices. USB 3.0 devices may work if they are backward compatible with USB 2.0.Q: Can I connect multiple USB devices simultaneously?
A: Yes, but you will need a powered USB hub connected to the shield's USB port.Q: How do I update the USB Host Shield Library?
A: Use the Arduino Library Manager to update the library to the latest version.
By following this documentation, you can effectively integrate the USB Host Shield into your projects and troubleshoot common issues.