How to Use Humbucker: Examples, Pinouts, and Specs
Introduction
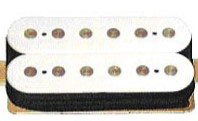
The Humbucker is a type of electric guitar pickup designed to reduce electromagnetic interference (hum) while delivering a rich, warm tone. It achieves this by using two coils wired in opposite polarity, effectively canceling out noise and interference. This design makes the Humbucker a popular choice for electric guitars, especially in genres like rock, blues, and jazz, where a fuller sound is desired.
Explore Projects Built with Humbucker
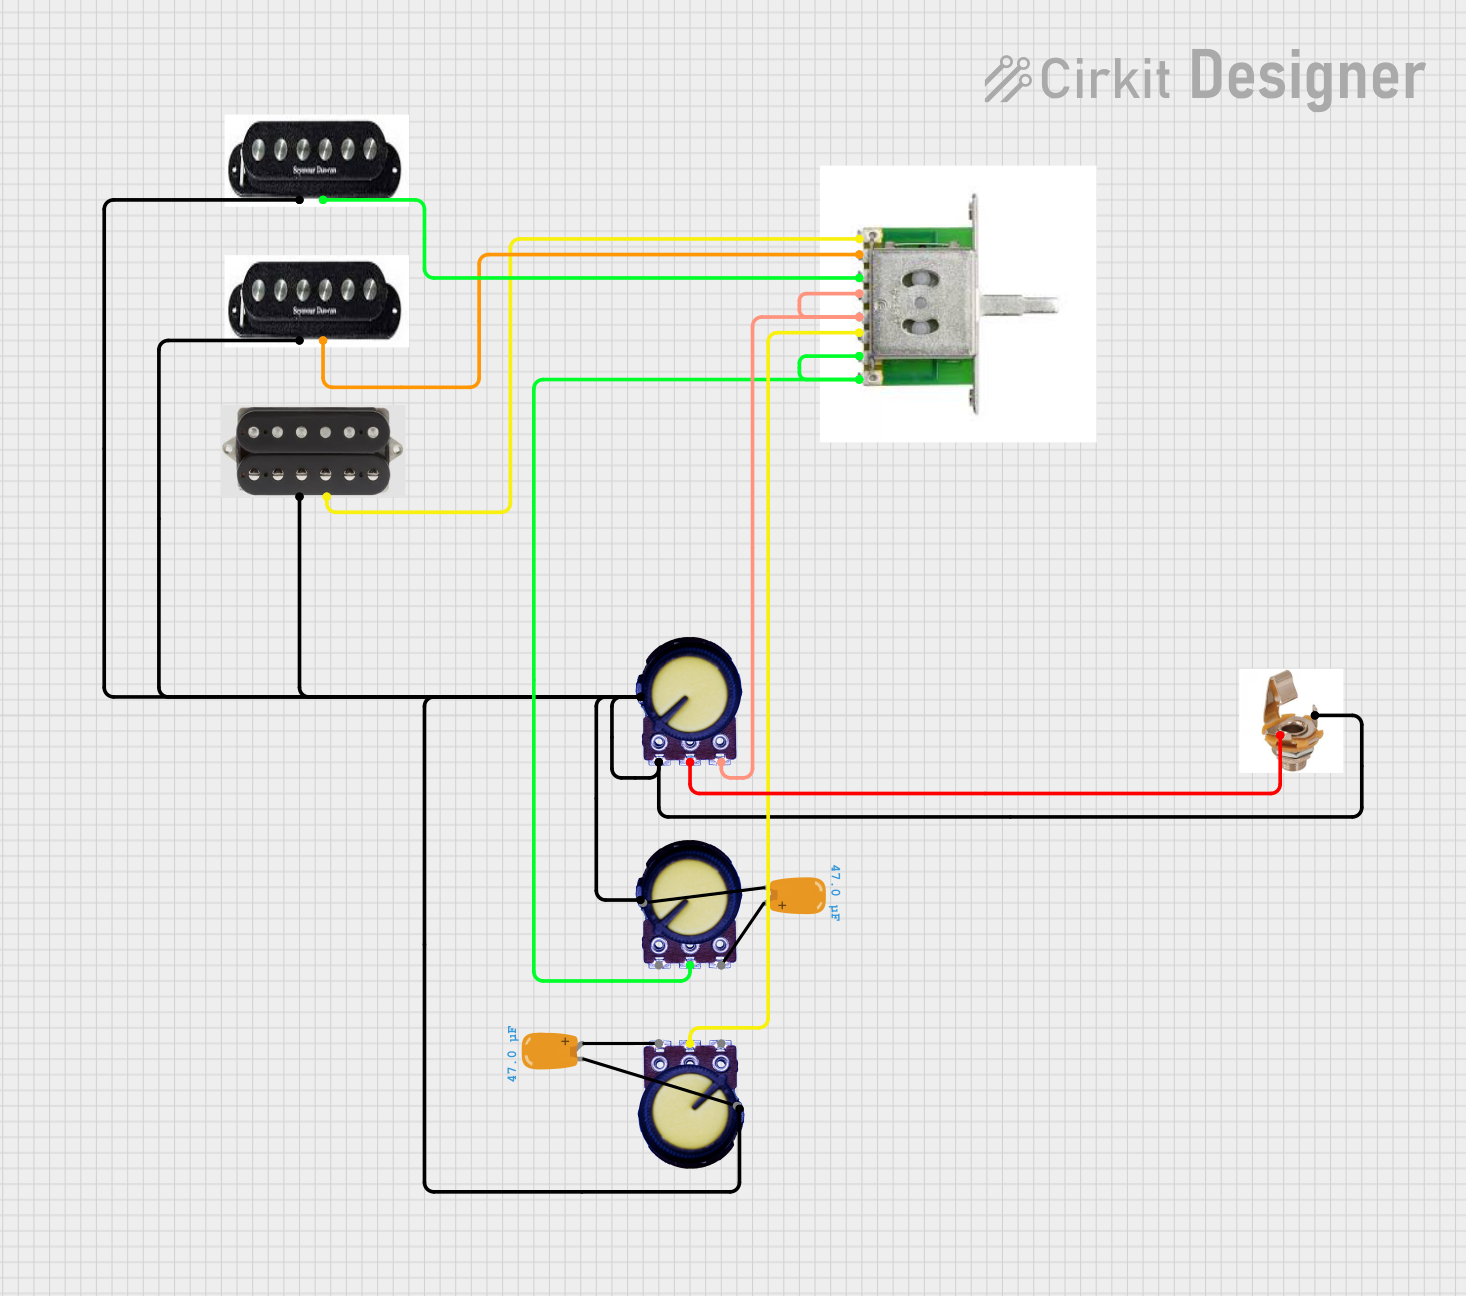

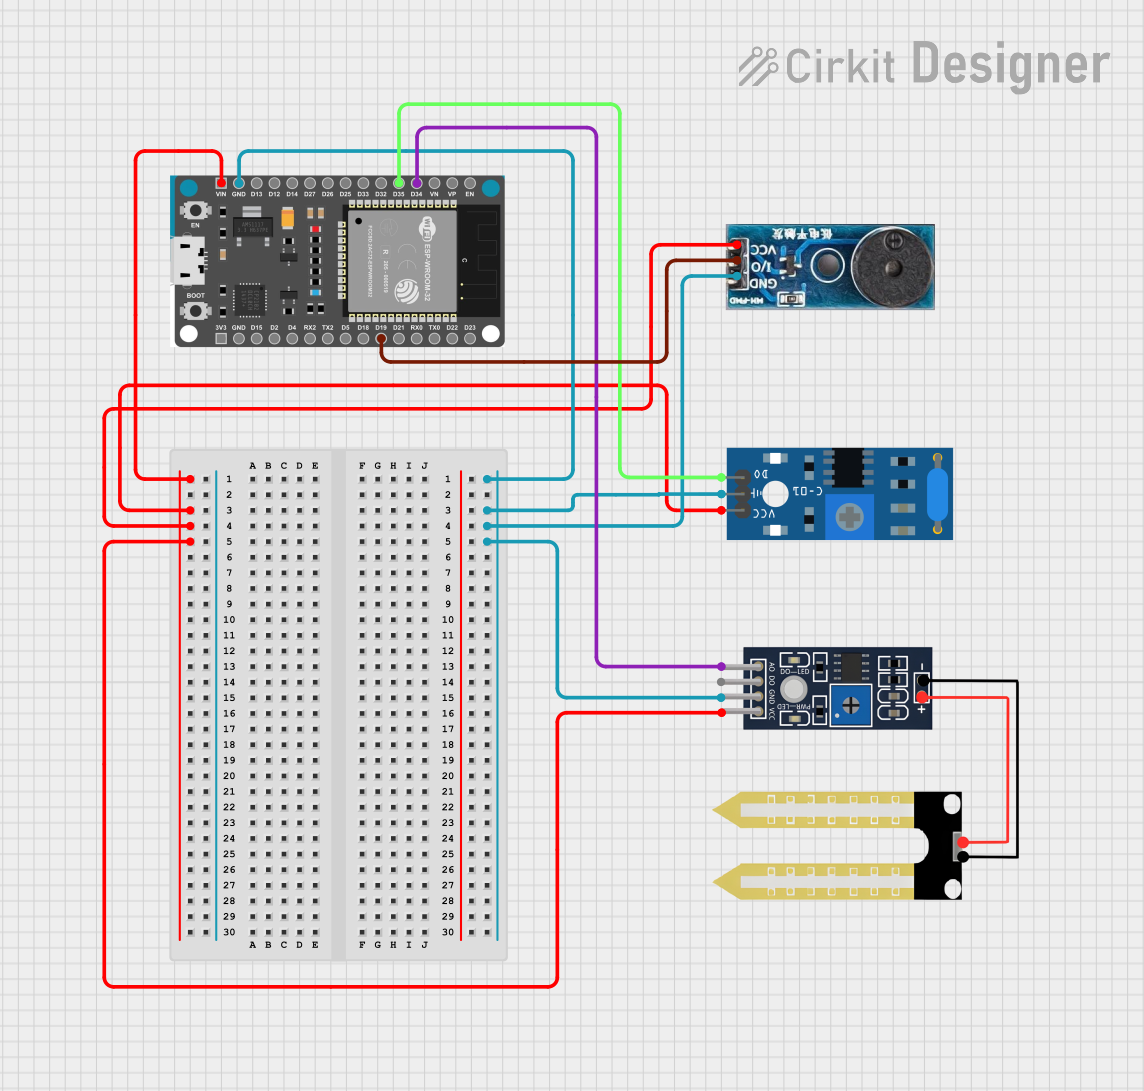
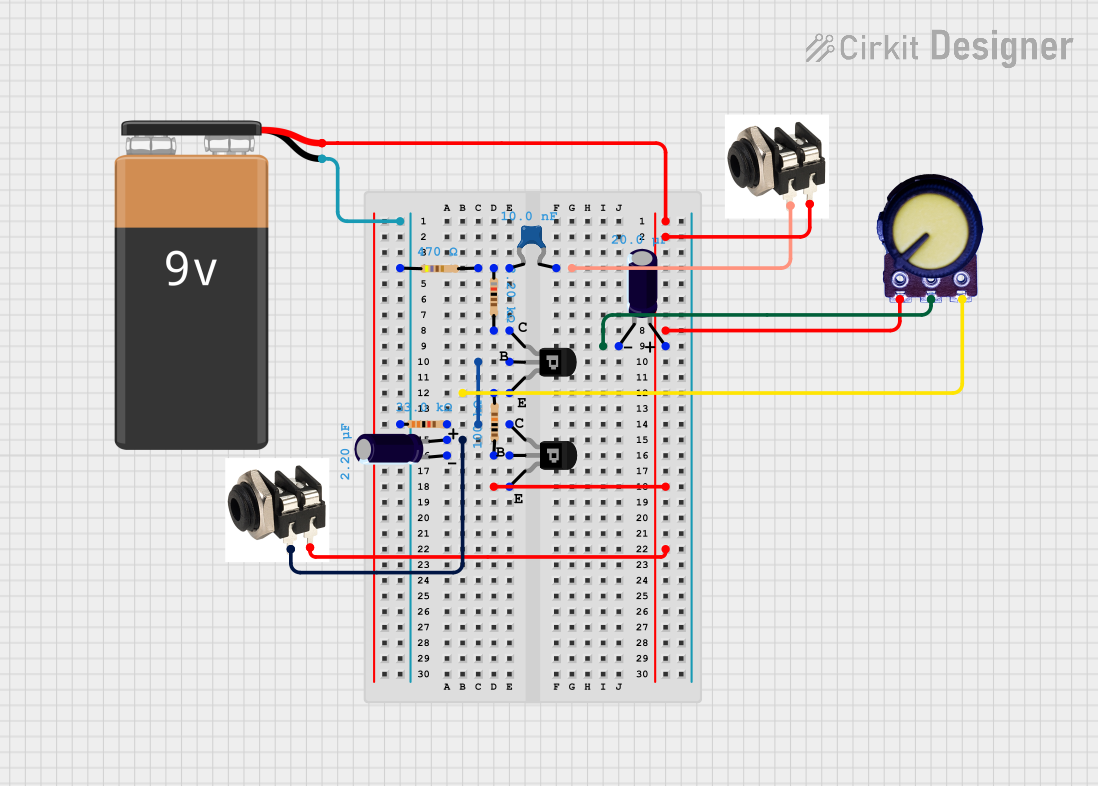
Explore Projects Built with Humbucker
Common Applications and Use Cases
- Electric guitars for noise-free performance
- Studio recording for clean, high-quality sound
- Live performances in environments with high electromagnetic interference
- Musical genres requiring a thick, warm tone, such as rock, metal, and jazz
Technical Specifications
The Humbucker is a passive electronic component with the following key specifications:
| Parameter | Value |
|---|---|
| Manufacturer | Humbucker |
| Manufacturer Part ID | Humbucker |
| Type | Dual-coil electric guitar pickup |
| Output Impedance | 6kΩ to 16kΩ (varies by model) |
| Frequency Response | 80 Hz to 5 kHz |
| Magnet Type | Alnico or Ceramic |
| Wiring Configuration | 4-conductor or 2-conductor |
| Dimensions | 70 mm x 38 mm x 18 mm (typical) |
| Weight | ~150 g |
Pin Configuration and Descriptions
Humbuckers typically have multiple wires for different wiring configurations. Below is a table describing the common 4-conductor wiring:
| Wire Color | Function |
|---|---|
| Red | Coil 1 Start (Hot Output) |
| White | Coil 1 End (Connect to Green for Series) |
| Green | Coil 2 Start (Ground) |
| Black | Coil 2 End (Hot Output for Parallel) |
| Bare | Shield (Connect to Ground) |
Note: Wire colors may vary by manufacturer. Always refer to the specific wiring diagram provided with your Humbucker.
Usage Instructions
How to Use the Humbucker in a Circuit
- Mounting the Humbucker: Secure the Humbucker to the guitar body using the provided screws and springs. Adjust the height to balance output volume and tone.
- Wiring: Connect the wires according to your desired configuration:
- Series Wiring: Connect the White wire to the Green wire. Use the Red wire as the hot output and the Bare wire as ground.
- Parallel Wiring: Connect the Red and Black wires as hot outputs, and the Green and Bare wires as ground.
- Coil Split: Use a switch to ground one coil (e.g., connect the White wire to ground) for a single-coil sound.
- Soldering: Use a soldering iron to make secure connections. Avoid overheating the wires or components.
- Testing: Plug the guitar into an amplifier and test the output. Adjust the pickup height and pole pieces for optimal sound.
Important Considerations and Best Practices
- Shielding: Ensure proper shielding of the guitar cavity to minimize noise.
- Height Adjustment: The distance between the Humbucker and strings affects tone and output. Experiment to find the best balance.
- Polarity Matching: When combining multiple pickups, ensure correct polarity to avoid phase cancellation.
- Use with Arduino: While Humbuckers are not typically used with microcontrollers like Arduino, you can connect the output to an analog input for signal processing or effects. Use a preamp circuit to amplify the signal before feeding it into the Arduino.
Example Arduino Code for Signal Processing
// Example: Reading Humbucker output with Arduino
// Note: Use a preamp circuit to amplify the signal before connecting to A0.

const int humbuckerPin = A0; // Analog pin connected to Humbucker output
int signalValue = 0;         // Variable to store the signal value

void setup() {
  Serial.begin(9600); // Initialize serial communication
}

void loop() {
  signalValue = analogRead(humbuckerPin); // Read the analog signal
  Serial.println(signalValue);           // Print the signal value to the Serial Monitor
  delay(10);                             // Small delay for stability
}
Troubleshooting and FAQs
Common Issues and Solutions
No Sound Output:
- Check all solder connections for continuity.
- Ensure the Humbucker is properly grounded (Bare wire connected to ground).
- Verify the amplifier and cables are functioning correctly.
Excessive Noise or Hum:
- Ensure proper shielding of the guitar cavity.
- Check for loose or broken connections.
- Verify that the Humbucker is wired correctly (e.g., series or parallel).
Weak or Thin Sound:
- Adjust the pickup height closer to the strings.
- Check for phase issues if using multiple pickups.
Uneven String Volume:
- Adjust the pole pieces to balance the output for each string.
FAQs
Q: Can I use a Humbucker with a single-coil pickup in the same guitar?
A: Yes, but ensure proper polarity and phase alignment to avoid phase cancellation.
Q: What is the difference between Alnico and Ceramic magnets in Humbuckers?
A: Alnico magnets provide a warmer, vintage tone, while Ceramic magnets deliver higher output and a brighter sound.
Q: How do I clean and maintain my Humbucker?
A: Use a soft, dry cloth to clean the surface. Avoid using liquids or abrasive materials. Periodically check the wiring and connections for wear.
Q: Can I use a Humbucker for non-guitar applications?
A: Yes, Humbuckers can be used in DIY audio projects, such as custom microphones or signal pickups, but a preamp is typically required.
This concludes the documentation for the Humbucker. For further assistance, refer to the manufacturer's support resources.