How to Use Battery 9V: Examples, Pinouts, and Specs
Introduction
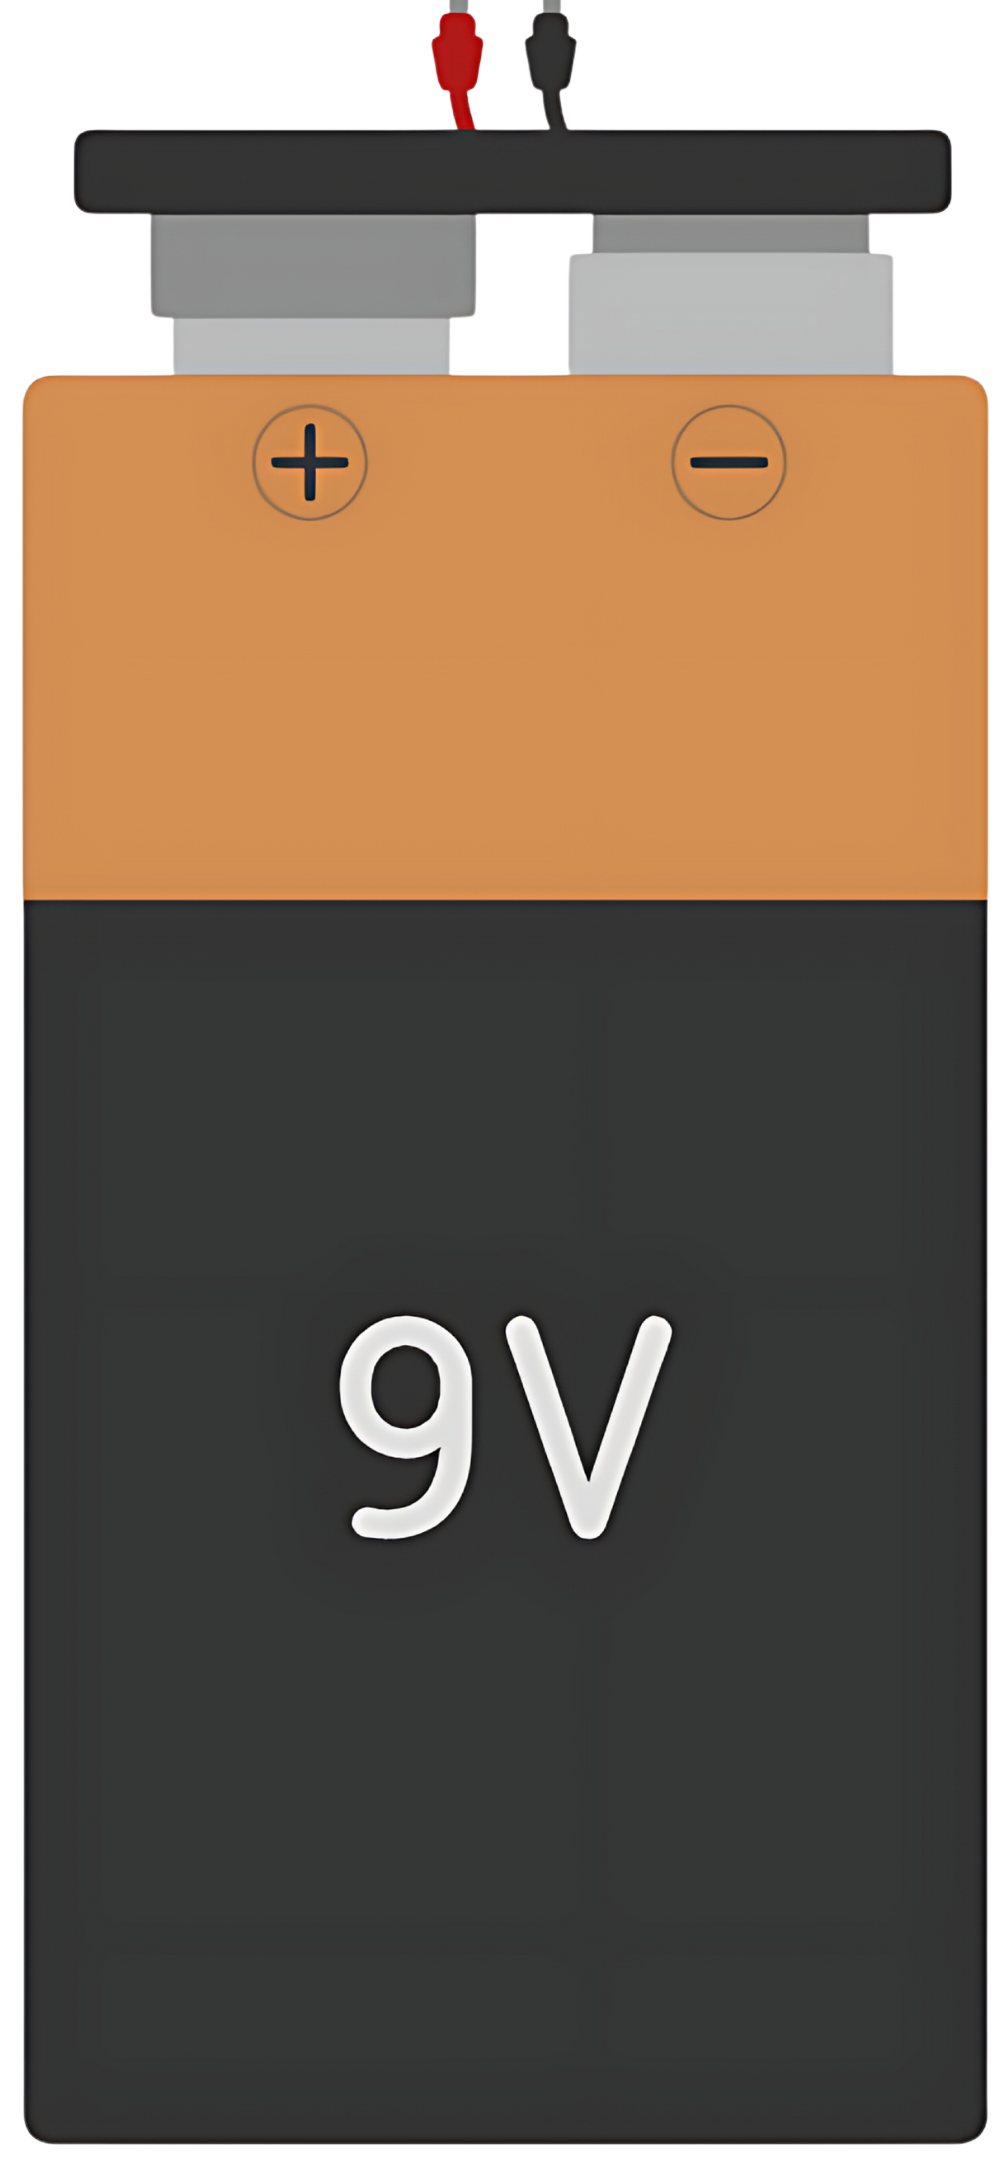
The 9V battery is a compact and portable power source widely used in a variety of electronic devices such as smoke detectors, multimeters, and small digital electronics. Its rectangular form factor and snap connectors make it easy to install and replace. This documentation provides an overview of the 9V battery's characteristics, applications, and guidelines for use in electronic projects, particularly when interfacing with an Arduino UNO.
Explore Projects Built with Battery 9V

Explore Projects Built with Battery 9V
Technical Specifications
Key Technical Details
- Nominal Voltage: 9V
- Chemistry Types: Alkaline, Lithium, NiMH (rechargeable), NiCd (rechargeable)
- Capacity: Varies by chemistry and manufacturer (typically 400mAh to 600mAh for alkaline)
- Shelf Life: Varies by chemistry (up to 5 years for alkaline)
- Operating Temperature Range: Typically -20°C to 60°C
Pin Configuration and Descriptions
The 9V battery has a simple two-terminal configuration:
| Pin | Description |
|---|---|
| + | Positive terminal (typically marked with a "+" sign) |
| - | Negative terminal (typically marked with a "-" sign) |
Usage Instructions
Connecting a 9V Battery to a Circuit
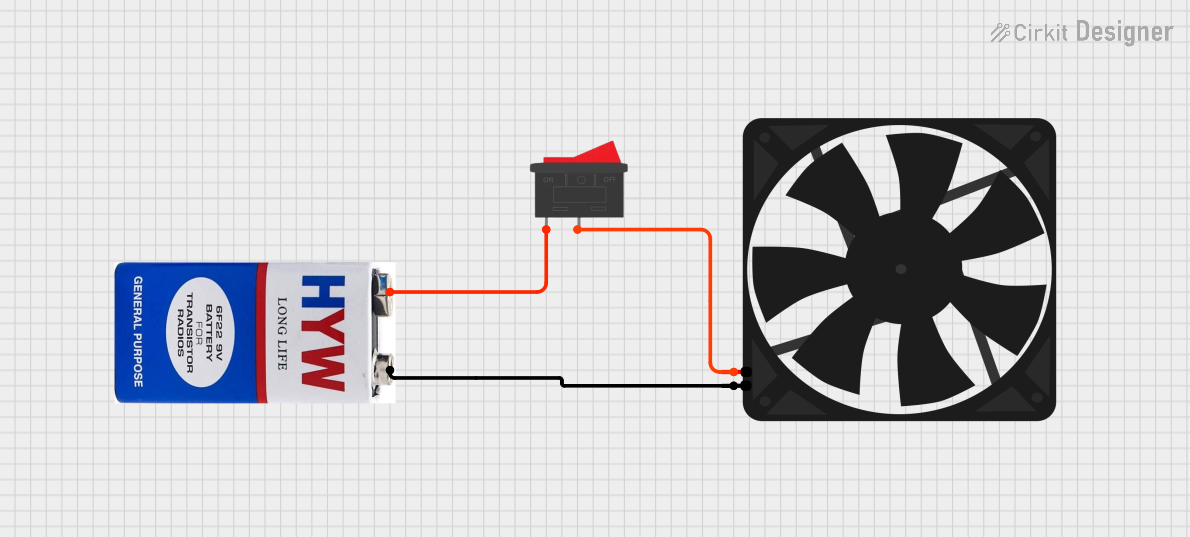
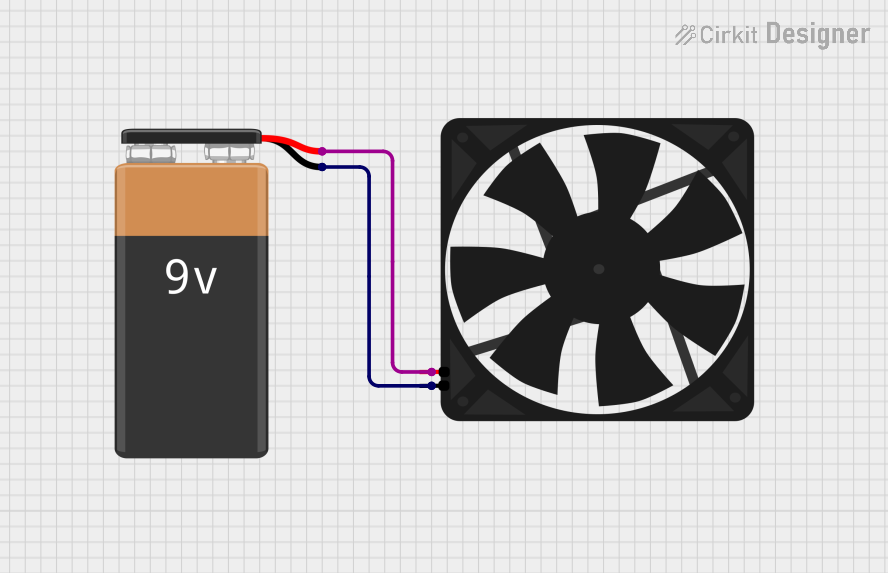
- Identify the polarity: Ensure you connect the positive terminal of the battery to the positive side of the circuit and the negative terminal to the ground or negative side.
- Use a battery clip: A 9V battery clip can be used for easy connection. It has two wires; red for positive and black for negative.
- Avoid short circuits: Never allow the positive and negative terminals to come into direct contact without a load, as this can cause a short circuit.
Interfacing with an Arduino UNO
To power an Arduino UNO with a 9V battery:
- Connect the battery clip: Attach the 9V battery clip to the battery terminals.
- Use the barrel jack: Connect the battery clip to a DC barrel jack adapter that fits the Arduino UNO's power jack.
- Alternatively, use the VIN pin: Connect the red wire (positive) to the VIN pin and the black wire (negative) to one of the GND pins on the Arduino.
// Example code to check the battery level on an Arduino UNO

void setup() {
  Serial.begin(9600);
}

void loop() {
  int sensorValue = analogRead(A0); // Connect the positive terminal to A0
  float voltage = sensorValue * (9.0 / 1023.0); // Convert the reading to voltage
  Serial.print("Battery Voltage: ");
  Serial.println(voltage);
  delay(1000); // Wait for a second before reading again
}
Note: The above code assumes a direct connection to the analog pin A0. This is for illustrative purposes only. In practice, a voltage divider or level shifter may be required to protect the Arduino from higher voltages.
Troubleshooting and FAQs
Common Issues
- Battery drains quickly: Ensure that the battery is suitable for the load and that there are no short circuits in your setup.
- Inconsistent power supply: Check the battery connections and replace the battery if it is old or damaged.
- Device not powering on: Verify that the battery is properly connected with correct polarity and that it has sufficient charge.
FAQs
Q: Can I recharge a 9V alkaline battery? A: No, alkaline batteries are not designed to be recharged. Use a rechargeable NiMH or NiCd battery instead.
Q: How can I dispose of a 9V battery? A: Follow your local regulations for battery disposal. Many areas have recycling programs for batteries.
Q: Is it safe to connect multiple 9V batteries in parallel or series? A: Connecting in series will increase voltage, while parallel will increase capacity. However, it's important to do so with caution and understanding of the implications, such as balancing and potential overloading.
Q: How can I test if my 9V battery is still good? A: Use a multimeter to measure the voltage. If it's below 8.5V, it's likely that the battery is near the end of its life.
Q: Can I use a 9V battery to power other components in my circuit? A: Yes, as long as the components are rated for 9V and the total current draw does not exceed the battery's capacity.
Remember to always follow safety guidelines when working with batteries to prevent injury or damage to your components.