Cirkit Designer Logo
Cirkit Designer
Your all-in-one circuit design IDE
Home / 
Component Documentation

How to Use VHM-314: Examples, Pinouts, and Specs
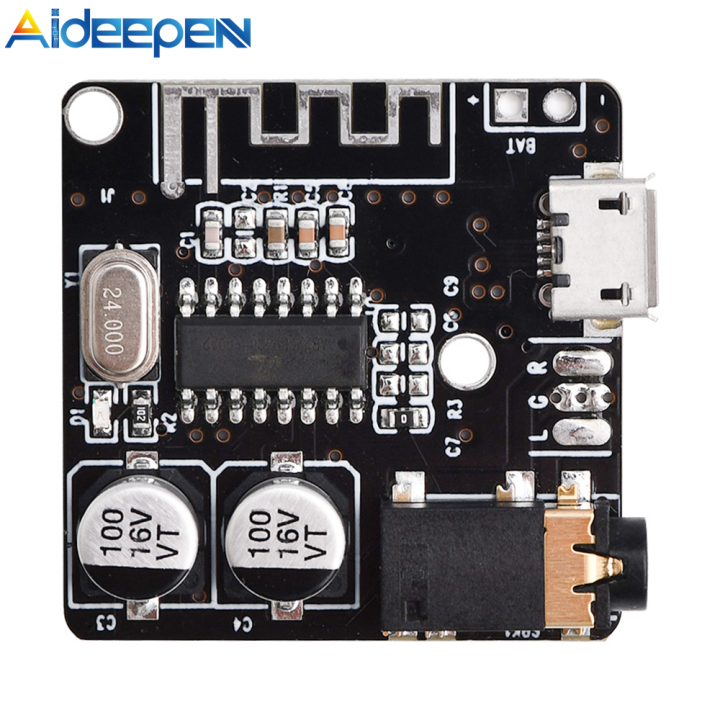
Image of VHM-314
Cirkit Designer LogoDesign with VHM-314 in Cirkit Designer

Introduction

The VHM-314 is a versatile voltage regulator module designed to convert a higher input voltage to a lower, stable output voltage. This module is essential for providing a consistent power supply to electronic circuits that require a specific operating voltage. Common applications include:

  • Powering microcontrollers like Arduino or Raspberry Pi when the input voltage is above their operating voltage.
  • Providing a stable voltage source for sensors, motors, and other electronic components.
  • Use in battery-powered applications where voltage regulation is necessary to maintain consistent performance.

Explore Projects Built with VHM-314

Use Cirkit Designer to design, explore, and prototype these projects online. Some projects support real-time simulation. Click "Open Project" to start designing instantly!
Bluetooth-Controlled Multi-Function Arduino Nano Gadget
Image of Copy of Smarttt: A project utilizing VHM-314 in a practical application
This is a portable, microcontroller-driven interactive device featuring Bluetooth connectivity, visual (RGB LED), auditory (loudspeaker), and haptic (vibration motor) feedback, user input (pushbutton), and a rechargeable power system (TP4056 with Li-ion battery).
Cirkit Designer LogoOpen Project in Cirkit Designer
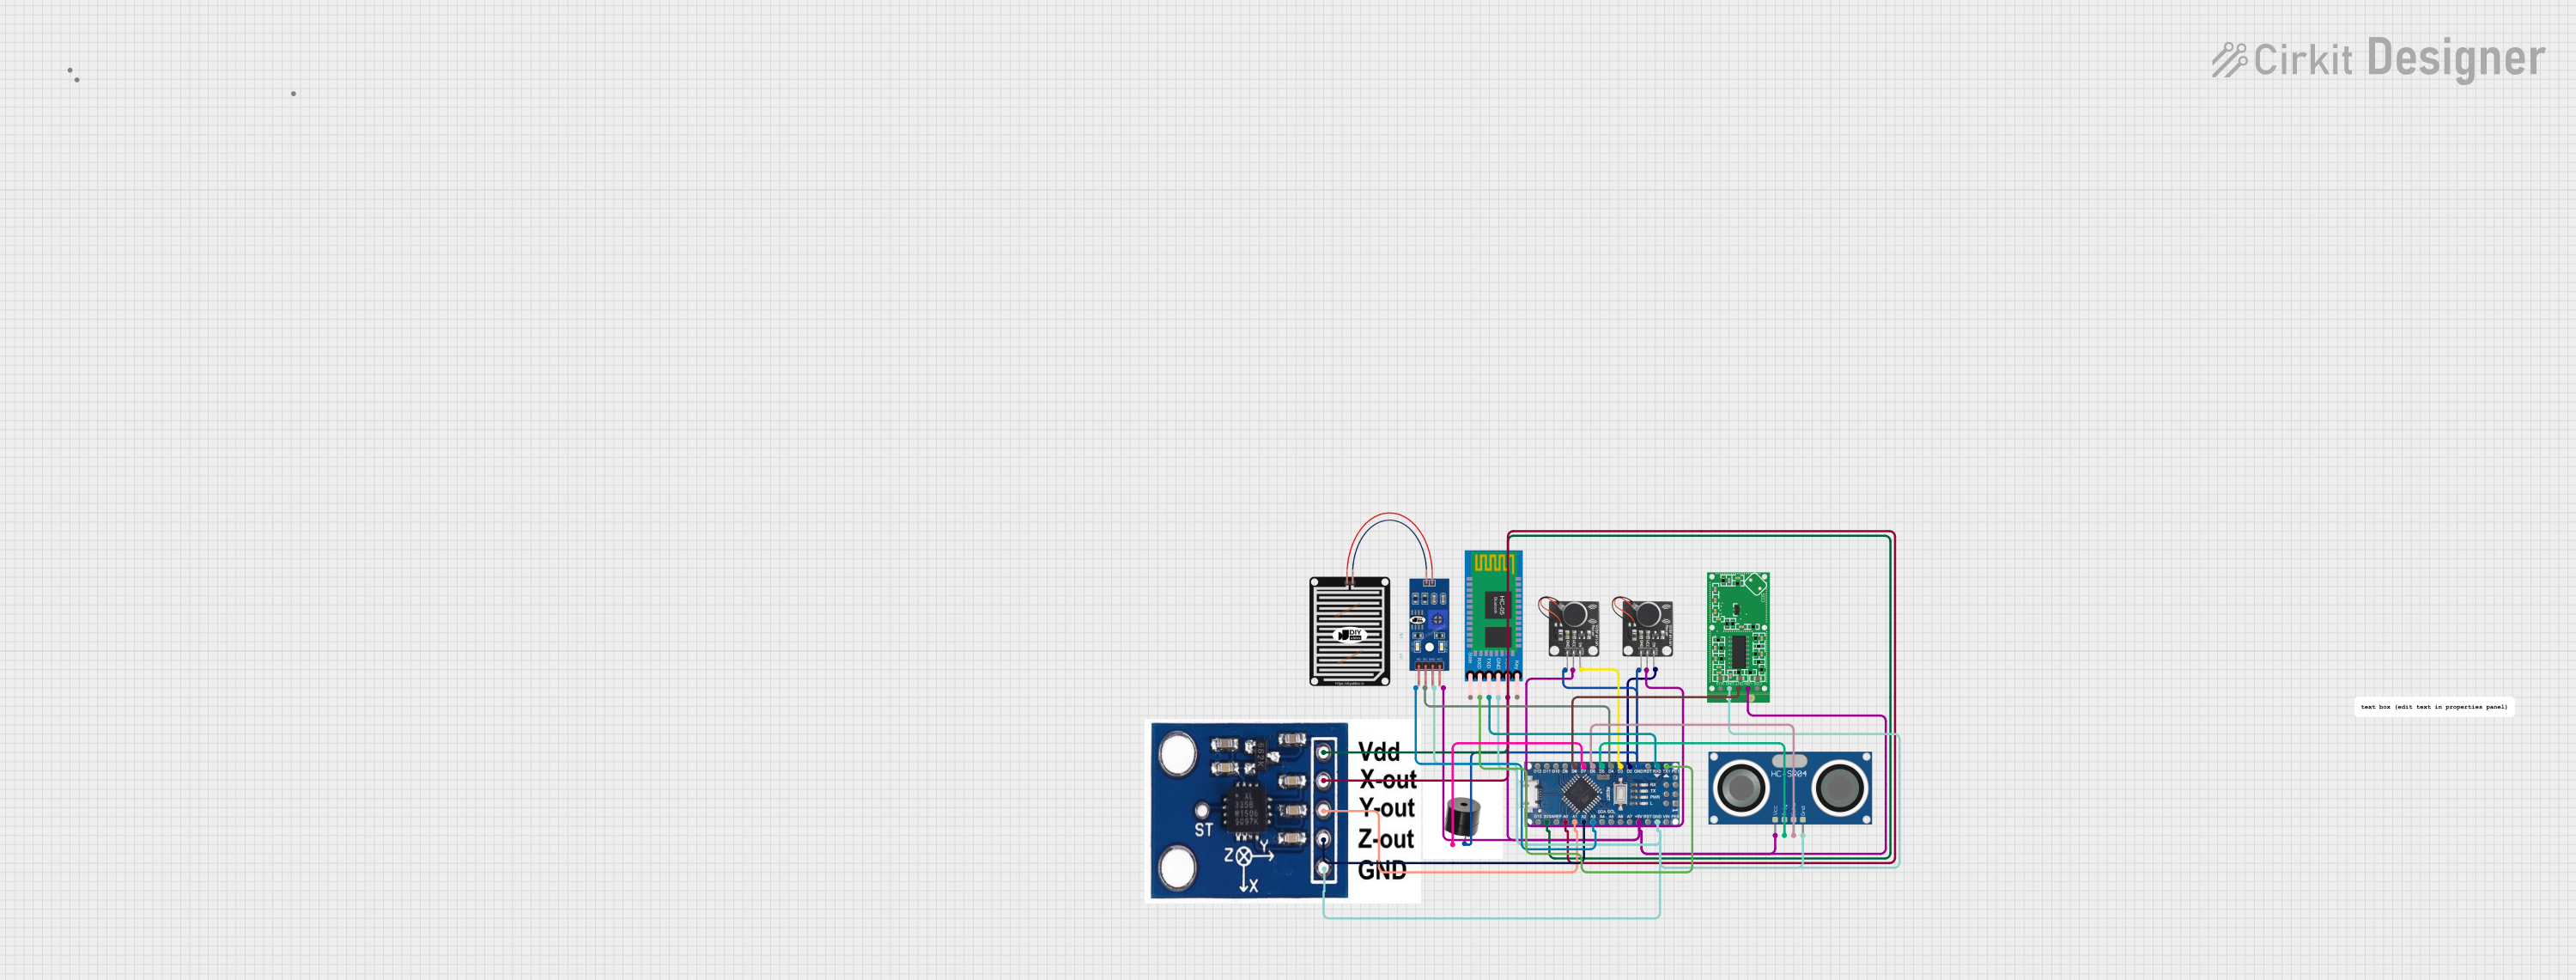
Arduino Nano-Based Haptic Navigation Shoe for the Visually Impaired with Bluetooth Connectivity
Image of Blind shoes layer 2: A project utilizing VHM-314 in a practical application
This circuit is a haptic navigation system for the visually impaired, utilizing an Arduino Nano to interface with various sensors including a rain sensor, ultrasonic sensor, accelerometer, radar sensor, and Bluetooth module. The system provides feedback through vibration motors and a buzzer, and sends sensor data to a mobile app via Bluetooth for tracking and alerts.
Cirkit Designer LogoOpen Project in Cirkit Designer
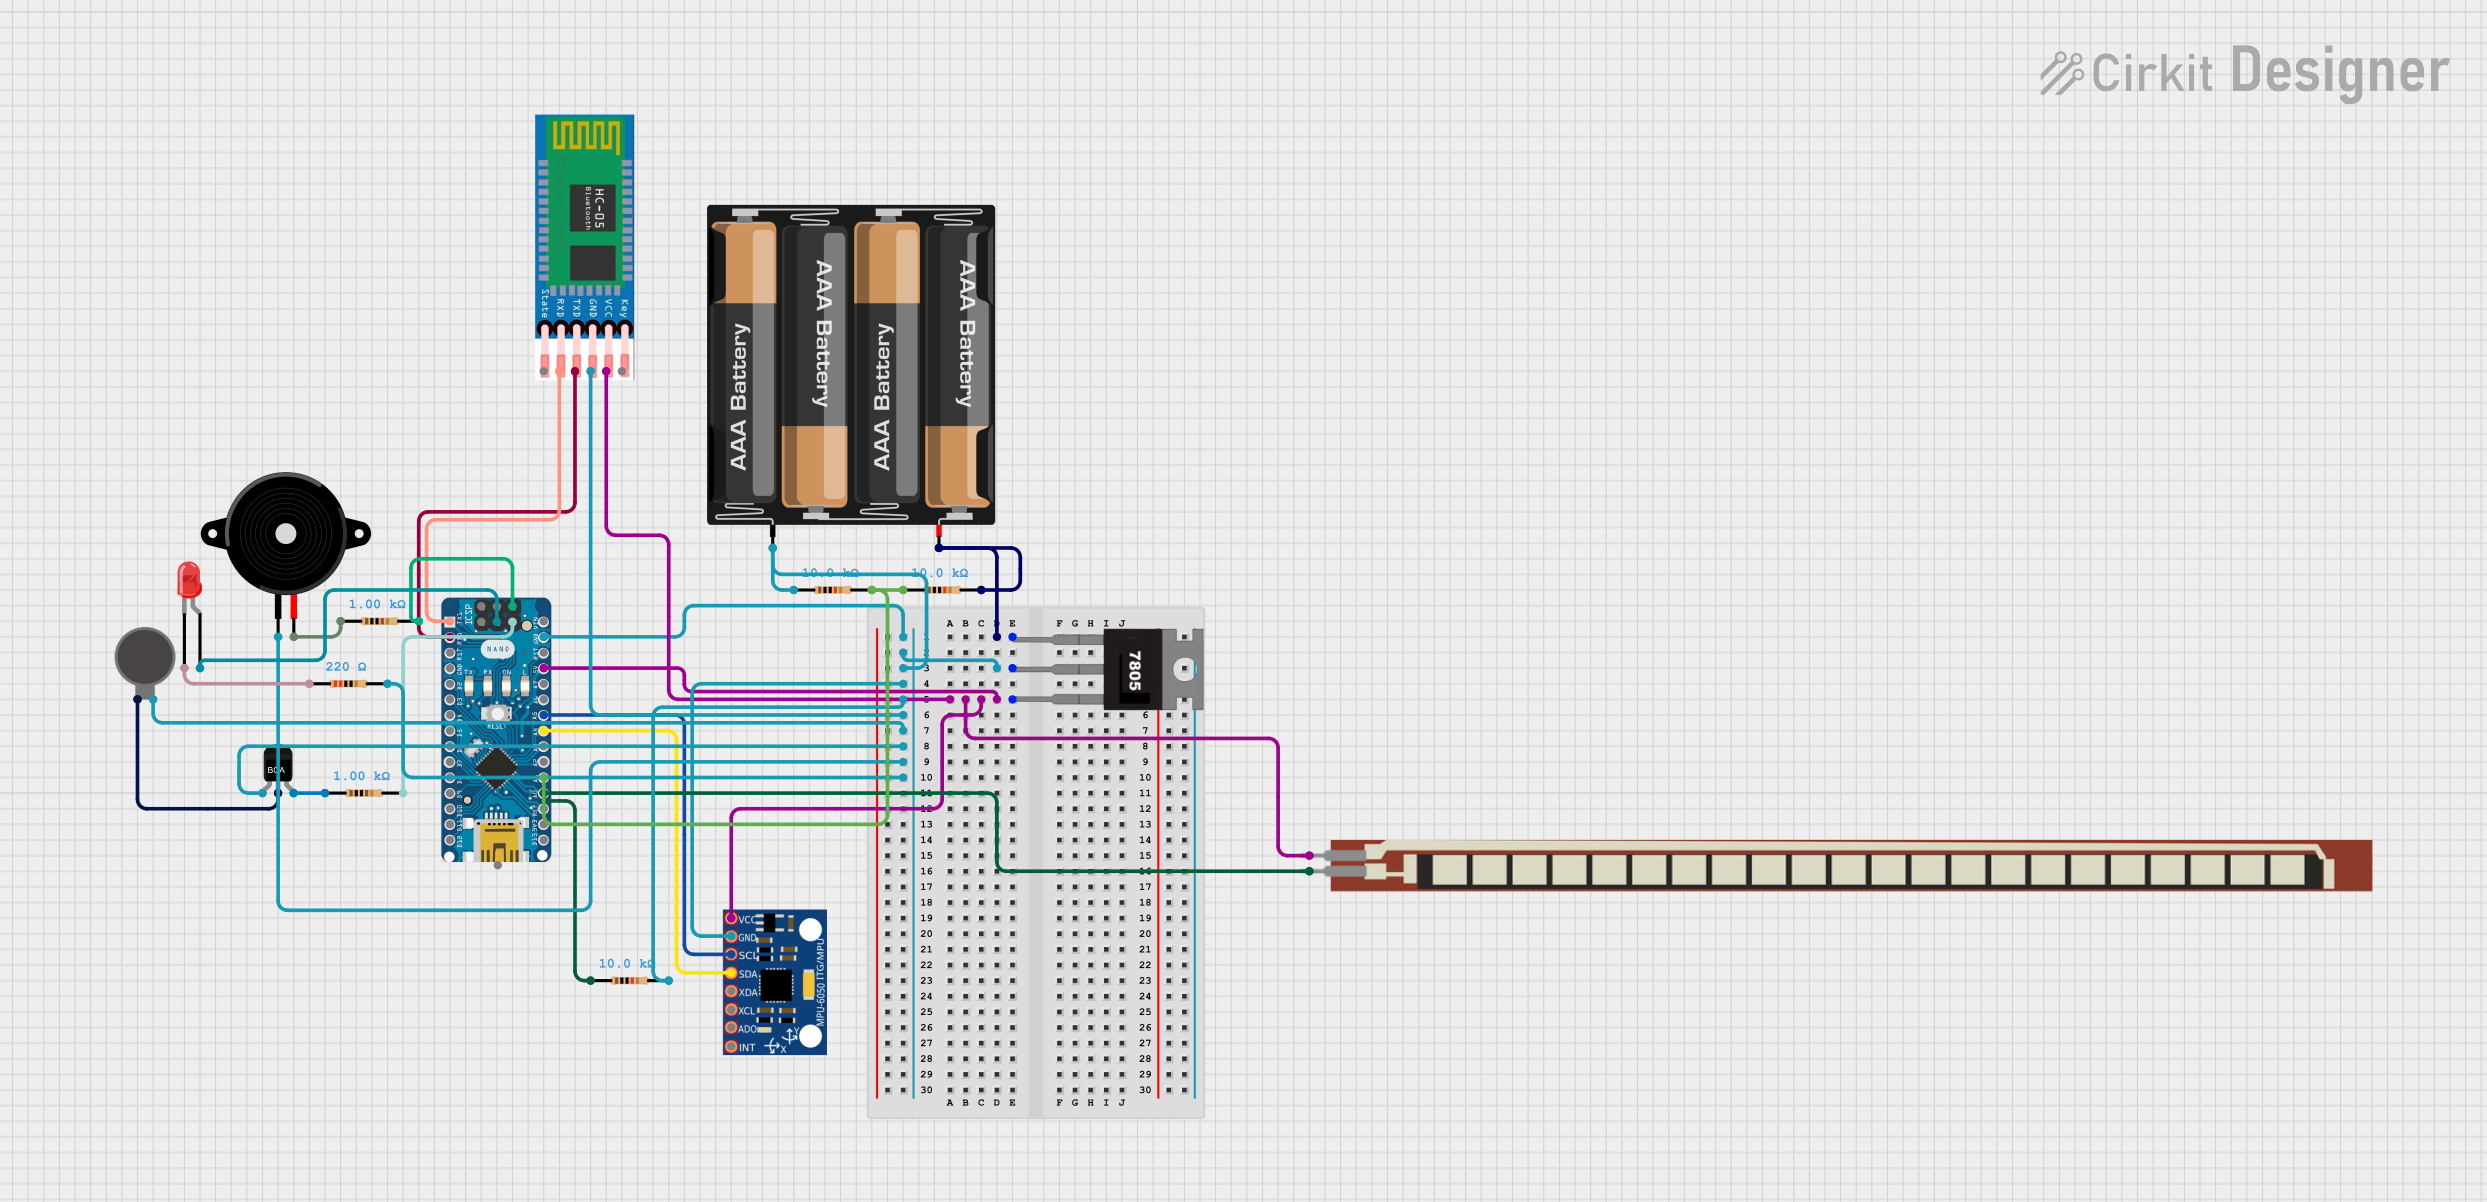
Arduino Nano-Based Wearable Gesture Control Interface with Bluetooth Connectivity
Image of spine: A project utilizing VHM-314 in a practical application
This is a battery-powered sensor system with Bluetooth communication, featuring an Arduino Nano for control, an MPU-6050 for motion sensing, and an HC-05 module for wireless data transmission. It includes a vibration motor for haptic feedback, a flex resistor as an additional sensor, and a piezo speaker and LED for alerts or status indication.
Cirkit Designer LogoOpen Project in Cirkit Designer
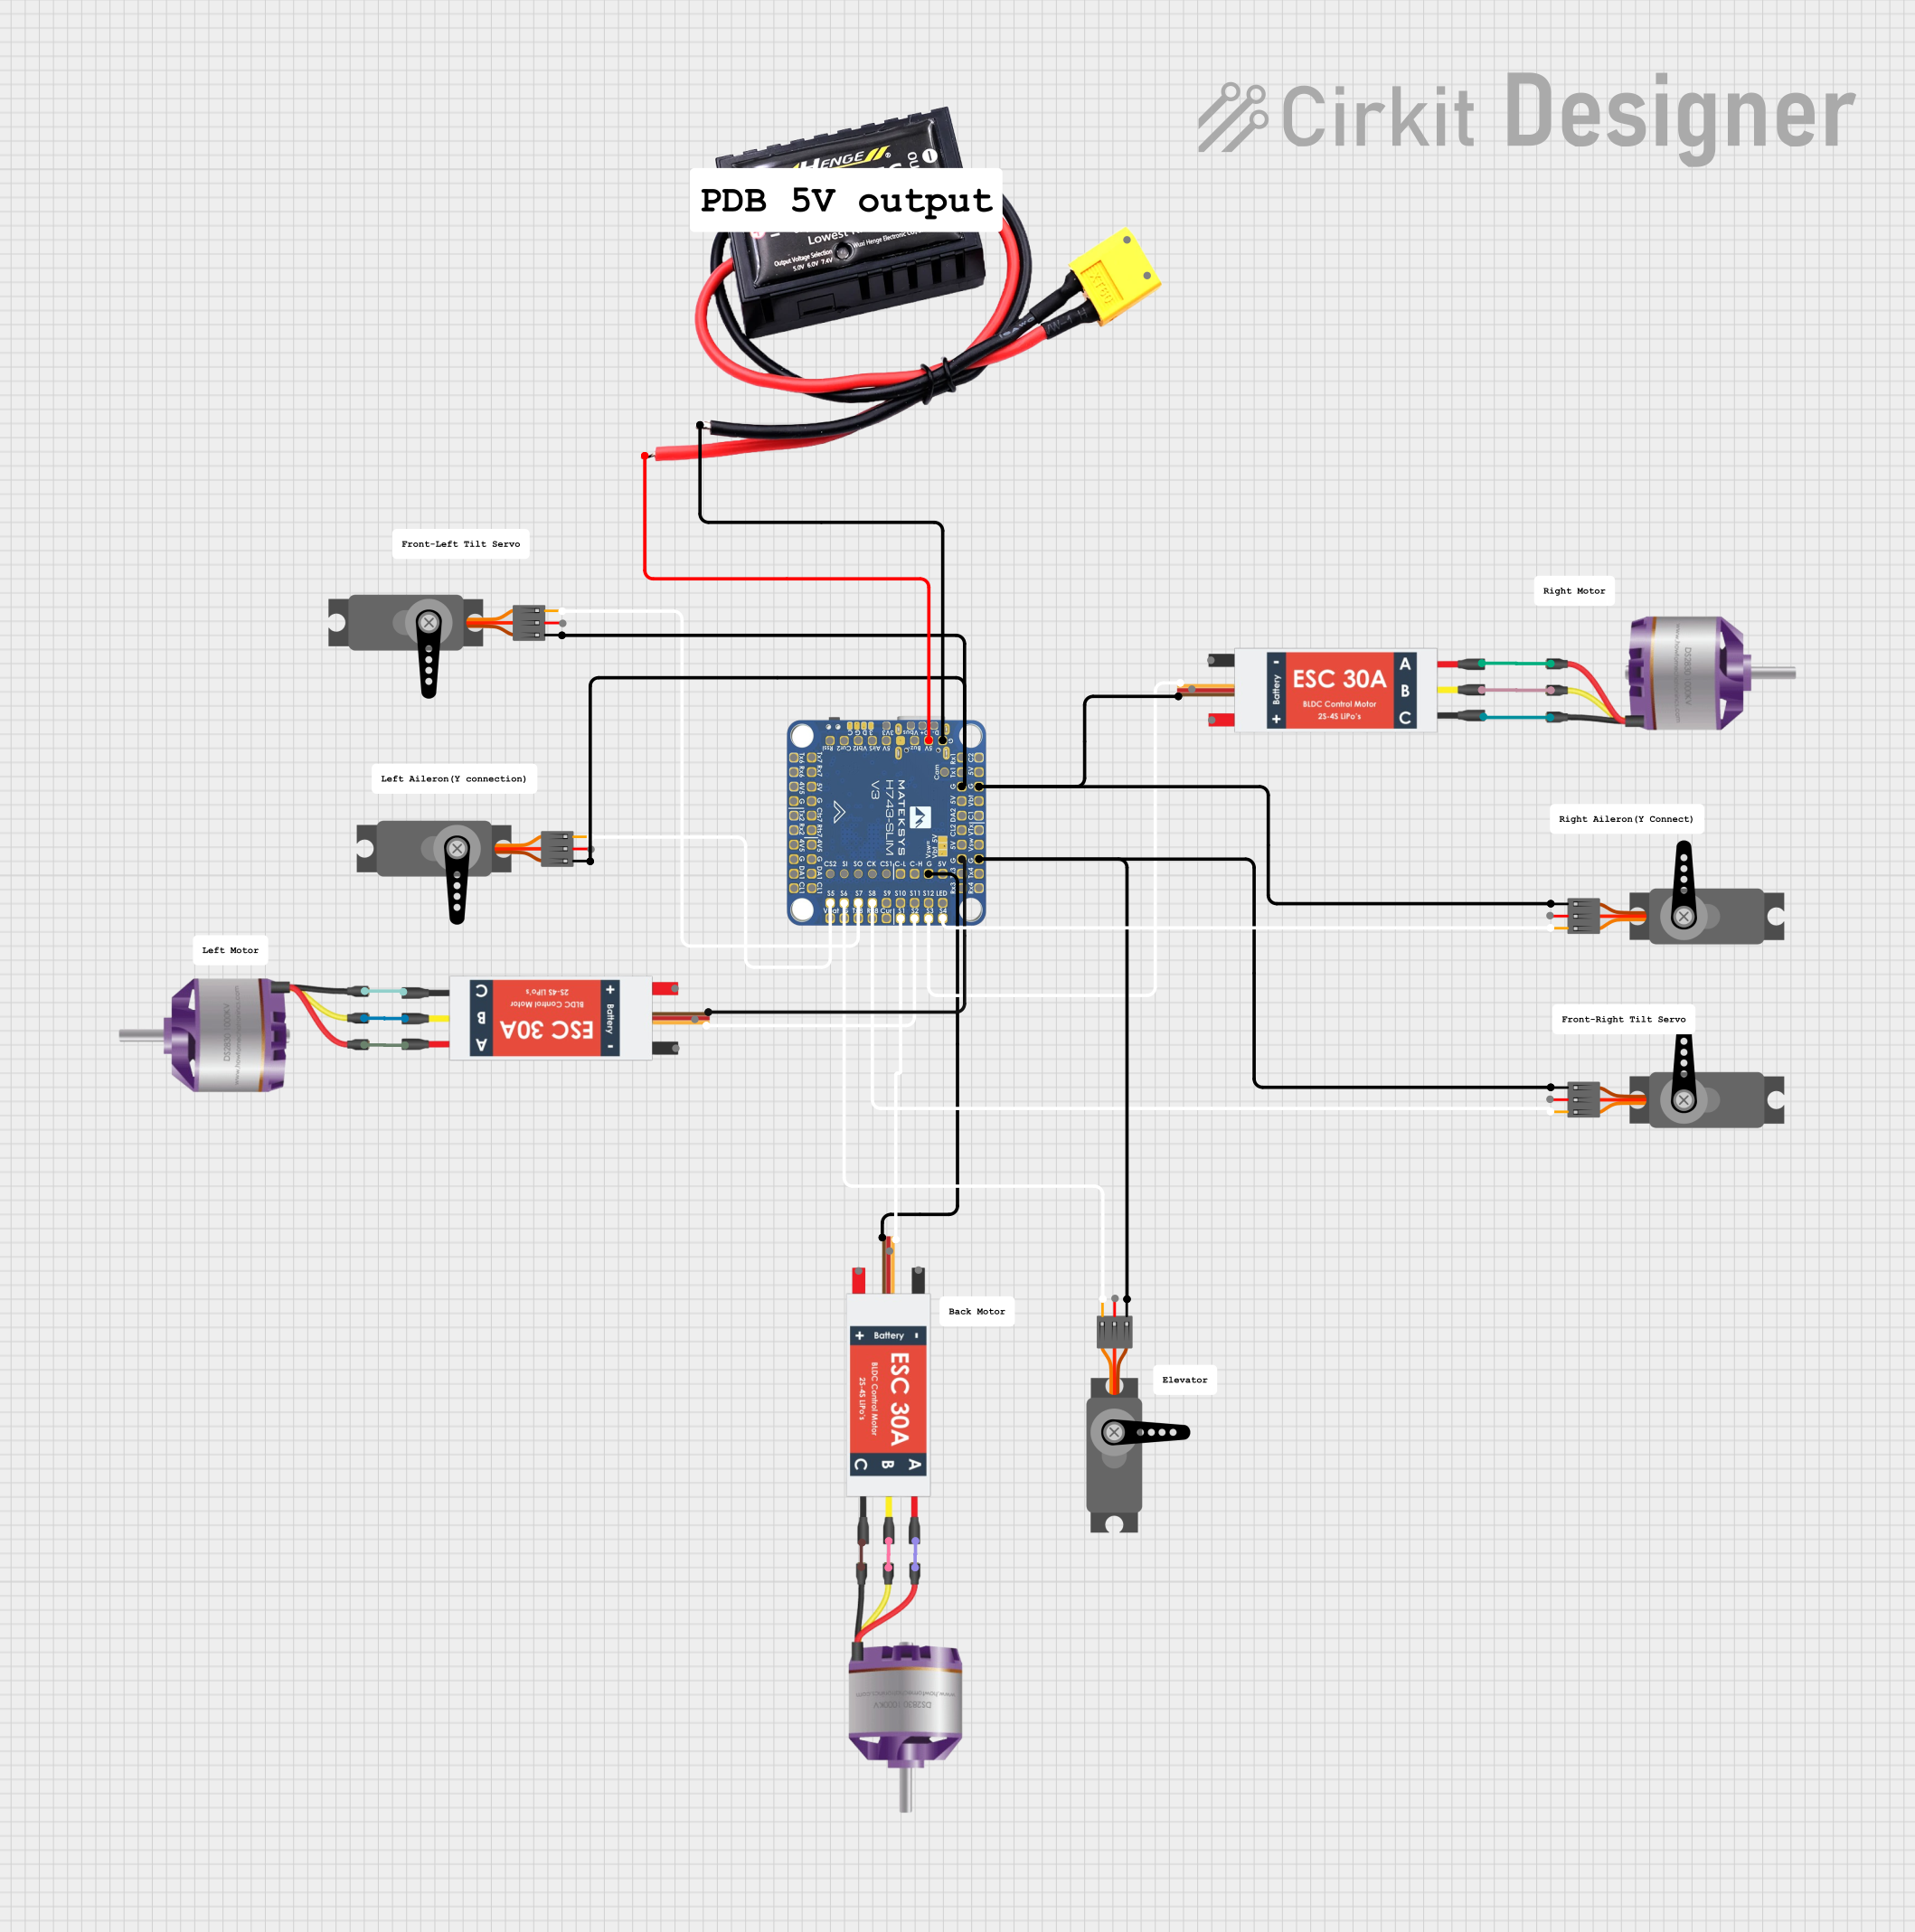
H743-SLIM V3 Controlled Robotic System with Servo and Brushless Motor Integration
Image of T1 Ranger PNP---Matek h743 Slim V3 Wiring Diagram: A project utilizing VHM-314 in a practical application
This circuit is designed to control multiple servos and brushless motors using an H743-SLIM V3 microcontroller. The servos are connected to the microcontroller's PWM pins, while the brushless motors are controlled via Electronic Speed Controllers (ESCs) that are also interfaced with the microcontroller. A 12A UBEC provides the necessary power to the microcontroller and other components.
Cirkit Designer LogoOpen Project in Cirkit Designer

Explore Projects Built with VHM-314

Use Cirkit Designer to design, explore, and prototype these projects online. Some projects support real-time simulation. Click "Open Project" to start designing instantly!
Image of Copy of Smarttt: A project utilizing VHM-314 in a practical application
Bluetooth-Controlled Multi-Function Arduino Nano Gadget
This is a portable, microcontroller-driven interactive device featuring Bluetooth connectivity, visual (RGB LED), auditory (loudspeaker), and haptic (vibration motor) feedback, user input (pushbutton), and a rechargeable power system (TP4056 with Li-ion battery).
Cirkit Designer LogoOpen Project in Cirkit Designer
Image of Blind shoes layer 2: A project utilizing VHM-314 in a practical application
Arduino Nano-Based Haptic Navigation Shoe for the Visually Impaired with Bluetooth Connectivity
This circuit is a haptic navigation system for the visually impaired, utilizing an Arduino Nano to interface with various sensors including a rain sensor, ultrasonic sensor, accelerometer, radar sensor, and Bluetooth module. The system provides feedback through vibration motors and a buzzer, and sends sensor data to a mobile app via Bluetooth for tracking and alerts.
Cirkit Designer LogoOpen Project in Cirkit Designer
Image of spine: A project utilizing VHM-314 in a practical application
Arduino Nano-Based Wearable Gesture Control Interface with Bluetooth Connectivity
This is a battery-powered sensor system with Bluetooth communication, featuring an Arduino Nano for control, an MPU-6050 for motion sensing, and an HC-05 module for wireless data transmission. It includes a vibration motor for haptic feedback, a flex resistor as an additional sensor, and a piezo speaker and LED for alerts or status indication.
Cirkit Designer LogoOpen Project in Cirkit Designer
Image of T1 Ranger PNP---Matek h743 Slim V3 Wiring Diagram: A project utilizing VHM-314 in a practical application
H743-SLIM V3 Controlled Robotic System with Servo and Brushless Motor Integration
This circuit is designed to control multiple servos and brushless motors using an H743-SLIM V3 microcontroller. The servos are connected to the microcontroller's PWM pins, while the brushless motors are controlled via Electronic Speed Controllers (ESCs) that are also interfaced with the microcontroller. A 12A UBEC provides the necessary power to the microcontroller and other components.
Cirkit Designer LogoOpen Project in Cirkit Designer

Technical Specifications

Key Technical Details

  • Input Voltage Range: 4.5V to 28V
  • Output Voltage: 3.3V (fixed)
  • Output Current: Up to 3A (with heat sink)
  • Conversion Efficiency: Up to 92%
  • Switching Frequency: 1.5MHz
  • Operating Temperature: -40°C to +85°C

Pin Configuration and Descriptions

Pin Number Pin Name Description
1 VIN Input voltage (4.5V to 28V)
2 GND Ground
3 VOUT Regulated output voltage (3.3V)

Usage Instructions

How to Use the VHM-314 in a Circuit

  1. Connecting Power: Connect the input voltage (4.5V to 28V) to the VIN pin and ground to the GND pin.
  2. Output Voltage: Connect your load to the VOUT pin and ground. Ensure that the load does not exceed the maximum output current rating.
  3. Heat Management: For currents above 1A, it is recommended to attach a heat sink to the module to dissipate heat and prevent overheating.

Important Considerations and Best Practices

  • Always verify input voltage before connecting to the module to avoid damage.
  • Do not exceed the maximum input voltage and output current specifications.
  • Use decoupling capacitors close to the power input and output if your application is sensitive to power supply noise.
  • Ensure proper ventilation and heat sinking if operating near the maximum current rating for extended periods.

Troubleshooting and FAQs

Common Issues and Solutions

  • Output voltage is unstable or too low: Check if the input voltage is within the specified range and if the load is not drawing more current than the module can provide.
  • Module is overheating: Ensure that the current draw is within limits and that a heat sink is properly installed if necessary.

FAQs

Q: Can I adjust the output voltage of the VHM-314? A: No, the VHM-314 provides a fixed 3.3V output.

Q: Is it possible to use the VHM-314 with an Arduino UNO? A: Yes, the VHM-314 can be used to power an Arduino UNO or any other 3.3V logic level device.

Q: What is the maximum input voltage for the VHM-314? A: The maximum input voltage is 28V. Exceeding this voltage may damage the module.

Example Arduino UNO Connection

// Example code to demonstrate how to power an Arduino UNO with the VHM-314

void setup() {
  // Initialize the serial communication at 9600 baud rate
  Serial.begin(9600);
}

void loop() {
  // Send a message to the Serial Monitor
  Serial.println("Arduino UNO is powered by VHM-314");
  delay(1000); // Wait for 1 second
}

// Note: Connect the VHM-314 VOUT pin to the Arduino UNO 3.3V pin,
// GND to GND, and VIN to a 4.5V to 28V power source.

Remember to ensure that the VHM-314's output current is sufficient for your Arduino UNO and any other connected components.