How to Use pia horn: Examples, Pinouts, and Specs
Introduction
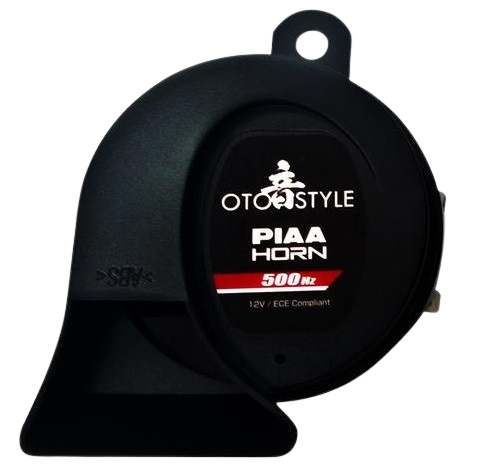
The PIA horn is a type of loudspeaker designed to produce high-decibel sound, making it ideal for signaling or alerting purposes. It is widely used in vehicles (e.g., cars, trucks, and motorcycles), alarm systems, and public address systems. Its robust design and ability to generate loud, attention-grabbing sounds make it a reliable choice for both industrial and consumer applications.
Explore Projects Built with pia horn
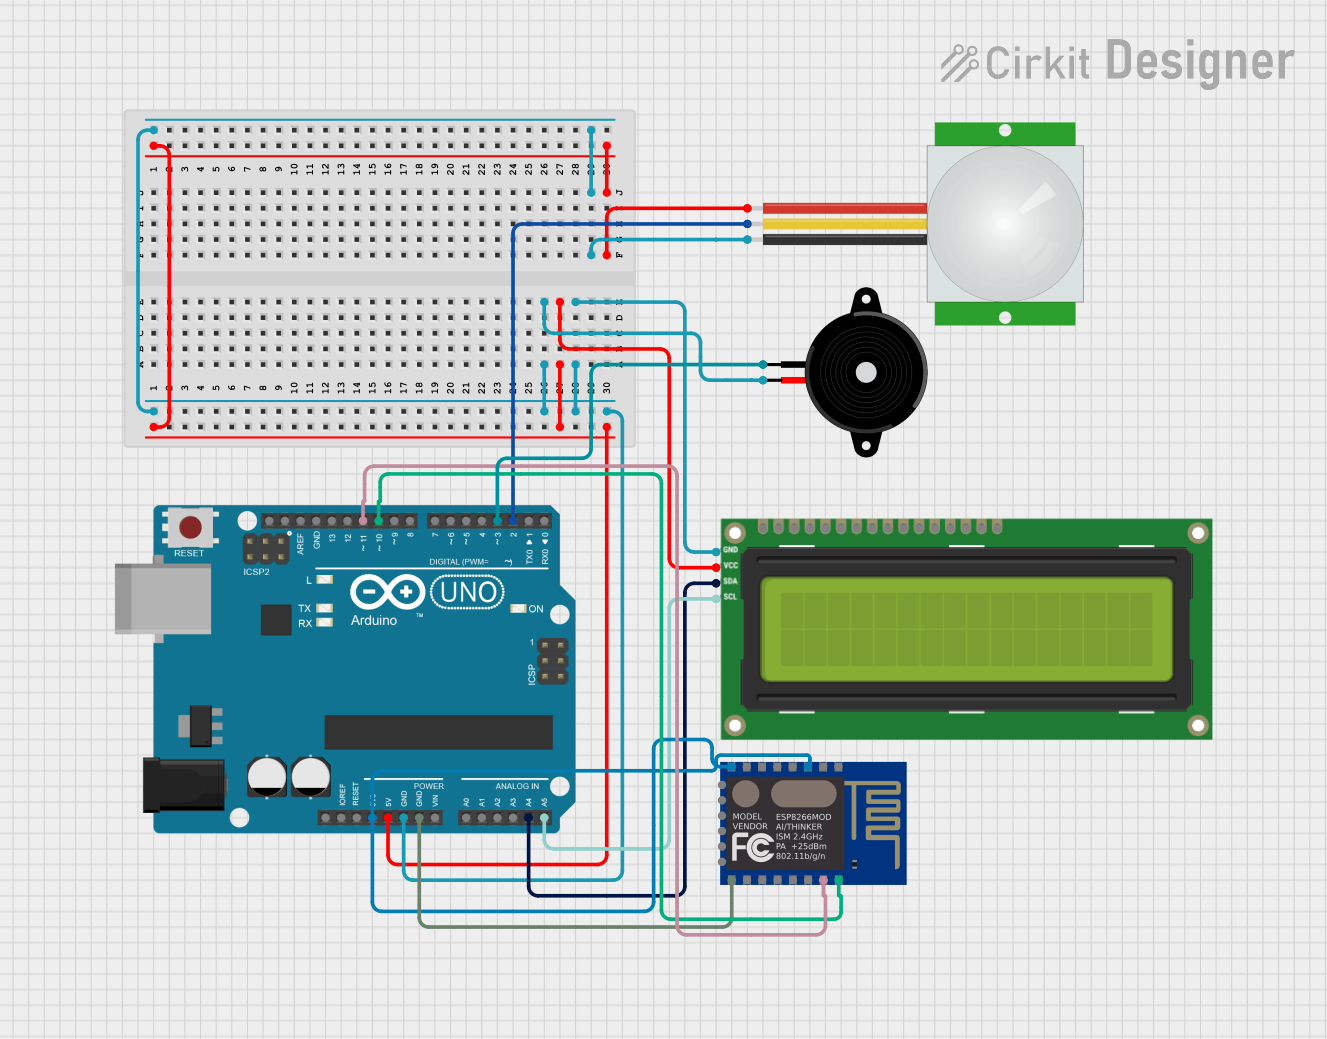

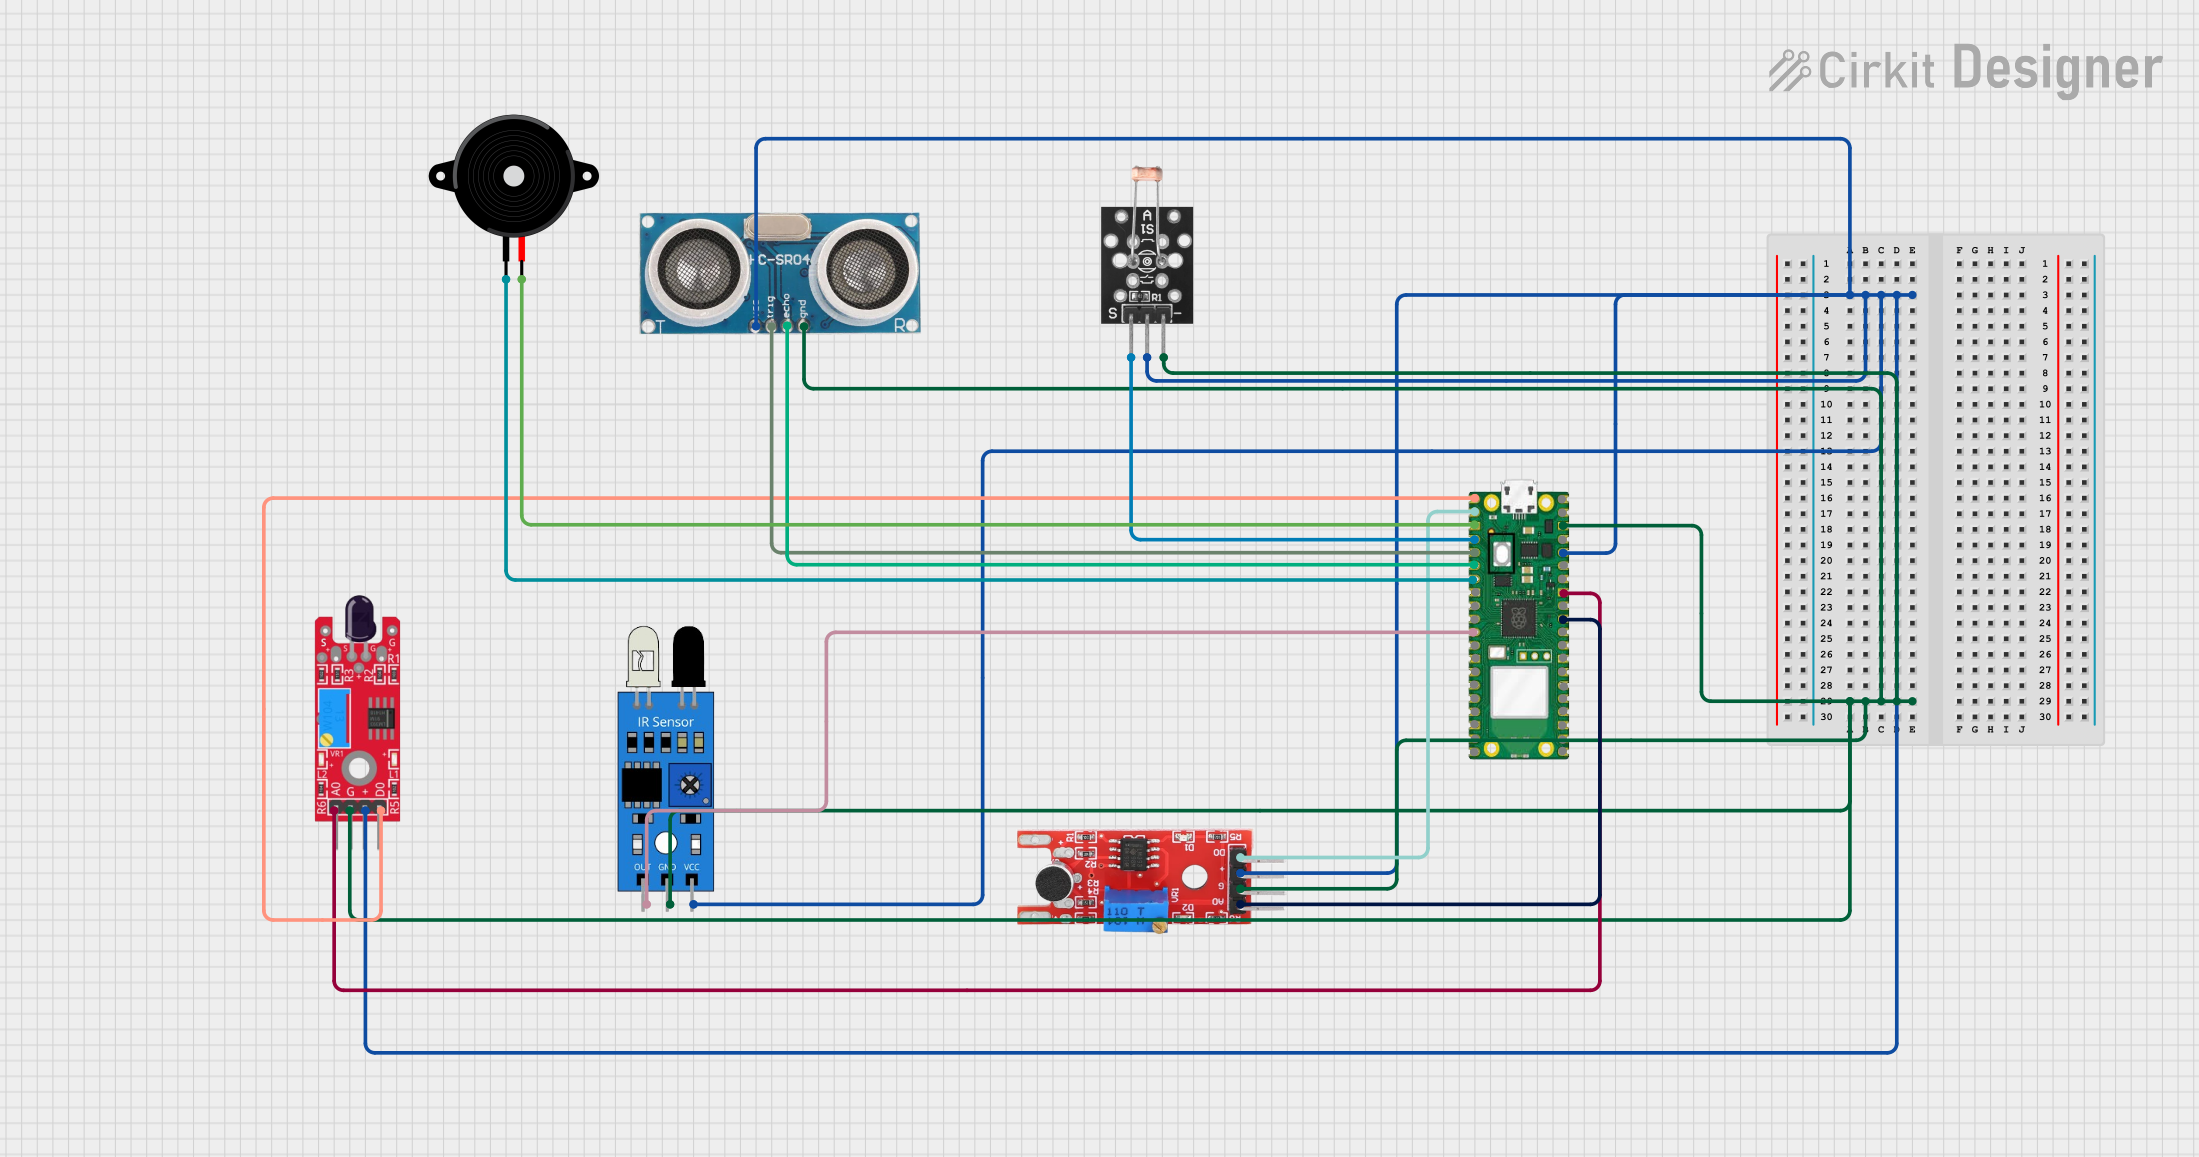
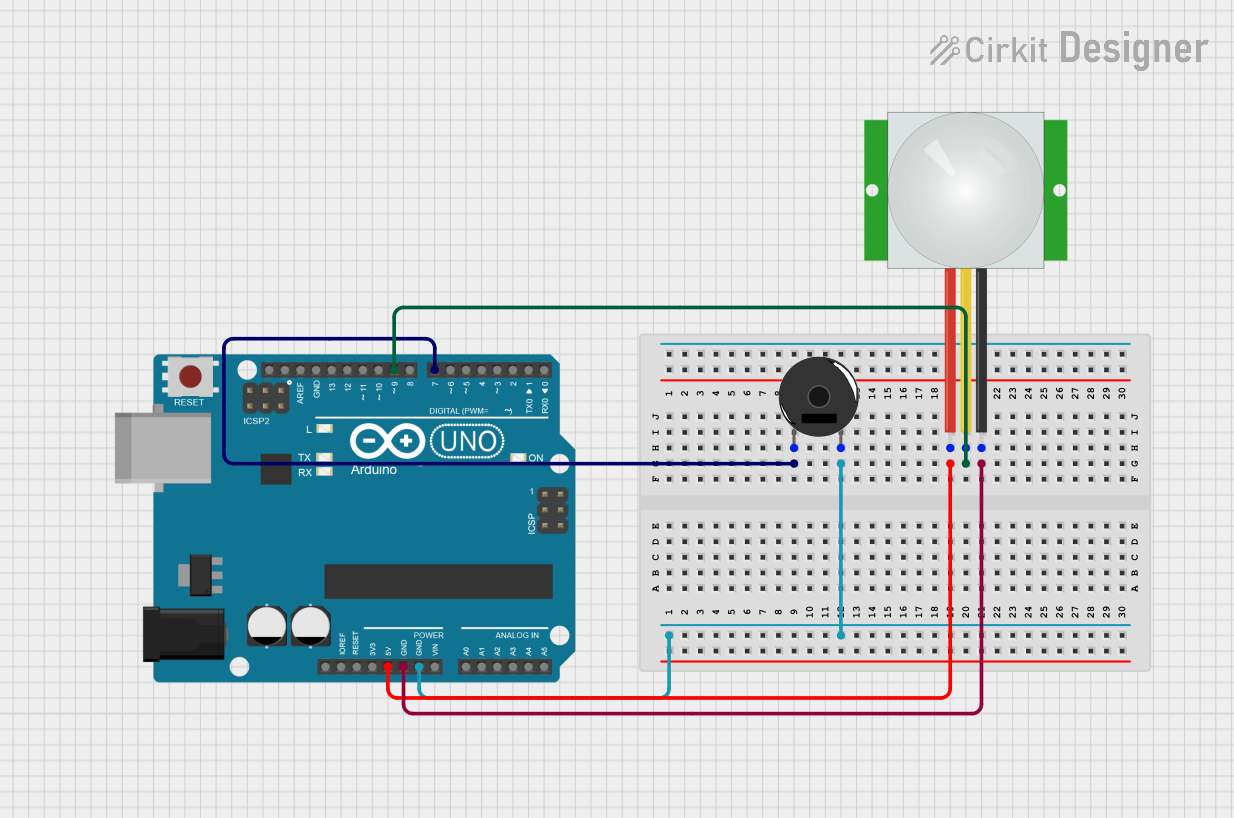
Explore Projects Built with pia horn
Common Applications:
- Vehicle horns for signaling
- Alarm systems in buildings or industrial setups
- Public address systems for announcements
- Emergency alert systems
Technical Specifications
Below are the key technical details of a typical PIA horn. Note that specifications may vary slightly depending on the manufacturer.
| Parameter | Value |
|---|---|
| Operating Voltage | 12V DC (common for vehicles) |
| Current Consumption | 3A to 5A |
| Sound Output Level | 110 dB to 130 dB (at 1 meter) |
| Frequency Range | 400 Hz to 500 Hz (typical) |
| Material | Metal or ABS plastic |
| Operating Temperature | -20°C to 70°C |
| Dimensions | Varies (e.g., 90mm diameter) |
| Weight | ~300g to 500g |
Pin Configuration and Descriptions
PIA horns typically have two terminals for electrical connections:
| Pin | Description |
|---|---|
| Positive (+) | Connects to the positive terminal of the power source (e.g., 12V battery). |
| Negative (-) | Connects to the ground or negative terminal of the power source. |
Usage Instructions
How to Use the PIA Horn in a Circuit
- Power Source: Ensure the power source matches the operating voltage of the horn (e.g., 12V DC). Using a voltage higher than the rated value can damage the horn.
- Wiring:
- Connect the positive terminal of the horn to the positive terminal of the power source.
- Connect the negative terminal of the horn to the ground or negative terminal of the power source.
- Switch Control: To control the horn, use a momentary push-button switch or relay in series with the positive terminal. This allows the horn to sound only when the switch is pressed.
- Fuse Protection: Add an inline fuse (e.g., 5A) to protect the circuit from overcurrent.
Example: Connecting a PIA Horn to an Arduino UNO
You can control a PIA horn using an Arduino UNO and a relay module. Below is an example circuit and code:
Circuit Diagram:
- Connect the relay module's input pin to an Arduino digital pin (e.g., pin 7).
- Connect the relay's output terminals to the PIA horn and power source as described above.
Arduino Code:
// PIA Horn Control with Arduino UNO
// This code activates the PIA horn for 1 second when triggered.

const int relayPin = 7; // Pin connected to the relay module

void setup() {
  pinMode(relayPin, OUTPUT); // Set relay pin as output
  digitalWrite(relayPin, LOW); // Ensure relay is off initially
}

void loop() {
  digitalWrite(relayPin, HIGH); // Turn on the relay (activate horn)
  delay(1000); // Keep horn on for 1 second
  digitalWrite(relayPin, LOW); // Turn off the relay (deactivate horn)
  delay(5000); // Wait for 5 seconds before repeating
}
Important Considerations:
- Polarity: Ensure correct polarity when connecting the horn to the power source.
- Current Rating: Verify that the power source and wiring can handle the horn's current draw (3A to 5A).
- Mounting: Securely mount the horn to avoid vibrations or damage during operation.
- Environmental Conditions: Use a horn rated for outdoor use if it will be exposed to weather.
Troubleshooting and FAQs
Common Issues and Solutions:
Horn Does Not Sound:
- Check the power source voltage and ensure it matches the horn's operating voltage.
- Verify all connections, especially the positive and ground terminals.
- Inspect the fuse (if used) and replace it if blown.
Horn Sounds Weak or Distorted:
- Ensure the power source can supply sufficient current (3A to 5A).
- Check for loose or corroded connections.
- Inspect the horn for physical damage or debris blocking the sound output.
Horn Stays On Continuously:
- If using a relay, ensure the control signal from the Arduino or switch is functioning correctly.
- Check for a stuck or faulty switch.
FAQs:
Q: Can I use a PIA horn with a 24V system?
A: No, most PIA horns are designed for 12V systems. Using a 24V system may damage the horn. Look for a horn specifically rated for 24V if needed.
Q: Is it safe to use the horn outdoors?
A: Many PIA horns are weather-resistant, but confirm the specific model's IP rating to ensure suitability for outdoor use.
Q: Can I adjust the sound level of the horn?
A: No, the sound level of a PIA horn is fixed and cannot be adjusted. However, you can control the duration of the sound using a switch or microcontroller.
By following this documentation, you can effectively integrate and troubleshoot a PIA horn in your projects.