
How to Use AC source: Examples, Pinouts, and Specs
 Design with AC source in Cirkit Designer
Introduction
An AC source is an electronic component or device that provides alternating current (AC), a type of electrical current that periodically reverses direction. AC sources are widely used in power distribution systems, household electrical outlets, and various electronic devices. The alternating nature of the current makes it suitable for efficient power transmission over long distances.
Explore Projects Built with AC source
 Open Project in Cirkit Designer
 Open Project in Cirkit Designer
 Open Project in Cirkit Designer
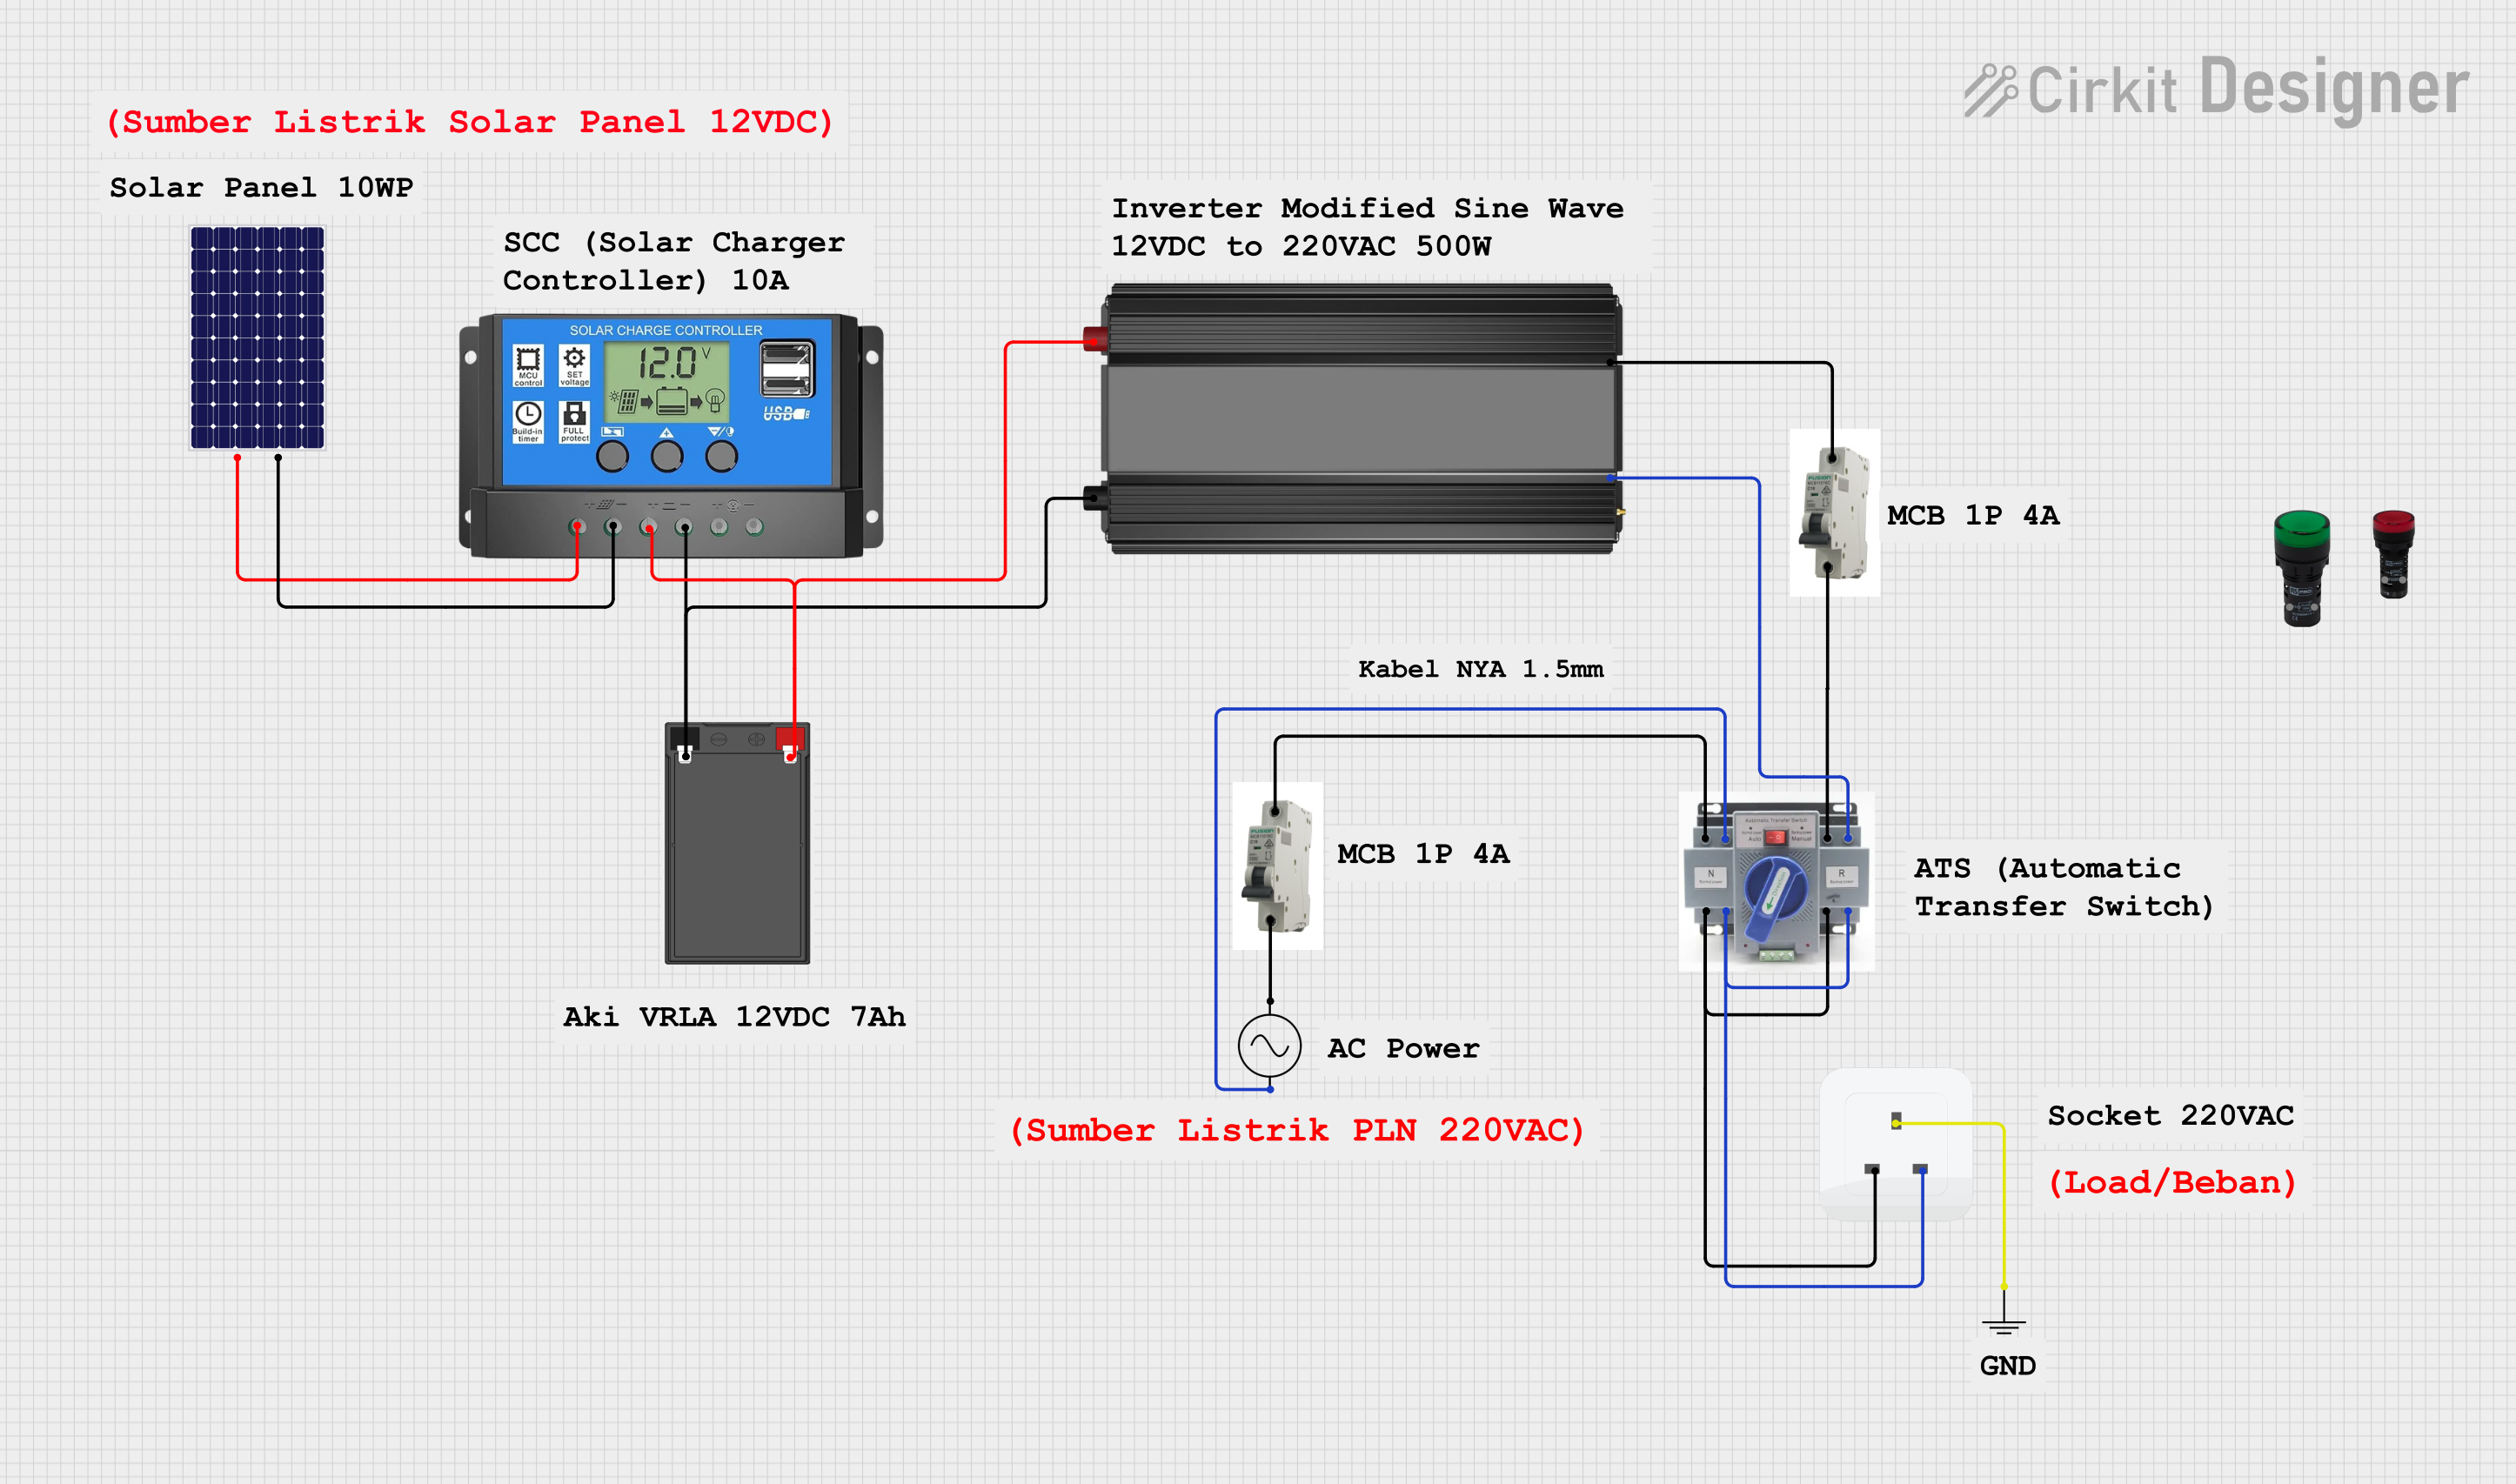 Open Project in Cirkit Designer
Explore Projects Built with AC source
Open Project in Cirkit DesignerOpen Project in Cirkit DesignerOpen Project in Cirkit DesignerOpen Project in Cirkit DesignerCommon Applications and Use Cases
- Powering household appliances and electronic devices
- Supplying energy to industrial machinery
- Testing and calibrating AC-powered equipment in laboratories
- Driving transformers for voltage step-up or step-down applications
- Providing input power for rectifiers in DC power supplies
Technical Specifications
The specifications of an AC source can vary depending on its design and intended application. Below are typical parameters for a general-purpose AC source:
| Parameter | Specification |
|---|---|
| Input Voltage Range | 100V - 240V AC (50/60 Hz) |
| Output Voltage Range | 0V - 300V AC (adjustable in some models) |
| Output Frequency | 50 Hz or 60 Hz (standard) |
| Maximum Output Current | 1A - 20A (depending on the model) |
| Power Rating | 100W - 5kW |
| Waveform Type | Sine wave (standard), square wave (optional) |
| Efficiency | 85% - 95% |
| Protection Features | Overload, overvoltage, and short-circuit protection |
Pin Configuration and Descriptions
For an AC source with a standard output terminal configuration:
| Pin/Terminal | Description |
|---|---|
| Line (L) | Live wire carrying the AC voltage |
| Neutral (N) | Neutral wire completing the circuit |
| Ground (G) | Safety ground connection to prevent shocks |
Usage Instructions
How to Use the Component in a Circuit
Connect the AC Source to the Load:
- Identify the live (L), neutral (N), and ground (G) terminals on the AC source.
- Connect the live and neutral terminals to the corresponding input terminals of the load.
- Ensure the ground terminal is properly connected to the earth ground for safety.
Set the Output Voltage and Frequency (if adjustable):
- Use the control knobs or digital interface (if available) to set the desired output voltage and frequency.
- Verify the settings using a multimeter or oscilloscope before powering the load.
Power On the AC Source:
- Turn on the AC source and monitor the output to ensure it matches the desired parameters.
- Gradually increase the load to avoid sudden surges.
Important Considerations and Best Practices
- Safety First: Always ensure the AC source is properly grounded to prevent electrical shocks.
- Load Compatibility: Verify that the load is rated for the voltage and frequency provided by the AC source.
- Avoid Overloading: Do not exceed the maximum current or power rating of the AC source.
- Use Fuses or Circuit Breakers: Protect the circuit with appropriate fuses or breakers to prevent damage in case of faults.
- Testing with Arduino or Microcontrollers: If using the AC source to power circuits involving microcontrollers like Arduino, ensure proper isolation using transformers or optocouplers to avoid damage to sensitive components.
Example: Using an AC Source with an Arduino UNO
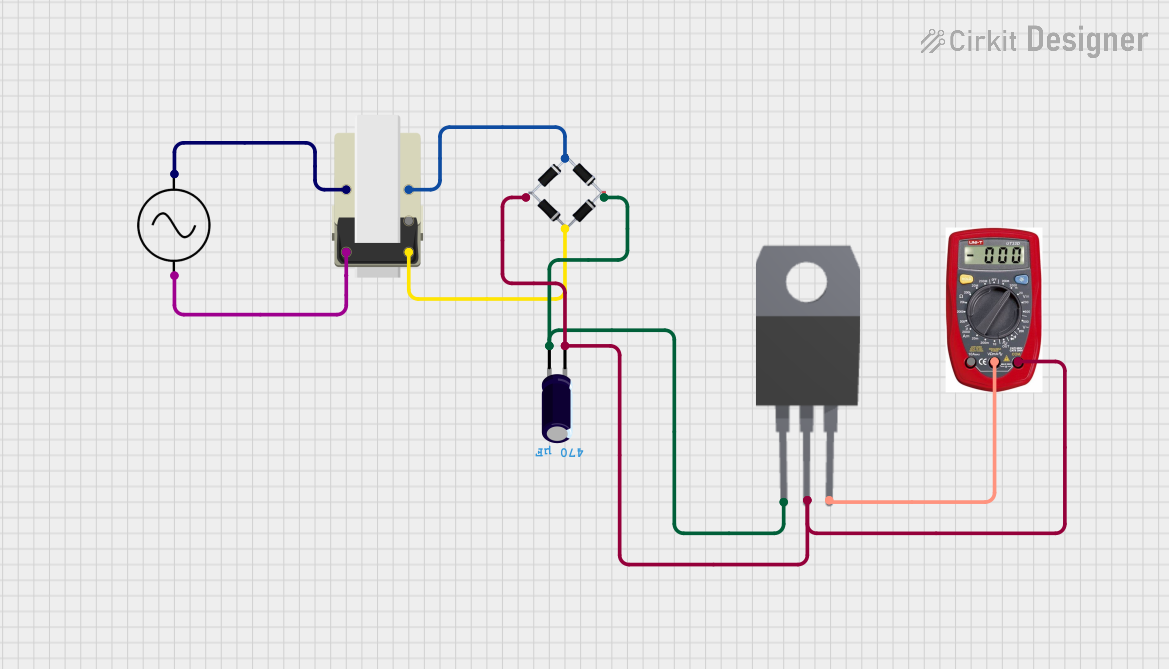
When working with an AC source and an Arduino UNO, you can use a step-down transformer and a rectifier circuit to convert AC to DC. Below is an example code snippet for reading the rectified AC voltage using the Arduino's analog input:
// Example code to read rectified AC voltage using Arduino UNO
const int analogPin = A0; // Analog pin connected to the rectified AC voltage
float voltage = 0.0;      // Variable to store the measured voltage

void setup() {
  Serial.begin(9600); // Initialize serial communication
}

void loop() {
  int sensorValue = analogRead(analogPin); // Read the analog input
  voltage = (sensorValue * 5.0) / 1023.0;  // Convert to voltage (assuming 5V reference)

  // Print the voltage to the Serial Monitor
  Serial.print("Measured Voltage: ");
  Serial.print(voltage);
  Serial.println(" V");

  delay(1000); // Wait for 1 second before the next reading
}
Note: Ensure proper isolation between the AC source and the Arduino circuit to avoid damage or safety hazards.
Troubleshooting and FAQs
Common Issues Users Might Face
No Output Voltage:
- Cause: The AC source may not be powered on or the output terminals may not be connected properly.
- Solution: Check the power switch, input connections, and ensure the output terminals are securely connected.
Overheating of the AC Source:
- Cause: The load may be drawing more current than the source's maximum rating.
- Solution: Reduce the load or use an AC source with a higher power rating.
Fluctuating Output Voltage:
- Cause: The input voltage to the AC source may be unstable or the load may be causing interference.
- Solution: Use a voltage stabilizer or ensure the load is compatible with the AC source.
Electrical Noise or Interference:
- Cause: Poor grounding or improper shielding of the AC source.
- Solution: Ensure proper grounding and use shielded cables if necessary.
Solutions and Tips for Troubleshooting
- Always use a multimeter or oscilloscope to verify the output voltage and frequency.
- Check for loose connections or damaged cables.
- If the AC source has adjustable settings, ensure they are configured correctly for the application.
- Refer to the manufacturer's manual for specific troubleshooting steps and maintenance guidelines.
By following these instructions and best practices, you can safely and effectively use an AC source in your projects and applications.