
How to Use 3.7V Battery: Examples, Pinouts, and Specs
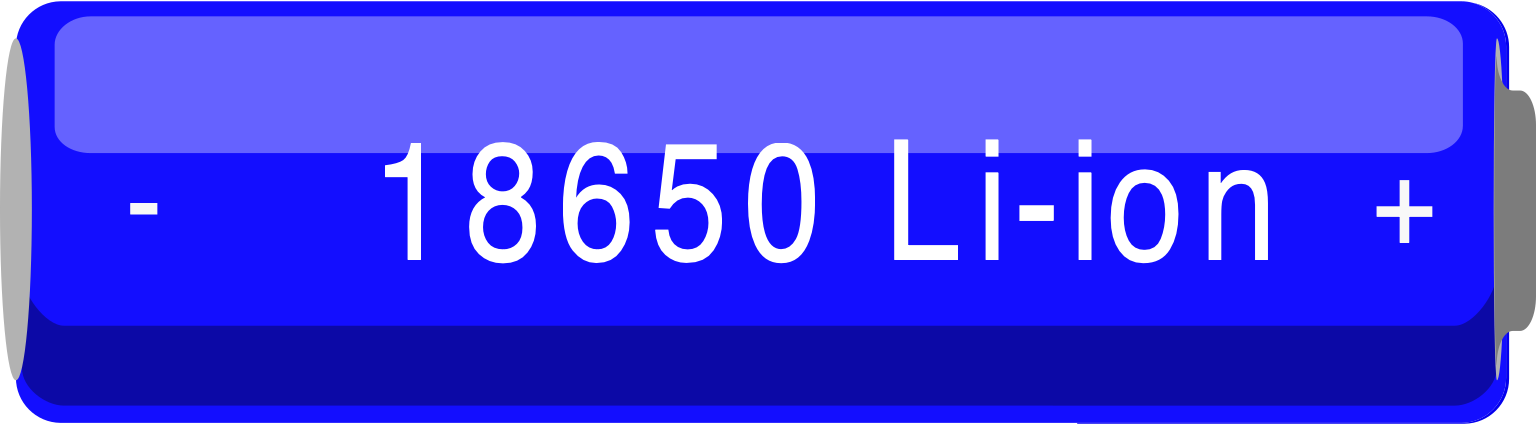
 Design with 3.7V Battery in Cirkit Designer
Introduction
The 3.7V battery is a rechargeable lithium-ion battery widely used in portable electronic devices such as smartphones, tablets, wearables, and DIY electronics projects. It provides a nominal voltage of 3.7 volts and is known for its high energy density, lightweight design, and long cycle life. These batteries are available in various capacities, making them suitable for applications requiring compact and efficient power sources.
Common applications include:
- Powering portable devices like Bluetooth speakers, cameras, and drones.
- DIY electronics projects, including Arduino-based systems.
- Backup power for small embedded systems.
- Energy storage in small solar-powered devices.
Explore Projects Built with 3.7V Battery
 Open Project in Cirkit Designer
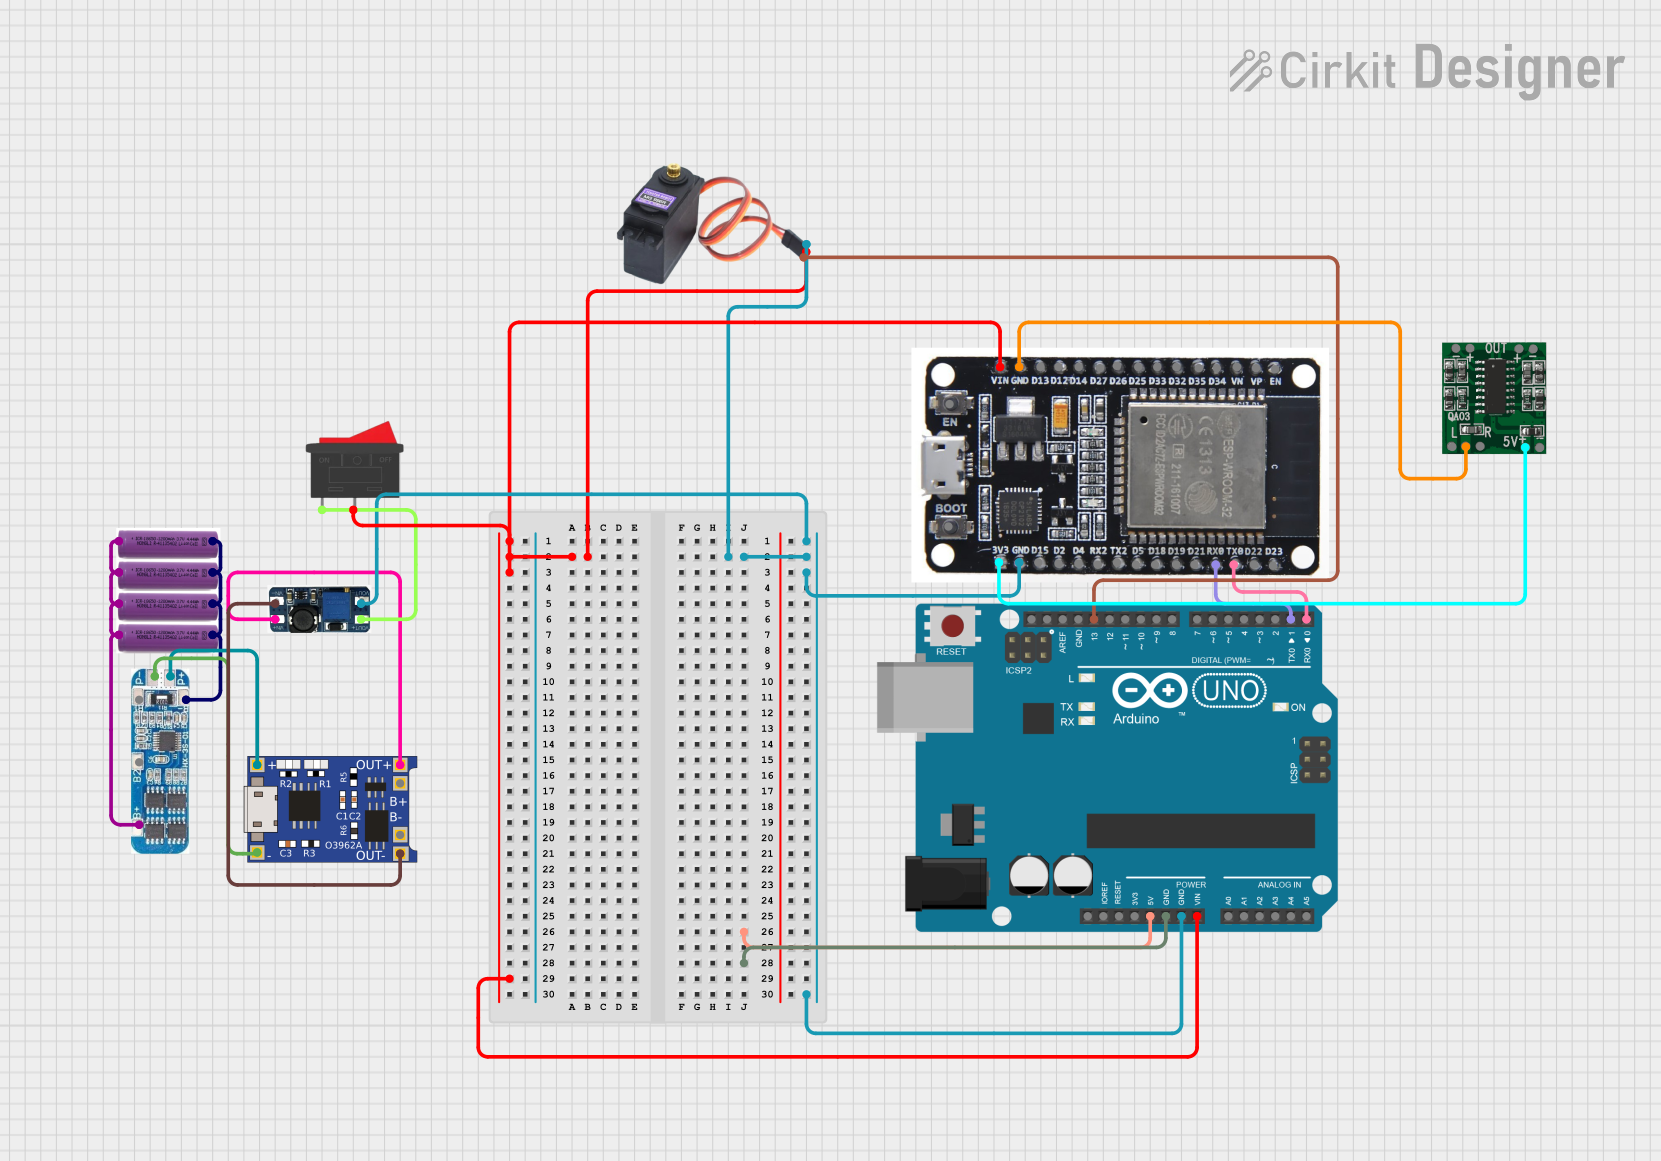 Open Project in Cirkit Designer
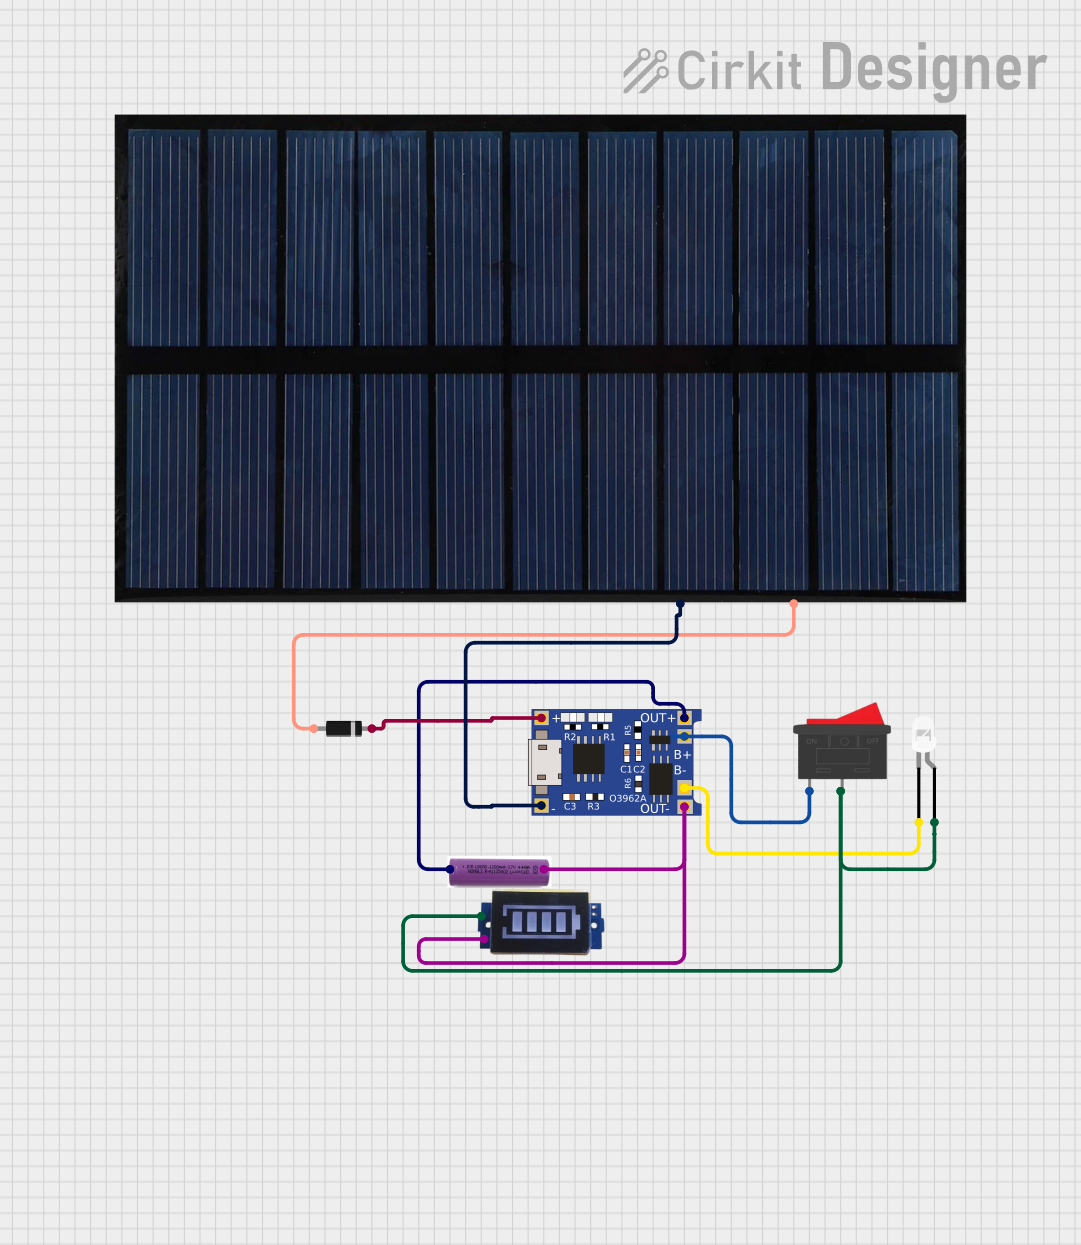 Open Project in Cirkit Designer
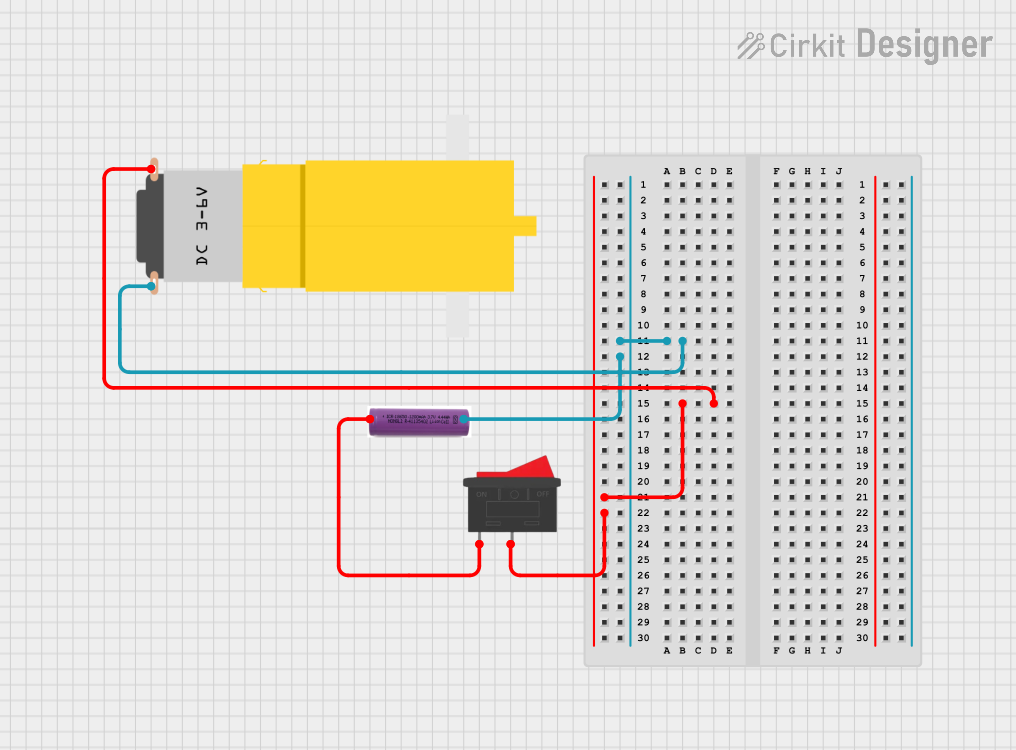 Open Project in Cirkit Designer
Explore Projects Built with 3.7V Battery
Open Project in Cirkit DesignerOpen Project in Cirkit DesignerOpen Project in Cirkit DesignerOpen Project in Cirkit DesignerTechnical Specifications
Below are the key technical details of a typical 3.7V lithium-ion battery:
| Parameter | Value |
|---|---|
| Nominal Voltage | 3.7V |
| Fully Charged Voltage | 4.2V |
| Discharge Cutoff Voltage | 2.5V - 3.0V (varies by model) |
| Capacity Range | 500mAh to 5000mAh (varies by size) |
| Chemistry | Lithium-Ion |
| Charging Current | Typically 0.5C to 1C |
| Maximum Discharge Rate | Typically 1C to 3C |
| Operating Temperature | -20°C to 60°C |
| Cycle Life | 300 to 500 cycles (typical) |
Pin Configuration and Descriptions
Most 3.7V batteries have two terminals: positive (+) and negative (-). Some batteries may include additional pins for protection circuitry or temperature monitoring.
| Pin Name | Description |
|---|---|
| Positive (+) | The positive terminal of the battery. Connect to the positive side of the load or charging circuit. |
| Negative (-) | The negative terminal of the battery. Connect to the ground or negative side of the load or charging circuit. |
| (Optional) Protection Circuit | Some batteries include built-in protection circuits to prevent overcharging, over-discharging, and short circuits. |
Usage Instructions
How to Use the 3.7V Battery in a Circuit
Connecting the Battery:
- Identify the positive (+) and negative (-) terminals of the battery.
- Connect the positive terminal to the positive input of your circuit or load.
- Connect the negative terminal to the ground or negative input of your circuit.
Charging the Battery:
- Use a dedicated lithium-ion battery charger with a constant current/constant voltage (CC/CV) charging profile.
- Ensure the charging voltage does not exceed 4.2V.
- Set the charging current to a value between 0.5C and 1C of the battery's capacity. For example, for a 1000mAh battery, the charging current should be between 500mA and 1000mA.
Discharging the Battery:
- Avoid discharging the battery below its cutoff voltage (typically 2.5V to 3.0V) to prevent damage.
- Use a load that does not exceed the battery's maximum discharge rate.
Protection Circuit:
- If the battery does not have built-in protection, consider adding an external protection circuit to safeguard against overcharging, over-discharging, and short circuits.
Important Considerations and Best Practices
- Safety: Never short-circuit the battery terminals, puncture, or expose the battery to fire or water.
- Storage: Store the battery in a cool, dry place at a charge level of around 40%-60% for long-term storage.
- Temperature: Avoid charging or discharging the battery outside its recommended temperature range.
- Arduino Integration: When using the battery with an Arduino UNO, ensure the voltage is regulated to 5V or 3.3V using a voltage regulator or a DC-DC converter.
Example: Using a 3.7V Battery with an Arduino UNO
To power an Arduino UNO with a 3.7V battery, you can use a DC-DC boost converter to step up the voltage to 5V. Below is an example circuit and code:
Circuit:
- Connect the positive terminal of the battery to the input (+) of the DC-DC boost converter.
- Connect the negative terminal of the battery to the input (-) of the DC-DC boost converter.
- Connect the output (+) of the boost converter to the Arduino's VIN pin.
- Connect the output (-) of the boost converter to the Arduino's GND pin.
Code:
// Example code to blink an LED on pin 13 of the Arduino UNO
// Ensure the Arduino is powered via the 3.7V battery and boost converter

void setup() {
  pinMode(13, OUTPUT); // Set pin 13 as an output
}

void loop() {
  digitalWrite(13, HIGH); // Turn the LED on
  delay(1000);            // Wait for 1 second
  digitalWrite(13, LOW);  // Turn the LED off
  delay(1000);            // Wait for 1 second
}
Troubleshooting and FAQs
Common Issues
Battery Not Charging:
- Cause: Charger not compatible or faulty.
- Solution: Use a charger designed for lithium-ion batteries with a CC/CV profile.
Battery Drains Quickly:
- Cause: Overloading the battery or using a degraded battery.
- Solution: Check the load current and ensure it is within the battery's discharge rating. Replace the battery if it has reached the end of its cycle life.
Battery Overheats:
- Cause: Overcharging, over-discharging, or short circuit.
- Solution: Use a battery with built-in protection or add an external protection circuit.
Arduino Not Powering On:
- Cause: Insufficient voltage or incorrect connections.
- Solution: Verify the output voltage of the DC-DC boost converter and check all connections.
FAQs
Q: Can I connect a 3.7V battery directly to an Arduino UNO?
A: No, the Arduino UNO requires a voltage of 5V (via the 5V pin) or 7-12V (via the VIN pin). Use a DC-DC boost converter to step up the 3.7V to 5V.
Q: How do I know when the battery is fully charged?
A: A fully charged 3.7V battery will have a voltage of approximately 4.2V.
Q: Can I use a 3.7V battery without a protection circuit?
A: It is not recommended. A protection circuit prevents overcharging, over-discharging, and short circuits, which can damage the battery or cause safety hazards.
Q: How long will my 3.7V battery last?
A: Battery life depends on its capacity (mAh) and the load current. For example, a 1000mAh battery powering a 500mA load will last approximately 2 hours.