The Adafruit 2.9in eInk Under FeatherWing is an electronic paper display module that offers the benefits of low power consumption and high visibility even in bright sunlight. This 2.9-inch display is perfect for applications where a traditional LCD or OLED would consume too much power or be difficult to read. It is particularly well-suited for battery-powered devices, wearable technology, and outdoor applications where readability in sunlight is essential.
Common applications include:
E-readers
Weather stations
Digital signage
Name badges
Low-power time displays
Explore Projects Built with Adafruit 2.9in eInk Under FeatherWing
Use Cirkit Designer to design, explore, and prototype these projects online. Some projects support real-time simulation. Click "Open Project" to start designing instantly!
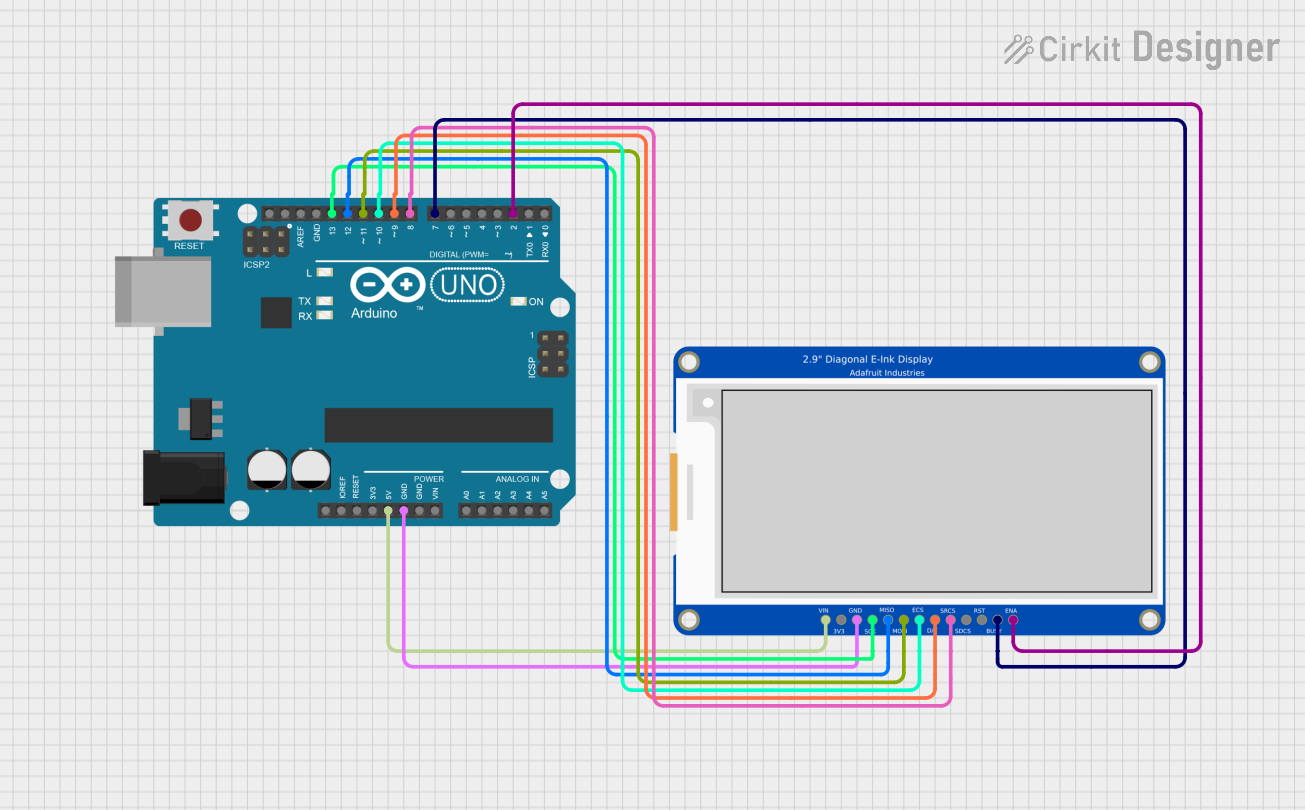
This circuit interfaces an Arduino UNO with a 2.9" Greyscale eInk display, allowing the microcontroller to control the display and render images. The Arduino is programmed to initialize the display, draw a checkerboard pattern, and invert the pattern after a delay, demonstrating the eInk display's ability to hold images without continuous updates.
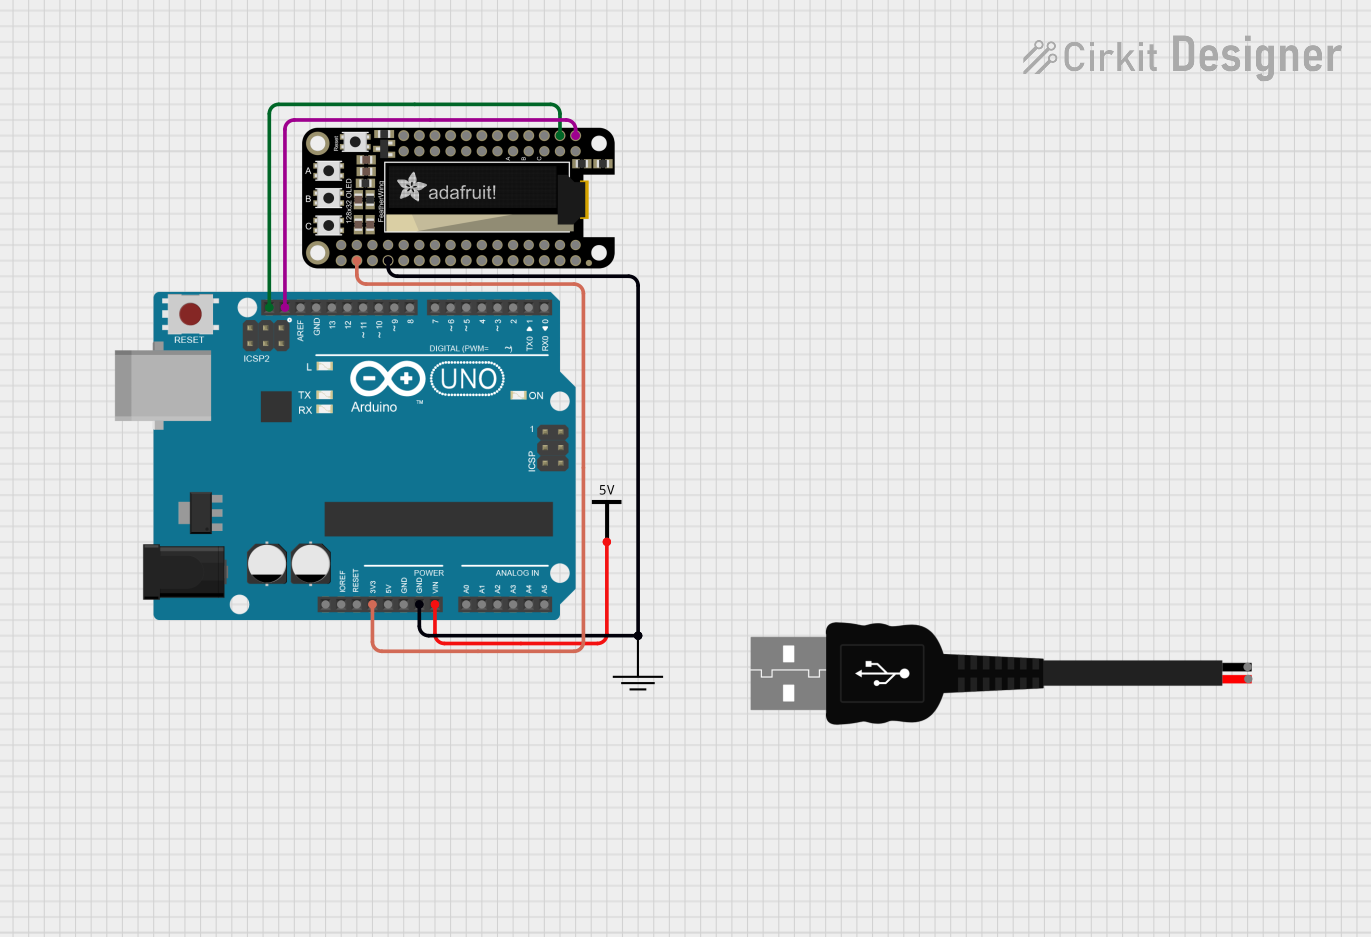
This circuit consists of an Arduino UNO connected to an Adafruit OLED FeatherWing display via I2C communication (SDA and SCL lines). The Arduino is powered through a Vcc source and provides 3.3V and GND connections to the OLED display. The Arduino runs a program to display 'Hello, World!' on the OLED screen.
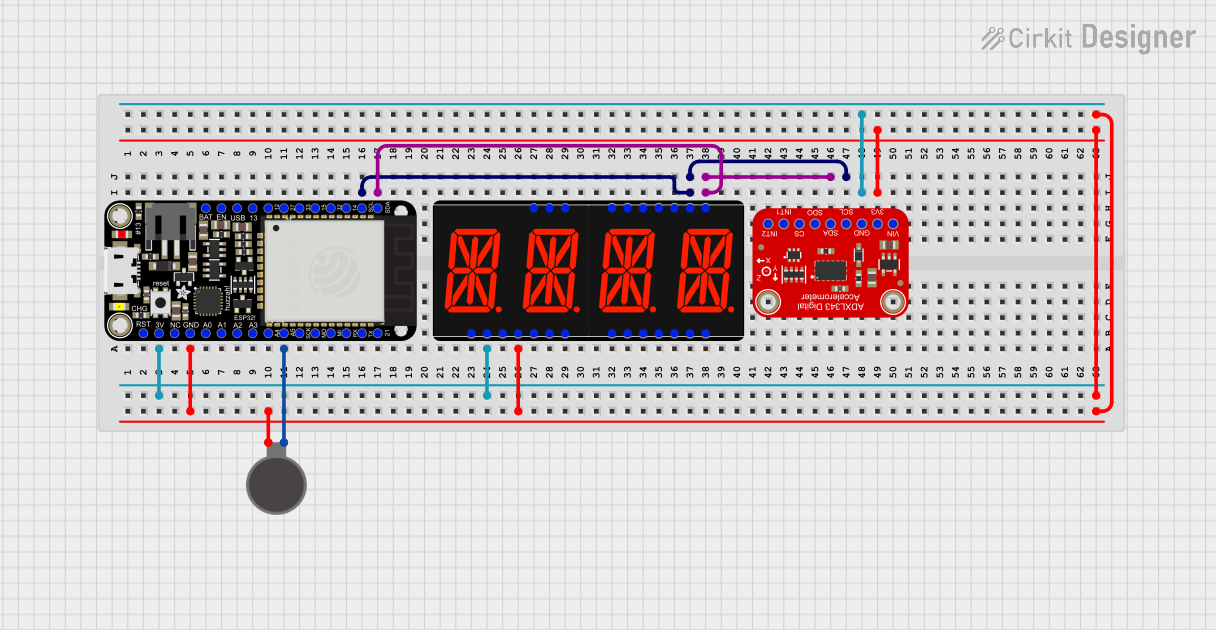
This circuit features an Adafruit HUZZAH32 ESP32 Feather board as the central microcontroller, which is connected to an Adafruit Quad AlphaNumeric Featherwing display and an Adafruit ADXL343 accelerometer via I2C communication (SCL and SDA lines). The ESP32 controls a vibration motor connected to one of its GPIO pins (A5_IO4) and shares a common power supply (3.3V) and ground (GND) with the other components. The purpose of this circuit is likely to read acceleration data, display information on the alphanumeric display, and provide haptic feedback through the vibration motor.
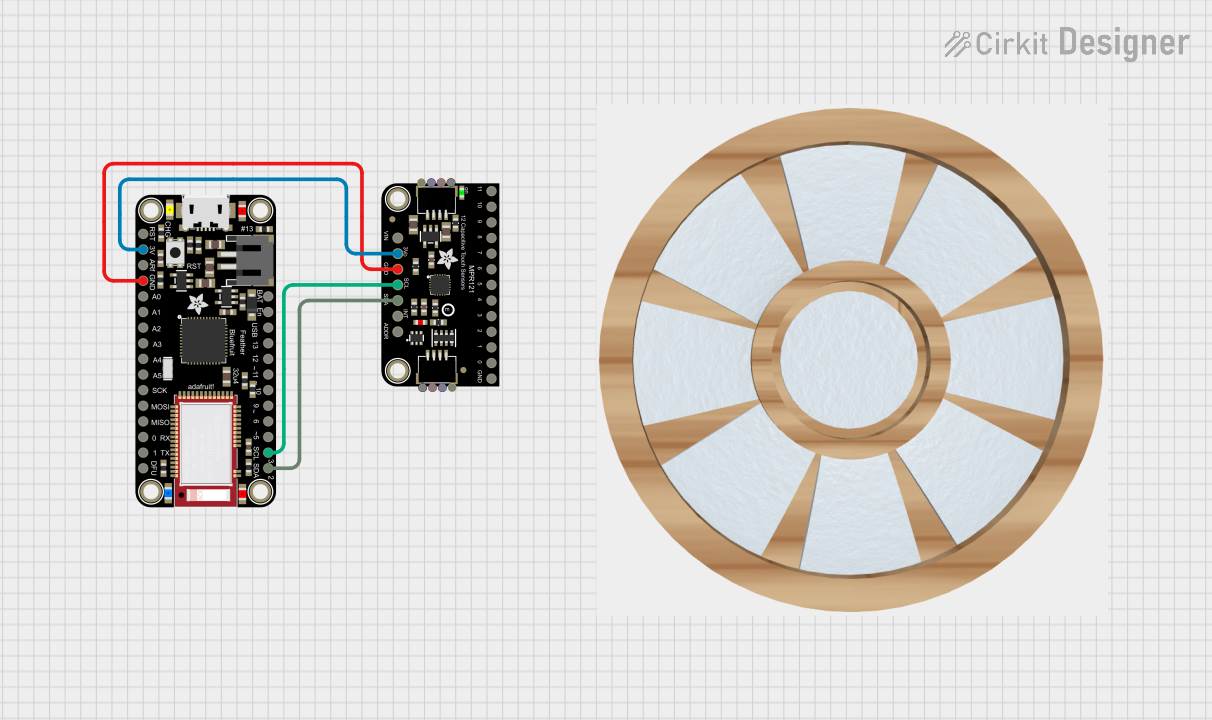
This circuit integrates an Adafruit MPR121 capacitive touch sensor with an Adafruit Feather 32u4 Bluefruit microcontroller. The MPR121 is powered by the Feather and communicates via I2C (SCL and SDA) to detect touch inputs, which can be processed or transmitted wirelessly by the Feather.
Operating Voltage: 3.3V (compatible with Adafruit Feather boards)
Dimensions: 50mm x 30mm x 7mm (without headers)
Pin Configuration and Descriptions
Pin Number
Name
Description
1
GND
Ground connection
2
3V
3.3V power supply
3
RST
Reset pin for the display
4
BUSY
Busy state output from the display
5
CS
Chip Select for SPI communication
6
SCK
Serial Clock for SPI communication
7
MOSI
Master Out Slave In for SPI communication
8
MISO
Master In Slave Out for SPI communication (not used)
9
D/C
Data/Command control pin
Usage Instructions
Integrating with a Circuit
To use the Adafruit 2.9in eInk Under FeatherWing with an Adafruit Feather board:
Align the headers of the eInk display with the corresponding sockets on the Feather board.
Gently press the display into place, ensuring a secure connection.
Verify that the display is powered by checking for any visual indicators or testing with a multimeter.
Important Considerations and Best Practices
Power: Ensure that the display is connected to a 3.3V power source; higher voltages can damage the device.
SPI Communication: Use the SPI interface for sending data to the display. Make sure to configure the SPI settings correctly in your code.
Refresh Rate: eInk displays have a slower refresh rate compared to other display types. Minimize the number of full refreshes to avoid ghosting and to extend the lifespan of the display.
Partial Updates: Utilize partial updates for changing small areas of the display to save power and reduce refresh time.
Example Code for Arduino UNO
#include <Adafruit_EPD.h>
#include <Adafruit_GFX.h>

// Pin definitions (may vary depending on your specific setup)
#define EPD_CS     10
#define EPD_DC     9
#define EPD_RESET  8
#define EPD_BUSY   7

// Create an instance of the display
Adafruit_IL0373 display(296, 128, EPD_DC, EPD_RESET, EPD_CS, EPD_BUSY);

void setup() {
  // Initialize the display
  display.begin();

  // Clear the buffer
  display.clearBuffer();

  // Draw some text on the screen
  display.setCursor(10, 10);
  display.setTextSize(1);
  display.print("Hello, eInk!");

  // Display the buffer on the screen
  display.display();
}

void loop() {
  // Nothing to do here
}
Ensure that you have installed the Adafruit_EPD library in the Arduino IDE before uploading this code to your board.
Troubleshooting and FAQs
Common Issues
Display not updating: Check the connections and ensure that the SPI interface is correctly configured.
Faint or incomplete image: Ensure that the display has been fully refreshed and that the power supply is stable and sufficient.
Ghosting: Reduce the frequency of full refreshes and use partial updates when possible.
Solutions and Tips for Troubleshooting
Check Connections: Verify that all pins are correctly connected and that there are no loose wires.
Power Supply: Use a stable 3.3V power supply. Avoid using power sources that may fluctuate.
Library Installation: Make sure the Adafruit_EPD library is installed and updated to the latest version in the Arduino IDE.
Code Review: Double-check your code for any errors in the SPI configuration or logic that may prevent the display from updating correctly.
FAQs
Q: Can the display show images in color?
A: No, this eInk display is monochrome, capable of displaying black, white, and red shades only.
Q: How long does the image last on the display after power is removed?
A: eInk displays are bistable, meaning the image can remain on the screen indefinitely without power.
Q: Is the display readable in the dark?
A: No, unlike an LCD or OLED, eInk displays do not emit light and require external lighting to be readable in the dark.
Q: Can I use this display with other microcontrollers besides Adafruit Feather boards?
A: Yes, as long as the microcontroller supports SPI communication and operates at 3.3V logic levels, it can be used with this display. However, you may need to adjust the pin definitions in your code accordingly.


 Open Project in Cirkit Designer