How to Use Kipas angin 220V AC: Examples, Pinouts, and Specs

Introduction
The Kipas Angin 220V AC is a high-performance fan designed for cooling and air circulation in various environments. Powered by a 220V alternating current (AC) supply, this fan is commonly used in industrial, commercial, and residential applications. Its robust design ensures reliable operation, making it suitable for use in electronic enclosures, HVAC systems, and general-purpose ventilation.
Explore Projects Built with Kipas angin 220V AC
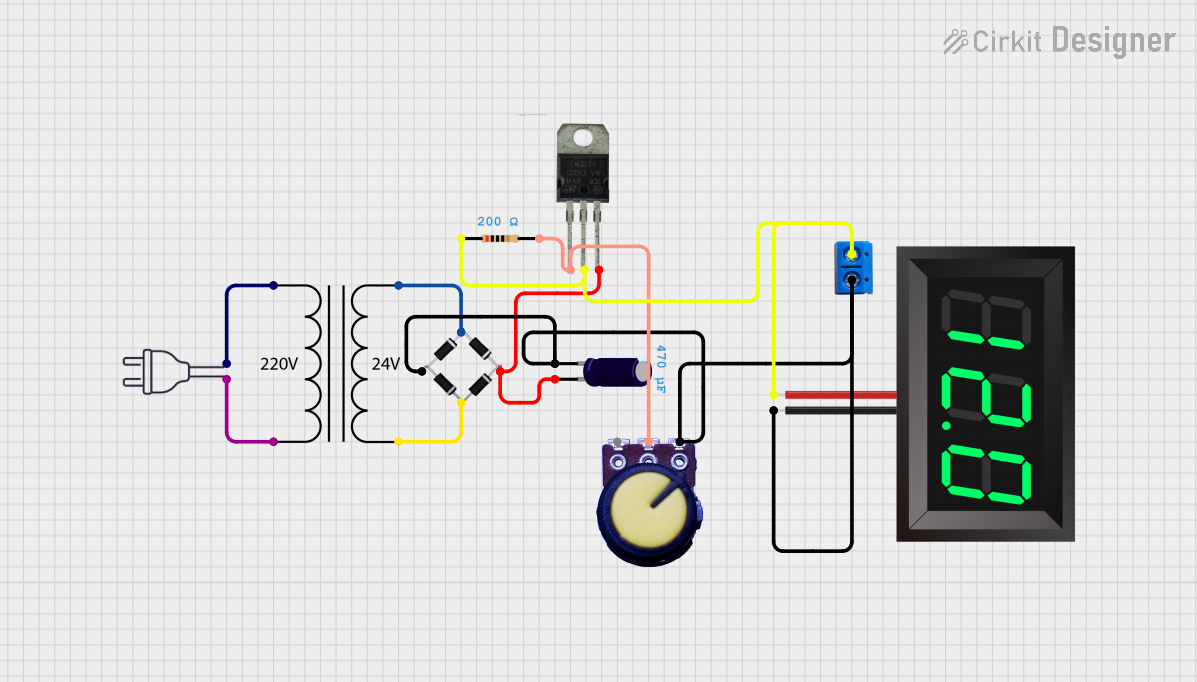


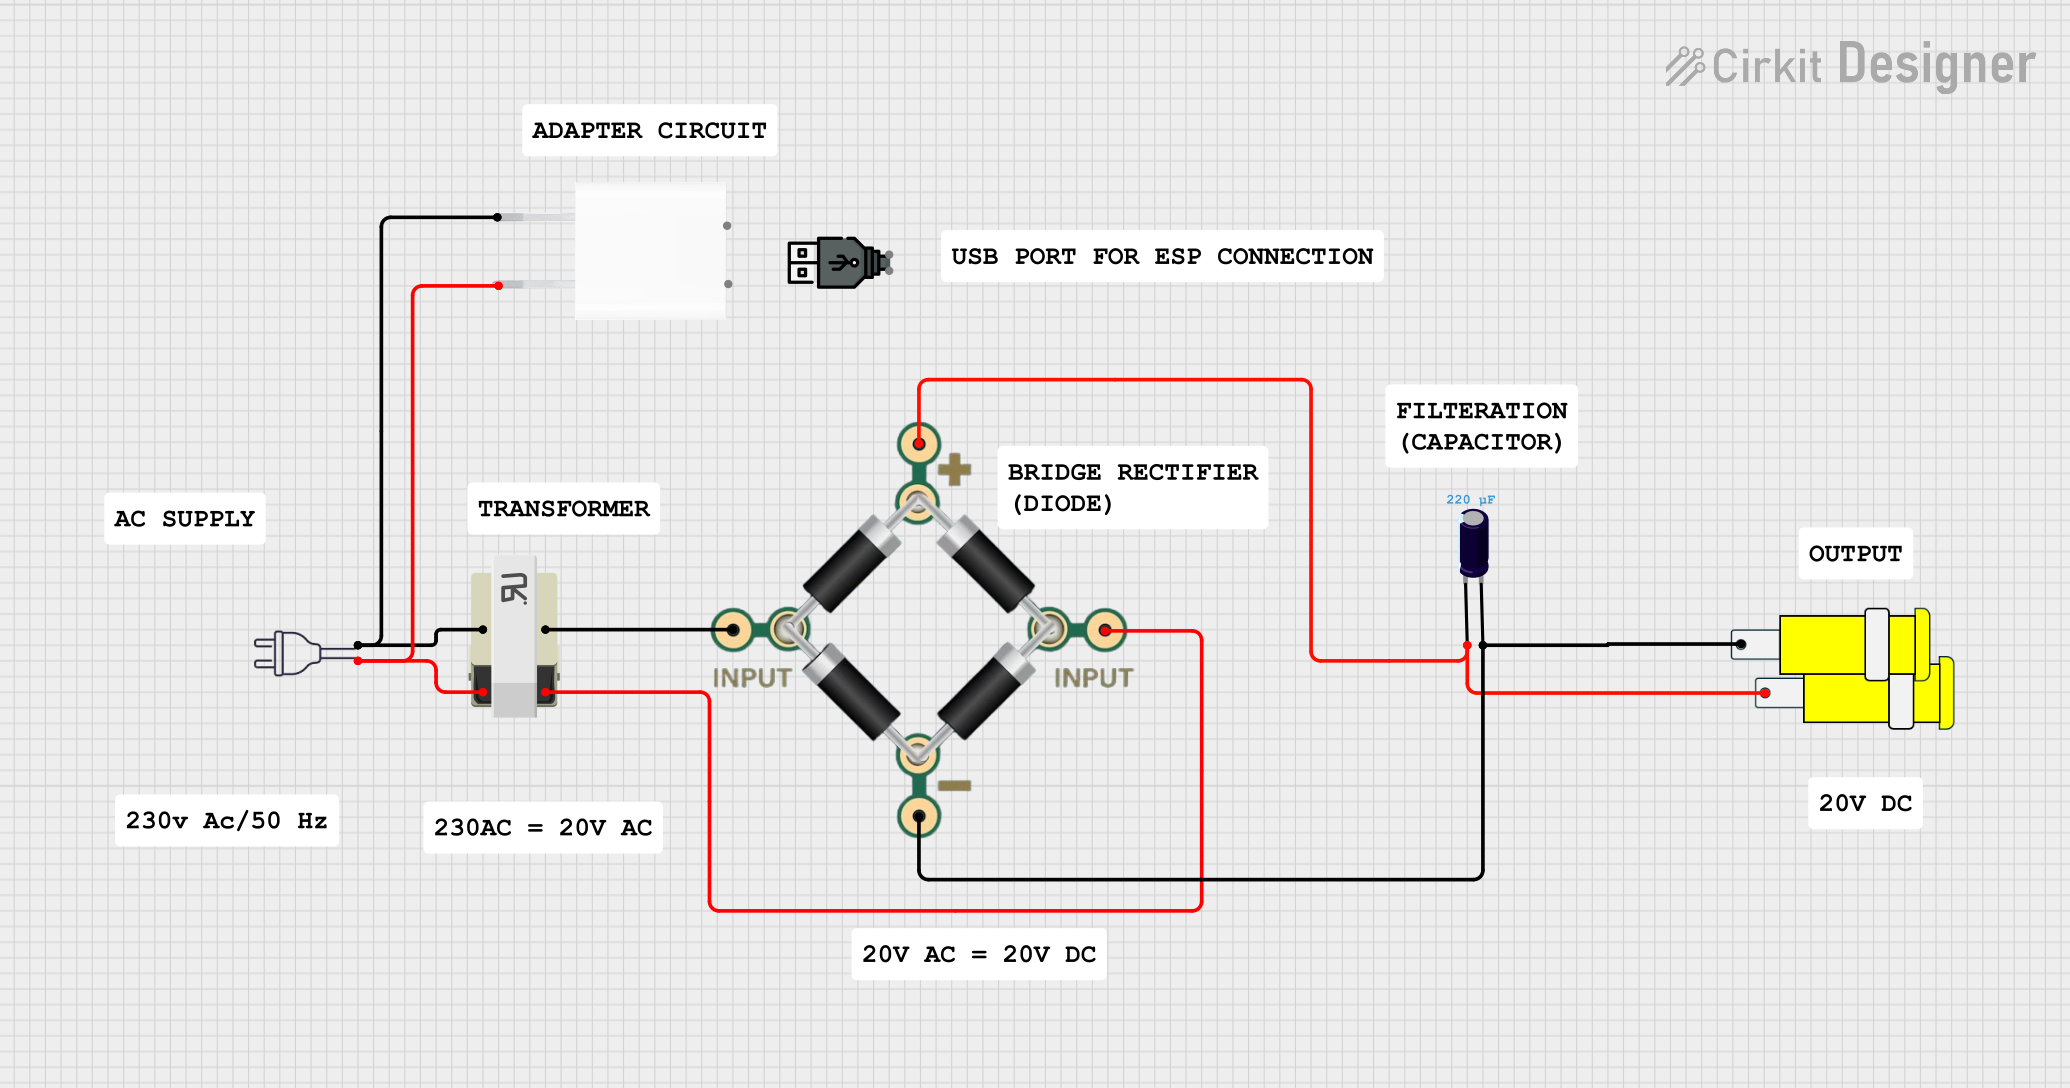
Explore Projects Built with Kipas angin 220V AC
Common Applications and Use Cases
- Cooling electronic components in enclosures or cabinets
- Air circulation in HVAC systems
- Ventilation in industrial and commercial spaces
- General-purpose cooling in residential environments
Technical Specifications
Below are the key technical details for the Kipas Angin 220V AC:
| Parameter | Value |
|---|---|
| Manufacturer | Kipas |
| Part ID | Angin |
| Operating Voltage | 220V AC |
| Frequency | 50/60 Hz |
| Power Consumption | 20W (typical) |
| Airflow | 50 CFM (Cubic Feet per Minute) |
| Noise Level | 35 dB |
| Dimensions | 120mm x 120mm x 38mm |
| Weight | 500g |
| Operating Temperature | -10°C to 70°C |
| Connector Type | 2-pin AC terminal |
Pin Configuration and Descriptions
The Kipas Angin 220V AC has a simple 2-pin AC terminal for connection. Below is the pin configuration:
| Pin | Description |
|---|---|
| Pin 1 | Live (L) - Connect to AC live wire |
| Pin 2 | Neutral (N) - Connect to AC neutral wire |
Note: Ensure proper insulation and safety precautions when handling AC connections.
Usage Instructions
How to Use the Component in a Circuit
- Safety First: Before handling the fan, ensure the power supply is turned off to avoid electric shock.
- Wiring:
- Connect Pin 1 (Live) to the live wire of the 220V AC power source.
- Connect Pin 2 (Neutral) to the neutral wire of the 220V AC power source.
- Mounting:
- Secure the fan in the desired location using screws or brackets.
- Ensure the airflow direction aligns with your cooling or ventilation requirements (usually indicated by arrows on the fan housing).
- Power On: Once the fan is securely mounted and wired, turn on the power supply to operate the fan.
Important Considerations and Best Practices
- Insulation: Use proper insulation for all connections to prevent short circuits or electric shock.
- Grounding: Ensure the fan housing is properly grounded if required by your application.
- Airflow Clearance: Maintain adequate clearance around the fan to ensure unrestricted airflow.
- Voltage Compatibility: Verify that your power supply matches the fan's rated voltage (220V AC).
- Maintenance: Periodically clean the fan blades and housing to prevent dust buildup, which can reduce efficiency.
Arduino UNO Integration
The Kipas Angin 220V AC is not directly compatible with Arduino UNO due to its high voltage AC operation. However, you can control the fan indirectly using a relay module. Below is an example of how to control the fan using an Arduino UNO and a relay module:
Required Components:
- Arduino UNO
- 5V Relay Module
- Kipas Angin 220V AC
- 220V AC power source
- Jumper wires
Circuit Diagram:
- Connect the relay module's VCC and GND pins to the Arduino's 5V and GND pins, respectively.
- Connect the relay module's IN pin to an Arduino digital pin (e.g., D7).
- Wire the fan's Live (L) wire to the relay's COM terminal.
- Connect the relay's NO (Normally Open) terminal to the 220V AC live wire.
- Connect the fan's Neutral (N) wire directly to the 220V AC neutral wire.
Arduino Code:
// Define the relay control pin
const int relayPin = 7;

void setup() {
  // Set the relay pin as an output
  pinMode(relayPin, OUTPUT);

  // Ensure the relay is off initially
  digitalWrite(relayPin, LOW);
}

void loop() {
  // Turn the fan on
  digitalWrite(relayPin, HIGH);
  delay(5000); // Keep the fan on for 5 seconds

  // Turn the fan off
  digitalWrite(relayPin, LOW);
  delay(5000); // Keep the fan off for 5 seconds
}
Note: Always exercise caution when working with high-voltage components. Ensure proper isolation between the low-voltage Arduino circuit and the high-voltage AC circuit.
Troubleshooting and FAQs
Common Issues and Solutions
Fan Does Not Turn On:
- Check the power supply and ensure it is delivering 220V AC.
- Verify the wiring connections, especially the live and neutral wires.
- Inspect the relay module (if used) to ensure it is functioning correctly.
Fan Makes Unusual Noise:
- Clean the fan blades to remove any dust or debris.
- Check for loose mounting screws or brackets.
Fan Overheats:
- Ensure the fan is not obstructed and has adequate airflow clearance.
- Verify that the operating environment is within the specified temperature range.
Relay Module Does Not Activate:
- Check the Arduino code and ensure the correct pin is defined for the relay.
- Verify the relay module's connections to the Arduino and power supply.
FAQs
Q1: Can I use this fan with a DC power supply?
No, the Kipas Angin 220V AC is designed specifically for 220V AC operation and cannot be powered by a DC supply.
Q2: Is this fan waterproof?
No, this fan is not waterproof. It should be used in dry environments or protected from moisture.
Q3: Can I control the fan speed?
The fan speed can be controlled using an external AC fan speed controller. It is not directly adjustable via Arduino or other microcontrollers.
Q4: What is the expected lifespan of the fan?
The fan has an expected lifespan of approximately 30,000 hours under normal operating conditions.
Q5: Can I use this fan in a 110V AC system?
No, this fan is designed for 220V AC operation and is not compatible with 110V AC systems.