
How to Use Heater AC: Examples, Pinouts, and Specs
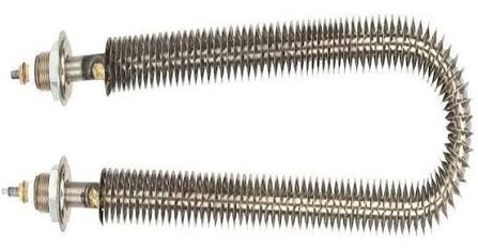
 Design with Heater AC in Cirkit Designer
Introduction
A Heater AC is a versatile climate control device designed to provide both heating and cooling functionalities for indoor spaces. It operates using a refrigeration cycle to cool air and incorporates a heating element to warm it, making it suitable for year-round use. This dual functionality makes the Heater AC an essential component in residential, commercial, and industrial environments where maintaining a comfortable temperature is critical.
Explore Projects Built with Heater AC
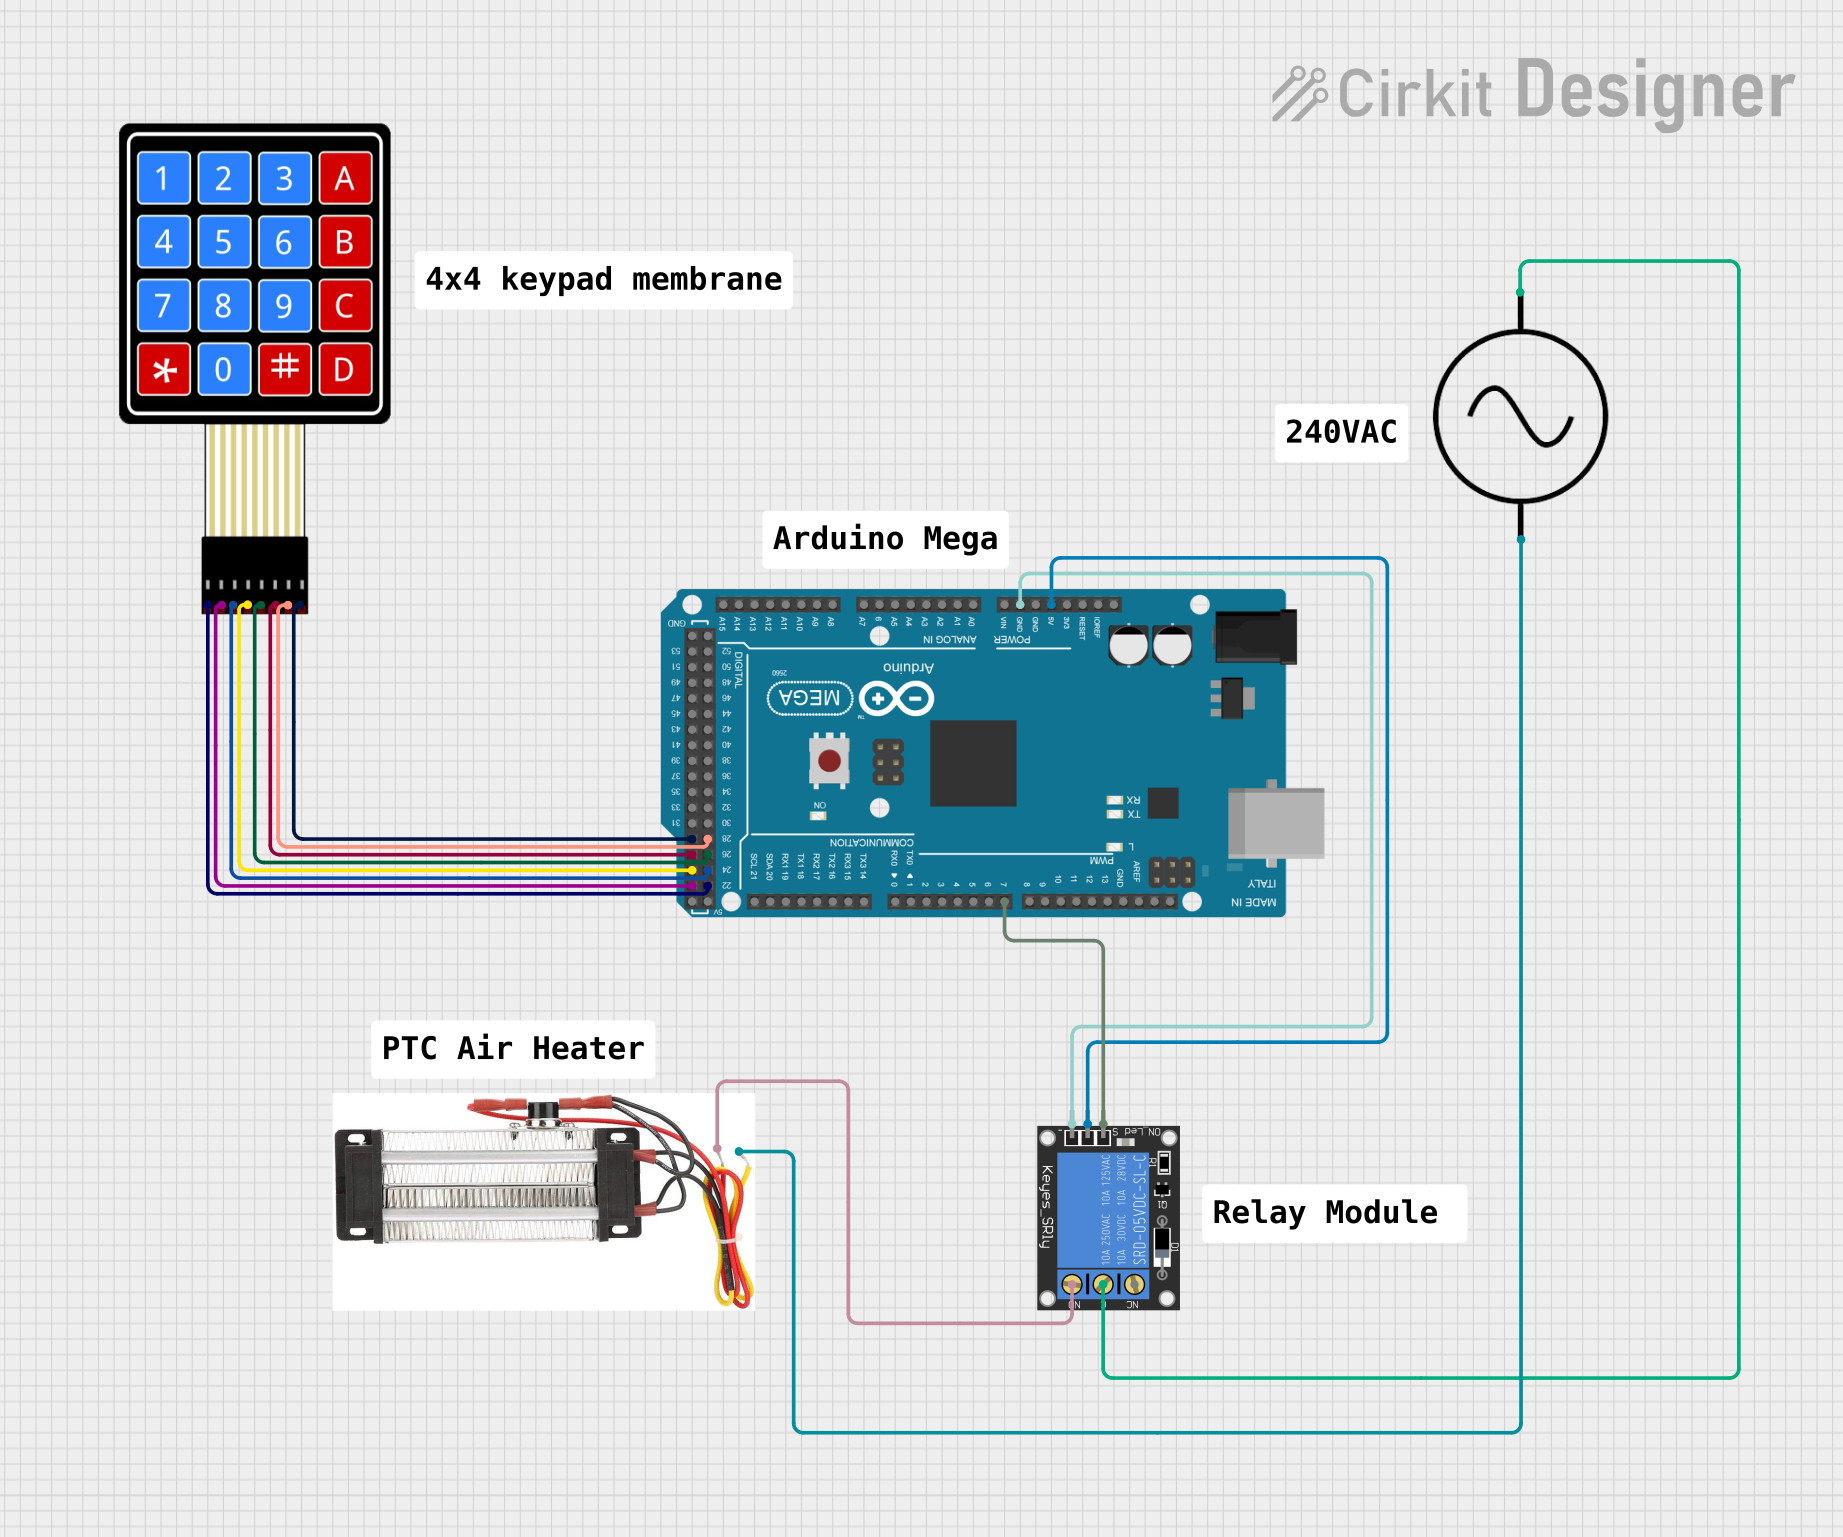 Open Project in Cirkit Designer
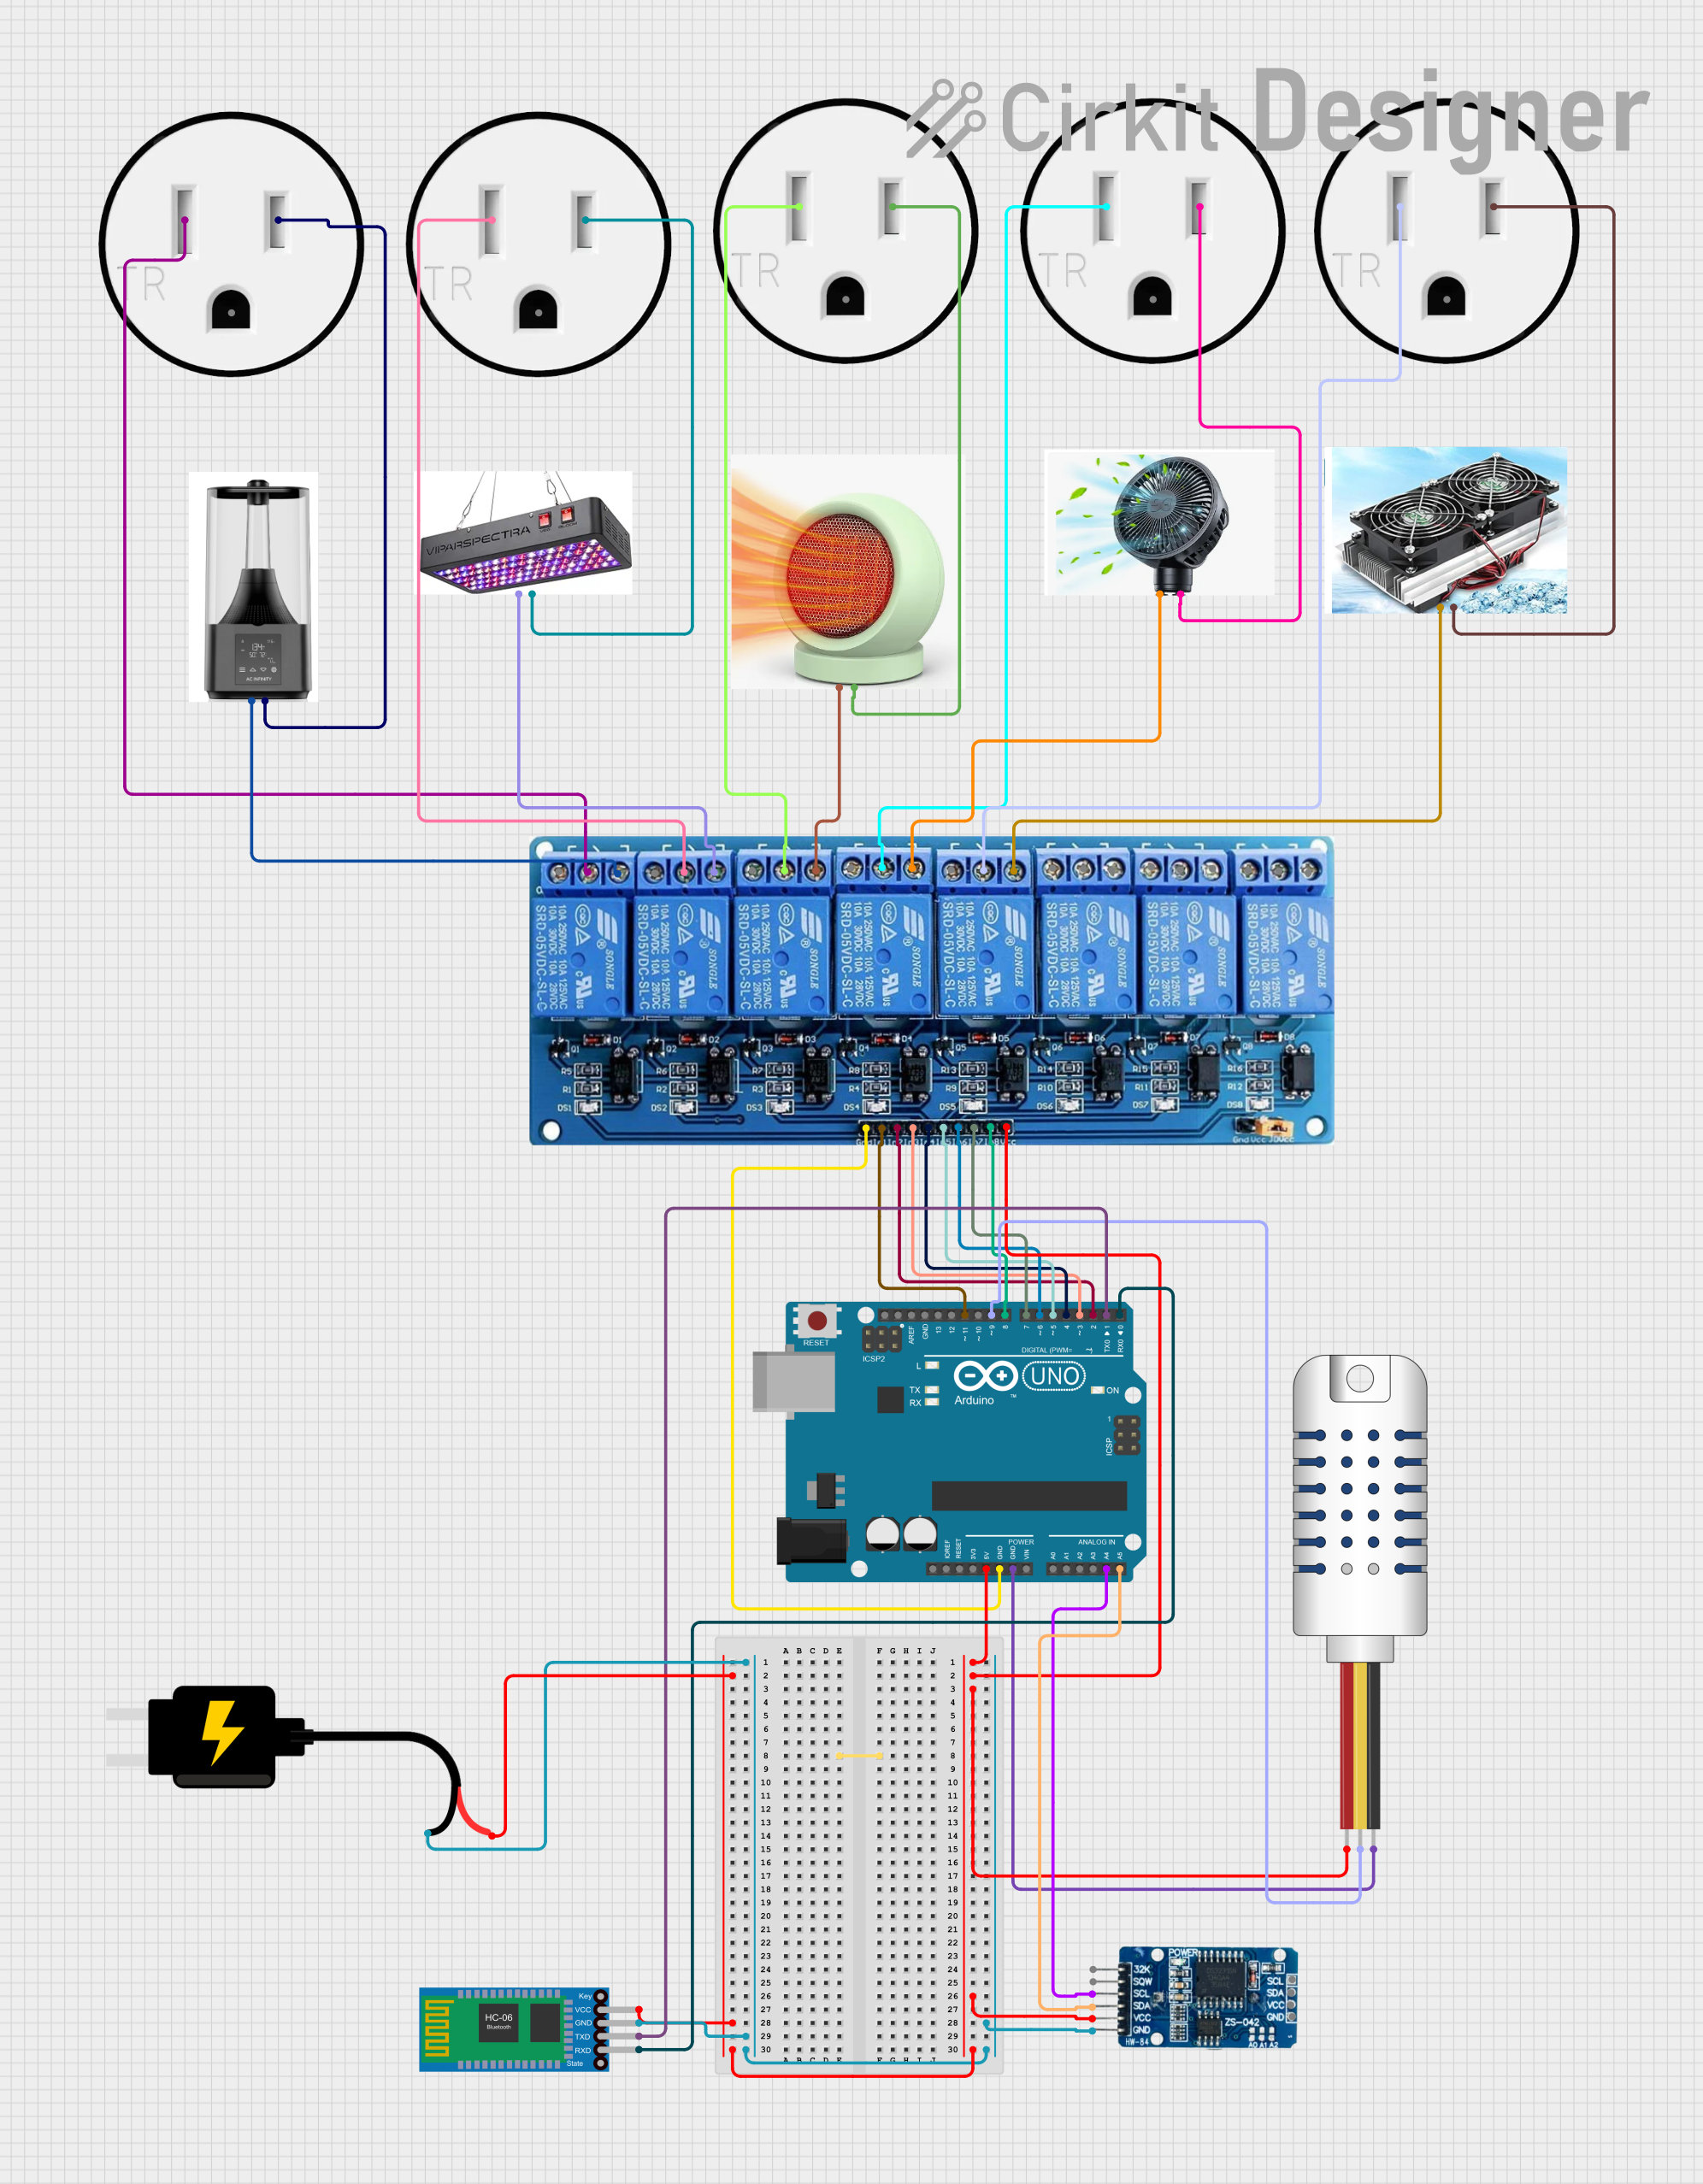 Open Project in Cirkit Designer
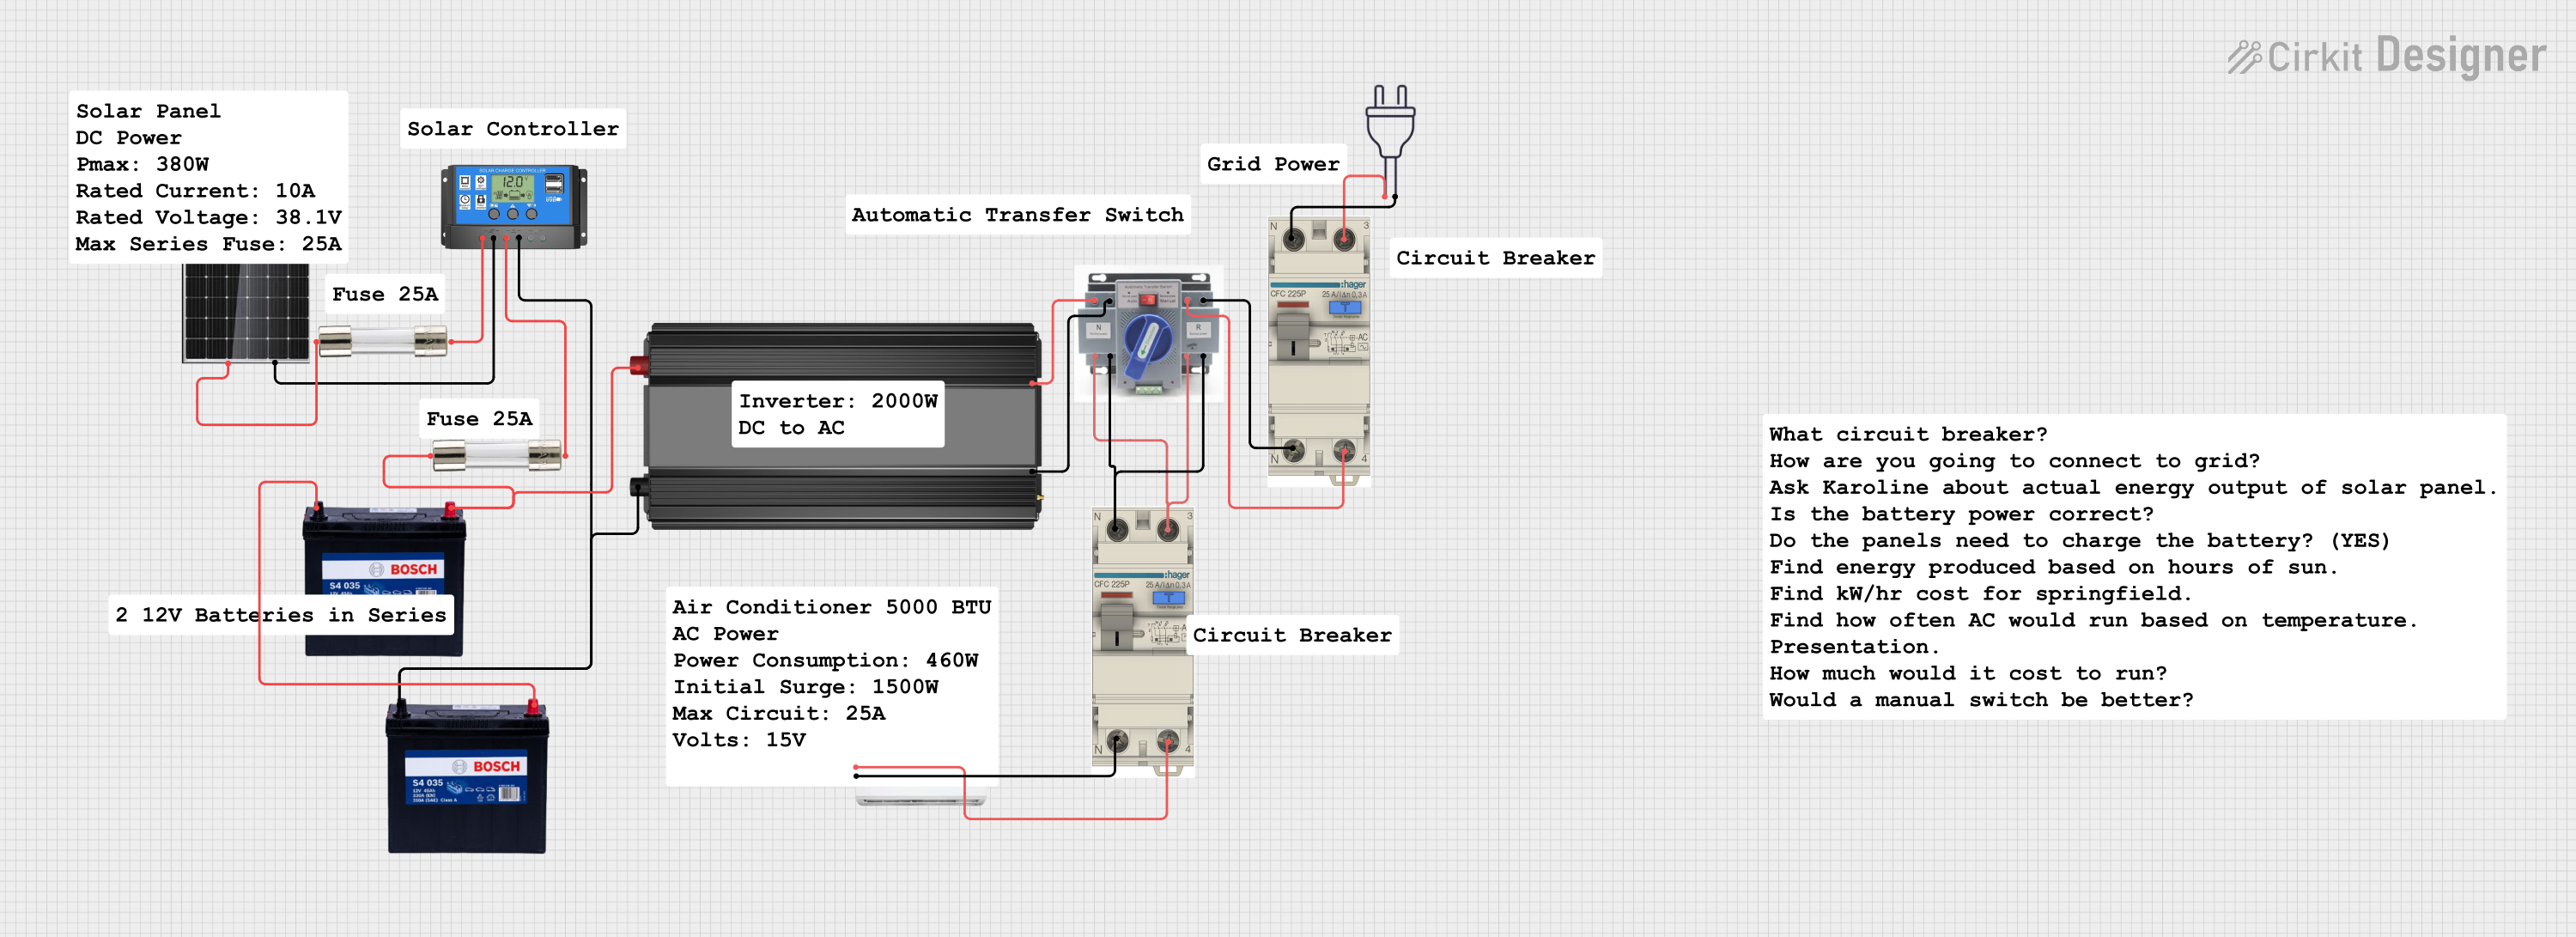 Open Project in Cirkit Designer
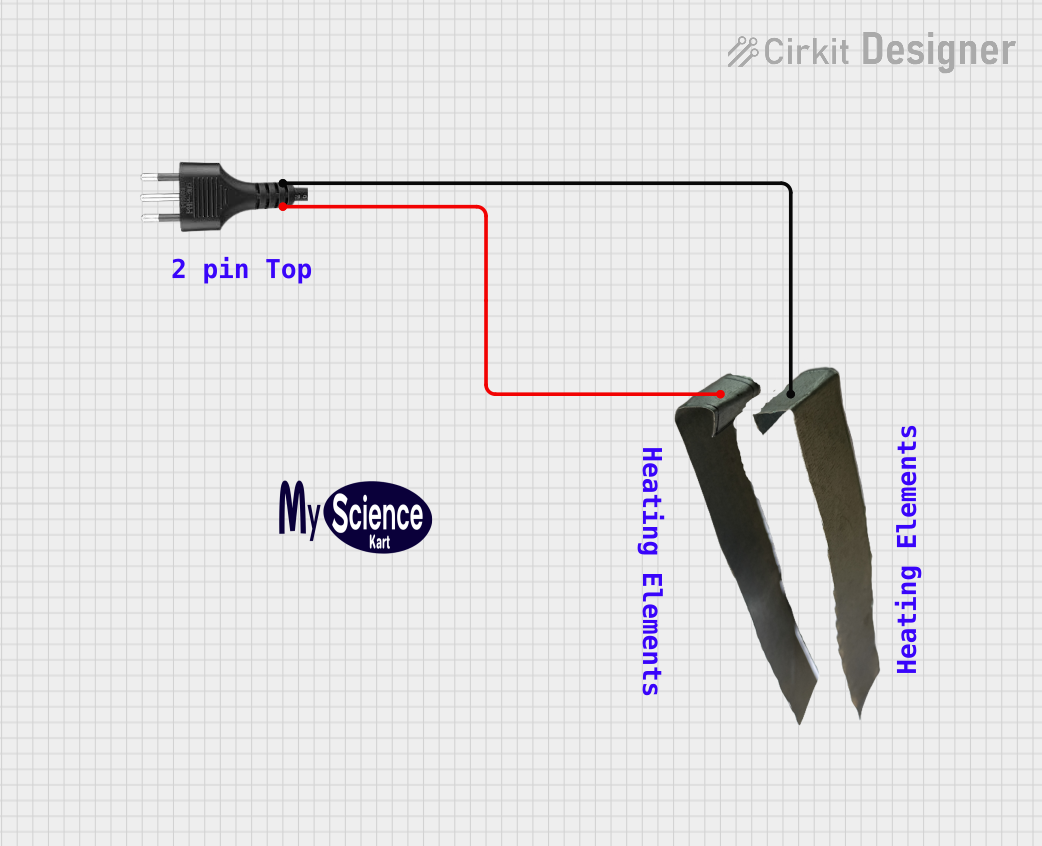 Open Project in Cirkit Designer
Explore Projects Built with Heater AC
Open Project in Cirkit DesignerOpen Project in Cirkit DesignerOpen Project in Cirkit DesignerOpen Project in Cirkit DesignerCommon Applications and Use Cases
- Residential heating and cooling for homes and apartments
- Climate control in offices, retail stores, and commercial buildings
- Temperature regulation in industrial facilities and server rooms
- Use in HVAC (Heating, Ventilation, and Air Conditioning) systems for centralized climate control
Technical Specifications
Key Technical Details
| Parameter | Value/Range |
|---|---|
| Input Voltage | 220V AC or 110V AC (region-specific) |
| Power Consumption | 1,000W to 3,500W (model-dependent) |
| Heating Element Type | Electric resistance coil |
| Cooling Mechanism | Refrigeration cycle (compressor-based) |
| Temperature Range | 16°C to 30°C (adjustable) |
| Airflow Rate | 300 to 600 CFM (Cubic Feet per Minute) |
| Control Interface | Digital display with remote control |
| Safety Features | Overheat protection, short-circuit protection |
| Dimensions | Varies by model (e.g., 60cm x 40cm x 20cm) |
| Weight | 10kg to 25kg (model-dependent) |
Pin Configuration and Descriptions
The Heater AC typically connects to a power source and control system. Below is a general description of the key terminals or connections:
| Pin/Connection Name | Description |
|---|---|
| L (Live) | Connects to the live wire of the AC mains supply. |
| N (Neutral) | Connects to the neutral wire of the AC mains supply. |
| GND (Ground) | Provides grounding for safety. |
| Thermostat Input | Connects to an external thermostat for temperature control. |
| Fan Control | Input for controlling the fan speed. |
| Compressor Control | Input for activating the cooling compressor. |
| Heating Element | Connection to the internal heating element. |
Usage Instructions
How to Use the Heater AC in a Circuit
- Power Connection: Ensure the Heater AC is connected to the correct AC mains voltage (110V or 220V, depending on your region). Use the L, N, and GND terminals for this connection.
- Thermostat Setup: If using an external thermostat, connect it to the thermostat input terminal. This allows precise temperature control.
- Fan and Compressor Control: Use appropriate control signals (e.g., from a microcontroller or HVAC system) to manage the fan speed and compressor operation.
- Safety Precautions:
- Always ensure proper grounding to avoid electrical hazards.
- Do not exceed the rated power capacity of the Heater AC.
- Install the device in a well-ventilated area to prevent overheating.
Important Considerations and Best Practices
- Placement: Install the Heater AC in a location where airflow is unobstructed for optimal performance.
- Power Supply: Use a surge protector to safeguard the device from voltage spikes.
- Maintenance: Regularly clean the air filters and inspect the unit for dust or debris buildup.
- Temperature Settings: Avoid setting extreme temperatures to reduce energy consumption and prolong the lifespan of the device.
Example: Controlling a Heater AC with Arduino UNO
Below is an example of how to control the Heater AC's fan and compressor using an Arduino UNO. This assumes the use of relays to switch the AC components.
// Arduino code to control Heater AC fan and compressor
// Ensure relays are rated for the AC voltage and current

const int fanRelayPin = 7;       // Pin connected to the fan relay
const int compressorRelayPin = 8; // Pin connected to the compressor relay

void setup() {
  pinMode(fanRelayPin, OUTPUT);       // Set fan relay pin as output
  pinMode(compressorRelayPin, OUTPUT); // Set compressor relay pin as output

  // Initialize relays to OFF state
  digitalWrite(fanRelayPin, LOW);
  digitalWrite(compressorRelayPin, LOW);
}

void loop() {
  // Example: Turn on fan and compressor for 10 seconds
  digitalWrite(fanRelayPin, HIGH);    // Turn on fan
  digitalWrite(compressorRelayPin, HIGH); // Turn on compressor
  delay(10000);                       // Wait for 10 seconds

  // Turn off fan and compressor
  digitalWrite(fanRelayPin, LOW);     // Turn off fan
  digitalWrite(compressorRelayPin, LOW); // Turn off compressor
  delay(10000);                       // Wait for 10 seconds
}
Troubleshooting and FAQs
Common Issues and Solutions
Issue: Heater AC does not turn on.
- Solution: Check the power supply and ensure the device is properly connected to the mains. Verify that the fuse or circuit breaker is not tripped.
Issue: Insufficient heating or cooling.
- Solution: Clean the air filters and ensure the airflow is not obstructed. Check if the thermostat is set to the desired temperature.
Issue: Overheating or frequent shutdowns.
- Solution: Ensure the device is installed in a well-ventilated area. Verify that the cooling fan is operational and not blocked.
Issue: Remote control not working.
- Solution: Replace the remote control batteries and ensure there is no obstruction between the remote and the Heater AC.
FAQs
Q: Can the Heater AC be used with a smart home system?
- A: Yes, many Heater AC models support integration with smart home systems via Wi-Fi or external controllers.
Q: What is the typical lifespan of a Heater AC?
- A: With proper maintenance, a Heater AC can last 10 to 15 years.
Q: Is it safe to leave the Heater AC running overnight?
- A: Yes, as long as the device is in good working condition and safety features like overheat protection are functional.
Q: Can I install the Heater AC myself?
- A: It is recommended to have the device installed by a qualified technician to ensure safety and compliance with local regulations.