Cirkit Designer Logo
Cirkit Designer
Your all-in-one circuit design IDE
Home / 
Component Documentation

How to Use DOUBLE SOLENOID: Examples, Pinouts, and Specs

Image of DOUBLE SOLENOID
Cirkit Designer LogoDesign with DOUBLE SOLENOID in Cirkit Designer

Introduction

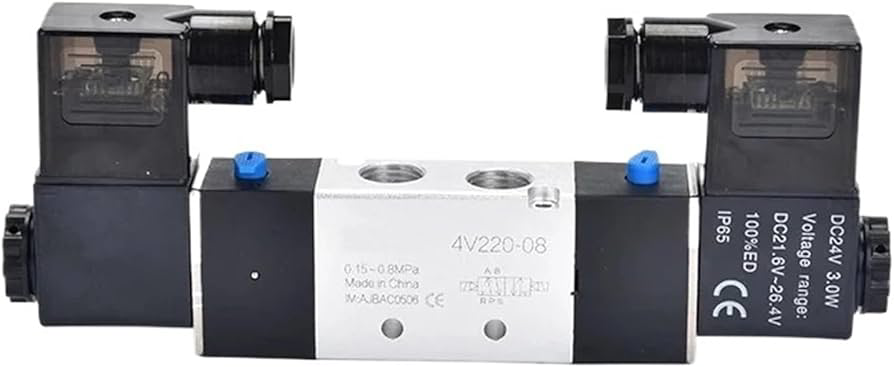
The Double Solenoid by FESTO (Manufacturer Part ID: DOUBLE SOLENOID) is an electromechanical device equipped with two coils. These coils can move a plunger or armature in two directions, making it ideal for controlling the flow of fluids or gases in various systems. Double solenoids are commonly used in automation, pneumatic systems, and hydraulic systems to achieve precise control over fluid or gas flow.

Explore Projects Built with DOUBLE SOLENOID

Use Cirkit Designer to design, explore, and prototype these projects online. Some projects support real-time simulation. Click "Open Project" to start designing instantly!
Arduino Mega 2560-Based Dual Solenoid Control System with Pushbutton Activation
Image of mcrobot: A project utilizing DOUBLE SOLENOID in a practical application
This circuit uses an Arduino Mega 2560 to control two 12V single-channel relays, which in turn control two solenoids. A pushbutton and a resistor are used to provide input to the Arduino, and a LiPo battery supplies power to the solenoids through the relays.
Cirkit Designer LogoOpen Project in Cirkit Designer
Solar-Powered Wi-Fi Water Valve Controller with Battery Backup
Image of Automated Irrigation: A project utilizing DOUBLE SOLENOID in a practical application
This is a solar-powered control system for a solenoid valve, with a Raspberry Pi Pico W microcontroller managing the valve operation. The system uses a solar panel to charge a battery, which in turn powers the solenoid through a relay, with voltage regulation provided by a buck converter. The Pico W controls the relay via a transistor, and diodes are included for protection against reverse currents.
Cirkit Designer LogoOpen Project in Cirkit Designer
Arduino-Controlled Solenoid Valve System with Turbidity Sensing
Image of Mechanical Sink Oil Waste Segregation: A project utilizing DOUBLE SOLENOID in a practical application
This circuit uses an Arduino UNO to control two solenoid valves through relay modules, with a turbidity sensor providing input for the control logic. Diodes are used for back EMF protection, and a 12V battery powers the solenoid valves.
Cirkit Designer LogoOpen Project in Cirkit Designer
Solar-Powered Environmental Monitoring System with Automatic Transfer Switch and ESP32 Control
Image of Fire exit: A project utilizing DOUBLE SOLENOID in a practical application
This circuit appears to be a solar power management system with dual power input capability, integrating a solar panel with a charge controller to manage charging a 12V battery and providing power through an inverter for AC loads. It includes safety features such as circuit breakers and fuses, and a dual power automatic transfer switch to alternate between solar and grid power. The system also incorporates an ESP32 microcontroller interfaced with various sensors (MQ-2, SHT113, DHT22), a buzzer for alerts, an OLED display for status output, and a relay module to control a 12V solenoid lock, with power regulation provided by a 5V adapter and resistors for LED current limiting.
Cirkit Designer LogoOpen Project in Cirkit Designer

Explore Projects Built with DOUBLE SOLENOID

Use Cirkit Designer to design, explore, and prototype these projects online. Some projects support real-time simulation. Click "Open Project" to start designing instantly!
Image of mcrobot: A project utilizing DOUBLE SOLENOID in a practical application
Arduino Mega 2560-Based Dual Solenoid Control System with Pushbutton Activation
This circuit uses an Arduino Mega 2560 to control two 12V single-channel relays, which in turn control two solenoids. A pushbutton and a resistor are used to provide input to the Arduino, and a LiPo battery supplies power to the solenoids through the relays.
Cirkit Designer LogoOpen Project in Cirkit Designer
Image of Automated Irrigation: A project utilizing DOUBLE SOLENOID in a practical application
Solar-Powered Wi-Fi Water Valve Controller with Battery Backup
This is a solar-powered control system for a solenoid valve, with a Raspberry Pi Pico W microcontroller managing the valve operation. The system uses a solar panel to charge a battery, which in turn powers the solenoid through a relay, with voltage regulation provided by a buck converter. The Pico W controls the relay via a transistor, and diodes are included for protection against reverse currents.
Cirkit Designer LogoOpen Project in Cirkit Designer
Image of Mechanical Sink Oil Waste Segregation: A project utilizing DOUBLE SOLENOID in a practical application
Arduino-Controlled Solenoid Valve System with Turbidity Sensing
This circuit uses an Arduino UNO to control two solenoid valves through relay modules, with a turbidity sensor providing input for the control logic. Diodes are used for back EMF protection, and a 12V battery powers the solenoid valves.
Cirkit Designer LogoOpen Project in Cirkit Designer
Image of Fire exit: A project utilizing DOUBLE SOLENOID in a practical application
Solar-Powered Environmental Monitoring System with Automatic Transfer Switch and ESP32 Control
This circuit appears to be a solar power management system with dual power input capability, integrating a solar panel with a charge controller to manage charging a 12V battery and providing power through an inverter for AC loads. It includes safety features such as circuit breakers and fuses, and a dual power automatic transfer switch to alternate between solar and grid power. The system also incorporates an ESP32 microcontroller interfaced with various sensors (MQ-2, SHT113, DHT22), a buzzer for alerts, an OLED display for status output, and a relay module to control a 12V solenoid lock, with power regulation provided by a 5V adapter and resistors for LED current limiting.
Cirkit Designer LogoOpen Project in Cirkit Designer

Technical Specifications

Key Technical Details

Parameter Value
Voltage 24V DC
Current 0.5A per coil
Power Rating 12W per coil
Actuation Time 20 ms
Operating Pressure 0 to 10 bar
Temperature Range -10°C to 50°C
Duty Cycle 100%

Pin Configuration and Descriptions

Pin Number Description
1 Coil A Positive
2 Coil A Negative
3 Coil B Positive
4 Coil B Negative
5 Common Ground
6 Not Connected (NC)

Usage Instructions

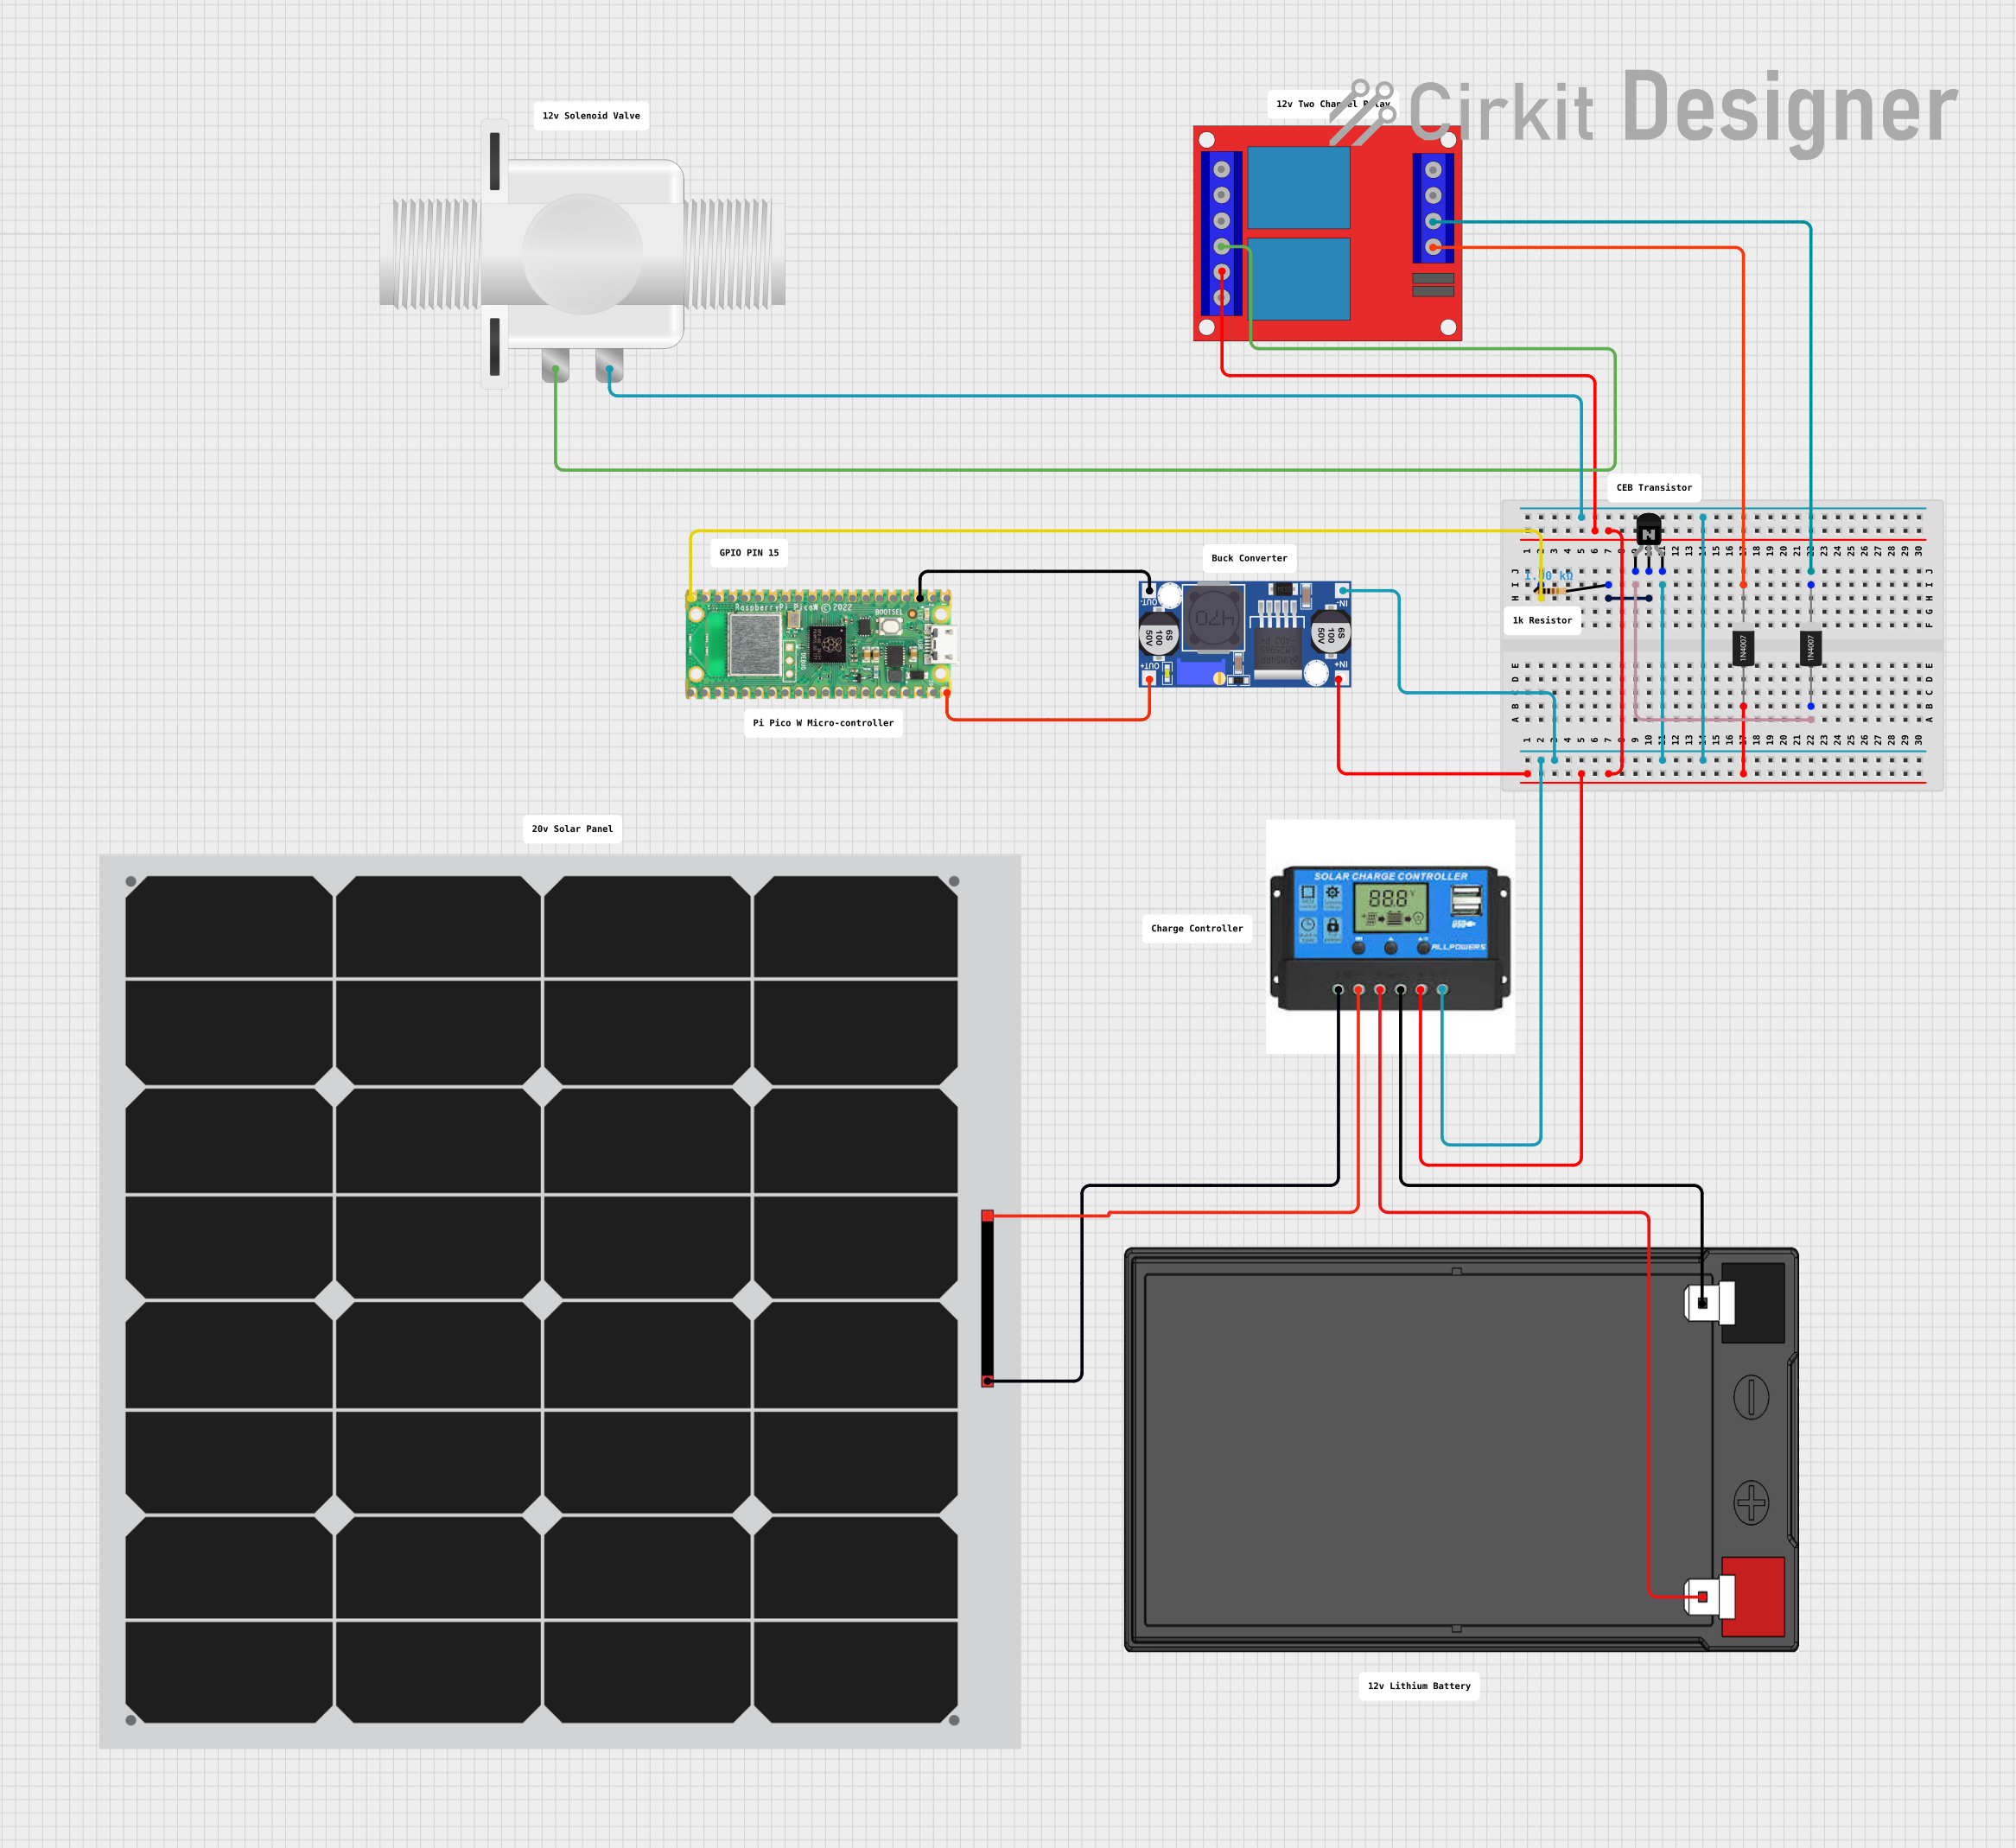
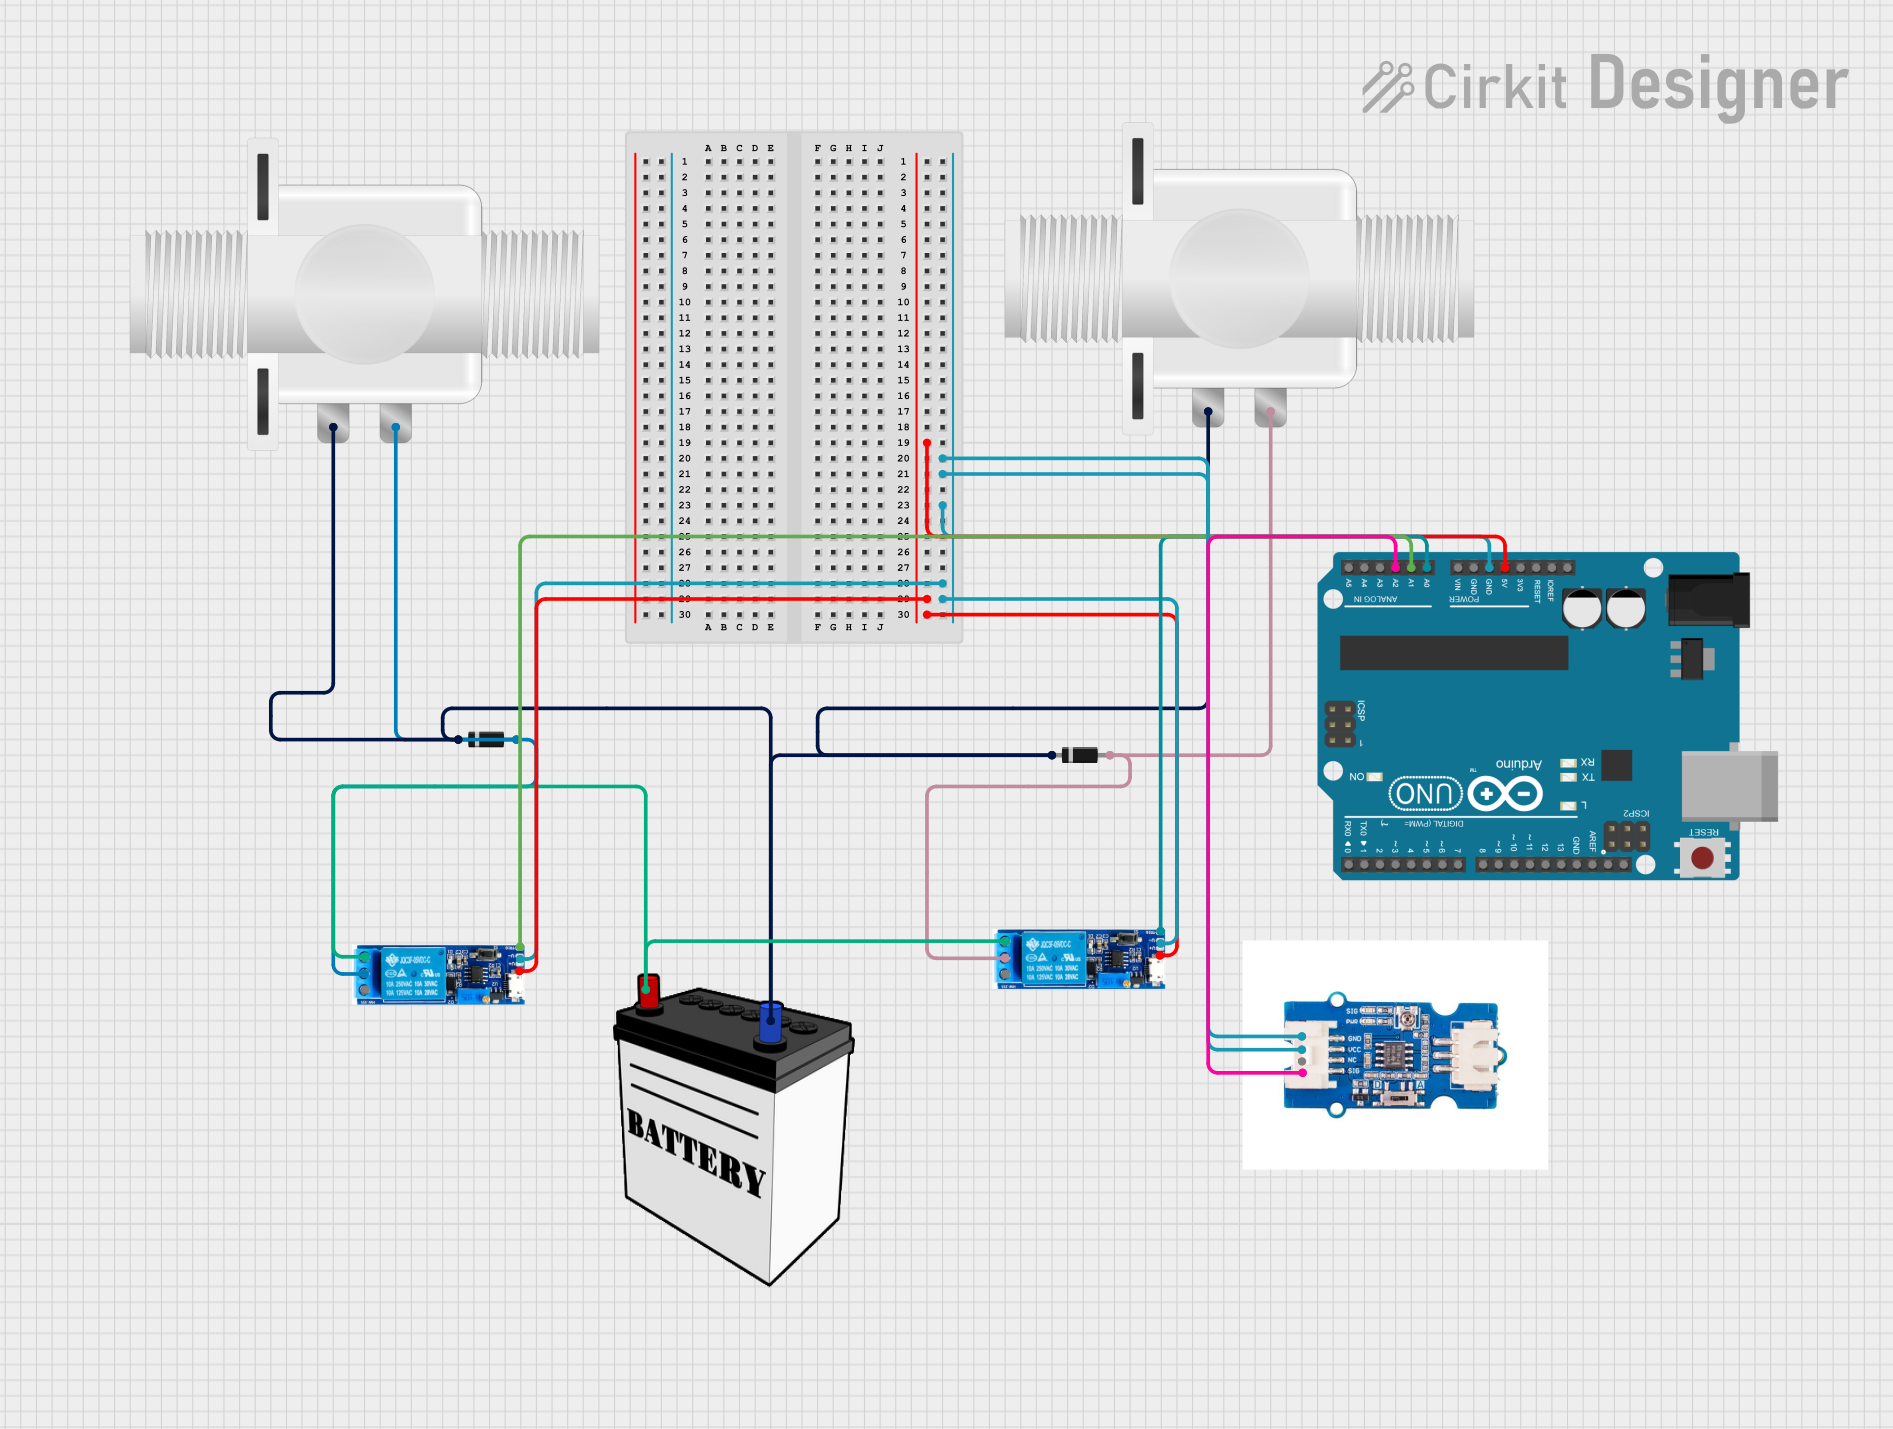
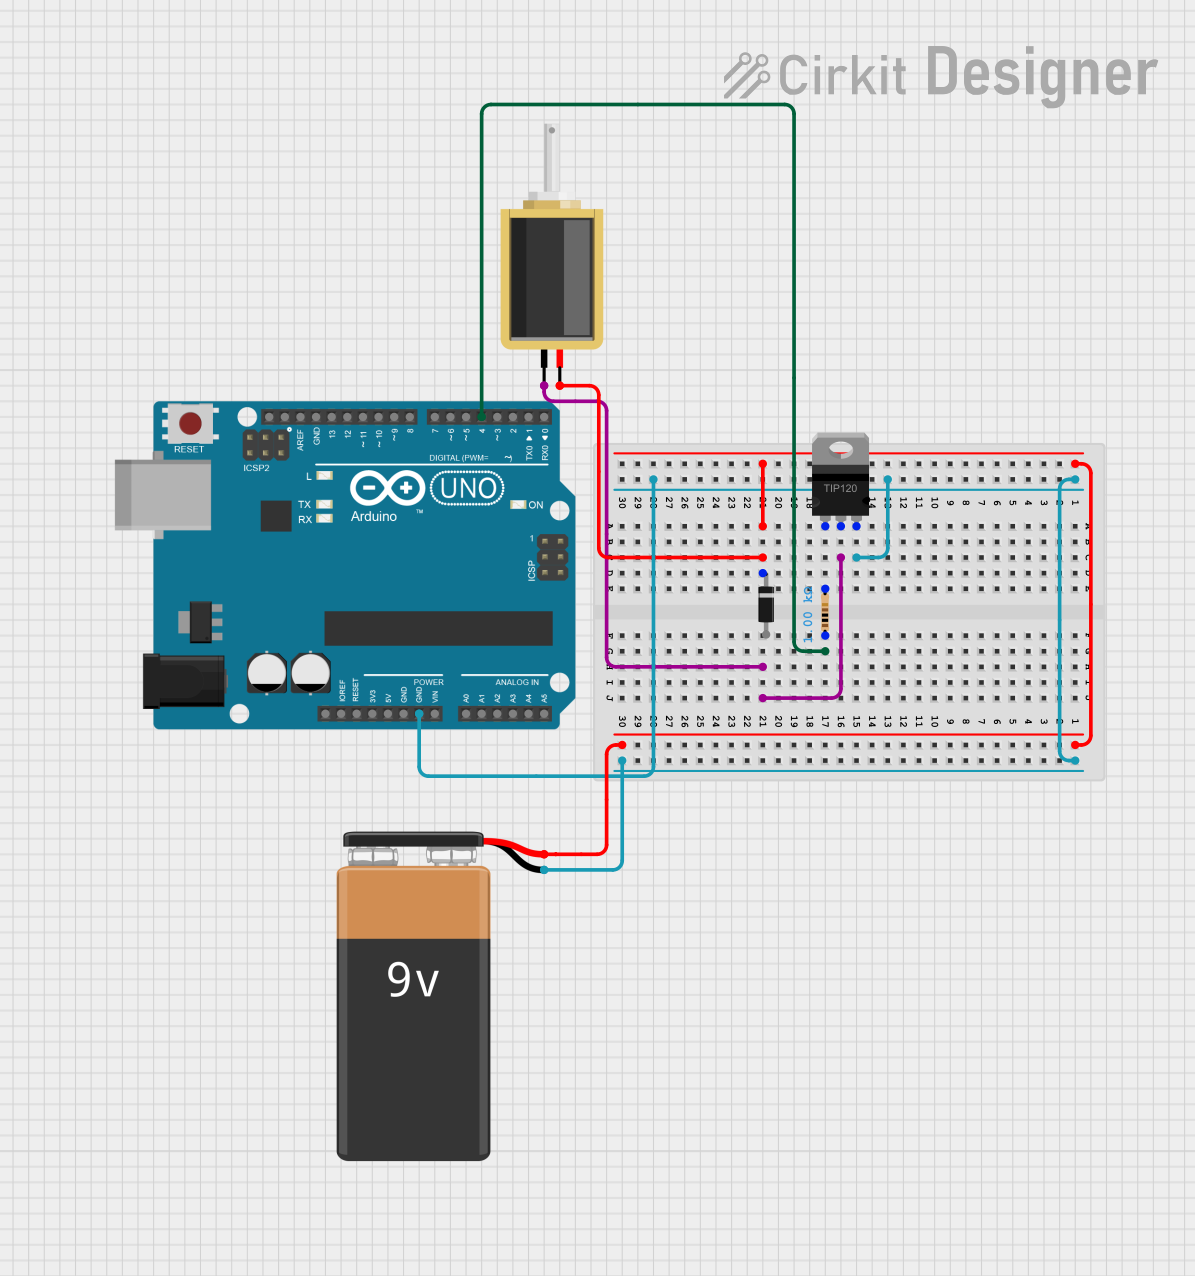
How to Use the Component in a Circuit

To use the double solenoid in a circuit, follow these steps:

  1. Power Supply: Ensure you have a 24V DC power supply capable of providing at least 1A of current.
  2. Connections:
    • Connect Pin 1 to the positive terminal of the power supply for Coil A.
    • Connect Pin 2 to the negative terminal of the power supply for Coil A.
    • Connect Pin 3 to the positive terminal of the power supply for Coil B.
    • Connect Pin 4 to the negative terminal of the power supply for Coil B.
    • Connect Pin 5 to the common ground of your circuit.
  3. Control: Use a microcontroller or relay to control the activation of each coil. Activating Coil A will move the plunger in one direction, while activating Coil B will move it in the opposite direction.

Important Considerations and Best Practices

  • Power Supply: Ensure the power supply is stable and within the specified voltage range to avoid damaging the solenoid.
  • Heat Dissipation: Double solenoids can generate heat during operation. Ensure proper ventilation or heat dissipation mechanisms are in place.
  • Duty Cycle: Although the solenoid is rated for 100% duty cycle, avoid continuous activation for extended periods to prolong the lifespan of the coils.
  • Debouncing: When using a microcontroller, implement debouncing techniques to avoid rapid switching that can cause wear and tear.

Example Code for Arduino UNO

Below is an example code to control the double solenoid using an Arduino UNO:

// Define pin connections
const int coilAPin = 8; // Pin connected to Coil A
const int coilBPin = 9; // Pin connected to Coil B

void setup() {
  // Set pin modes
  pinMode(coilAPin, OUTPUT);
  pinMode(coilBPin, OUTPUT);
}

void loop() {
  // Activate Coil A
  digitalWrite(coilAPin, HIGH);
  delay(1000); // Keep Coil A activated for 1 second

  // Deactivate Coil A
  digitalWrite(coilAPin, LOW);
  delay(500); // Wait for 0.5 seconds

  // Activate Coil B
  digitalWrite(coilBPin, HIGH);
  delay(1000); // Keep Coil B activated for 1 second

  // Deactivate Coil B
  digitalWrite(coilBPin, LOW);
  delay(500); // Wait for 0.5 seconds
}

Troubleshooting and FAQs

Common Issues Users Might Face

  1. Solenoid Not Activating:

    • Solution: Check the power supply voltage and current. Ensure connections are secure and correct.
  2. Overheating:

    • Solution: Ensure proper ventilation and avoid continuous activation for extended periods.
  3. Erratic Behavior:

    • Solution: Implement debouncing in your control logic to avoid rapid switching.

Solutions and Tips for Troubleshooting

  • Check Connections: Ensure all connections are secure and correctly configured according to the pin configuration table.
  • Measure Voltage and Current: Use a multimeter to verify that the solenoid is receiving the correct voltage and current.
  • Inspect for Damage: Check the solenoid and wiring for any signs of physical damage or wear.

By following this documentation, users can effectively integrate and troubleshoot the FESTO Double Solenoid in their projects, ensuring reliable and efficient operation.