How to Use DFRobot Capacitive Soil Moisture Sensor (V1.0): Examples, Pinouts, and Specs
Introduction
The DFRobot Capacitive Soil Moisture Sensor (V1.0) is an electronic device that measures the moisture level in soil. This sensor uses capacitive sensing technology to detect the dielectric permittivity of the surrounding medium, which in this case is soil. The dielectric permittivity changes with the amount of water in the soil, allowing the sensor to indirectly measure the soil moisture content. This sensor is commonly used in gardening, agriculture, and environmental monitoring to ensure optimal soil moisture levels for plant growth or to conserve water by providing data for irrigation control systems.
Explore Projects Built with DFRobot Capacitive Soil Moisture Sensor (V1.0)

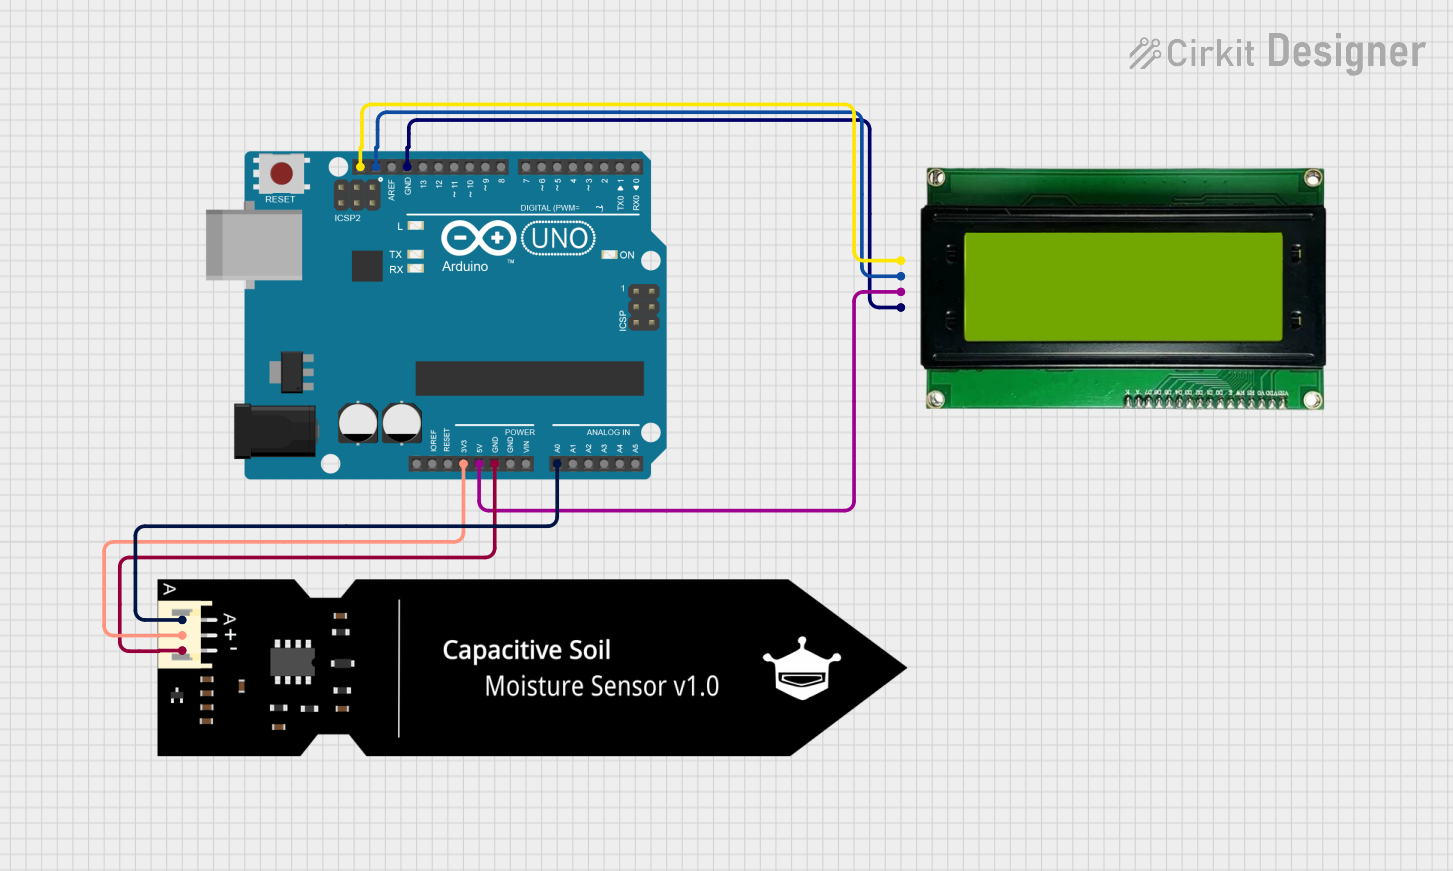
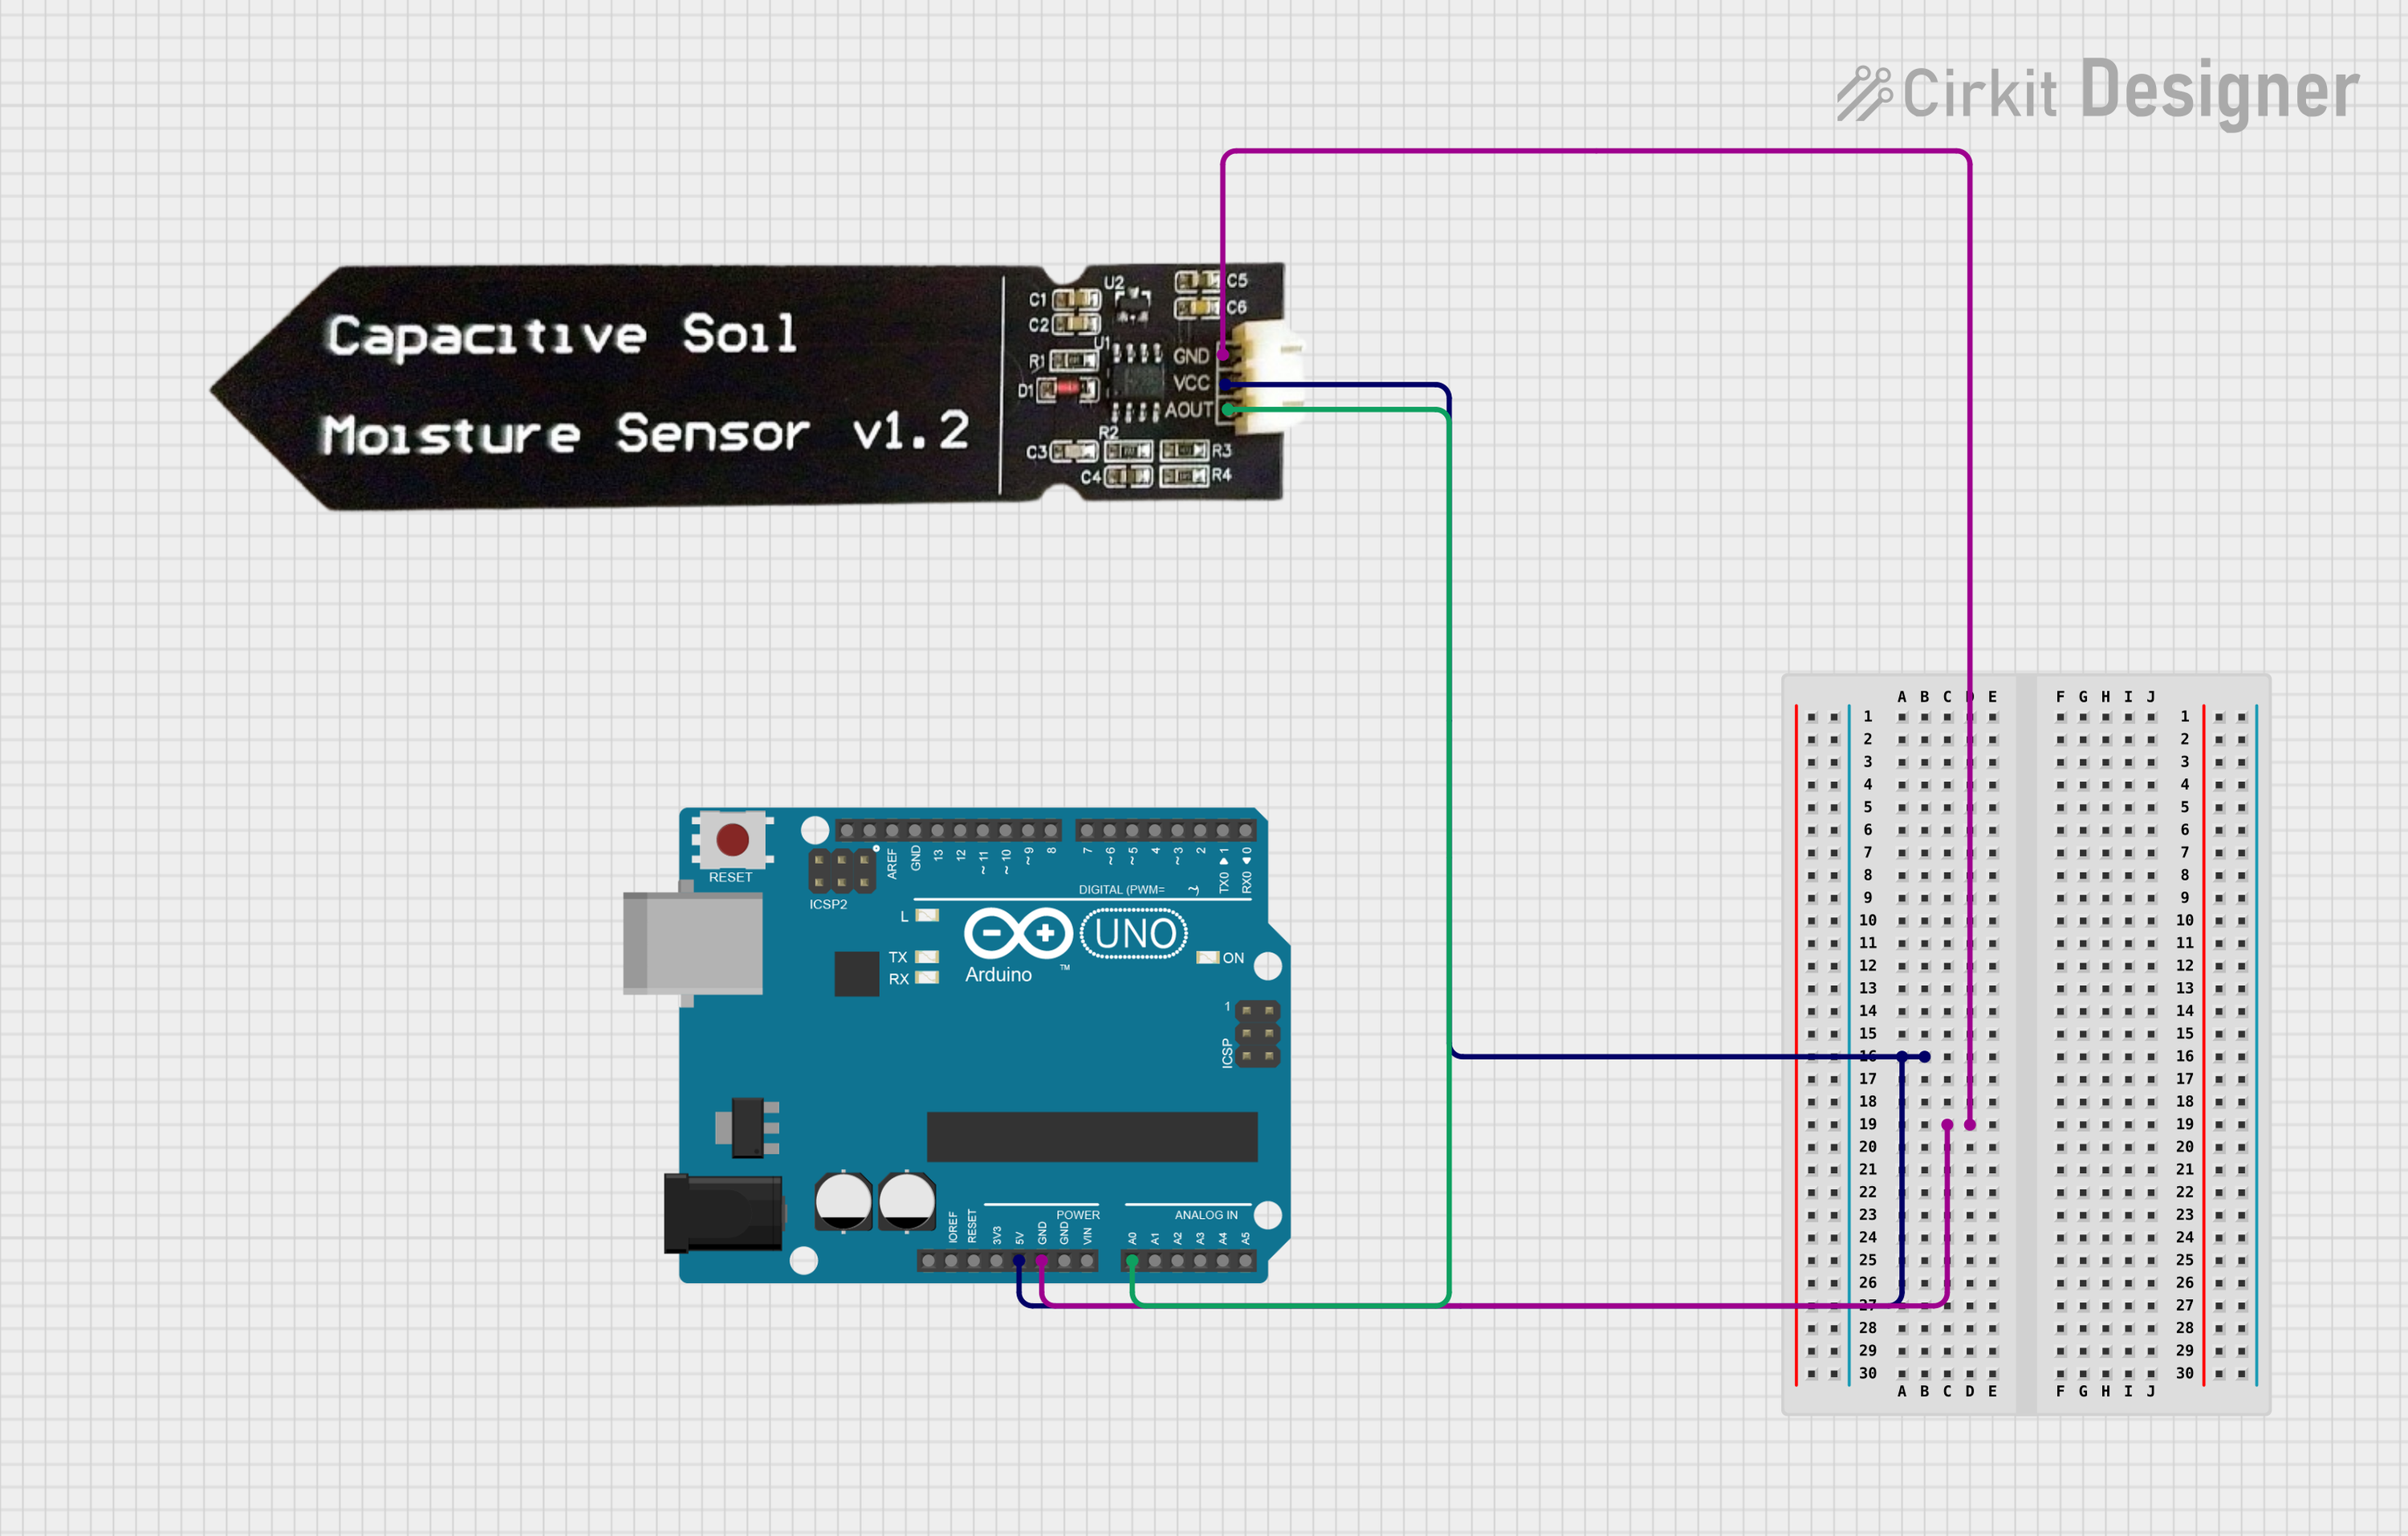
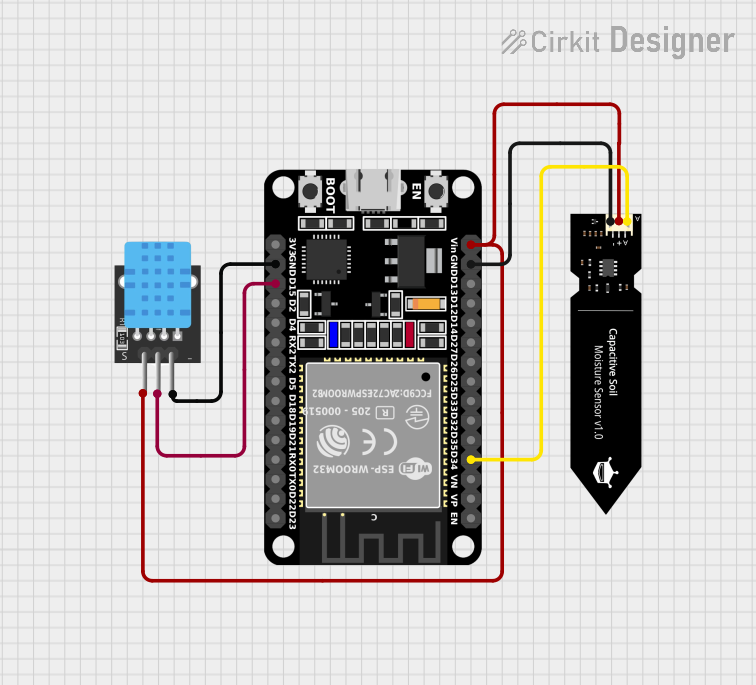
Explore Projects Built with DFRobot Capacitive Soil Moisture Sensor (V1.0)
Common Applications and Use Cases
- Automated gardening and plant care
- Agricultural irrigation systems
- Environmental monitoring
- Soil research
- Smart farming
Technical Specifications
Key Technical Details
- Operating Voltage: 3.3 - 5.5 VDC
- Output Voltage: 0 - 3.0V
- Interface: Analog
- Current: 5mA
- Operating Temperature: -40°C to +85°C
- PCB Size: 30mm * 16mm
Pin Configuration and Descriptions
| Pin Number | Name | Description |
|---|---|---|
| 1 | VCC | Power supply (3.3 - 5.5 VDC) |
| 2 | GND | Ground |
| 3 | AOUT | Analog output (0 - 3.0V) |
Usage Instructions
How to Use the Component in a Circuit
- Connect the VCC pin to the power supply (3.3V or 5V) on your microcontroller board.
- Connect the GND pin to the ground on your microcontroller board.
- Connect the AOUT pin to an analog input pin on your microcontroller board.
Important Considerations and Best Practices
- Avoid submerging the sensor completely in water or exposing it to heavy moisture, as it is not waterproof.
- Do not leave the sensor in the soil for extended periods when not in use to prevent corrosion.
- Calibrate the sensor for the specific soil type for accurate readings.
- Use a pull-down resistor if you experience floating readings when the sensor is not in the soil.
Example Code for Arduino UNO
// Define the sensor pin
const int sensorPin = A0;

void setup() {
  // Initialize serial communication at 9600 baud rate
  Serial.begin(9600);
}

void loop() {
  // Read the value from the sensor
  int sensorValue = analogRead(sensorPin);
  // Convert the analog reading to a voltage value
  float voltage = sensorValue * (5.0 / 1023.0);
  // Print the voltage value to the serial monitor
  Serial.print("Voltage: ");
  Serial.println(voltage);
  // Wait for a second before reading again
  delay(1000);
}
Troubleshooting and FAQs
Common Issues Users Might Face
- Inconsistent Readings: If the sensor provides inconsistent readings, ensure that it is not exposed to water or other conductive liquids that could cause short circuits.
- Corrosion: Over time, the sensor may corrode if left in soil. Regularly inspect and clean the sensor to maintain accuracy.
- No Readings: If the sensor does not provide any readings, check the connections to the microcontroller and ensure that the sensor is powered correctly.
Solutions and Tips for Troubleshooting
- Calibration: To calibrate the sensor, take readings from the sensor in a known dry soil and in water to set the minimum and maximum values for your application.
- Protective Coating: Apply a protective coating to the sensor's PCB to prevent corrosion if it will be used in moist environments for extended periods.
- Check Connections: Ensure that all connections are secure and that there are no broken wires or loose pins.
FAQs
Q: Can the sensor be used with a 5V system? A: Yes, the sensor can operate with a power supply between 3.3V and 5.5V.
Q: Is the sensor waterproof? A: The sensor is not waterproof and should not be submerged in water.
Q: How do I interpret the sensor's output voltage? A: The output voltage increases with the soil moisture level. Calibration is required to correlate voltage readings with actual moisture percentages.
Q: Can the sensor be left in the soil permanently? A: While the sensor is designed for use in soil, leaving it in the soil permanently can lead to corrosion. It is recommended to remove the sensor when not in use for extended periods.