Cirkit Designer
Your all-in-one circuit design IDE
Home /
Component Documentation
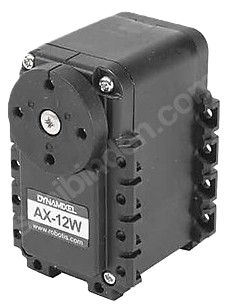
How to Use Dynamixel Motor: Examples, Pinouts, and Specs
Introduction
The Dynamixel DC Servo Motor is a high-performance servo motor with integrated control electronics, designed for precise position, speed, and torque control. Manufactured by Dynamixel, this motor is widely used in robotics and automation applications due to its reliability, versatility, and ease of integration.
Explore Projects Built with Dynamixel Motor
Arduino Mega 2560 Controlled Robotic Vehicle with Bluetooth Interface and MPU-6050 Sensor Integration

This is a robotic control circuit featuring an Arduino Mega 2560 microcontroller, which manages two DC motors via an L298N motor driver for motion control. It includes an MPU-6050 sensor for motion tracking and an HC-06 Bluetooth module for wireless communication. The Domino-8 connector facilitates power and signal connections among the components.
Nucleo 401RE Controlled Robotic Motor with Vibration Feedback and ADXL345 Accelerometer

This circuit features a Nucleo 401RE microcontroller as the central processing unit, interfacing with an ADXL345 accelerometer and an INA219 current sensor over an I2C bus for motion sensing and power monitoring, respectively. A DC motor with an encoder is driven by an L298N motor driver, with speed control potentially provided by a connected potentiometer and vibration feedback through a vibration motor. The system is powered by a 12V battery, with voltage regulation provided for the various components.
ESP32-Controlled Robotic Vehicle with Voice Recognition and Ultrasonic Sensing
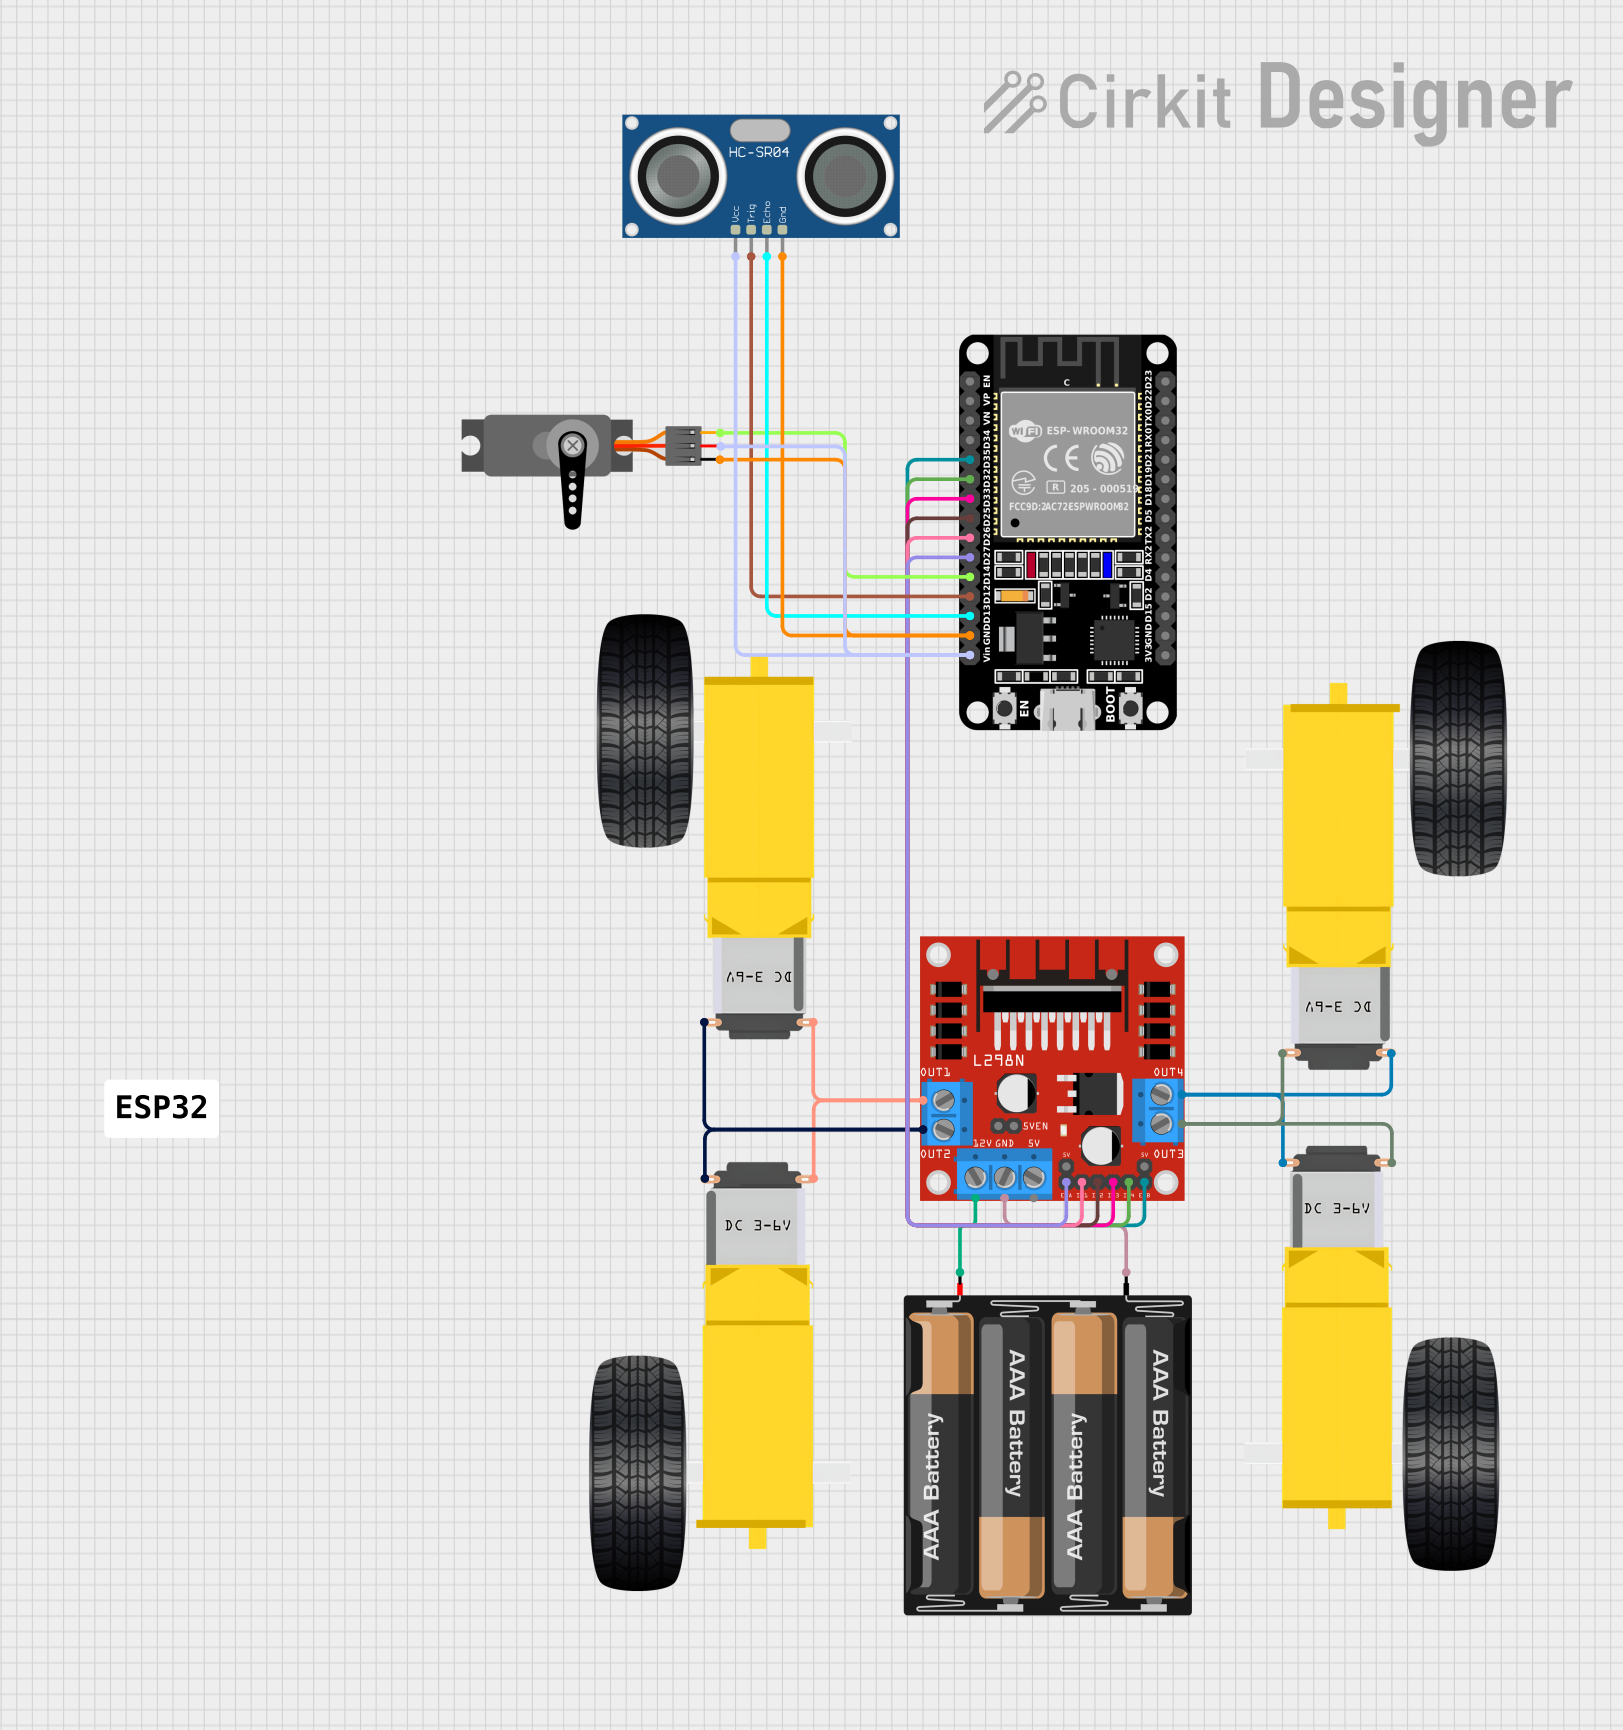
This circuit is designed to control a four-wheeled robot with two DC gearmotors for movement and a servo for additional actuation. It uses an ESP32 microcontroller for processing inputs from an HC-SR04 ultrasonic sensor and for driving the motors through an L298N motor driver. The system is powered by a 4 x AAA battery mount and includes code for handling various tasks such as voice recognition, automatic navigation, and remote control via Bluetooth or ESP-NOW communication.
Arduino and XBEE Controlled Dual DC Motor System with Joystick and Photoresistor
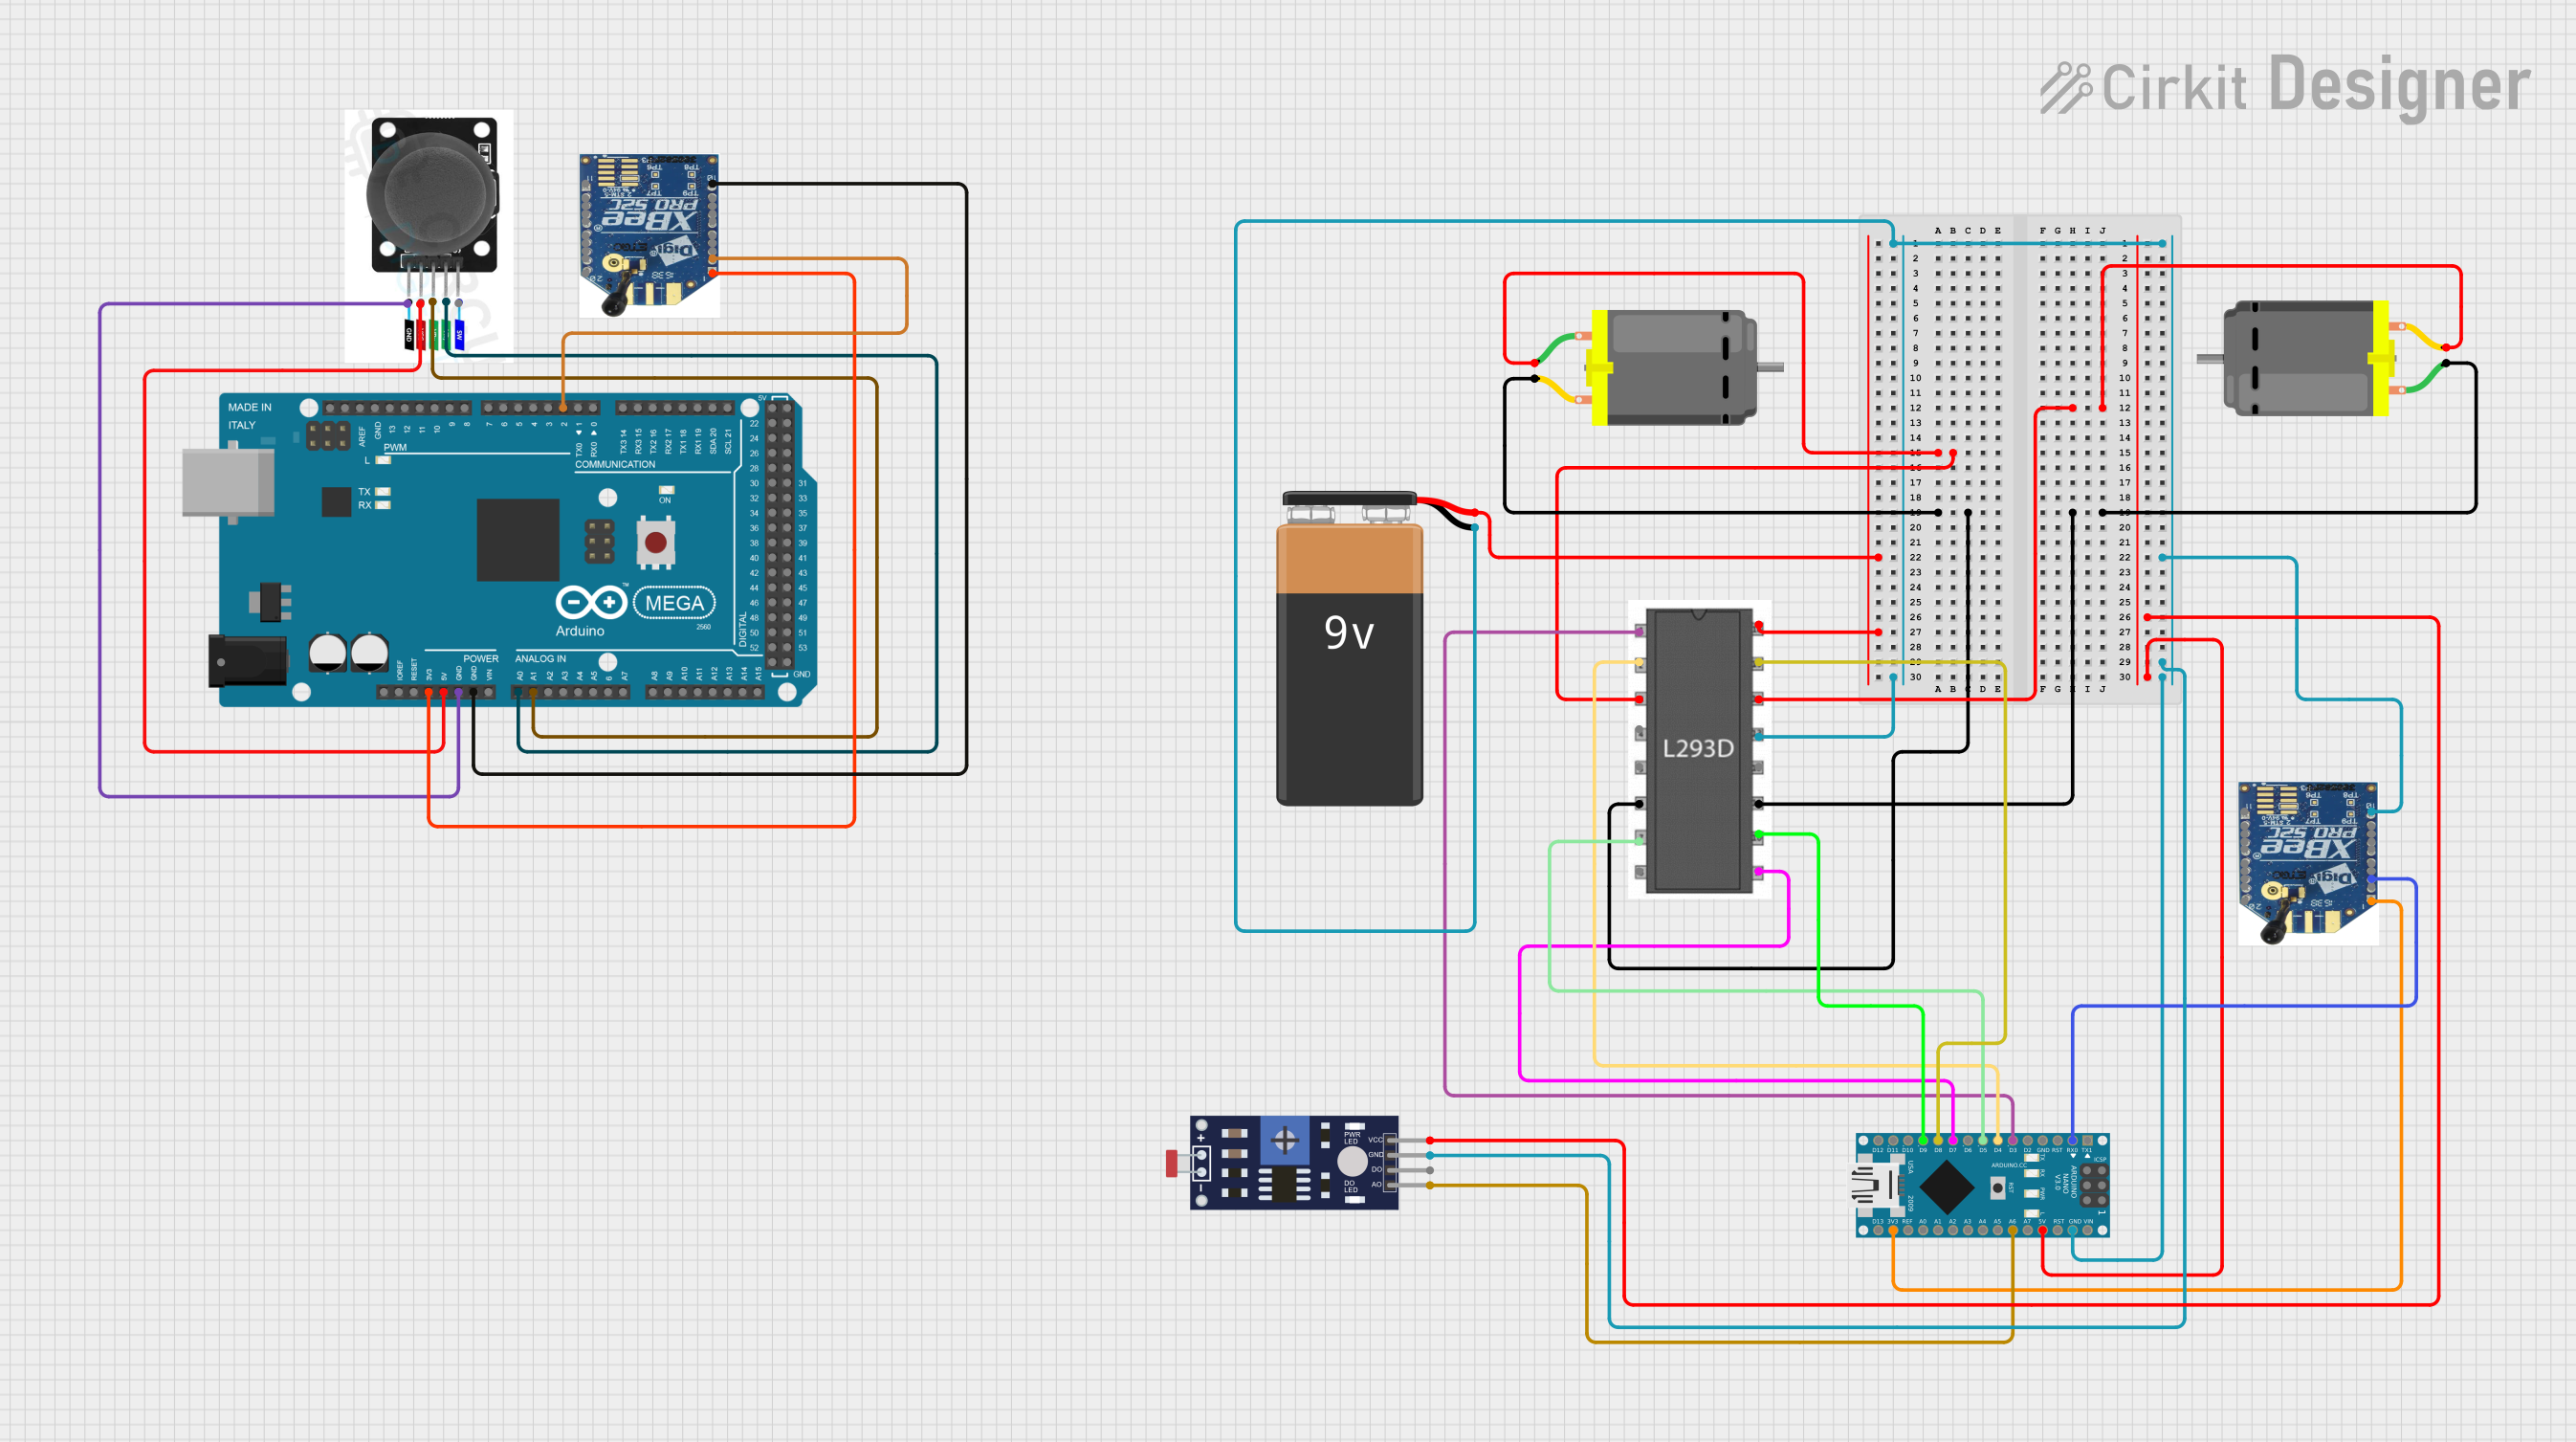
This circuit is a remote-controlled dual DC motor system using an Arduino Nano and an Arduino Mega 2560. The Arduino Nano controls the motors via an L293D motor driver, with inputs from a photoresistor sensor and an XBEE module for wireless communication. The Arduino Mega 2560 interfaces with a joystick module and another XBEE module to provide remote control capabilities.
Explore Projects Built with Dynamixel Motor
Arduino Mega 2560 Controlled Robotic Vehicle with Bluetooth Interface and MPU-6050 Sensor Integration
This is a robotic control circuit featuring an Arduino Mega 2560 microcontroller, which manages two DC motors via an L298N motor driver for motion control. It includes an MPU-6050 sensor for motion tracking and an HC-06 Bluetooth module for wireless communication. The Domino-8 connector facilitates power and signal connections among the components.
Nucleo 401RE Controlled Robotic Motor with Vibration Feedback and ADXL345 Accelerometer
This circuit features a Nucleo 401RE microcontroller as the central processing unit, interfacing with an ADXL345 accelerometer and an INA219 current sensor over an I2C bus for motion sensing and power monitoring, respectively. A DC motor with an encoder is driven by an L298N motor driver, with speed control potentially provided by a connected potentiometer and vibration feedback through a vibration motor. The system is powered by a 12V battery, with voltage regulation provided for the various components.
ESP32-Controlled Robotic Vehicle with Voice Recognition and Ultrasonic Sensing
This circuit is designed to control a four-wheeled robot with two DC gearmotors for movement and a servo for additional actuation. It uses an ESP32 microcontroller for processing inputs from an HC-SR04 ultrasonic sensor and for driving the motors through an L298N motor driver. The system is powered by a 4 x AAA battery mount and includes code for handling various tasks such as voice recognition, automatic navigation, and remote control via Bluetooth or ESP-NOW communication.
Arduino and XBEE Controlled Dual DC Motor System with Joystick and Photoresistor
This circuit is a remote-controlled dual DC motor system using an Arduino Nano and an Arduino Mega 2560. The Arduino Nano controls the motors via an L293D motor driver, with inputs from a photoresistor sensor and an XBEE module for wireless communication. The Arduino Mega 2560 interfaces with a joystick module and another XBEE module to provide remote control capabilities.
Common Applications and Use Cases
- Robotics: Used in robotic arms, humanoid robots, and mobile robots for precise movement control.
- Automation: Ideal for automated machinery requiring accurate positioning and speed control.
- Prototyping: Popular in research and development for testing and creating new robotic systems.
- Education: Frequently used in educational kits and projects to teach robotics and control systems.
Technical Specifications
Key Technical Details
| Parameter | Value |
|---|---|
| Operating Voltage | 12V - 14.8V |
| Stall Torque | Up to 10 Nm |
| No-load Speed | Up to 60 RPM |
| Communication | TTL or RS485 |
| Control Algorithm | PID Control |
| Position Resolution | 0.088° per step |
| Operating Temperature | -5°C to 70°C |
| Weight | 72g |
Pin Configuration and Descriptions
TTL Communication
| Pin Number | Pin Name | Description |
|---|---|---|
| 1 | VCC | Power Supply (12V - 14.8V) |
| 2 | GND | Ground |
| 3 | DATA | Data Line for TTL Communication |
RS485 Communication
| Pin Number | Pin Name | Description |
|---|---|---|
| 1 | VCC | Power Supply (12V - 14.8V) |
| 2 | GND | Ground |
| 3 | D+ | Data Line Positive for RS485 |
| 4 | D- | Data Line Negative for RS485 |
Usage Instructions
How to Use the Component in a Circuit
- Power Supply: Connect the VCC pin to a 12V - 14.8V power source and the GND pin to the ground.
- Communication Interface: Choose between TTL or RS485 communication based on your setup.
- For TTL, connect the DATA pin to the microcontroller's communication pin.
- For RS485, connect the D+ and D- pins to the RS485 transceiver.
- Control Signals: Use a microcontroller (e.g., Arduino UNO) to send control signals to the motor.
Important Considerations and Best Practices
- Power Supply: Ensure a stable power supply within the specified voltage range to avoid damage.
- Heat Dissipation: Provide adequate ventilation or cooling to prevent overheating during prolonged use.
- Wiring: Use appropriate gauge wires to handle the current requirements and minimize voltage drops.
- Initialization: Properly initialize the motor in your code to set the desired control parameters.
Example Code for Arduino UNO
#include <SoftwareSerial.h>

// Define the communication pins for TTL
#define TX_PIN 2
#define RX_PIN 3

SoftwareSerial dynamixelSerial(TX_PIN, RX_PIN);

void setup() {
  // Start the serial communication at 57600 baud rate
  dynamixelSerial.begin(57600);
  Serial.begin(57600);

  // Initialize the motor (example: set ID, baud rate, etc.)
  initializeMotor();
}

void loop() {
  // Example: Move motor to position 512 (middle position)
  moveMotorToPosition(512);
  delay(1000); // Wait for 1 second

  // Example: Move motor to position 1023 (maximum position)
  moveMotorToPosition(1023);
  delay(1000); // Wait for 1 second
}

void initializeMotor() {
  // Send initialization commands to the motor
  // Example: Set motor ID to 1
  sendCommand(1, 0x03, 0x01);
}

void moveMotorToPosition(int position) {
  // Send position command to the motor
  // Example: Move motor to the specified position
  sendCommand(1, 0x1E, position);
}

void sendCommand(int id, int address, int value) {
  // Construct and send the command packet
  dynamixelSerial.write(0xFF); // Header
  dynamixelSerial.write(0xFF); // Header
  dynamixelSerial.write(id);   // Motor ID
  dynamixelSerial.write(4);    // Length
  dynamixelSerial.write(address); // Address
  dynamixelSerial.write(value & 0xFF); // Value (low byte)
  dynamixelSerial.write((value >> 8) & 0xFF); // Value (high byte)
  dynamixelSerial.write(~(id + 4 + address + (value & 0xFF) + ((value >> 8) & 0xFF))); // Checksum
}
Troubleshooting and FAQs
Common Issues Users Might Face
Motor Not Responding:
- Solution: Check the power supply and ensure it is within the specified range. Verify the communication connections and ensure the correct baud rate is set.
Overheating:
- Solution: Ensure proper ventilation and consider adding a cooling mechanism. Check for any obstructions or excessive load on the motor.
Inconsistent Movement:
- Solution: Verify the control signals and ensure they are within the specified range. Check for any mechanical issues or obstructions.
Solutions and Tips for Troubleshooting
- Check Connections: Ensure all connections are secure and correctly wired.
- Verify Code: Double-check the code for any errors or incorrect parameters.
- Consult Documentation: Refer to the manufacturer's documentation for detailed information and troubleshooting tips.
- Use Diagnostic Tools: Utilize diagnostic tools or software provided by the manufacturer to identify and resolve issues.
By following this documentation, users can effectively integrate and utilize the Dynamixel DC Servo Motor in their projects, ensuring reliable and precise control for various applications.