
How to Use Adafruit I2S Amp BFF: Examples, Pinouts, and Specs
 Design with Adafruit I2S Amp BFF in Cirkit Designer
Introduction
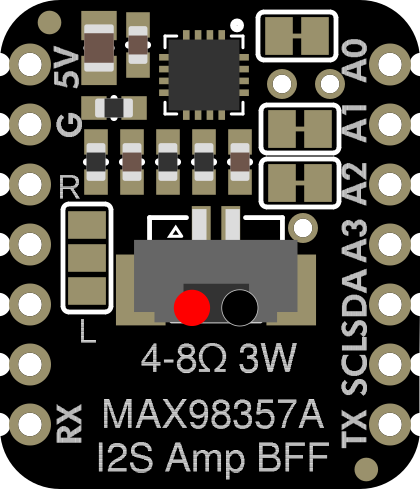
The Adafruit I2S Amp BFF (Part ID: 5770) is a compact audio amplifier designed to work with I2S digital audio signals. It is an ideal solution for projects requiring high-quality sound output in a small form factor. This amplifier is specifically designed to interface seamlessly with microcontrollers and development boards, such as the Raspberry Pi or Arduino, and is perfect for driving small speakers in DIY audio applications.
Explore Projects Built with Adafruit I2S Amp BFF
 Open Project in Cirkit Designer
 Open Project in Cirkit Designer
 Open Project in Cirkit Designer
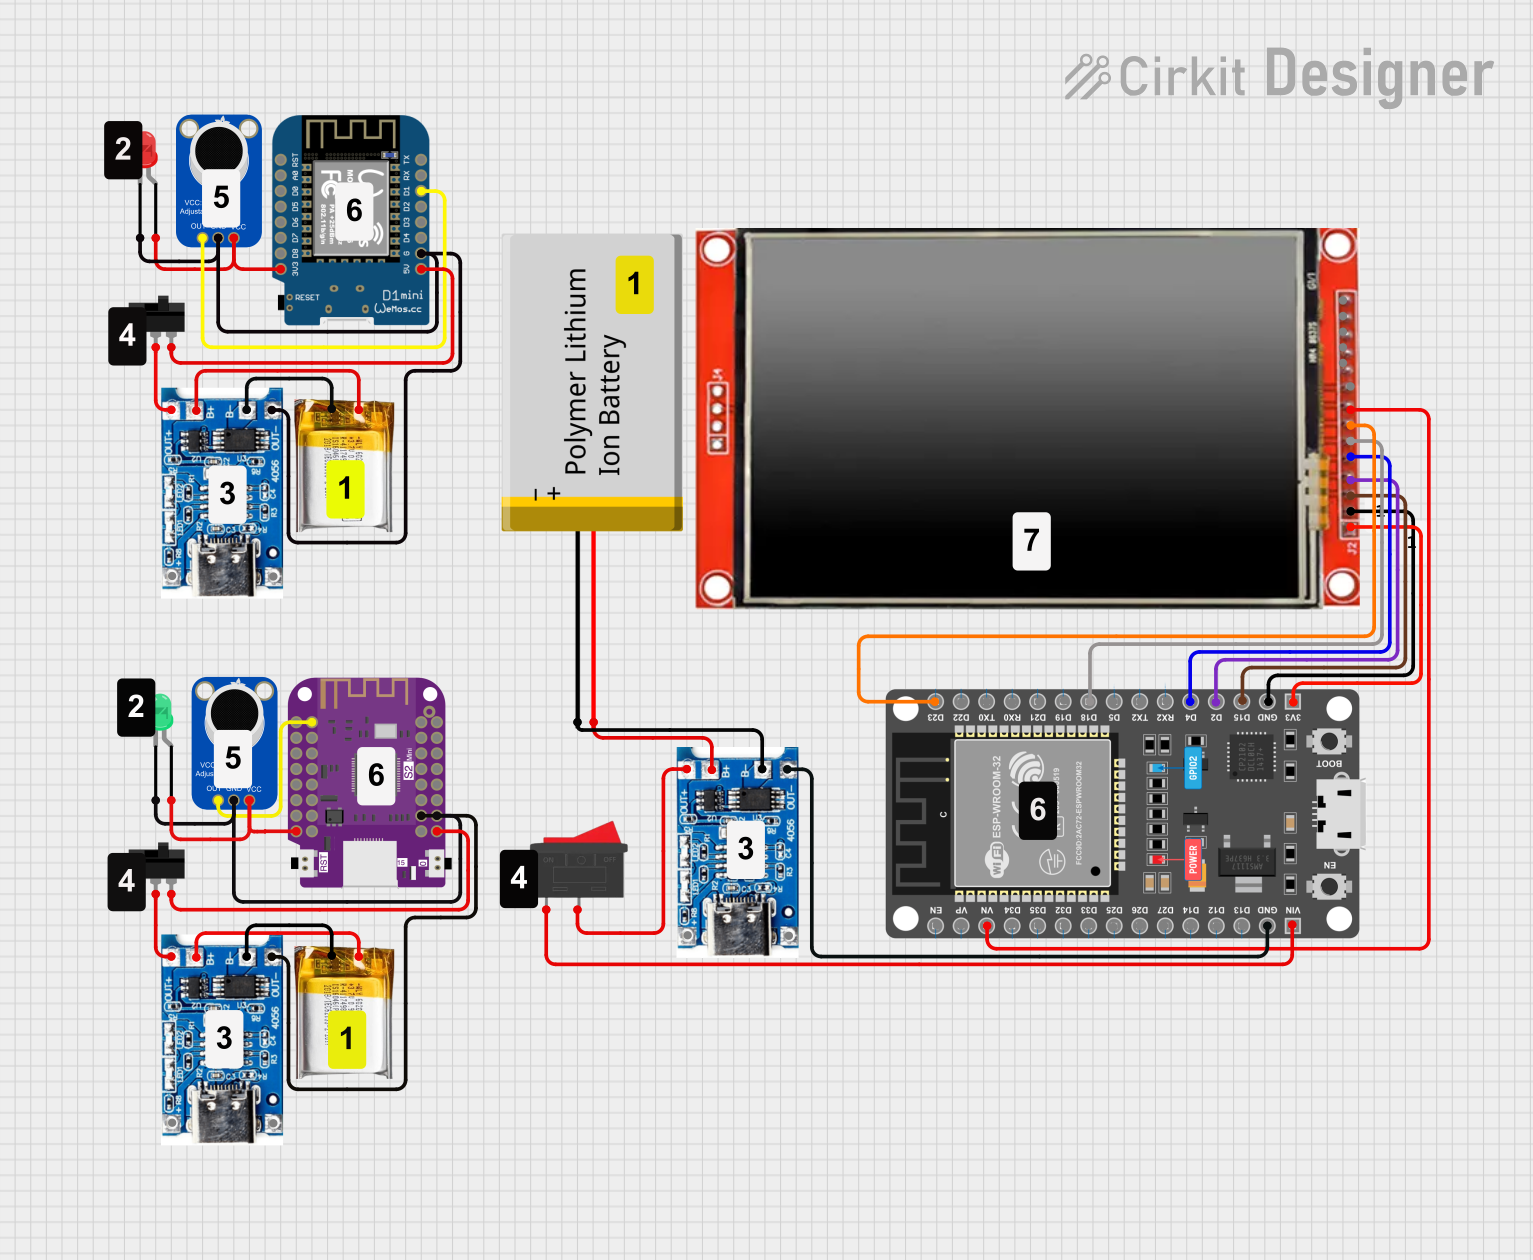 Open Project in Cirkit Designer
Explore Projects Built with Adafruit I2S Amp BFF
Open Project in Cirkit DesignerOpen Project in Cirkit DesignerOpen Project in Cirkit DesignerOpen Project in Cirkit DesignerCommon Applications
- Portable audio players
- DIY Bluetooth speakers
- Voice assistants and smart home devices
- Embedded systems requiring audio output
- Educational and prototyping projects
Technical Specifications
The Adafruit I2S Amp BFF is built to deliver excellent audio performance while maintaining ease of use. Below are its key technical details:
Key Specifications
| Parameter | Value |
|---|---|
| Manufacturer | Adafruit |
| Part ID | 5770 |
| Input Signal Type | I2S digital audio |
| Output Power | 3.2W at 4Ω (with 5V power supply) |
| Operating Voltage | 3.3V to 5V |
| Speaker Impedance | 4Ω to 8Ω |
| Dimensions | 22mm x 17mm x 3mm |
| Weight | 1.2g |
Pin Configuration and Descriptions
The Adafruit I2S Amp BFF features a simple pinout for easy integration into your projects. Below is the pin configuration:
| Pin Name | Description |
|---|---|
| VIN | Power input (3.3V to 5V). Connect to the power supply of your microcontroller. |
| GND | Ground connection. |
| DIN | I2S data input. Connect to the I2S data output pin of your microcontroller. |
| BCLK | I2S bit clock input. Connect to the I2S bit clock output of your microcontroller. |
| LRCLK | I2S left-right clock input. Connect to the I2S LR clock output of your microcontroller. |
| SPK+ | Positive terminal for the speaker. |
| SPK- | Negative terminal for the speaker. |
Usage Instructions
The Adafruit I2S Amp BFF is straightforward to use in your audio projects. Follow the steps below to integrate it into your circuit:
Connecting the Component
- Power Supply: Connect the
VINpin to a 3.3V or 5V power source and theGNDpin to ground. - I2S Connections:
- Connect the
DINpin to the I2S data output pin of your microcontroller. - Connect the
BCLKpin to the I2S bit clock output pin of your microcontroller. - Connect the
LRCLKpin to the I2S left-right clock output pin of your microcontroller.
- Connect the
- Speaker Connection: Attach the positive terminal of your speaker to the
SPK+pin and the negative terminal to theSPK-pin.
Important Considerations
- Ensure that your speaker impedance is between 4Ω and 8Ω for optimal performance.
- Use a power supply that matches the voltage requirements of both the amplifier and your microcontroller.
- Keep the I2S signal wires as short as possible to minimize noise and signal degradation.
- Avoid connecting the amplifier to a power source exceeding 5V, as this may damage the component.
Example: Using with Arduino UNO
The Adafruit I2S Amp BFF can be connected to an Arduino UNO using an I2S-compatible breakout board, such as the Adafruit I2S MEMS Microphone. Below is an example Arduino sketch to output a simple sine wave:
#include <Adafruit_ZeroI2S.h>

// Initialize I2S interface
Adafruit_ZeroI2S i2s;

void setup() {
  // Begin serial communication for debugging
  Serial.begin(115200);
  while (!Serial);

  // Configure I2S for 16-bit audio at 44.1kHz
  if (!i2s.begin(I2S_16_BIT, 44100)) {
    Serial.println("Failed to initialize I2S!");
    while (1);
  }
  Serial.println("I2S initialized successfully.");
}

void loop() {
  // Generate a simple sine wave for testing
  static uint16_t sample = 0;
  int16_t sineWave = 32767 * sin(2 * PI * 440 * sample / 44100); // 440Hz tone
  sample++;

  // Write the sine wave to the I2S amplifier
  i2s.write(sineWave, sineWave);
}
Notes:
- This example assumes you have an I2S-compatible breakout board connected to the Arduino.
- The sine wave frequency can be adjusted by modifying the
440value in the code.
Troubleshooting and FAQs
Common Issues
No Sound Output:
- Verify that the I2S connections (
DIN,BCLK,LRCLK) are correctly wired to the microcontroller. - Ensure the speaker is properly connected to the
SPK+andSPK-pins. - Check that the power supply voltage is within the specified range (3.3V to 5V).
- Verify that the I2S connections (
Distorted Audio:
- Ensure the speaker impedance is within the recommended range (4Ω to 8Ω).
- Verify that the I2S clock signals are stable and correctly configured in your microcontroller.
Overheating:
- Avoid driving the amplifier at maximum power for extended periods.
- Ensure proper ventilation around the amplifier.
FAQs
Q: Can I use this amplifier with a Raspberry Pi?
A: Yes, the Adafruit I2S Amp BFF is fully compatible with the Raspberry Pi's I2S interface. You can use it to output high-quality audio from your Raspberry Pi projects.
Q: What is the maximum speaker power I can use?
A: The amplifier can deliver up to 3.2W of power to a 4Ω speaker when powered with a 5V supply.
Q: Can I use this amplifier with headphones?
A: No, this amplifier is designed for driving small speakers, not headphones. Using it with headphones may result in poor performance or damage to the headphones.
Q: Do I need additional components to use this amplifier?
A: No additional components are required, but you may need an I2S-compatible microcontroller or breakout board to generate the I2S signals.