How to Use 7 inch DSI display modul for raspberry PI: Examples, Pinouts, and Specs
Introduction
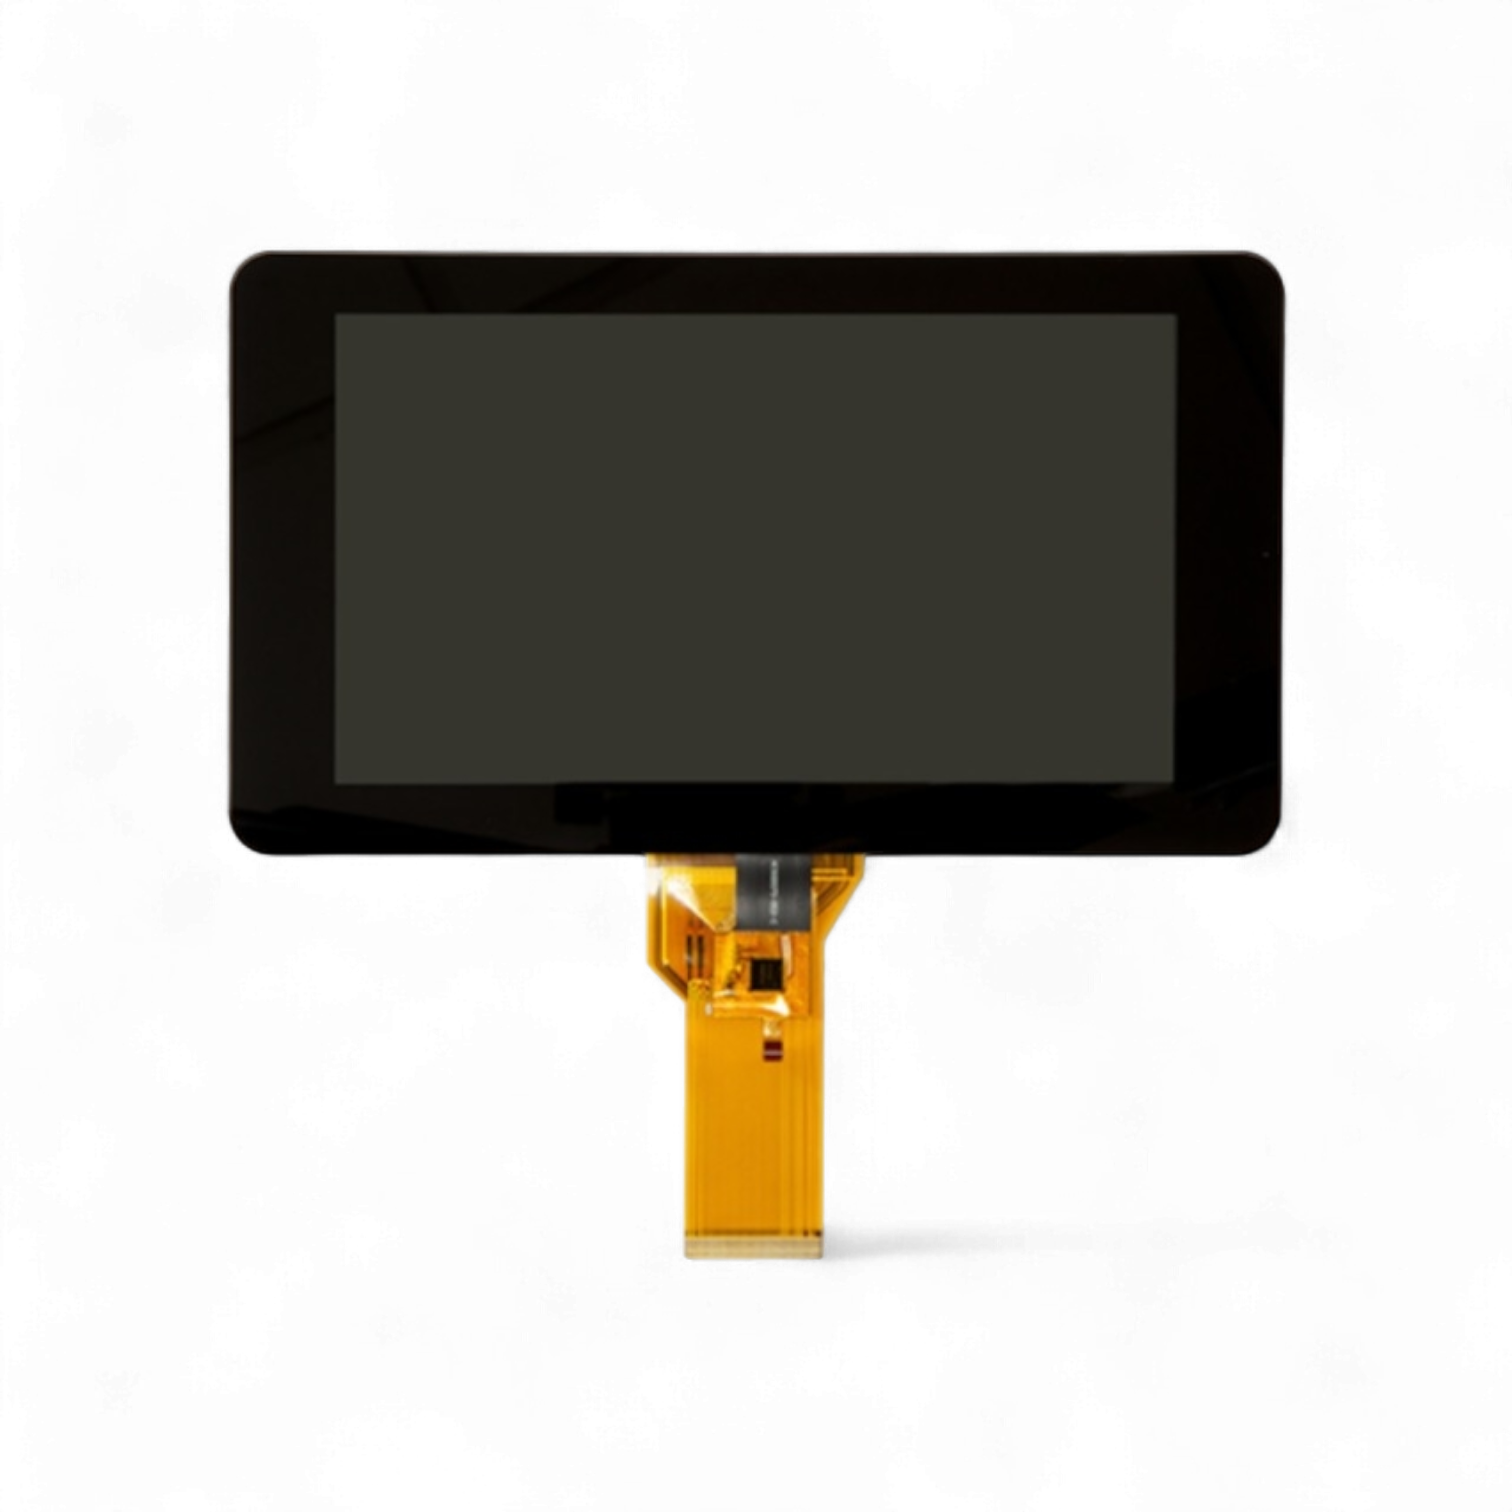
The 7-inch DSI (Display Serial Interface) Display Module is a high-quality touchscreen designed specifically for Raspberry Pi boards. Manufactured by Raspberry Pi, this display offers a seamless interface for creating interactive projects, such as kiosks, home automation systems, and portable computing devices. With its high-speed DSI interface, the display ensures smooth data transfer and excellent visual performance.
Explore Projects Built with 7 inch DSI display modul for raspberry PI
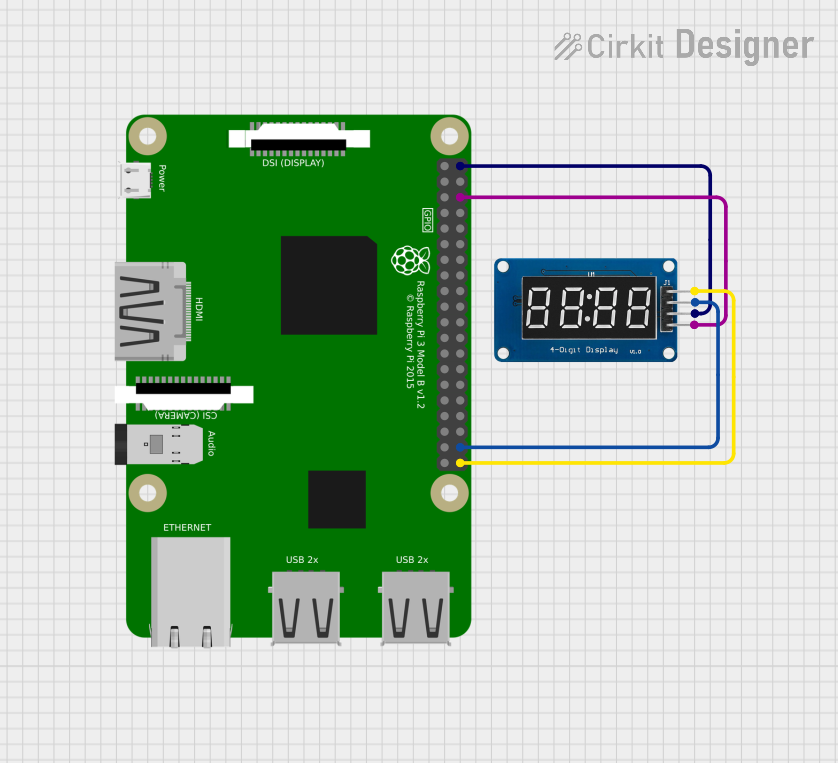
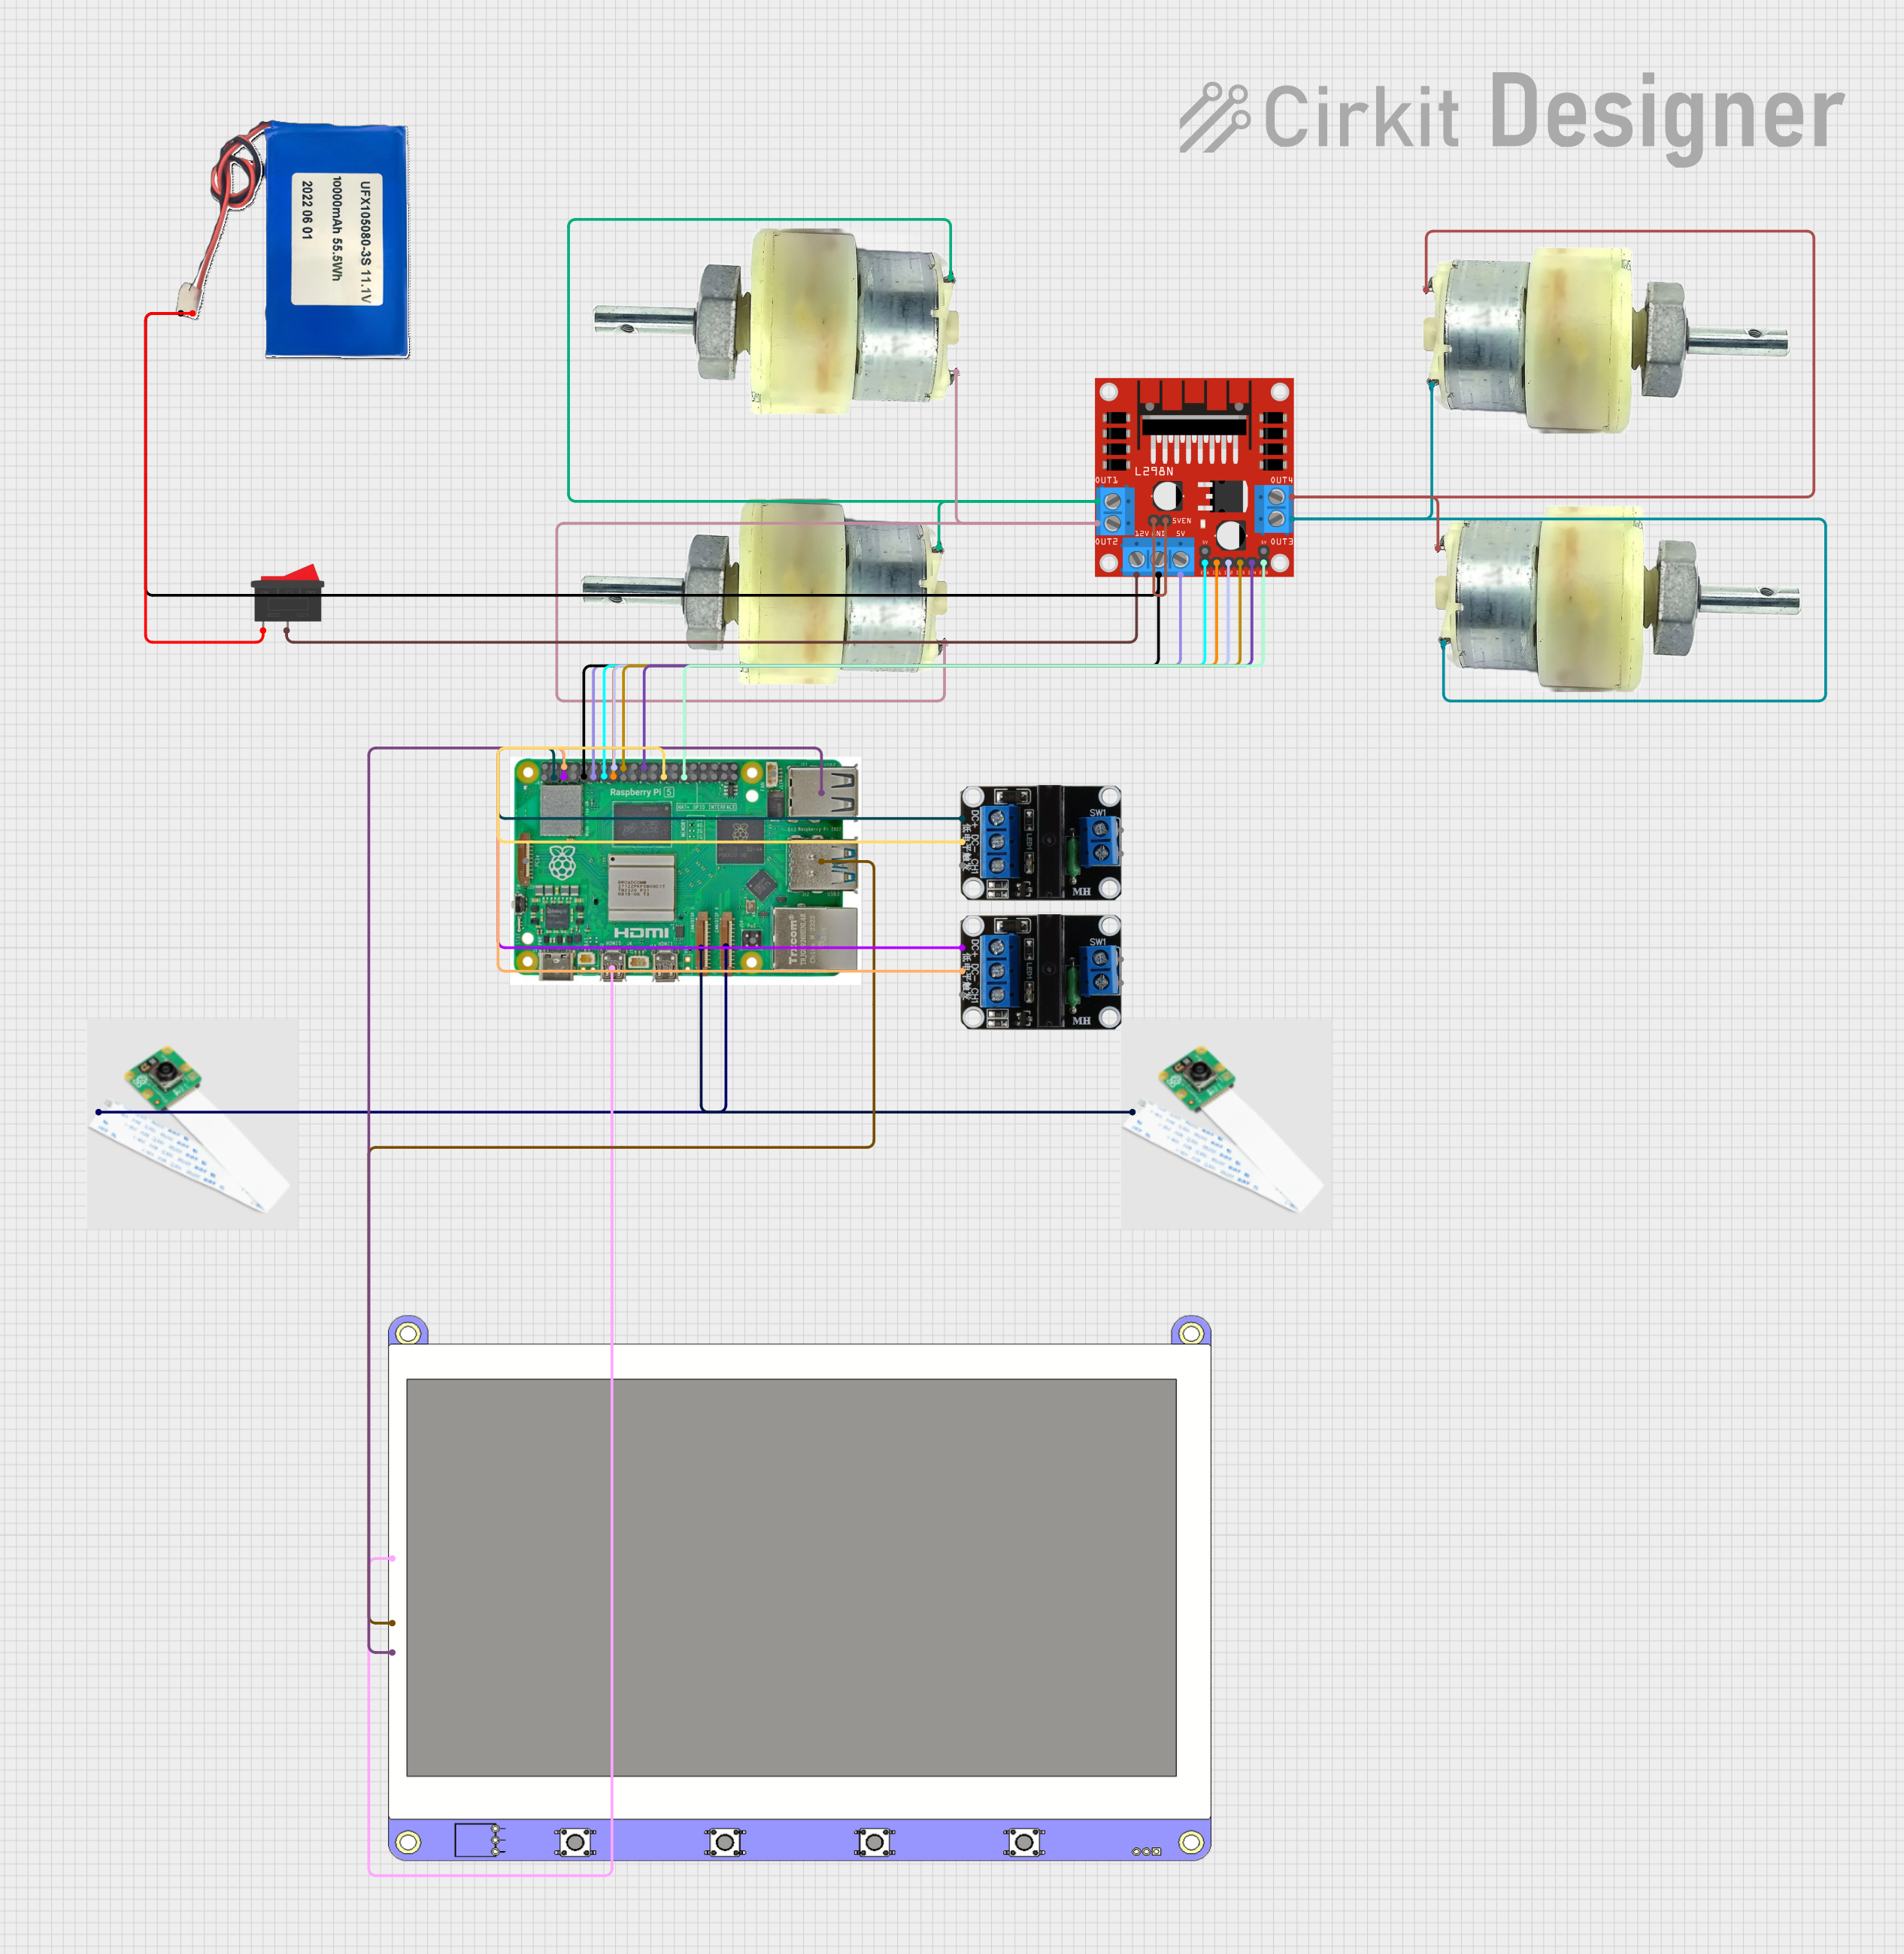

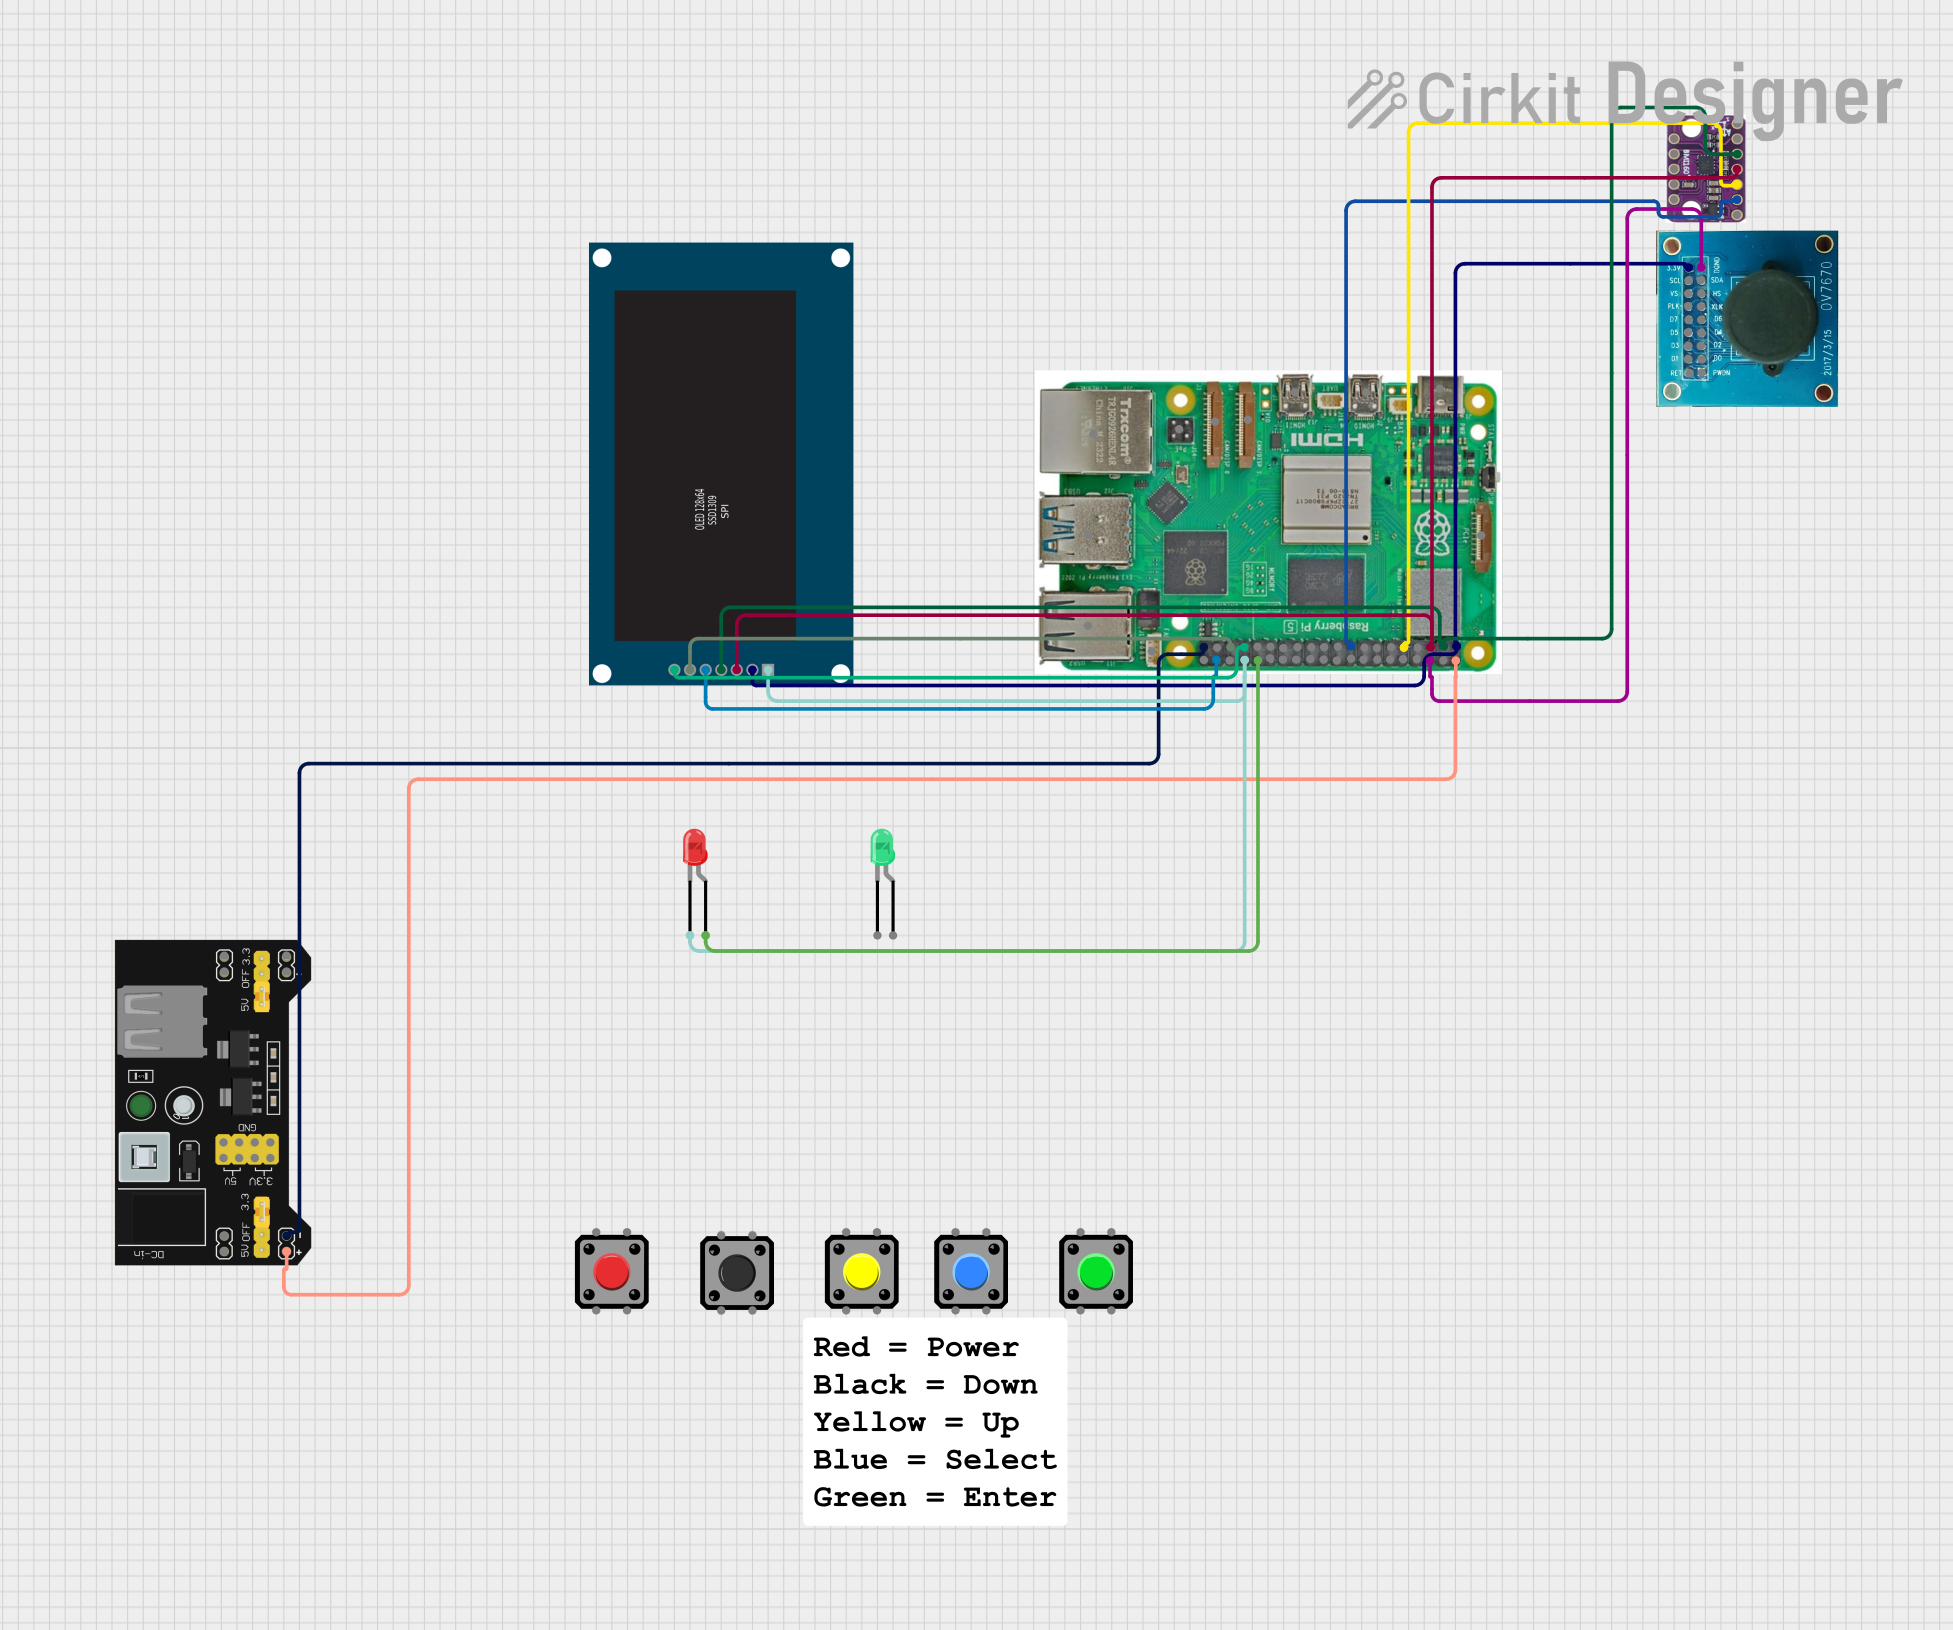
Explore Projects Built with 7 inch DSI display modul for raspberry PI
Common Applications and Use Cases
- DIY Projects: Ideal for building custom Raspberry Pi-based devices with touch functionality.
- Home Automation: Used in smart home control panels and monitoring systems.
- Portable Computing: Suitable for creating compact, portable Raspberry Pi computers.
- Education: Perfect for teaching programming and electronics with an interactive display.
- Kiosks: Used in public information systems and interactive displays.
Technical Specifications
Below are the key technical details of the 7-inch DSI Display Module:
General Specifications
| Parameter | Value |
|---|---|
| Manufacturer | Raspberry Pi |
| Manufacturer Part ID | Raspberry Pi 4 |
| Display Size | 7 inches |
| Resolution | 800 x 480 pixels |
| Touchscreen Type | Capacitive |
| Interface | DSI (Display Serial Interface) |
| Power Supply | 5V (via Raspberry Pi GPIO or USB) |
| Dimensions | 194mm x 110mm x 20mm |
| Weight | 277g |
Pin Configuration and Descriptions
The display connects to the Raspberry Pi via the DSI ribbon cable. Below is the pin configuration for the DSI interface:
| Pin Number | Pin Name | Description |
|---|---|---|
| 1 | GND | Ground connection |
| 2 | DSI_CLK | Clock signal for the DSI interface |
| 3 | DSI_D0 | Data lane 0 for the DSI interface |
| 4 | DSI_D1 | Data lane 1 for the DSI interface |
| 5 | 5V | Power supply (5V) |
| 6 | Touch_INT | Interrupt signal for the capacitive touchscreen |
| 7 | Touch_SCL | I2C clock for touchscreen communication |
| 8 | Touch_SDA | I2C data for touchscreen communication |
Usage Instructions
Connecting the Display to a Raspberry Pi
Prepare the Hardware:
- Ensure your Raspberry Pi is powered off before connecting the display.
- Locate the DSI port on your Raspberry Pi board (near the GPIO pins).
Connect the Ribbon Cable:
- Insert one end of the ribbon cable into the DSI port on the Raspberry Pi.
- Connect the other end to the DSI connector on the display module.
- Ensure the cable is securely seated and the connectors are locked.
Power the Display:
- The display can be powered via the Raspberry Pi's GPIO pins or USB power supply.
- Ensure a stable 5V power source is used.
Enable the Display in Software:
- Boot your Raspberry Pi and open the terminal.
- Edit the
config.txtfile to enable the DSI display:sudo nano /boot/config.txt - Add the following lines to the file:
dtoverlay=vc4-kms-v3d display_default_lcd=1 - Save the file and reboot the Raspberry Pi:
sudo reboot
Calibrate the Touchscreen (Optional):
- Install the touchscreen calibration tool:
sudo apt-get install xinput-calibrator - Run the calibration tool and follow the on-screen instructions.
- Install the touchscreen calibration tool:
Example Code for Touchscreen Input
Below is an example Python script to read touchscreen input using the evdev library:
Import necessary libraries
import evdev from evdev import InputDevice, categorize, ecodes
Specify the touchscreen input device
Replace '/dev/input/event0' with the correct event file for your touchscreen
touchscreen = InputDevice('/dev/input/event0')
print("Touchscreen is ready. Touch the screen to see events.")
Loop to read and print touchscreen events
for event in touchscreen.read_loop(): if event.type == ecodes.EV_ABS: # Categorize the event to extract details absevent = categorize(event) print(f"Touch event: {absevent.event.code}, Value: {absevent.event.value}")
Important Considerations and Best Practices
- Compatibility: Ensure the display is compatible with your Raspberry Pi model.
- Power Supply: Use a reliable 5V power source to avoid flickering or instability.
- Cable Handling: Handle the ribbon cable carefully to prevent damage to the connectors.
- Software Updates: Keep your Raspberry Pi OS updated to ensure compatibility with the display.
Troubleshooting and FAQs
Common Issues and Solutions
Display Not Turning On:
- Ensure the ribbon cable is securely connected to both the Raspberry Pi and the display.
- Verify that the Raspberry Pi is powered on and the
config.txtfile is correctly configured.
Touchscreen Not Responding:
- Check the I2C connections (Touch_SCL and Touch_SDA) for proper contact.
- Ensure the touchscreen driver is installed and loaded.
Flickering or Unstable Display:
- Use a stable 5V power supply with sufficient current (at least 2.5A).
- Avoid using long or low-quality ribbon cables.
Incorrect Touch Calibration:
- Run the
xinput-calibratortool to recalibrate the touchscreen.
- Run the
FAQs
Q: Can I use this display with other single-board computers?
A: The display is designed for Raspberry Pi boards with a DSI interface. Compatibility with other boards is not guaranteed.
Q: Does the display support multitouch?
A: Yes, the capacitive touchscreen supports up to 10 touch points.
Q: Can I use the display in portrait mode?
A: Yes, you can rotate the display by modifying the config.txt file. Add the following line:
display_rotate=1 # 0=Normal, 1=90°, 2=180°, 3=270°
Q: Is the display sunlight-readable?
A: The display is not designed for direct sunlight use. For outdoor applications, consider using a sunshade or anti-glare film.
This concludes the documentation for the 7-inch DSI Display Module for Raspberry Pi.