How to Use KY-025: Examples, Pinouts, and Specs
Introduction
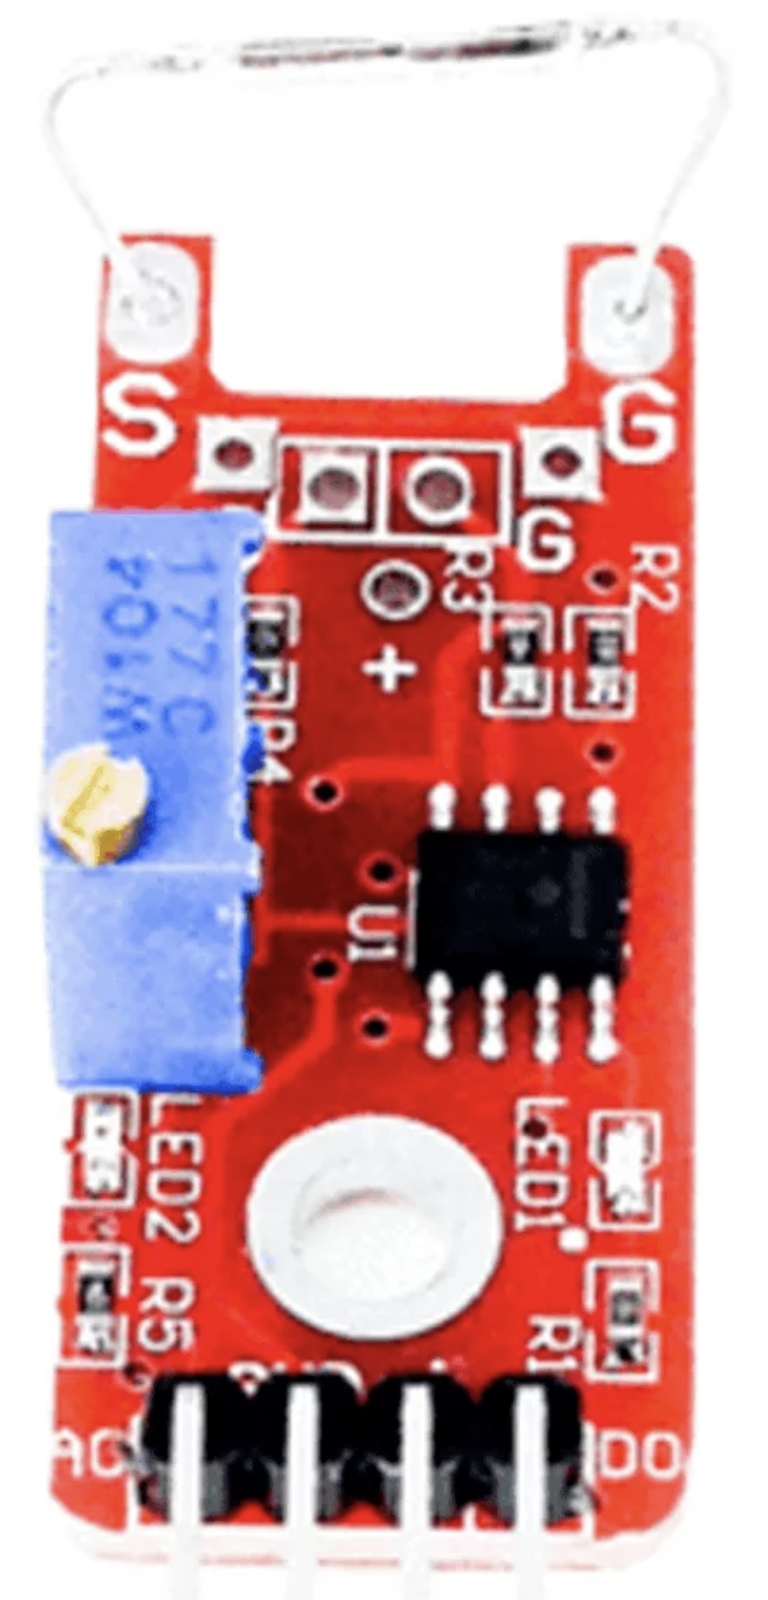
The KY-025 is a temperature and humidity sensor module that integrates the DHT11 sensor. It is designed to measure environmental temperature and relative humidity, providing digital output for easy interfacing with microcontrollers and other digital systems. The module is widely used in weather stations, home automation systems, and industrial monitoring applications due to its simplicity and reliability.
Explore Projects Built with KY-025

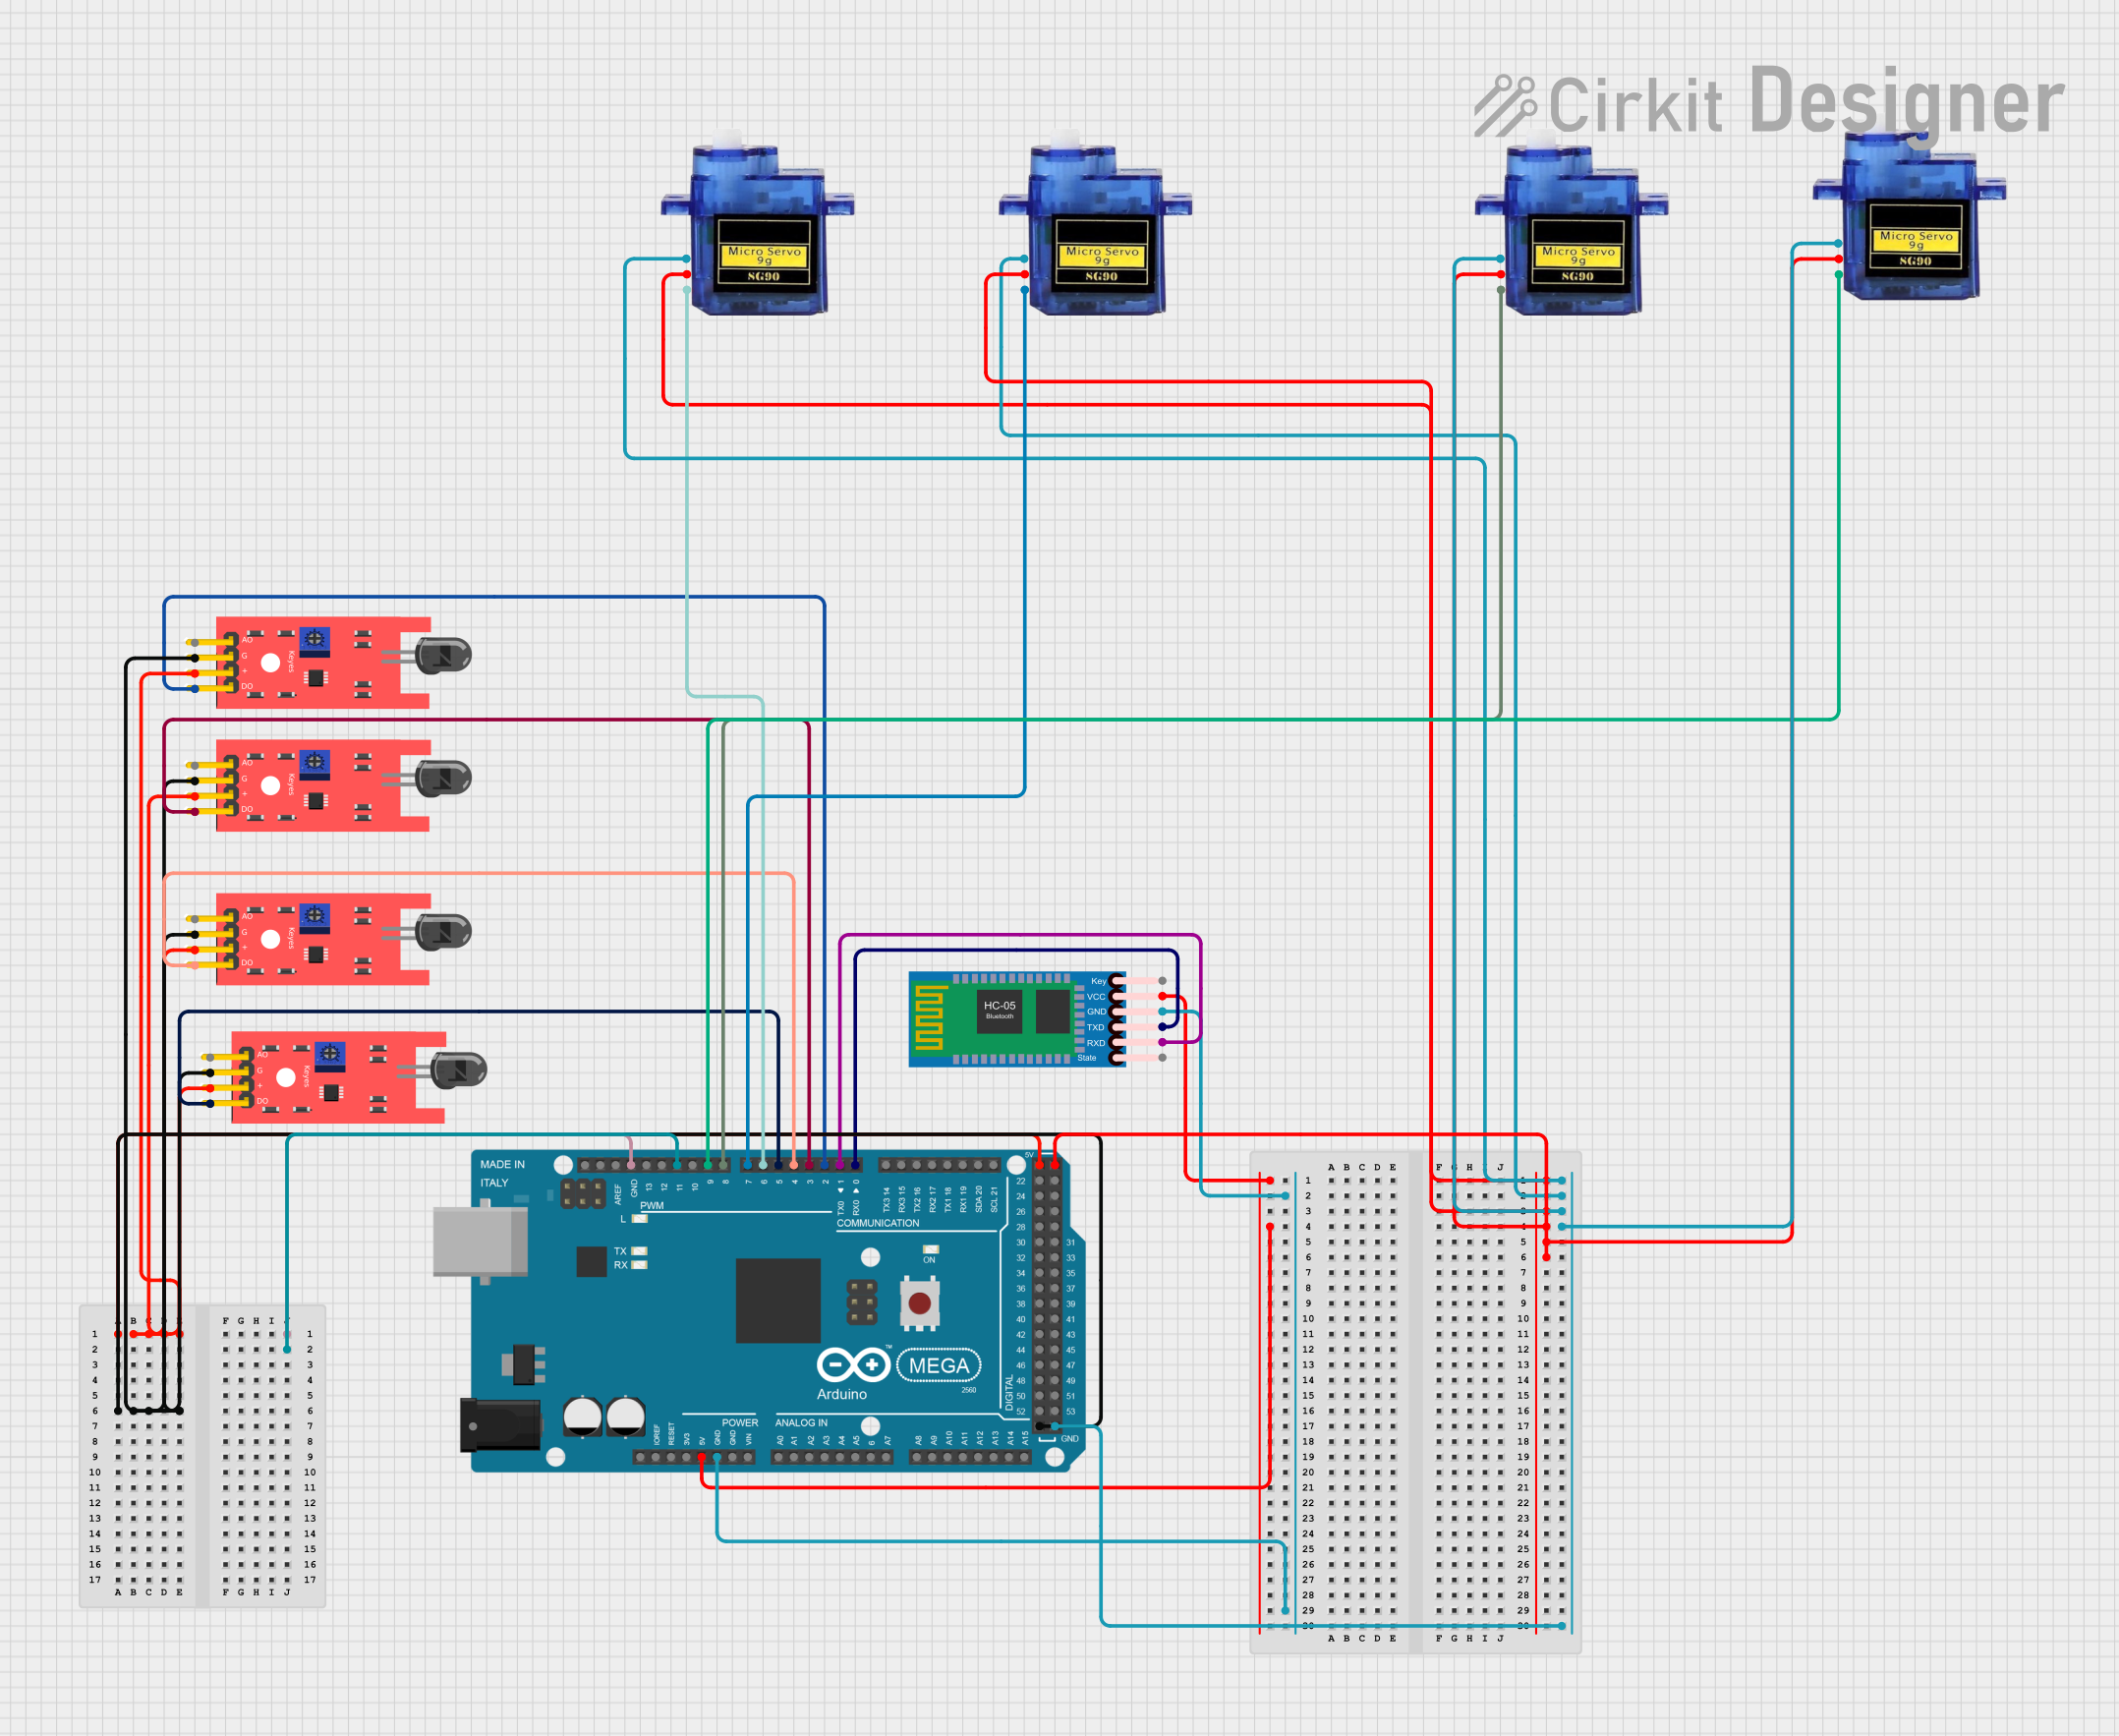

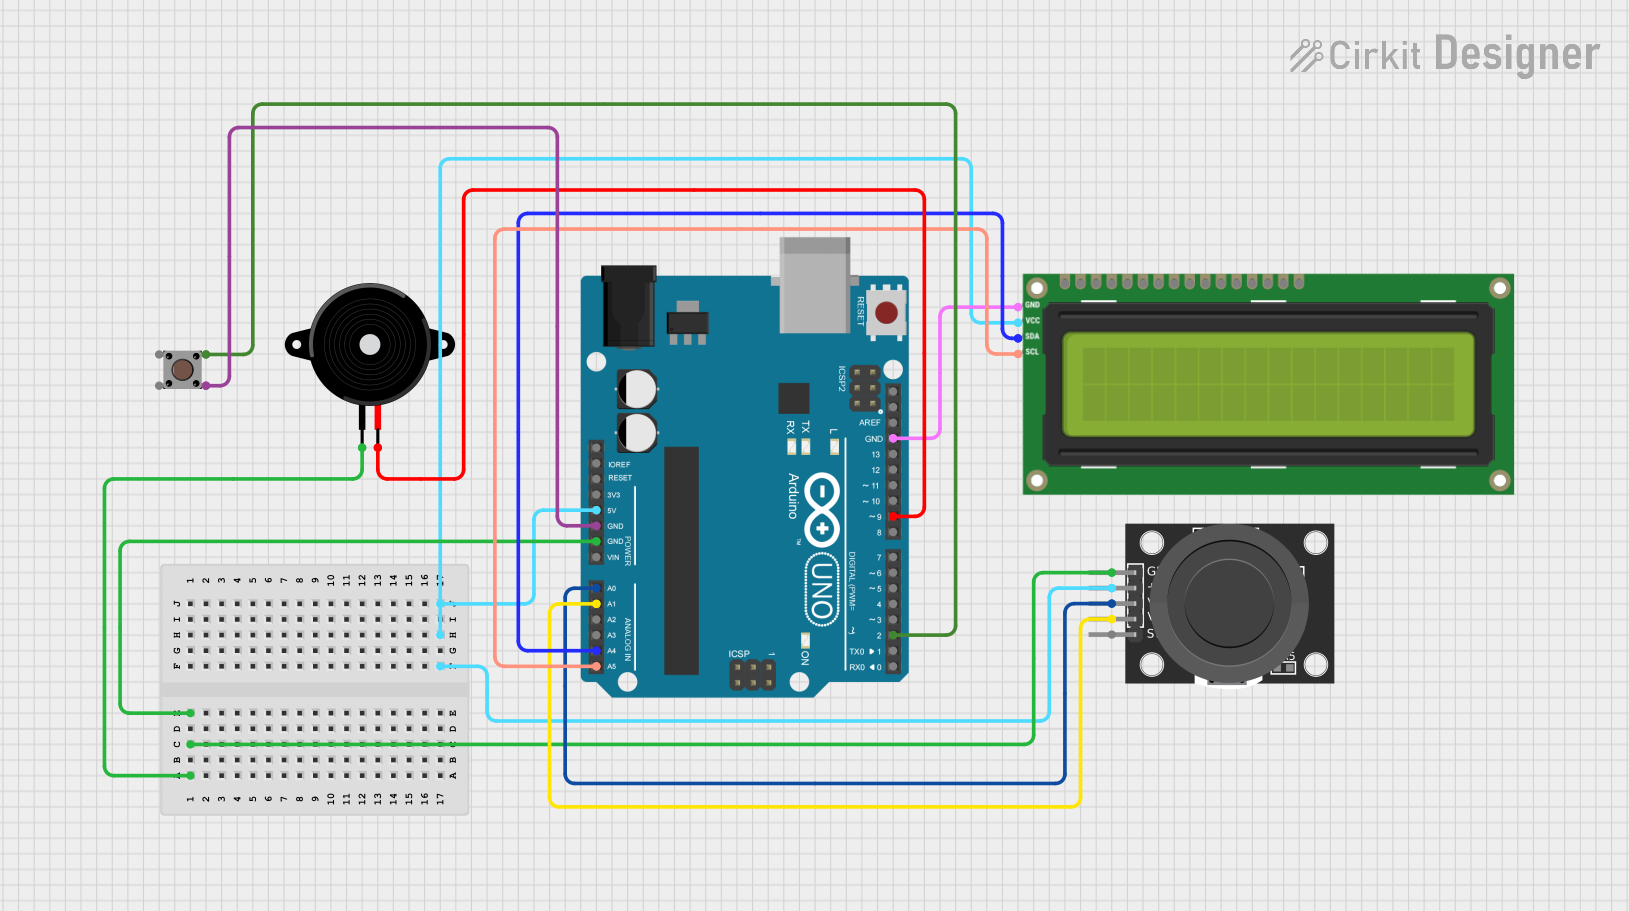
Explore Projects Built with KY-025
Common Applications:
- Weather monitoring systems
- Home automation (e.g., HVAC control)
- Greenhouse and agricultural monitoring
- Industrial environmental monitoring
- Educational projects and prototyping
Technical Specifications
The KY-025 module is built around the DHT11 sensor and includes additional circuitry for stable operation. Below are the key technical details:
Key Specifications:
| Parameter | Value |
|---|---|
| Operating Voltage | 3.3V to 5.5V |
| Operating Current | 0.3mA (measuring), 60µA (idle) |
| Temperature Range | 0°C to 50°C |
| Temperature Accuracy | ±2°C |
| Humidity Range | 20% to 90% RH |
| Humidity Accuracy | ±5% RH |
| Output Signal | Digital (single-wire protocol) |
| Sampling Period | ≥2 seconds |
Pin Configuration:
The KY-025 module has three pins for interfacing. Below is the pinout description:
| Pin Name | Description |
|---|---|
| VCC | Power supply input (3.3V to 5.5V) |
| GND | Ground |
| OUT | Digital output for temperature and |
| humidity data |
Usage Instructions
The KY-025 module is straightforward to use and can be easily interfaced with microcontrollers like Arduino. Below are the steps to use the module in a circuit:
Steps to Use:
Connect the Pins:
- Connect the
VCCpin to the 5V (or 3.3V) power supply of your microcontroller. - Connect the
GNDpin to the ground of your microcontroller. - Connect the
OUTpin to a digital input pin on your microcontroller.
- Connect the
Install Required Libraries:
- If using Arduino, install the
DHTlibrary from the Arduino Library Manager. This library simplifies communication with the DHT11 sensor.
- If using Arduino, install the
Write and Upload Code:
- Use the example code below to read temperature and humidity data from the KY-025 module.
Example Arduino Code:
#include <DHT.h>

// Define the pin connected to the KY-025 OUT pin
#define DHTPIN 2

// Define the sensor type (DHT11 for KY-025)
#define DHTTYPE DHT11

// Initialize the DHT sensor
DHT dht(DHTPIN, DHTTYPE);

void setup() {
  Serial.begin(9600); // Start serial communication at 9600 baud
  dht.begin();        // Initialize the DHT sensor
  Serial.println("KY-025 Temperature and Humidity Sensor");
}

void loop() {
  delay(2000); // Wait at least 2 seconds between readings

  // Read temperature and humidity
  float humidity = dht.readHumidity();
  float temperature = dht.readTemperature();

  // Check if readings are valid
  if (isnan(humidity) || isnan(temperature)) {
    Serial.println("Failed to read from DHT sensor!");
    return;
  }

  // Print the results to the Serial Monitor
  Serial.print("Humidity: ");
  Serial.print(humidity);
  Serial.print(" %\t");
  Serial.print("Temperature: ");
  Serial.print(temperature);
  Serial.println(" °C");
}
Important Considerations:
- Ensure the module is powered within its operating voltage range (3.3V to 5.5V).
- The DHT11 sensor has a sampling period of at least 2 seconds. Avoid reading data more frequently.
- Place the sensor in an environment free from condensation or direct water exposure to ensure accurate readings.
Troubleshooting and FAQs
Common Issues:
No Output or Incorrect Readings:
- Cause: Loose or incorrect wiring.
- Solution: Double-check the connections. Ensure the
OUTpin is connected to the correct digital pin on the microcontroller.
"Failed to read from DHT sensor!" Error:
- Cause: The sensor is not responding or the sampling period is too short.
- Solution: Ensure a delay of at least 2 seconds between readings. Verify the sensor is properly powered.
Inconsistent Readings:
- Cause: Environmental interference or unstable power supply.
- Solution: Place the sensor in a stable environment and use a decoupling capacitor (e.g., 0.1µF) across the power supply pins.
FAQs:
Q: Can the KY-025 measure negative temperatures?
A: No, the DHT11 sensor used in the KY-025 module can only measure temperatures in the range of 0°C to 50°C.
Q: Can I use the KY-025 with a 3.3V microcontroller like ESP8266?
A: Yes, the KY-025 operates within a voltage range of 3.3V to 5.5V, making it compatible with 3.3V systems.
Q: How do I extend the cable length for the KY-025?
A: Use shielded cables to reduce noise and interference. Keep the cable length as short as possible for reliable communication.
By following this documentation, you can effectively integrate the KY-025 module into your projects for accurate temperature and humidity monitoring.