
How to Use MPR121 Breakout: Examples, Pinouts, and Specs

 Design with MPR121 Breakout in Cirkit Designer
Introduction
The MPR121 Breakout (Manufacturer Part ID: SEN-09695) by SparkFun is a capacitive touch sensor breakout board designed to detect touch inputs on up to 12 electrodes. This versatile component is ideal for creating touch-sensitive interfaces in a variety of projects, such as interactive displays, musical instruments, and touch-controlled devices. Its compact design and I²C communication make it easy to integrate into microcontroller-based systems.
Explore Projects Built with MPR121 Breakout
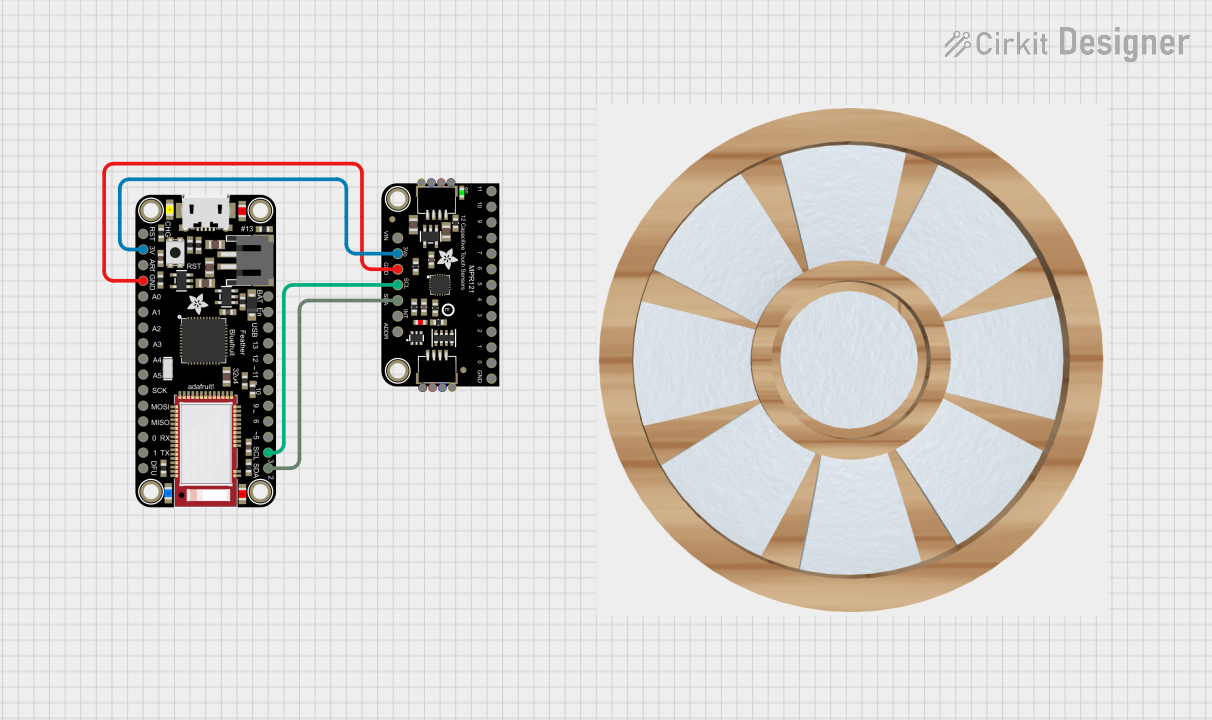 Open Project in Cirkit Designer
 Open Project in Cirkit Designer
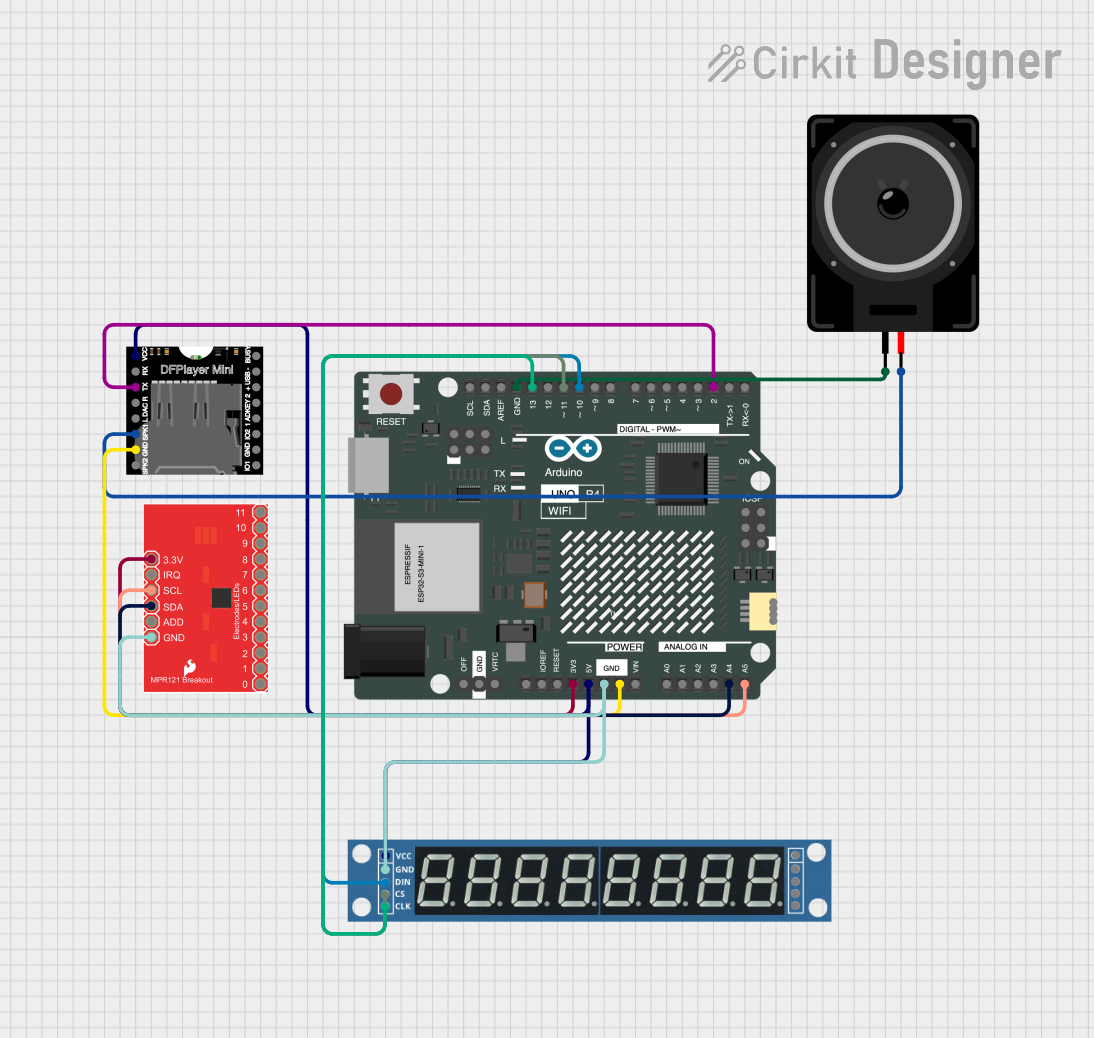 Open Project in Cirkit Designer
 Open Project in Cirkit Designer
Explore Projects Built with MPR121 Breakout
Open Project in Cirkit DesignerOpen Project in Cirkit DesignerOpen Project in Cirkit DesignerOpen Project in Cirkit DesignerCommon Applications
- Touch-sensitive control panels
- Interactive art installations
- Musical instruments with touch-sensitive keys
- Proximity sensing for smart devices
- DIY electronics projects requiring touch input
Technical Specifications
The MPR121 Breakout is based on the Freescale (now NXP) MPR121 capacitive touch sensor controller. Below are its key technical details:
| Specification | Details |
|---|---|
| Operating Voltage | 1.8V to 3.6V (3.3V recommended) |
| Communication Interface | I²C |
| I²C Address (Default) | 0x5A (configurable to 0x5B, 0x5C, 0x5D) |
| Number of Touch Inputs | 12 electrodes |
| Maximum Current Consumption | 29 µA (typical) |
| Operating Temperature Range | -40°C to +85°C |
| Dimensions | 1.0" x 0.6" (25.4mm x 15.24mm) |
Pin Configuration and Descriptions
The MPR121 Breakout has the following pin layout:
| Pin | Name | Description |
|---|---|---|
| 1 | GND | Ground connection |
| 2 | VCC | Power supply (3.3V recommended) |
| 3 | SDA | I²C data line |
| 4 | SCL | I²C clock line |
| 5 | IRQ | Interrupt output (active low, indicates touch or proximity event) |
| 6 | ADDR | I²C address selection (connect to GND, VCC, SDA, or SCL to set address) |
| 7-18 | ELE0-ELE11 | Electrode connections for touch inputs |
Usage Instructions
Connecting the MPR121 Breakout
- Power Supply: Connect the
VCCpin to a 3.3V power source and theGNDpin to ground. - I²C Communication: Connect the
SDAandSCLpins to the corresponding I²C pins on your microcontroller (e.g., Arduino UNO: A4 for SDA, A5 for SCL). - Interrupt Pin (Optional): Connect the
IRQpin to a digital input pin on your microcontroller to handle touch events via interrupts. - Electrodes: Attach conductive materials (e.g., copper tape, wires) to the
ELE0toELE11pins for touch sensing.
Arduino UNO Example Code
Below is an example of how to use the MPR121 Breakout with an Arduino UNO. This code uses the Adafruit MPR121 library, which must be installed via the Arduino Library Manager.
#include <Wire.h>
#include <Adafruit_MPR121.h>

// Create an MPR121 object
Adafruit_MPR121 cap = Adafruit_MPR121();

// Define the I2C address of the MPR121 (default is 0x5A)
#define MPR121_I2C_ADDRESS 0x5A

void setup() {
  Serial.begin(9600);
  Serial.println("MPR121 Touch Sensor Test");

  // Initialize the MPR121
  if (!cap.begin(MPR121_I2C_ADDRESS)) {
    Serial.println("MPR121 not found. Check wiring or I2C address!");
    while (1);
  }
  Serial.println("MPR121 initialized successfully.");
}

void loop() {
  // Read touch status
  uint16_t touched = cap.touched();

  // Iterate through all 12 electrodes
  for (uint8_t i = 0; i < 12; i++) {
    if (touched & (1 << i)) {
      Serial.print("Electrode ");
      Serial.print(i);
      Serial.println(" is being touched.");
    }
  }

  delay(100); // Small delay to avoid flooding the serial monitor
}
Important Considerations
- Power Supply: Ensure the MPR121 is powered with 3.3V. Using 5V may damage the component.
- Pull-Up Resistors: The breakout board includes pull-up resistors for the I²C lines. If your system already has pull-ups, you may need to disable them.
- Electrode Design: For optimal performance, use conductive materials with sufficient surface area for the electrodes.
Troubleshooting and FAQs
Common Issues
MPR121 Not Detected on I²C Bus
- Solution: Verify the I²C address (default is 0x5A). Ensure proper connections for
SDAandSCLpins. - Tip: Use an I²C scanner sketch to confirm the device address.
- Solution: Verify the I²C address (default is 0x5A). Ensure proper connections for
Touch Inputs Not Responding
- Solution: Check the connections to the electrode pins. Ensure the electrodes are conductive and properly attached.
- Tip: Increase the surface area of the electrodes for better sensitivity.
Erratic or False Touch Events
- Solution: Ensure the breakout board is not exposed to electrical noise or interference.
- Tip: Use shielded cables for long electrode connections.
FAQs
Q: Can I use the MPR121 with a 5V microcontroller?
A: Yes, but you must use a logic level shifter to safely interface the 3.3V MPR121 with the 5V microcontroller.
Q: How do I change the I²C address?
A: Connect the ADDR pin to GND, VCC, SDA, or SCL to set the address to 0x5A, 0x5B, 0x5C, or 0x5D, respectively.
Q: Can the MPR121 detect proximity?
A: Yes, the MPR121 can detect proximity by monitoring changes in capacitance, even without direct touch.
By following this documentation, you can effectively integrate the MPR121 Breakout into your projects and troubleshoot common issues.