How to Use AVR-BLE ATmega3208: Examples, Pinouts, and Specs
Introduction
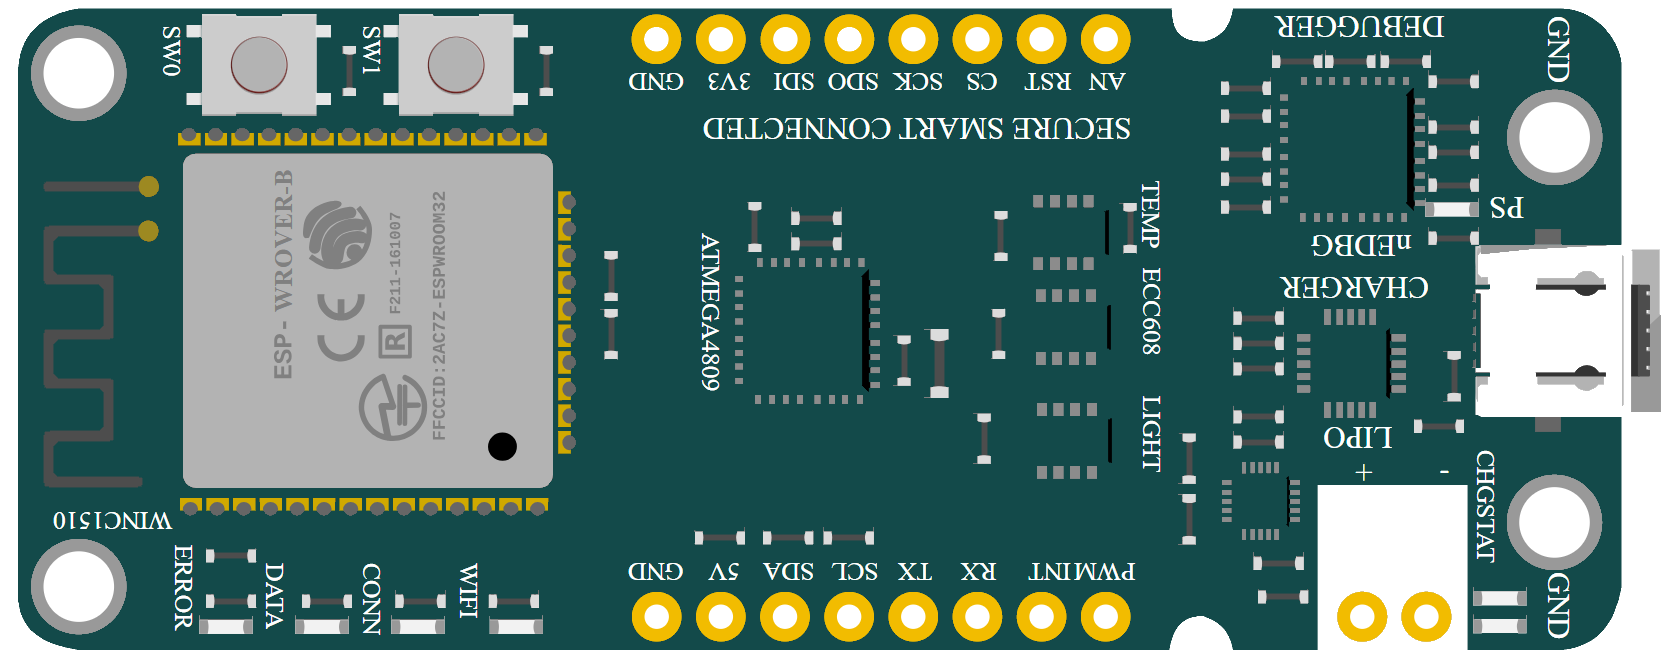
The AVR-BLE ATmega3208 is a versatile microcontroller from Microchip that integrates an 8-bit AVR CPU with a Bluetooth Low Energy (BLE) module. This component is designed for applications that require both microcontroller processing capabilities and wireless connectivity. Common applications include IoT devices, smart home accessories, wearables, and remote sensors.
Explore Projects Built with AVR-BLE ATmega3208

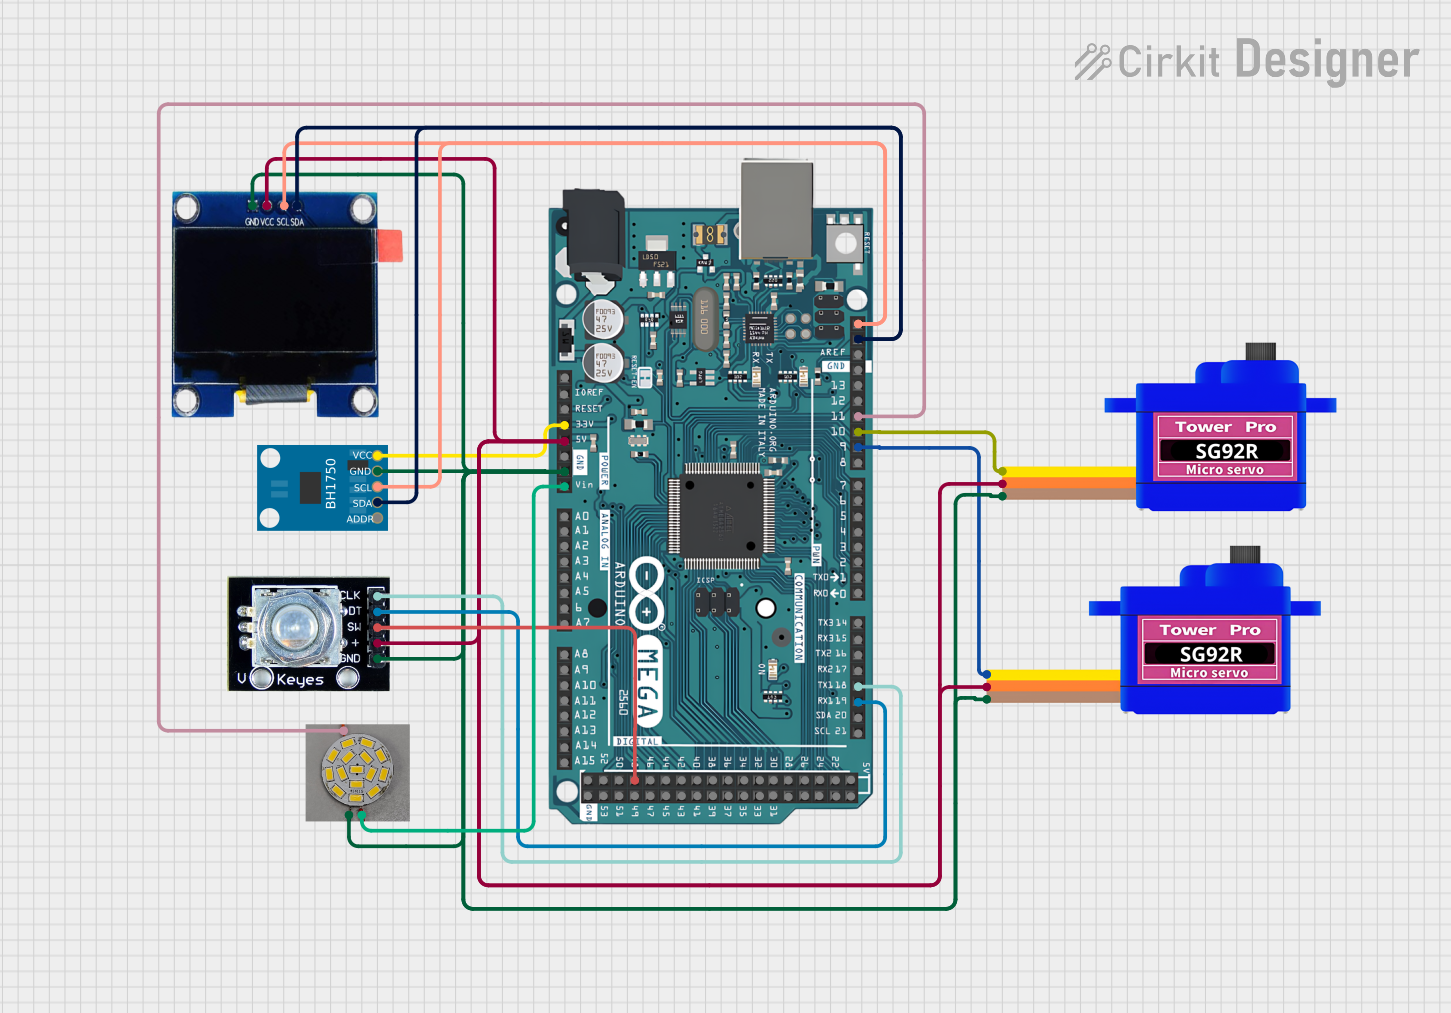
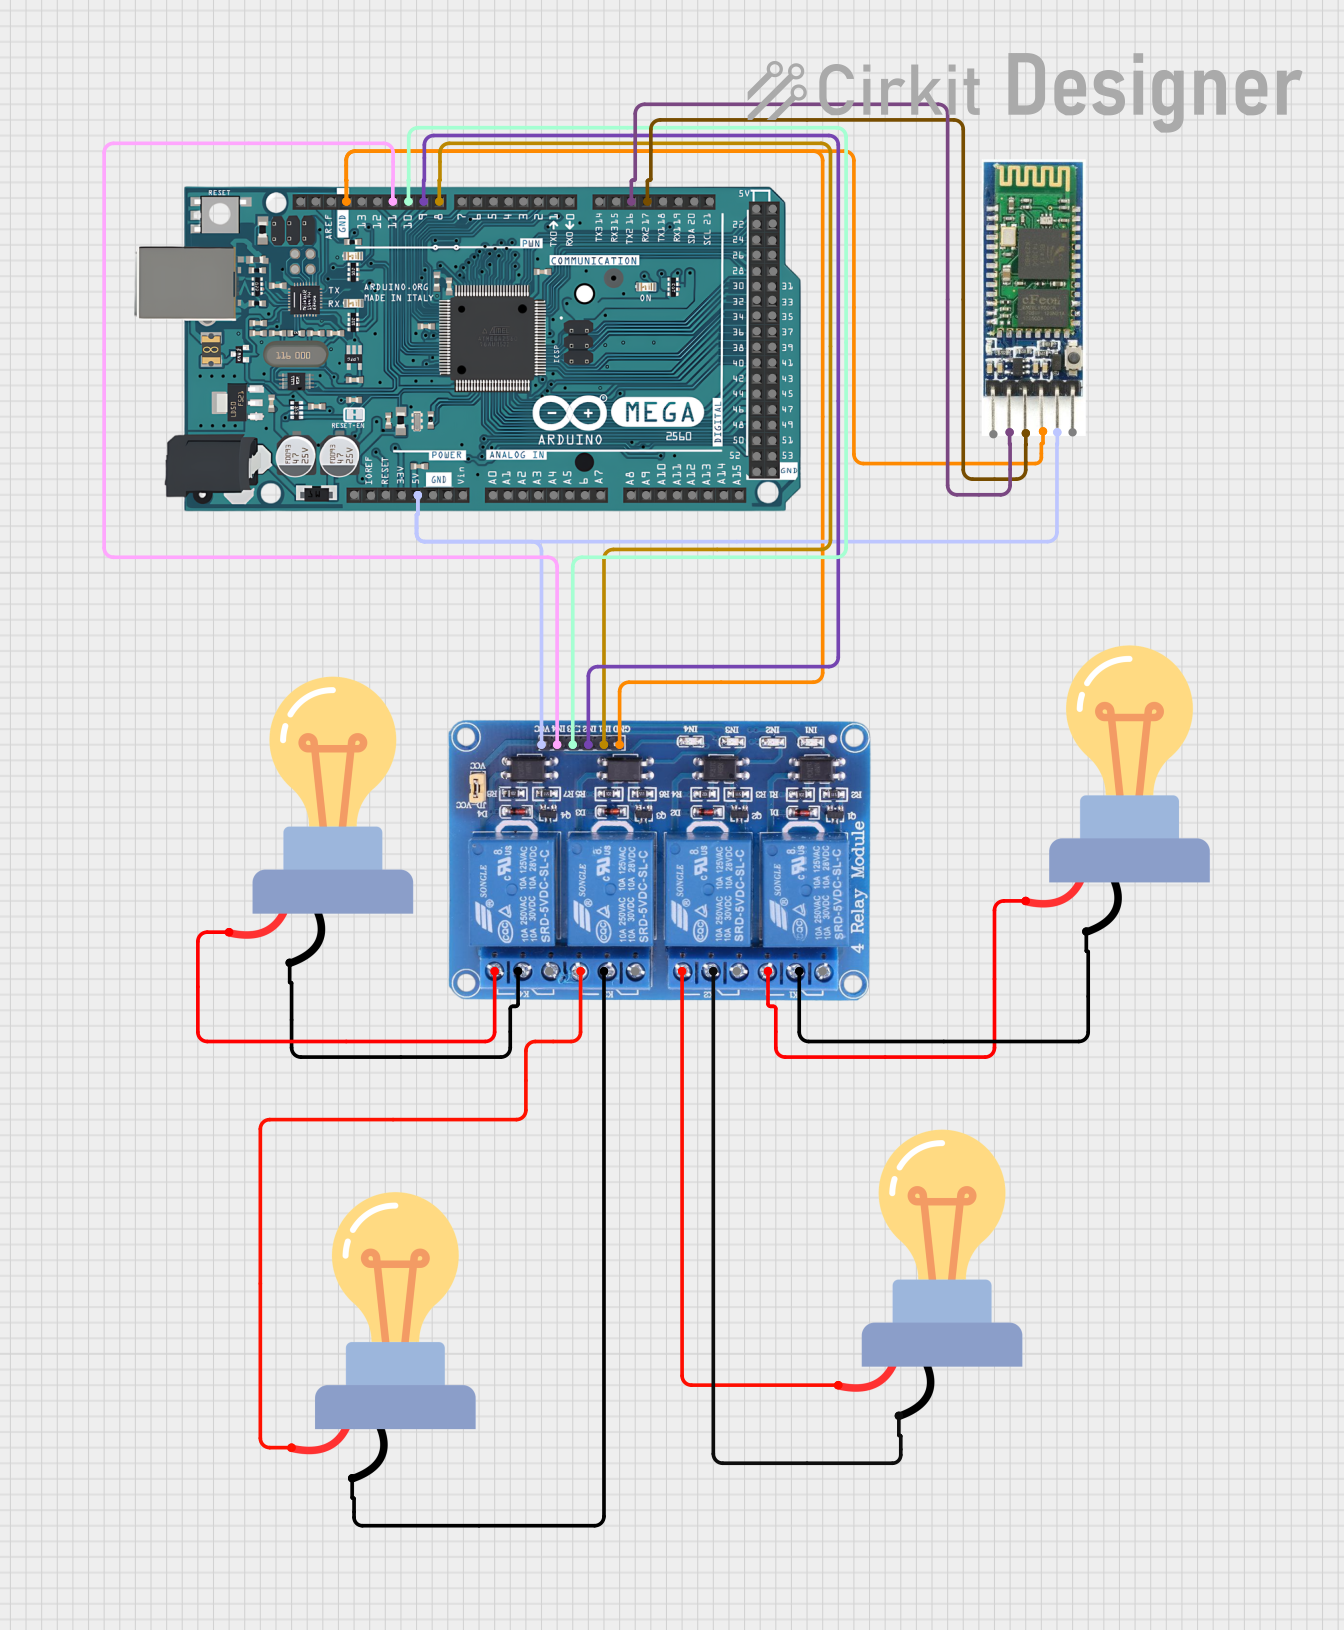
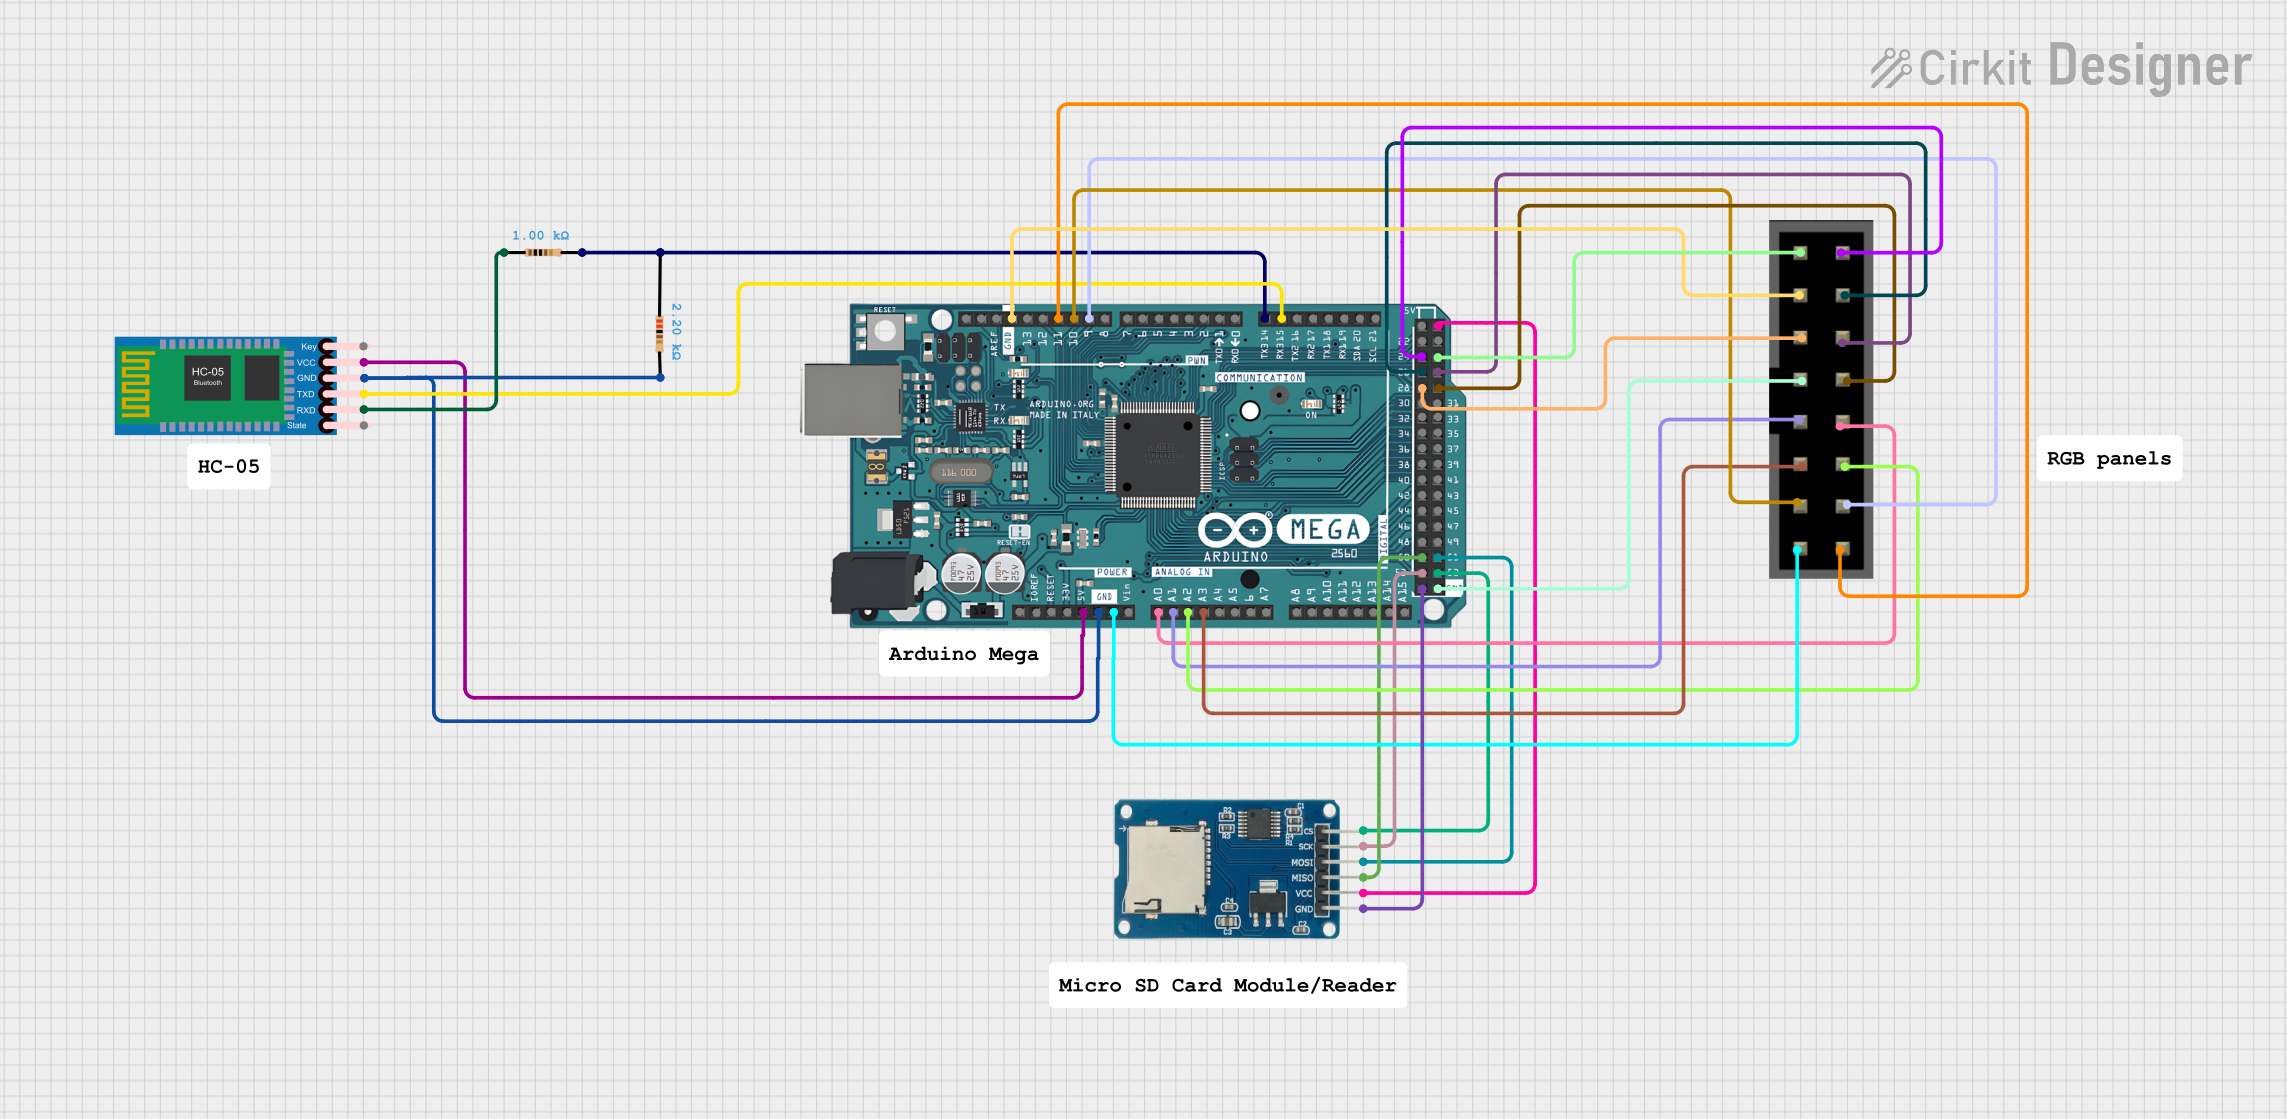
Explore Projects Built with AVR-BLE ATmega3208
Technical Specifications
General Features
- Core: 8-bit AVR
- Max. Operating Frequency: 20 MHz
- Memory: 32KB Flash, 4KB SRAM, 256B EEPROM
- Operating Voltage: 1.8V - 5.5V
- Communication: UART, SPI, I2C, BLE 5.0
BLE Module Features
- Bluetooth Version: 5.0
- Output Power: +4 dBm
- Receiver Sensitivity: -93 dBm
- Supported Protocols: GAP, GATT, L2CAP, and more
Pin Configuration and Descriptions
| Pin Number | Name | Description |
|---|---|---|
| 1 | PA0 | GPIO/ADC/Interrupt |
| 2 | PA1 | GPIO/ADC/Interrupt |
| ... | ... | ... |
| 28 | VCC | Power Supply |
| 29 | GND | Ground |
| 30 | RESET | Reset Input |
| ... | ... | ... |
| 32 | PF1 | GPIO/ADC/Interrupt |
Note: This is a simplified representation of the pin configuration. Refer to the datasheet for the complete pinout and alternate functions.
Usage Instructions
Integration into a Circuit
- Power Supply: Connect the VCC pin to a stable power source within the operating voltage range and GND to the common ground.
- Programming: Use the SPI interface or UPDI for programming the AVR-BLE ATmega3208.
- Bluetooth Connectivity: Establish BLE connections using the integrated module.
- I/O Configuration: Configure the GPIO pins according to the needs of your application, taking advantage of the ADC and interrupt capabilities if required.
Best Practices
- Ensure that the power supply is clean and within the specified voltage range to prevent damage.
- Use appropriate decoupling capacitors close to the VCC and GND pins to minimize power supply noise.
- When designing the PCB, follow the recommended layout guidelines for the BLE antenna to ensure optimal wireless performance.
- Avoid placing noisy components near the BLE module to prevent interference.
- Implement proper ESD protection, especially for the I/O pins that interface with external components.
Example Code for Arduino UNO
#include <ArduinoBLE.h>

void setup() {
  Serial.begin(9600);
  while (!Serial);

  // Initialize BLE
  if (!BLE.begin()) {
    Serial.println("Starting BLE failed!");
    while (1);
  }

  // Set BLE device name and advertise it
  BLE.setLocalName("AVR-BLE");
  BLE.setAdvertisedServiceUuid("1234");
  BLE.advertise();

  Serial.println("Bluetooth device active, waiting for connections...");
}

void loop() {
  // Listen for BLE peripherals to connect
  BLEDevice central = BLE.central();

  // If a central device is connected, print its address
  if (central) {
    Serial.print("Connected to central: ");
    Serial.println(central.address());
    // ... handle BLE communication
  }
}
Note: This example assumes the use of a compatible BLE library for Arduino and is intended for illustration purposes only.
Troubleshooting and FAQs
Common Issues
- Device not powering on: Check the power supply and connections to the VCC and GND pins.
- BLE not functioning: Ensure the antenna layout is correct and there are no sources of interference nearby.
- Programming issues: Verify the SPI connections and ensure the correct programming protocol is selected.
FAQs
Q: Can the AVR-BLE ATmega3208 be used with the Arduino IDE? A: Yes, with the appropriate board package installed, it can be programmed using the Arduino IDE.
Q: What is the range of the BLE module? A: The range depends on the environment but typically is up to 10 meters in open space.
Q: How can I reduce power consumption for battery-powered applications? A: Utilize sleep modes and only enable BLE functionality when necessary to conserve power.
For further assistance, consult the datasheet and reference manual provided by Microchip, or contact their technical support for specific queries.