How to Use 4 x AA Battery Mount: Examples, Pinouts, and Specs
Introduction
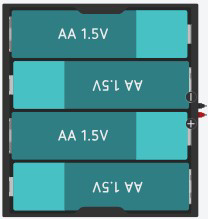
The 4 x AA Battery Mount is a holder designed to securely house four AA batteries, providing a convenient and portable power source for electronic circuits. This component is widely used in DIY electronics, robotics, and prototyping projects where a reliable and compact power supply is required. It typically features a durable plastic casing and metal contacts to ensure a stable electrical connection.
Explore Projects Built with 4 x AA Battery Mount
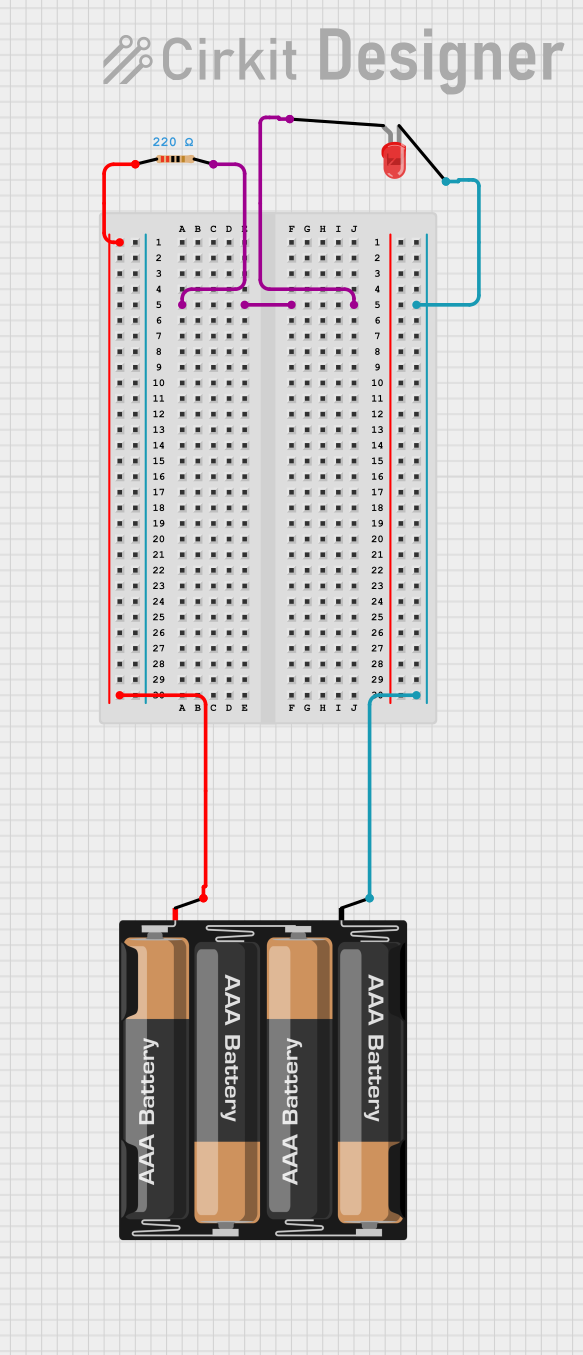

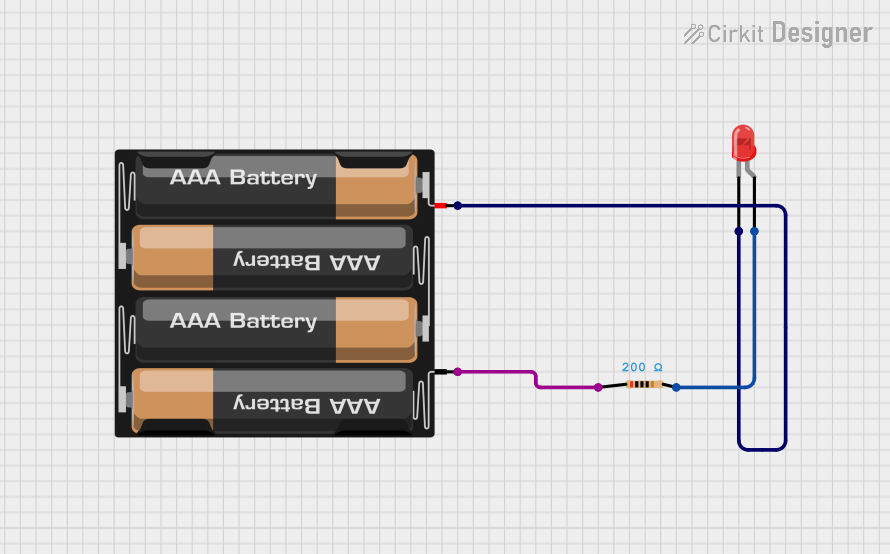

Explore Projects Built with 4 x AA Battery Mount
Common Applications and Use Cases
- Powering small electronic devices and circuits
- Supplying energy to Arduino, Raspberry Pi, or other microcontroller projects
- Robotics and motorized systems
- Portable and battery-operated gadgets
- Educational and prototyping purposes
Technical Specifications
- Battery Type: AA (1.5V each)
- Number of Batteries: 4
- Output Voltage: 6V (when using standard 1.5V AA batteries)
- Output Current: Dependent on the battery capacity (e.g., 2000mAh for typical AA batteries)
- Material: Durable plastic housing with metal spring and flat contacts
- Wiring: Two leads (red for positive, black for negative)
- Dimensions: Varies by manufacturer, typically compact and lightweight
Pin Configuration and Descriptions
The 4 x AA Battery Mount does not have traditional pins but instead uses two wires for connection. Below is a description of the wiring:
| Wire Color | Function | Description |
|---|---|---|
| Red | Positive (+) | Connects to the positive terminal of the circuit |
| Black | Negative (-) | Connects to the ground (GND) of the circuit |
Usage Instructions
How to Use the Component in a Circuit
- Insert Batteries: Place four AA batteries into the holder, ensuring correct polarity as indicated on the mount.
- Connect Wires:
- Connect the red wire to the positive terminal of your circuit or power input.
- Connect the black wire to the ground (GND) terminal of your circuit.
- Secure Connections: Use soldering, a breadboard, or screw terminals to ensure a stable connection.
- Power Your Circuit: Once connected, the battery mount will supply 6V to your circuit (assuming fully charged 1.5V batteries).
Important Considerations and Best Practices
- Battery Type: Use only AA batteries of the same type and charge level (e.g., all alkaline or all rechargeable NiMH).
- Voltage Compatibility: Ensure your circuit can handle the 6V output. Use a voltage regulator if your circuit requires a lower voltage.
- Polarity: Double-check the polarity of the connections to avoid damaging your components.
- Heat Management: Avoid short circuits, as they can cause the batteries to overheat.
- Battery Life: Monitor battery life and replace or recharge batteries as needed to maintain consistent performance.
Example: Connecting to an Arduino UNO
The 4 x AA Battery Mount can be used to power an Arduino UNO. Below is an example of how to connect it:
- Connect the red wire from the battery mount to the VIN pin on the Arduino UNO.
- Connect the black wire from the battery mount to the GND pin on the Arduino UNO.
Sample Code
Here is a simple Arduino sketch to blink an LED while powered by the battery mount:
// Blink an LED using power from the 4 x AA Battery Mount
// Ensure the LED is connected to pin 13 with a 220-ohm resistor

void setup() {
  pinMode(13, OUTPUT); // Set pin 13 as an output
}

void loop() {
  digitalWrite(13, HIGH); // Turn the LED on
  delay(1000);            // Wait for 1 second
  digitalWrite(13, LOW);  // Turn the LED off
  delay(1000);            // Wait for 1 second
}
Troubleshooting and FAQs
Common Issues Users Might Face
No Power Output:
- Cause: Batteries are inserted incorrectly or are depleted.
- Solution: Check the battery orientation and replace with fresh batteries if needed.
Overheating:
- Cause: Short circuit or excessive current draw.
- Solution: Inspect the wiring for shorts and ensure the circuit's current draw is within safe limits.
Inconsistent Voltage:
- Cause: Mixed battery types or uneven charge levels.
- Solution: Use batteries of the same type and charge level.
Loose Connections:
- Cause: Poor contact between the wires and the circuit.
- Solution: Secure the connections using soldering or reliable connectors.
Solutions and Tips for Troubleshooting
- Always use a multimeter to verify the output voltage before connecting the battery mount to your circuit.
- If the battery mount is not working as expected, inspect the metal contacts for dirt or corrosion and clean them if necessary.
- Avoid leaving batteries in the holder for extended periods when not in use to prevent leakage or corrosion.
By following these guidelines, the 4 x AA Battery Mount can serve as a reliable and efficient power source for your electronic projects.