Cirkit Designer Logo
Cirkit Designer
Your all-in-one circuit design IDE
Home / 
Component Documentation

How to Use T-Display-S3: Examples, Pinouts, and Specs

Image of T-Display-S3
Cirkit Designer LogoDesign with T-Display-S3 in Cirkit Designer

Introduction

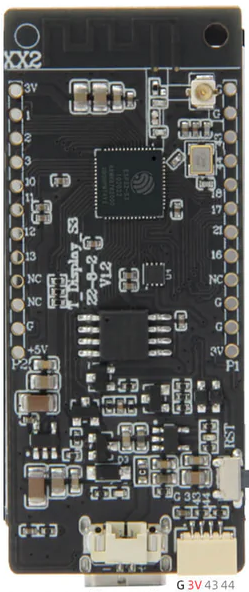
The T-Display-S3, manufactured by LILYGO, is an interactive display module that features touchscreen capabilities. It is designed for use in a wide range of electronic devices, including but not limited to DIY projects, consumer electronics, and educational platforms. The display allows users to input data or interact with the device through touch gestures, making it an ideal component for creating interactive projects.

Explore Projects Built with T-Display-S3

Use Cirkit Designer to design, explore, and prototype these projects online. Some projects support real-time simulation. Click "Open Project" to start designing instantly!
ESP32-S3 and ILI9488 TFT LCD Display for Interactive Graphics
Image of IOT_V1: A project utilizing T-Display-S3 in a practical application
This circuit features an ESP32-S3 microcontroller connected to an ILI9488 TFT LCD display. The ESP32-S3 initializes and controls the display, demonstrating basic graphics and text rendering using the TFT_eSPI library.
Cirkit Designer LogoOpen Project in Cirkit Designer
T-Display S3 and HX711-Based Load Cell Measurement System with Audio Alert
Image of iot based iv monitiorinfg system: A project utilizing T-Display-S3 in a practical application
This circuit is designed to measure weight using a load cell and process the data with an HX711 bridge sensor interface. The T-Display-S3 microcontroller is connected to the HX711 to receive the weight data and control a buzzer. The load cell interfaces with the HX711, which in turn communicates with the T-Display-S3 for data processing and potential alerting through the buzzer based on specific weight measurements.
Cirkit Designer LogoOpen Project in Cirkit Designer
T-Beam with I2C OLED Display Interface
Image of MQTT_Node: A project utilizing T-Display-S3 in a practical application
This circuit connects a T-Beam microcontroller board with an OLED 128x64 I2C Monochrome Display. The T-Beam's I2C pins (SDA and SCL) are wired to the corresponding SDA and SCK pins on the OLED display, allowing for communication between the microcontroller and the display. Power and ground connections are also established, with the display's VDD connected to the T-Beam's 3V3 output, and GND to GND, to complete the power circuit for the display.
Cirkit Designer LogoOpen Project in Cirkit Designer
ESP32-S3 Based Vibration Detection System with TFT Display and Power Backup
Image of IOT Thesis: A project utilizing T-Display-S3 in a practical application
This circuit features an ESP32-S3 microcontroller connected to various peripherals including an ADXL355 accelerometer, an SW-420 vibration sensor, a buzzer module, and an ILI9341 TFT display. The ESP32-S3 manages sensor inputs and provides output to the display and buzzer. Power management is handled by a 12V to 5V step-down converter, and a UPS ensures uninterrupted power supply, with a rocker switch to control the power flow.
Cirkit Designer LogoOpen Project in Cirkit Designer

Explore Projects Built with T-Display-S3

Use Cirkit Designer to design, explore, and prototype these projects online. Some projects support real-time simulation. Click "Open Project" to start designing instantly!
Image of IOT_V1: A project utilizing T-Display-S3 in a practical application
ESP32-S3 and ILI9488 TFT LCD Display for Interactive Graphics
This circuit features an ESP32-S3 microcontroller connected to an ILI9488 TFT LCD display. The ESP32-S3 initializes and controls the display, demonstrating basic graphics and text rendering using the TFT_eSPI library.
Cirkit Designer LogoOpen Project in Cirkit Designer
Image of iot based iv monitiorinfg system: A project utilizing T-Display-S3 in a practical application
T-Display S3 and HX711-Based Load Cell Measurement System with Audio Alert
This circuit is designed to measure weight using a load cell and process the data with an HX711 bridge sensor interface. The T-Display-S3 microcontroller is connected to the HX711 to receive the weight data and control a buzzer. The load cell interfaces with the HX711, which in turn communicates with the T-Display-S3 for data processing and potential alerting through the buzzer based on specific weight measurements.
Cirkit Designer LogoOpen Project in Cirkit Designer
Image of MQTT_Node: A project utilizing T-Display-S3 in a practical application
T-Beam with I2C OLED Display Interface
This circuit connects a T-Beam microcontroller board with an OLED 128x64 I2C Monochrome Display. The T-Beam's I2C pins (SDA and SCL) are wired to the corresponding SDA and SCK pins on the OLED display, allowing for communication between the microcontroller and the display. Power and ground connections are also established, with the display's VDD connected to the T-Beam's 3V3 output, and GND to GND, to complete the power circuit for the display.
Cirkit Designer LogoOpen Project in Cirkit Designer
Image of IOT Thesis: A project utilizing T-Display-S3 in a practical application
ESP32-S3 Based Vibration Detection System with TFT Display and Power Backup
This circuit features an ESP32-S3 microcontroller connected to various peripherals including an ADXL355 accelerometer, an SW-420 vibration sensor, a buzzer module, and an ILI9341 TFT display. The ESP32-S3 manages sensor inputs and provides output to the display and buzzer. Power management is handled by a 12V to 5V step-down converter, and a UPS ensures uninterrupted power supply, with a rocker switch to control the power flow.
Cirkit Designer LogoOpen Project in Cirkit Designer

Common Applications and Use Cases

  • DIY electronics projects
  • Interactive displays for smart home devices
  • Educational tools for learning programming and electronics
  • User interfaces for embedded systems
  • Prototyping for consumer electronics

Technical Specifications

Key Technical Details

  • Display Type: TFT LCD
  • Screen Size: 1.54 inches
  • Resolution: 240x240 pixels
  • Touch Type: Capacitive
  • Interface: SPI
  • Operating Voltage: 3.3V
  • Logic Level: 3.3V

Pin Configuration and Descriptions

Pin Number Pin Name Description
1 GND Ground
2 VCC Power supply (3.3V)
3 SCL SPI clock signal
4 SDA SPI data signal
5 RES Reset signal
6 DC Data/Command control signal
7 BL Backlight control signal
8 T_IRQ Touch interrupt signal
9 T_DO SPI touch data output
10 T_DIN SPI touch data input
11 T_CS Touch screen chip select
12 T_CLK SPI touch clock signal

Usage Instructions

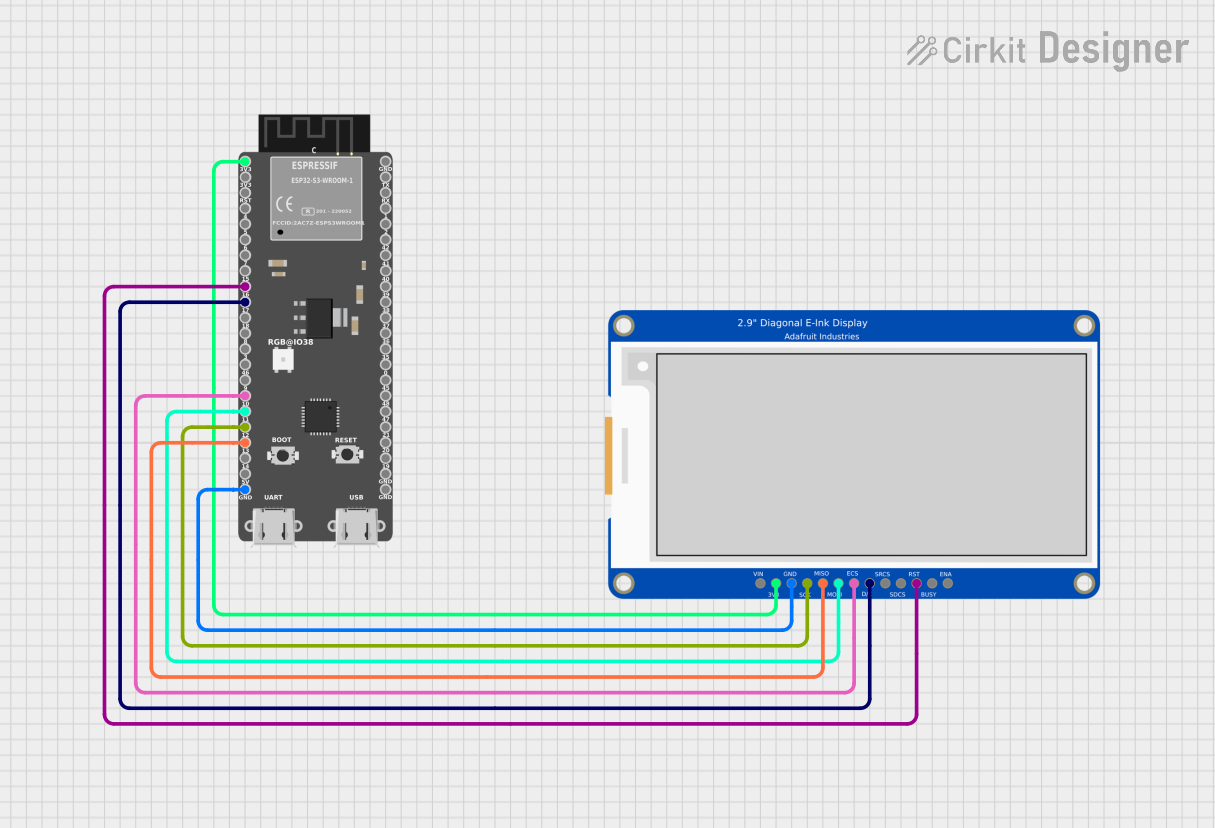
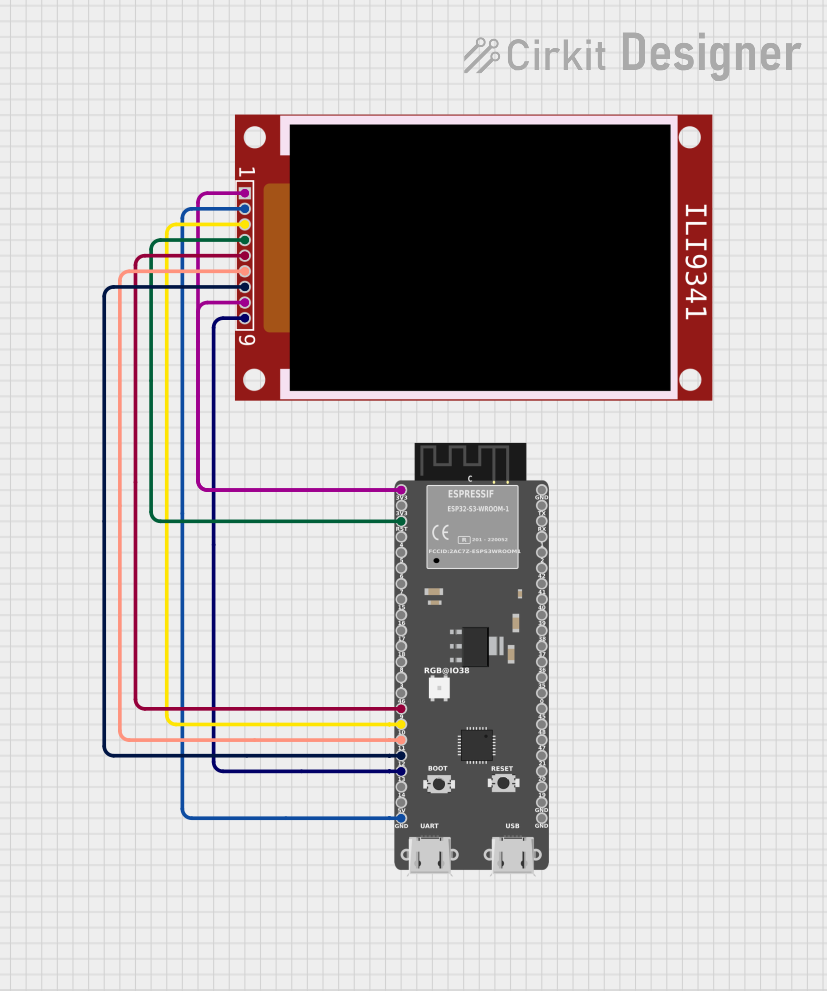
How to Use the Component in a Circuit

  1. Connect the VCC pin to a 3.3V power supply.
  2. Connect the GND pin to the ground of your power supply.
  3. Interface the SCL, SDA, RES, and DC pins with the corresponding SPI and control pins of your microcontroller.
  4. Connect the BL pin to a PWM output if you wish to control the backlight brightness, or to a digital output for on/off control.
  5. Interface the touch screen pins (T_IRQ, T_DO, T_DIN, T_CS, T_CLK) with the SPI and interrupt pins of your microcontroller.

Important Considerations and Best Practices

  • Ensure that the power supply is stable and regulated to 3.3V to prevent damage to the display.
  • Use a level shifter if you are interfacing with a microcontroller that operates at a different logic level (e.g., 5V).
  • When writing software to control the display, initialize the SPI interface with the correct settings for the T-Display-S3.
  • To prevent electrostatic discharge (ESD) damage, handle the display with care and use proper grounding techniques.

Example Code for Arduino UNO

#include <TFT_eSPI.h> // Include the graphics library (needs to be installed)

TFT_eSPI tft = TFT_eSPI(); // Create an instance of the display

void setup() {
  tft.init(); // Initialize the display
  tft.setRotation(1); // Set the orientation of the display
}

void loop() {
  tft.fillScreen(TFT_BLACK); // Clear the screen to black
  tft.setTextColor(TFT_WHITE, TFT_BLACK); // Set the font color
  tft.drawString("Hello, T-Display-S3!", 10, 10, 2); // Draw a string on the display
  delay(2000); // Wait for 2 seconds
}

Note: The above code assumes that you have installed the TFT_eSPI library and configured it for the T-Display-S3. The library provides comprehensive functions for drawing text, shapes, and images on the display.

Troubleshooting and FAQs

Common Issues Users Might Face

  • Display Not Powering On: Check the power connections and ensure the voltage is 3.3V.
  • No Touch Response: Verify that the touch screen pins are correctly connected and that the touch controller is properly initialized in your code.
  • Garbled Display Output: Ensure that the SPI interface is correctly initialized and that the logic levels match between the microcontroller and the display.

Solutions and Tips for Troubleshooting

  • Double-check all connections and ensure that solder joints are solid and free of shorts.
  • Use serial debugging to check for initialization errors or communication issues.
  • If using with an Arduino UNO, remember that it operates at 5V logic, and a level shifter is necessary for proper communication.

FAQs

Q: Can I use the T-Display-S3 with a 5V microcontroller? A: Yes, but you will need to use a level shifter to convert the 5V signals to 3.3V to avoid damaging the display.

Q: Is the touch functionality multitouch? A: No, the T-Display-S3 typically supports single-touch gestures.

Q: How do I install the TFT_eSPI library? A: You can install the TFT_eSPI library through the Arduino Library Manager or by downloading it from the GitHub repository and adding it to your Arduino libraries folder.

Q: Can I use the T-Display-S3 with platforms other than Arduino? A: Yes, the T-Display-S3 can be used with any microcontroller that supports SPI communication, provided you have the appropriate drivers or libraries for the platform.