
How to Use SD-CARD-READER-2PINS: Examples, Pinouts, and Specs
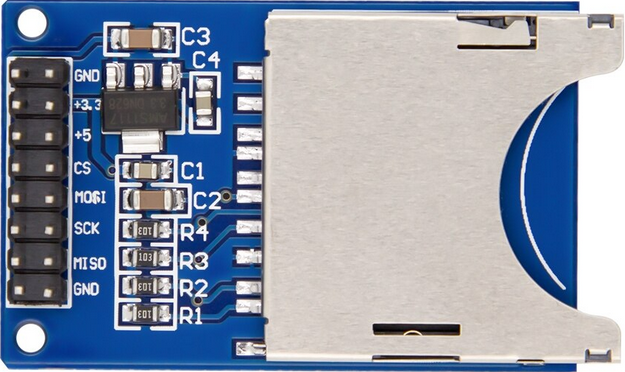
 Design with SD-CARD-READER-2PINS in Cirkit Designer
Introduction
The SD-CARD-READER-2PINS is a compact and efficient device designed for reading and writing data to SD cards. With its minimal two-pin interface, it simplifies integration into electronic circuits, making it an ideal choice for projects requiring data storage or retrieval. This component is widely used in applications such as data logging, multimedia storage, and portable devices.
Explore Projects Built with SD-CARD-READER-2PINS
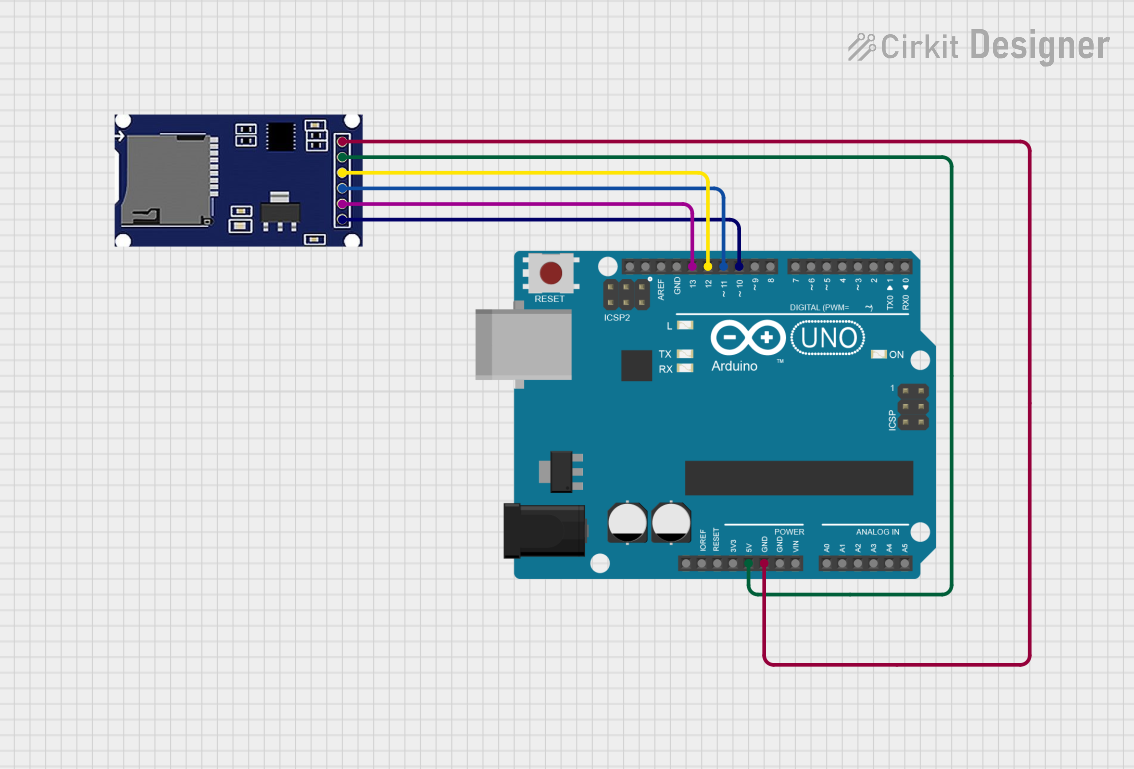 Open Project in Cirkit Designer
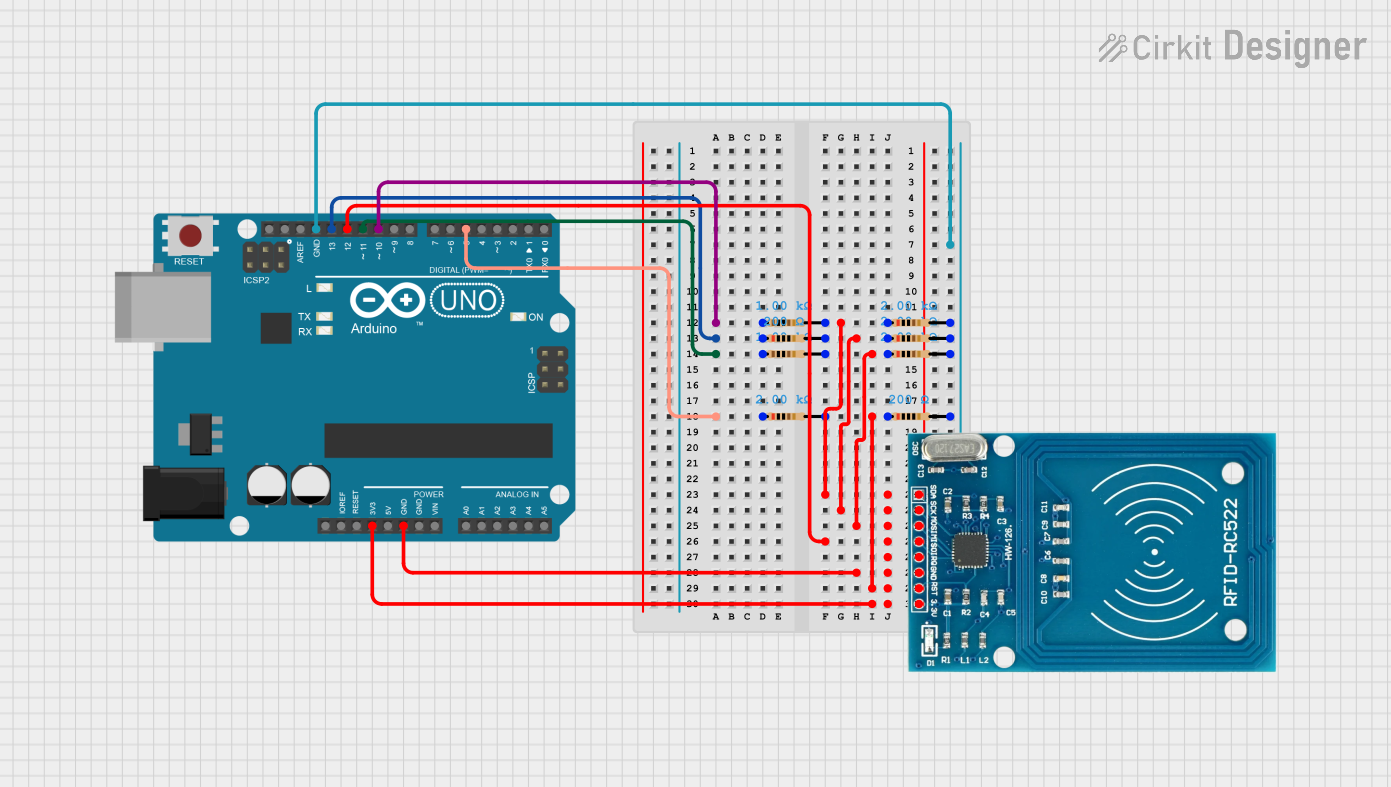 Open Project in Cirkit Designer
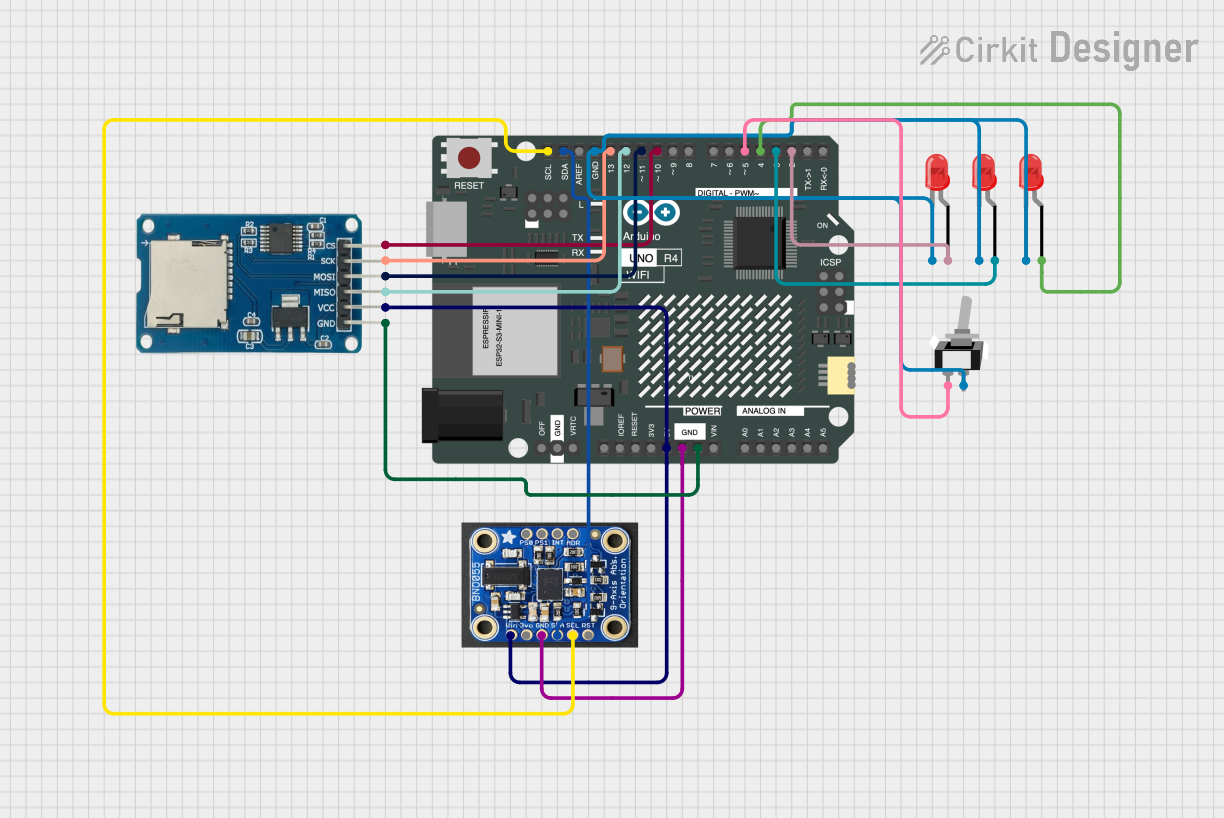 Open Project in Cirkit Designer
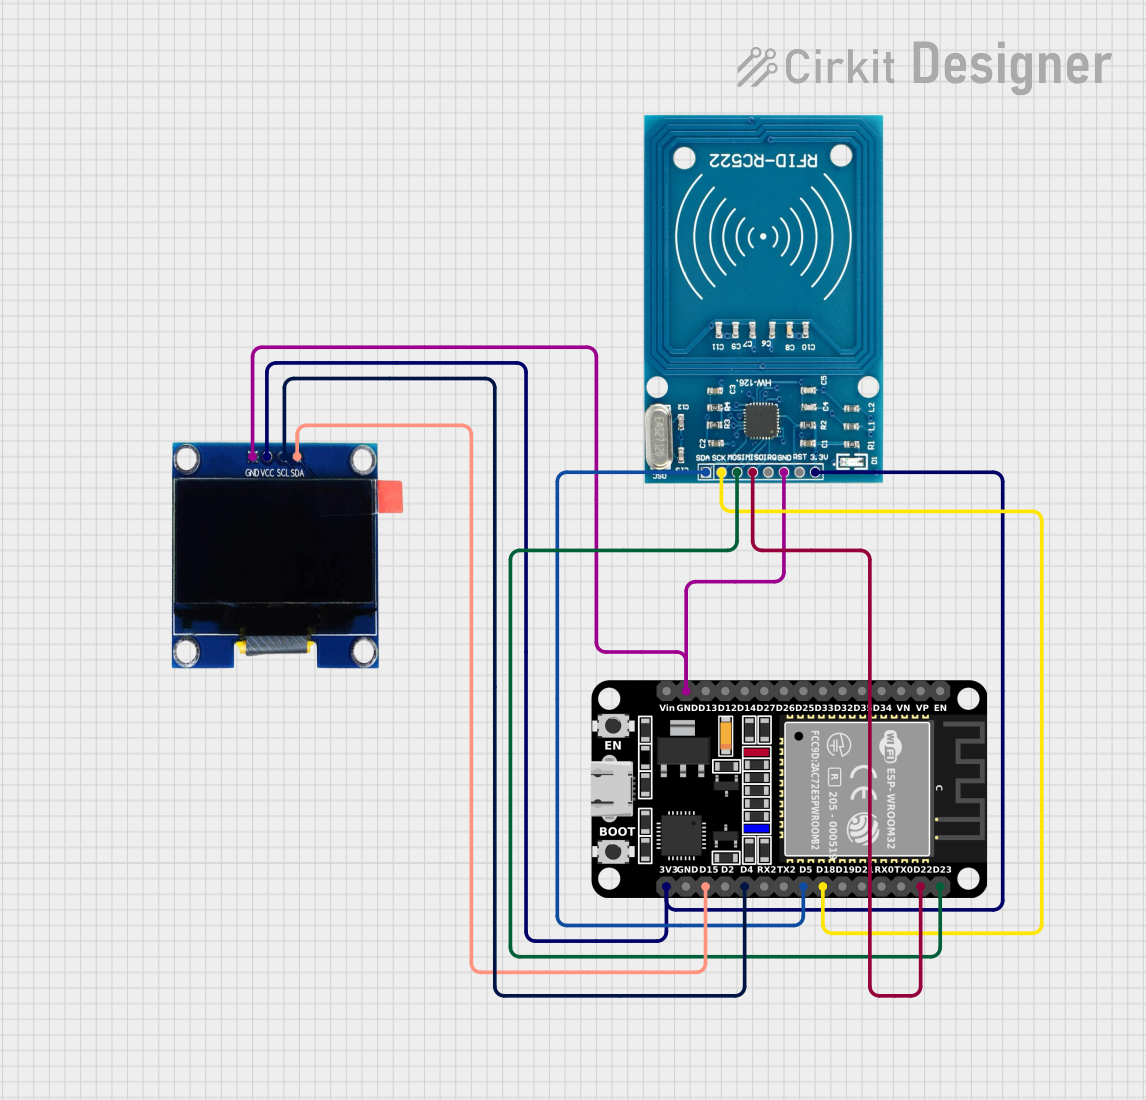 Open Project in Cirkit Designer
Explore Projects Built with SD-CARD-READER-2PINS
Open Project in Cirkit DesignerOpen Project in Cirkit DesignerOpen Project in Cirkit DesignerOpen Project in Cirkit DesignerCommon Applications:
- Data logging systems (e.g., temperature, humidity, or GPS data)
- Multimedia storage for audio, video, or images
- Portable devices requiring expandable memory
- Microcontroller-based projects (e.g., Arduino, Raspberry Pi)
Technical Specifications
Key Technical Details:
- Operating Voltage: 3.3V to 5V
- Current Consumption: ~50mA (varies with SD card activity)
- Supported SD Card Types: Standard SD, SDHC (up to 32GB)
- Interface: SPI (Serial Peripheral Interface)
- Pin Count: 2 (Data and Ground)
- Dimensions: 25mm x 20mm x 5mm (approx.)
Pin Configuration and Descriptions:
The SD-CARD-READER-2PINS features a simple two-pin interface for easy connection. Below is the pin configuration:
| Pin | Name | Description |
|---|---|---|
| 1 | DATA | Data line for SPI communication |
| 2 | GND | Ground connection for power and signals |
Note: The DATA pin combines multiple SPI signals (MOSI, MISO, and SCK) internally, simplifying the connection but requiring proper software handling.
Usage Instructions
How to Use the SD-CARD-READER-2PINS in a Circuit:
- Power Supply: Connect the GND pin to the ground of your circuit and ensure the operating voltage (3.3V or 5V) is supplied to the DATA pin through your microcontroller or power source.
- Microcontroller Connection: Use the DATA pin to interface with your microcontroller's SPI-compatible pin. Ensure the microcontroller's SPI library or driver is configured correctly.
- SD Card Insertion: Insert a compatible SD card into the reader slot. Ensure the card is formatted as FAT16 or FAT32 for compatibility.
- Software Setup: Use an appropriate library (e.g., Arduino SD library) to initialize and communicate with the SD card.
Important Considerations and Best Practices:
- Voltage Compatibility: Ensure the SD card reader operates within the specified voltage range to avoid damage.
- Signal Integrity: Keep the DATA line as short as possible to minimize noise and signal degradation.
- SD Card Formatting: Always format the SD card to FAT16 or FAT32 before use.
- Library Support: Use well-documented libraries for your microcontroller to simplify communication with the SD card.
Example Code for Arduino UNO:
Below is an example of how to use the SD-CARD-READER-2PINS with an Arduino UNO:
#include <SPI.h>
#include <SD.h>

// Define the pin connected to the SD-CARD-READER-2PINS
#define SD_DATA_PIN 10

void setup() {
  Serial.begin(9600);

  // Initialize the SD card
  if (!SD.begin(SD_DATA_PIN)) {
    Serial.println("SD card initialization failed!");
    return;
  }
  Serial.println("SD card initialized successfully.");

  // Create or open a file on the SD card
  File dataFile = SD.open("example.txt", FILE_WRITE);

  // Check if the file opened successfully
  if (dataFile) {
    dataFile.println("Hello, SD card!");
    dataFile.close(); // Always close the file after writing
    Serial.println("Data written to SD card.");
  } else {
    Serial.println("Error opening file on SD card.");
  }
}

void loop() {
  // Nothing to do here
}
Note: Ensure the
SD_DATA_PINmatches the pin used for the DATA connection on your Arduino UNO.
Troubleshooting and FAQs
Common Issues and Solutions:
SD Card Initialization Fails:
- Cause: Incorrect wiring or incompatible SD card format.
- Solution: Double-check the wiring and ensure the SD card is formatted as FAT16 or FAT32.
Data Corruption on SD Card:
- Cause: Improper handling of the SD card during read/write operations.
- Solution: Always close files after writing and avoid removing the SD card while the circuit is powered.
No Response from SD Card Reader:
- Cause: Insufficient power supply or damaged SD card reader.
- Solution: Verify the power supply voltage and current. Replace the SD card reader if necessary.
File Not Found Error:
- Cause: Incorrect file path or name.
- Solution: Ensure the file name matches exactly, including case sensitivity.
FAQs:
Q: Can I use this SD card reader with a 3.3V microcontroller?
A: Yes, the SD-CARD-READER-2PINS is compatible with both 3.3V and 5V systems.Q: What is the maximum SD card size supported?
A: The reader supports SD cards up to 32GB (SDHC).Q: Do I need additional components to use this reader?
A: No, the reader is designed for direct connection to a microcontroller with SPI support.Q: Can I use this reader for high-speed data transfer?
A: While it supports SPI communication, the speed is limited by the microcontroller and SD card capabilities.
By following this documentation, you can effectively integrate the SD-CARD-READER-2PINS into your projects for reliable data storage and retrieval.