
How to Use Solenoid: Examples, Pinouts, and Specs
 Design with Solenoid in Cirkit Designer
Introduction
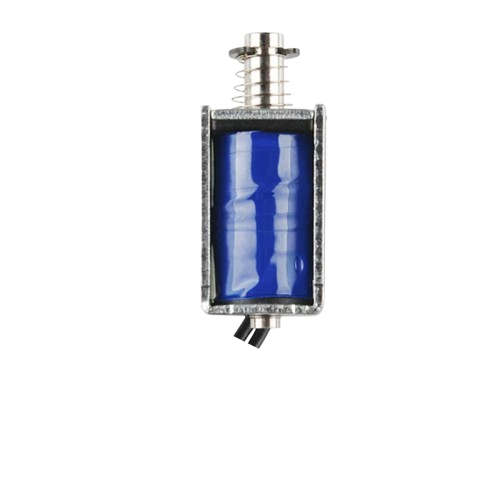
A solenoid is an electromechanical device that converts electrical energy into linear motion. It consists of a coil of wire that generates a magnetic field when an electric current passes through it. This magnetic field moves a ferromagnetic plunger or core, enabling the solenoid to perform mechanical tasks. Solenoids are widely used in applications requiring controlled linear motion, such as actuating valves, locking mechanisms, and relays.
Explore Projects Built with Solenoid
 Open Project in Cirkit Designer
 Open Project in Cirkit Designer
 Open Project in Cirkit Designer
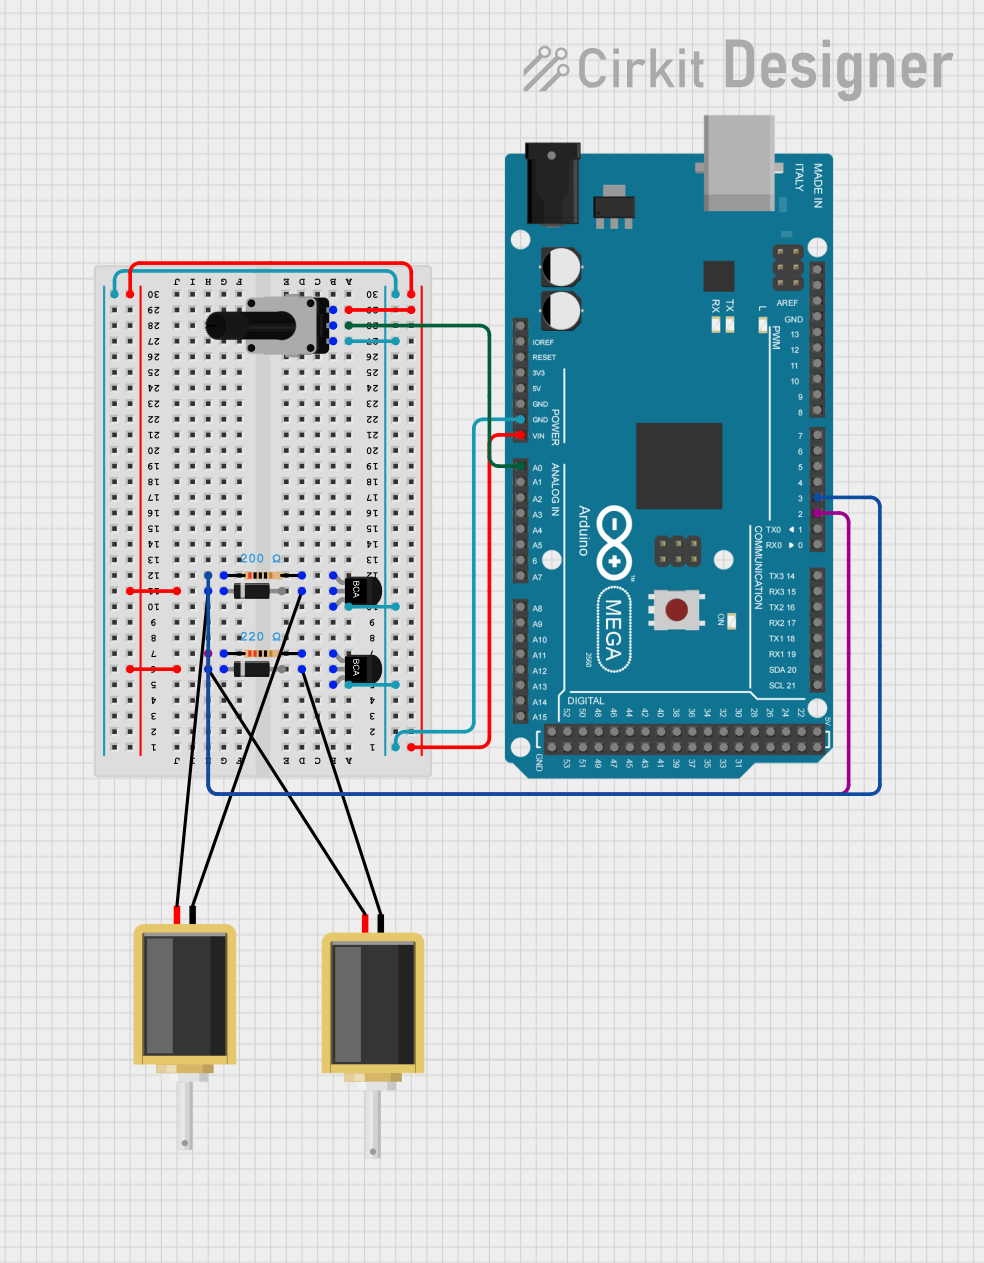 Open Project in Cirkit Designer
Explore Projects Built with Solenoid
Open Project in Cirkit DesignerOpen Project in Cirkit DesignerOpen Project in Cirkit DesignerOpen Project in Cirkit DesignerCommon Applications
- Valves: Used in fluid control systems to open or close pathways.
- Locks: Found in electronic door locks and security systems.
- Automotive Systems: Used in starters, fuel injectors, and transmission systems.
- Industrial Automation: Actuates mechanical systems in manufacturing processes.
- Robotics: Provides precise linear motion for robotic arms and grippers.
Technical Specifications
Key Technical Details
| Parameter | Value/Range |
|---|---|
| Operating Voltage | Typically 5V, 12V, or 24V DC |
| Current Consumption | 0.2A to 2A (depending on the model) |
| Power Rating | 1W to 48W |
| Stroke Length | 2mm to 50mm |
| Force | 0.5N to 50N |
| Coil Resistance | Varies (e.g., 10Ω to 100Ω) |
| Duty Cycle | 10% to 100% |
| Operating Temperature | -20°C to 85°C |
Pin Configuration and Descriptions
| Pin Name | Description |
|---|---|
| Positive | Connects to the positive terminal of the power supply. |
| Negative | Connects to the ground or negative terminal of the power supply. |
Note: Some solenoids may include additional terminals for feedback or control, depending on the model.
Usage Instructions
How to Use a Solenoid in a Circuit
- Power Supply: Ensure the solenoid is powered by a voltage source that matches its rated operating voltage (e.g., 12V DC).
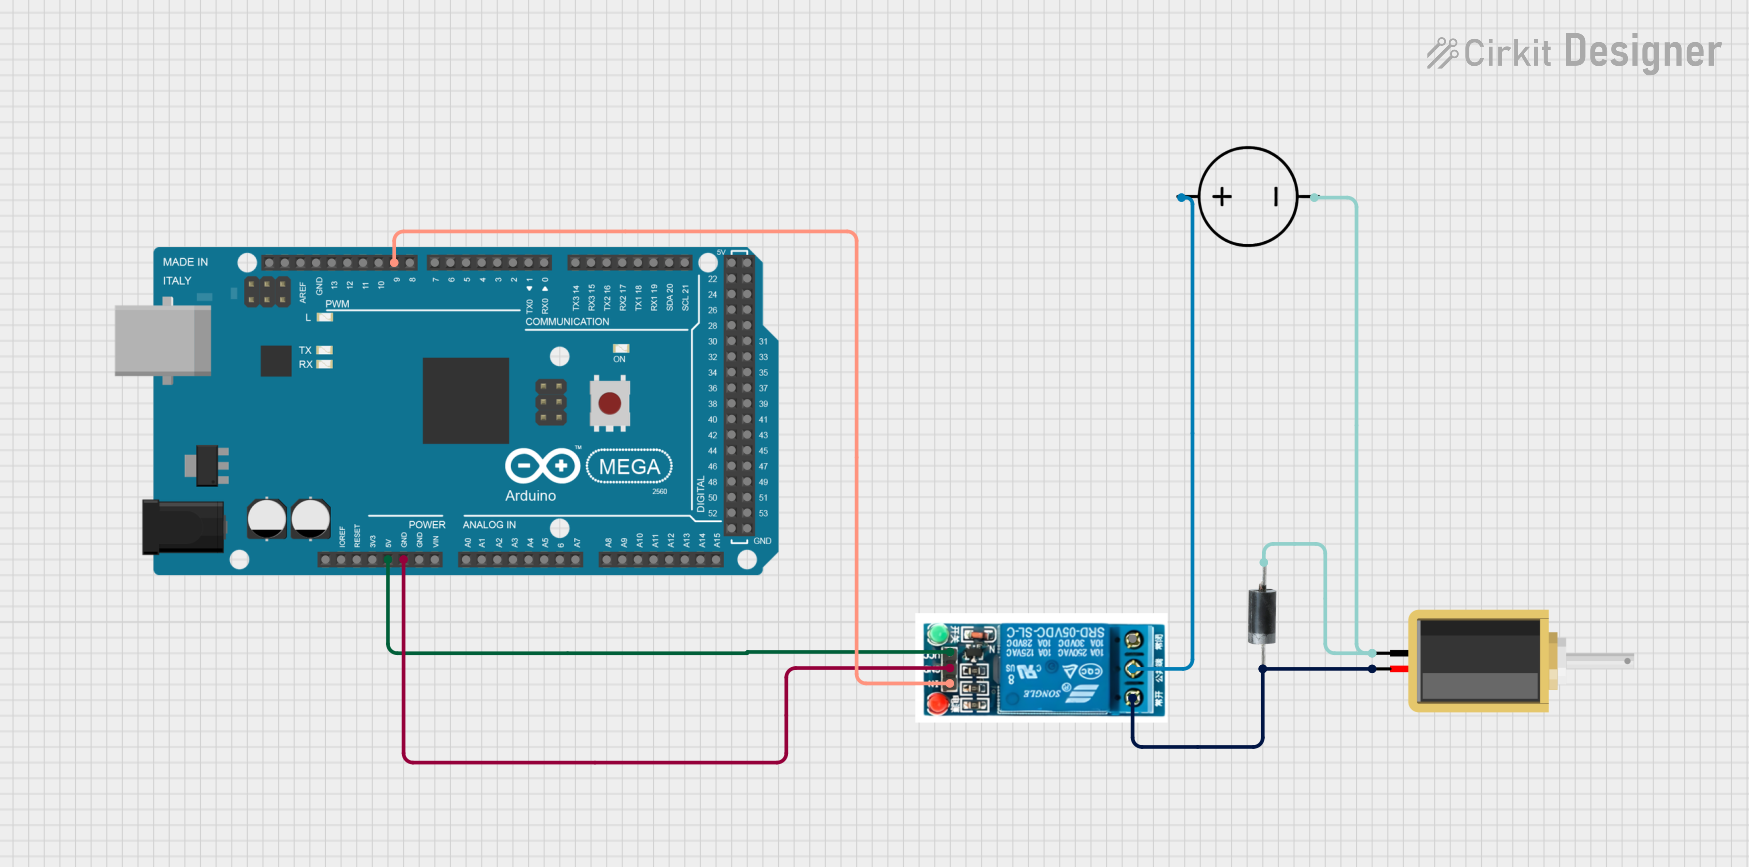
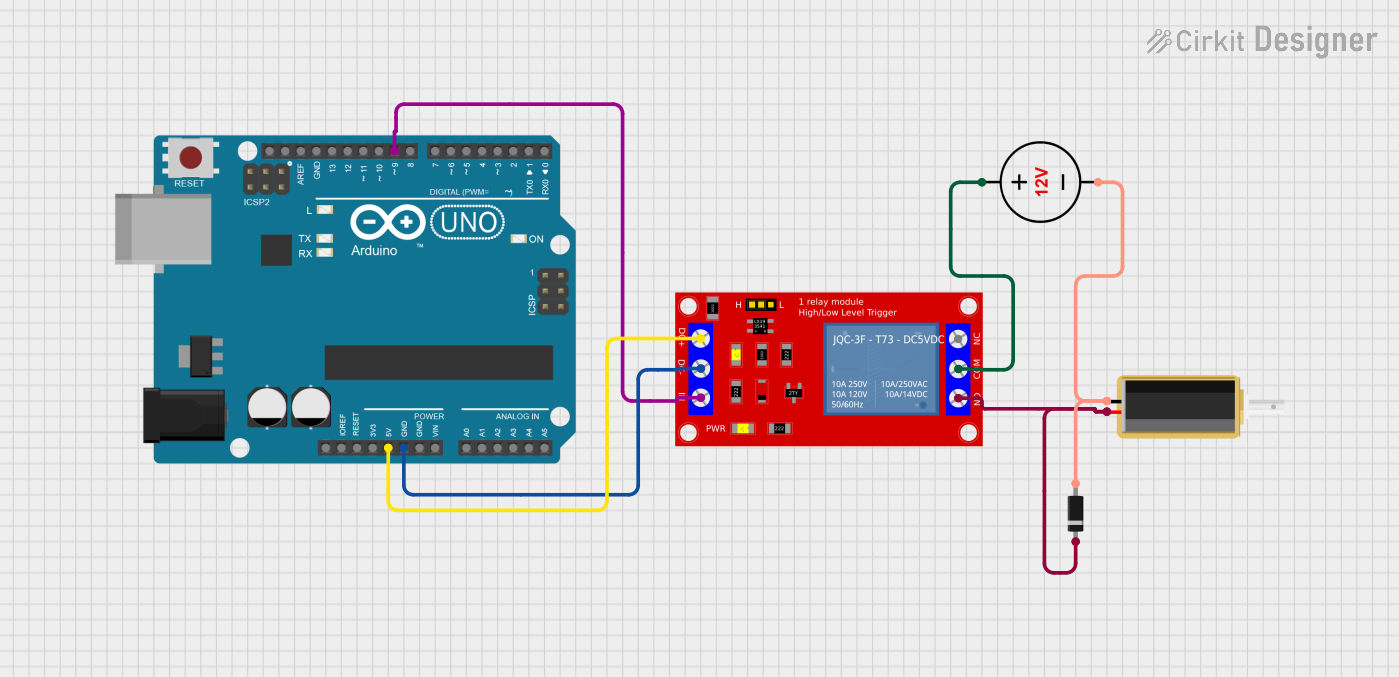
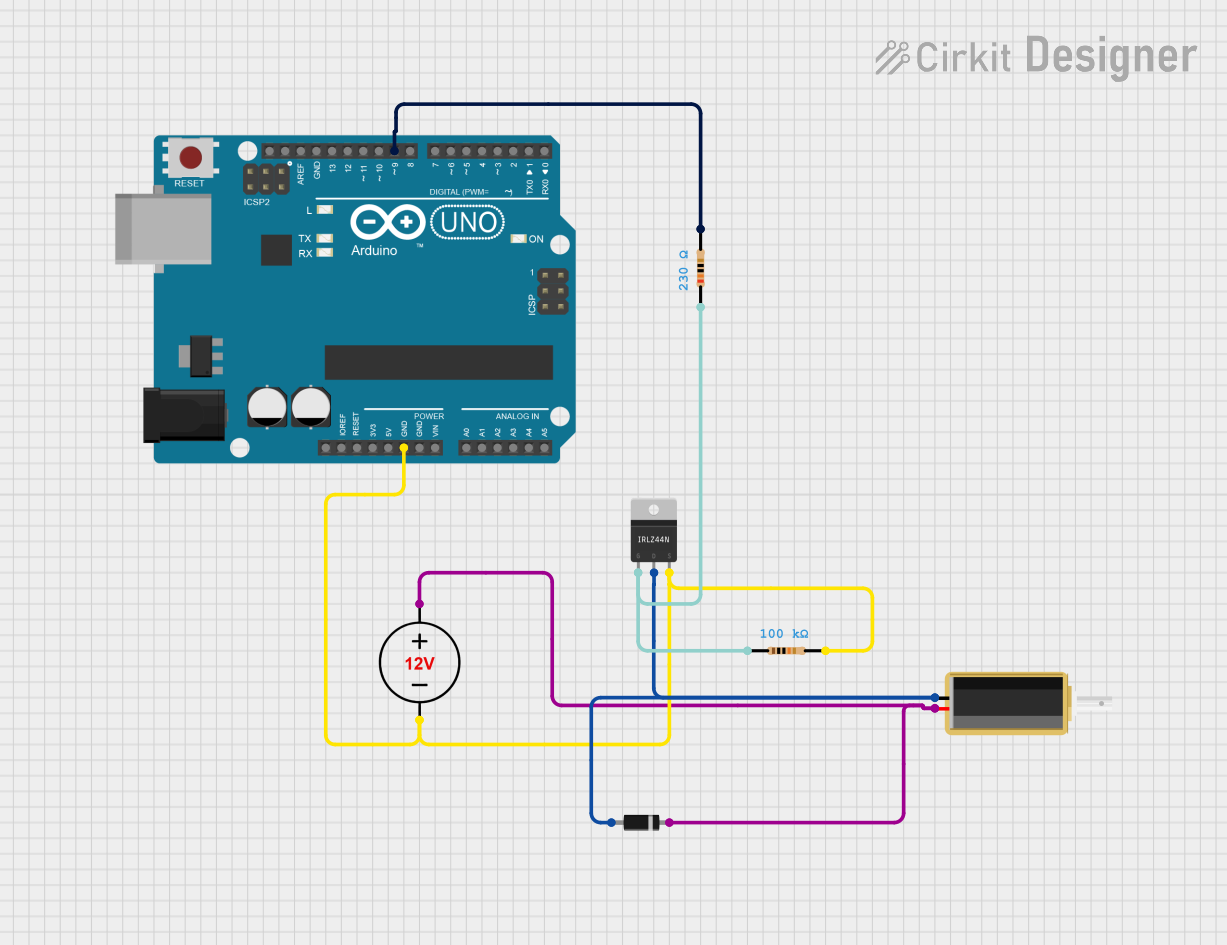
- Control Circuit: Use a transistor or MOSFET to control the solenoid, as it typically requires more current than a microcontroller can supply directly.
- Diode Protection: Always connect a flyback diode across the solenoid terminals to protect the circuit from voltage spikes caused by the collapsing magnetic field when the solenoid is turned off.
- Connections:
- Connect the positive terminal of the solenoid to the power supply through the control circuit.
- Connect the negative terminal to the ground.
Example Circuit with Arduino UNO
Below is an example of how to control a solenoid using an Arduino UNO and an NPN transistor:
Components Required:
- Solenoid (12V DC)
- NPN Transistor (e.g., 2N2222)
- Flyback Diode (e.g., 1N4007)
- Resistor (1kΩ)
- External 12V Power Supply
- Arduino UNO
Circuit Diagram:
+12V -----> Solenoid -----> Collector (Transistor)
            |                |
            |                |
            |                Flyback Diode (Cathode to +12V)
            |
           GND
Arduino Code:
// Define the pin connected to the transistor base
const int solenoidPin = 9;

void setup() {
  pinMode(solenoidPin, OUTPUT); // Set the solenoid pin as an output
}

void loop() {
  digitalWrite(solenoidPin, HIGH); // Activate the solenoid
  delay(1000);                     // Keep it on for 1 second
  digitalWrite(solenoidPin, LOW);  // Deactivate the solenoid
  delay(1000);                     // Wait for 1 second
}
Important Notes:
- Ensure the external power supply can provide sufficient current for the solenoid.
- Use a heat sink for the transistor if the solenoid draws high current.
- Verify the solenoid's duty cycle to avoid overheating during prolonged use.
Troubleshooting and FAQs
Common Issues and Solutions
Solenoid Not Activating:
- Cause: Insufficient power supply or incorrect wiring.
- Solution: Verify the power supply voltage and current match the solenoid's requirements. Check all connections.
Overheating:
- Cause: Exceeding the solenoid's duty cycle or continuous operation.
- Solution: Operate the solenoid within its rated duty cycle. Allow cooling periods if necessary.
Voltage Spikes Damaging Components:
- Cause: Missing or improperly connected flyback diode.
- Solution: Ensure a flyback diode is installed across the solenoid terminals with the correct polarity.
Weak or No Linear Motion:
- Cause: Low input voltage or mechanical obstruction.
- Solution: Check the input voltage and ensure the solenoid's plunger is not blocked.
FAQs
Q1: Can I power a solenoid directly from an Arduino UNO?
A1: No, most solenoids require more current than an Arduino can supply. Use a transistor or relay to control the solenoid.
Q2: What is a flyback diode, and why is it necessary?
A2: A flyback diode protects the circuit from voltage spikes generated when the solenoid is turned off. It prevents damage to sensitive components like transistors and microcontrollers.
Q3: How do I calculate the resistor value for the transistor base?
A3: Use Ohm's Law: ( R = \frac{V_{control} - V_{be}}{I_{base}} ), where ( V_{control} ) is the control voltage (e.g., 5V from Arduino), ( V_{be} ) is the base-emitter voltage (typically 0.7V for an NPN transistor), and ( I_{base} ) is the required base current (usually 1/10th of the solenoid current).
Q4: Can I use a solenoid for AC applications?
A4: Yes, but you must use an AC-rated solenoid. The circuit design and control methods will differ from DC solenoids.
By following this documentation, you can effectively integrate a solenoid into your projects and troubleshoot common issues.