Cirkit Designer
Your all-in-one circuit design IDE
Home /
Component Documentation
How to Use Motor Hat Waveshare (big size): Examples, Pinouts, and Specs

 Design with Motor Hat Waveshare (big size) in Cirkit Designer
Introduction
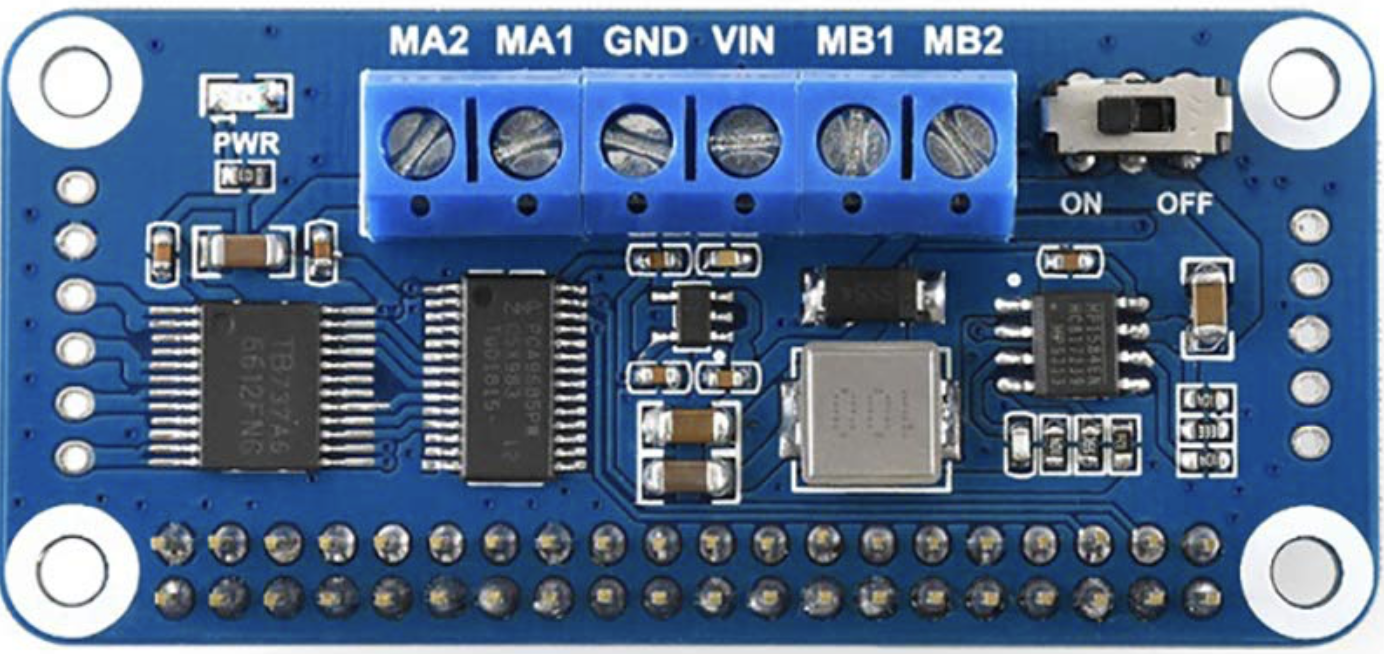
The Motor Hat Waveshare (Big Size) is a versatile motor driver board designed by Waveshare. It is primarily used to control multiple motors in robotics and automation projects. This motor driver board supports various motor types, including DC motors, stepper motors, and servo motors, and provides an easy interface for connection to microcontrollers such as the Arduino UNO.
Explore Projects Built with Motor Hat Waveshare (big size)
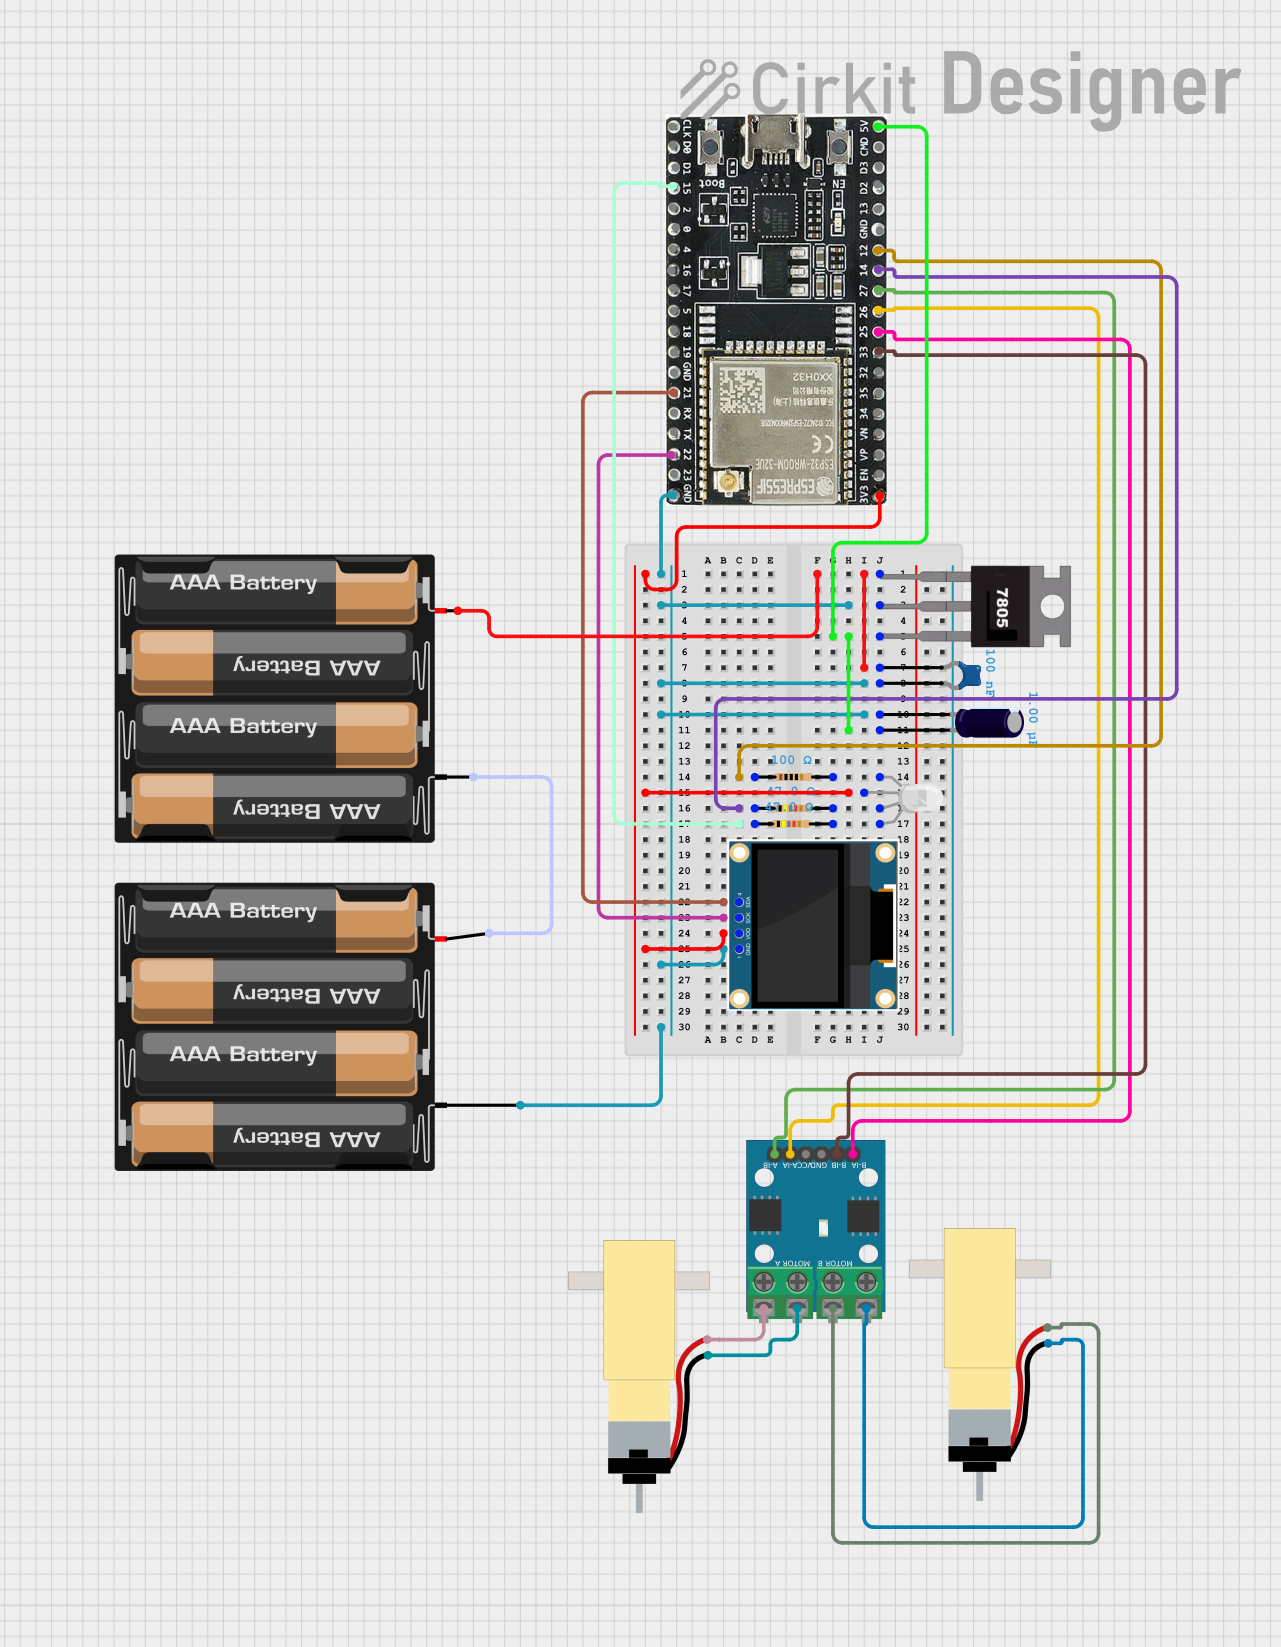
ESP32-WROOM-32UE Wi-Fi Controlled Robotic Car with OLED Display and RGB LED

This circuit is a WiFi-controlled robotic system powered by an ESP32 microcontroller. It features an OLED display for status messages, an RGB LED for visual feedback, and dual hobby gearmotors driven by an L9110 motor driver for movement. The system is powered by a 4 x AAA battery pack regulated to 5V using a 7805 voltage regulator.
 Open Project in Cirkit Designer
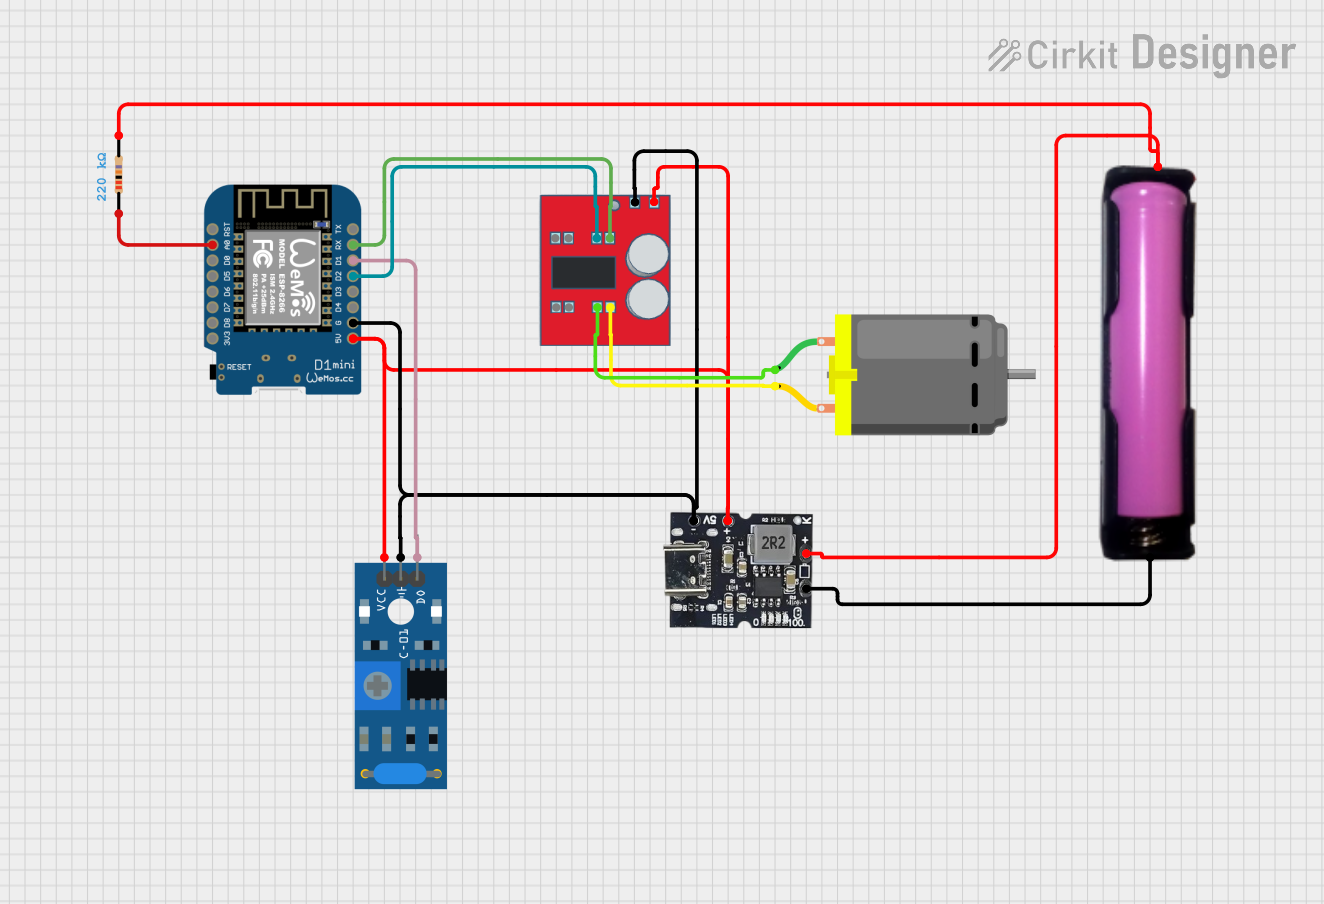
Wi-Fi Controlled Vibration-Sensing Robot with Battery Monitoring

This circuit features a Wemos D1 Mini microcontroller connected to a MX1508 DC Motor Driver for controlling a DC motor, a SW-420 Vibration Sensor for detecting vibrations, and a Type-c Power Bank Module with an 18650 battery holder for power supply. The microcontroller monitors the vibration sensor and controls the motor driver based on the sensor's output, while also measuring the battery voltage through an ADC pin with a connected resistor for voltage scaling. The embedded code enables WiFi connectivity, OTA updates, and integration with Home Assistant for remote monitoring and control.
 Open Project in Cirkit Designer
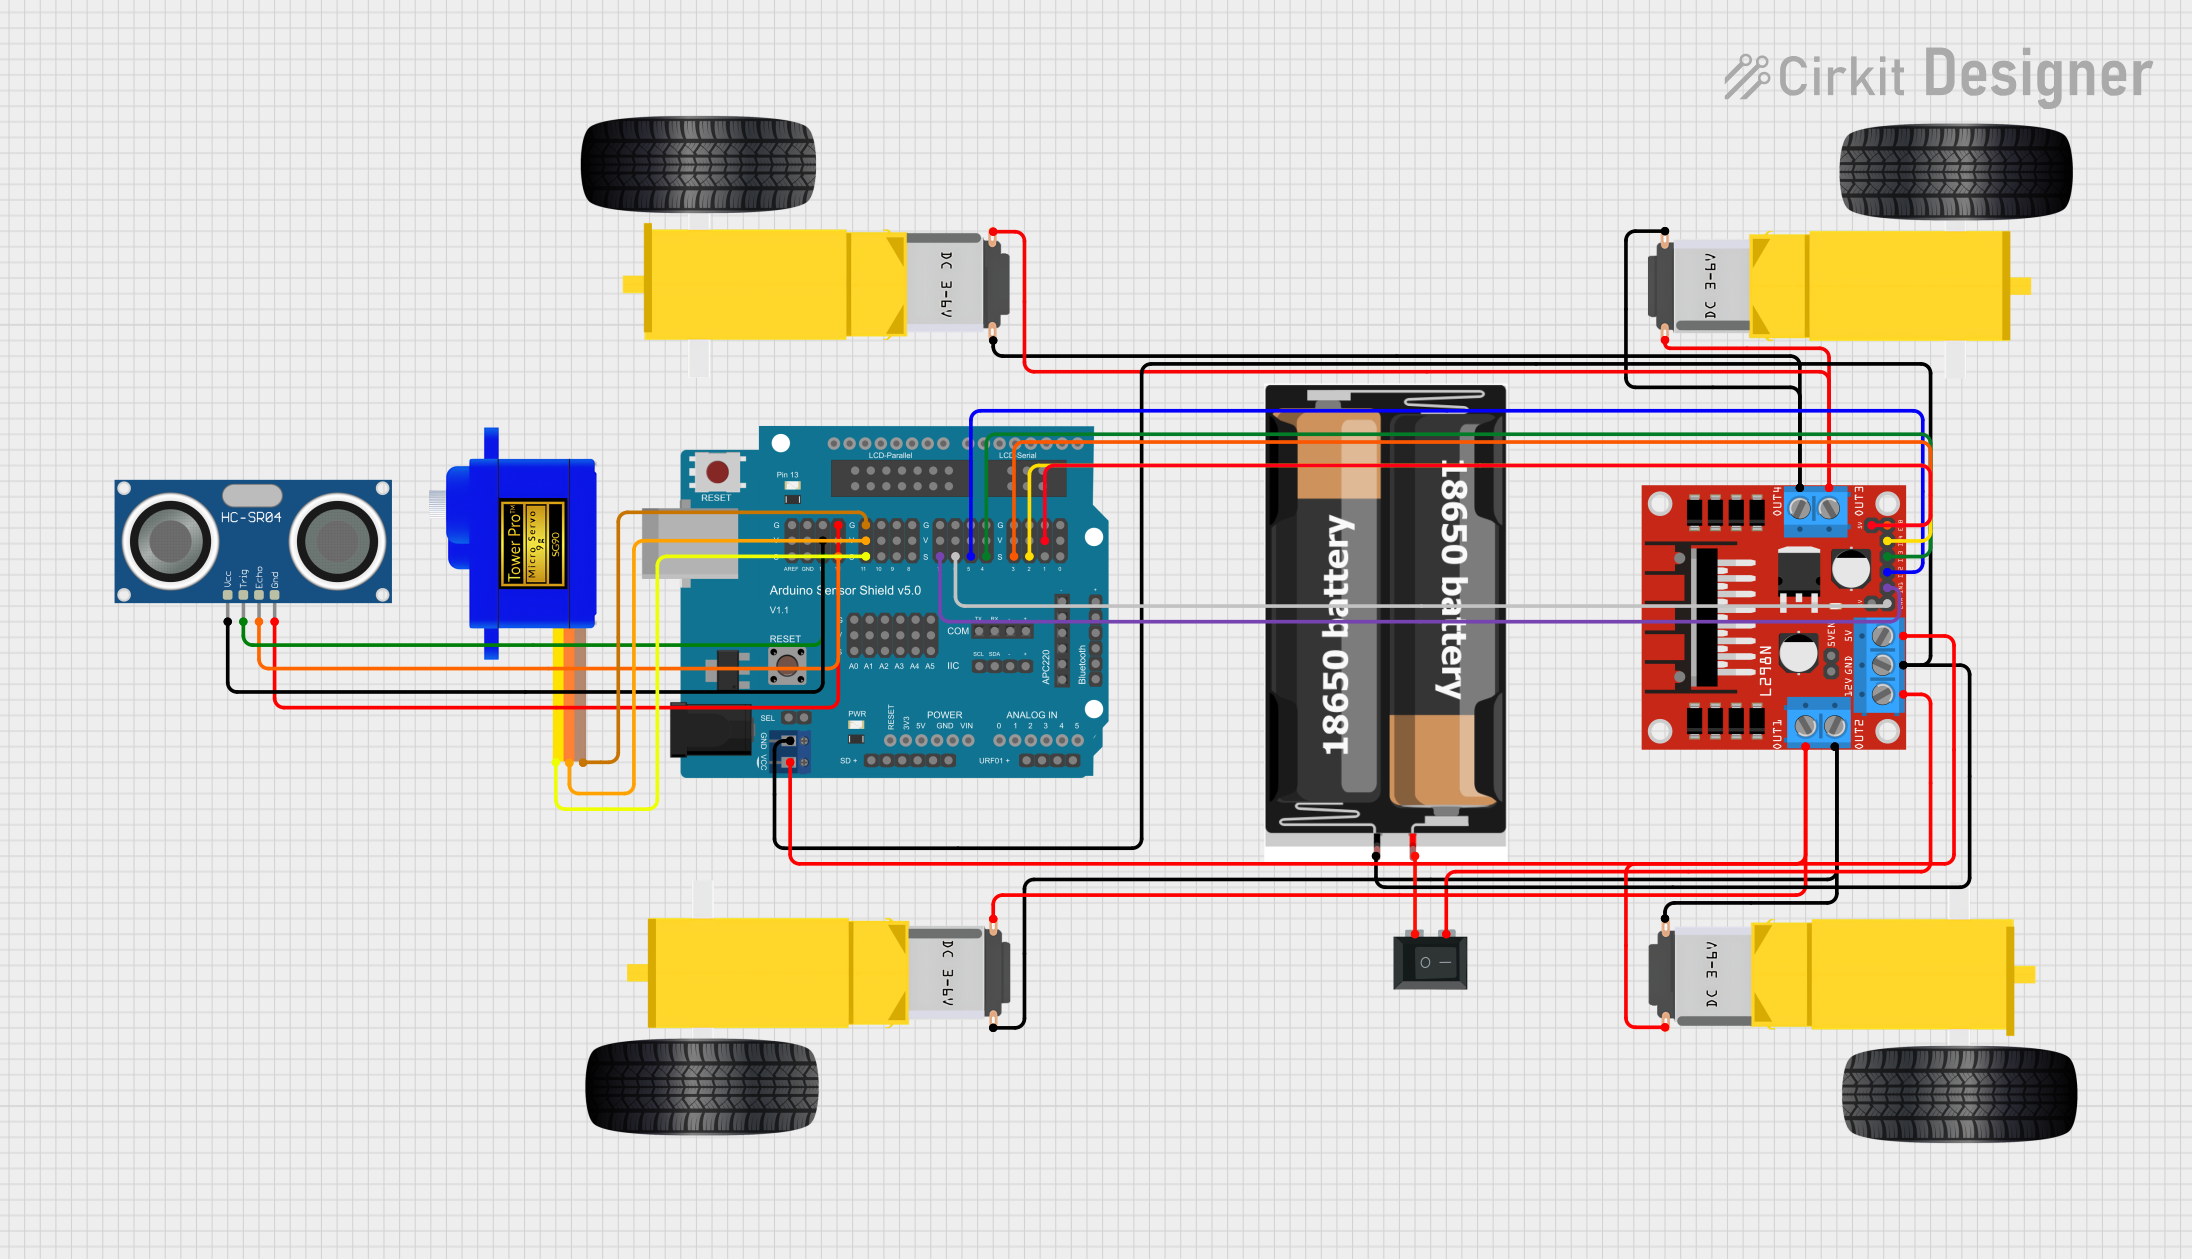
Arduino-Controlled Obstacle Avoiding Robot with Ultrasonic Sensor and L298N Motor Driver

This is a mobile robot platform controlled by an Arduino UNO with a sensor shield. It uses an HC-SR04 ultrasonic sensor for obstacle detection and a servo motor for directional control. The robot's movement is powered by gearmotors controlled by an L298N motor driver, and it is designed to navigate by avoiding obstacles detected by the ultrasonic sensor.
 Open Project in Cirkit Designer
Bluetooth-Controlled Multi-Function Arduino Nano Gadget

This is a portable, microcontroller-driven interactive device featuring Bluetooth connectivity, visual (RGB LED), auditory (loudspeaker), and haptic (vibration motor) feedback, user input (pushbutton), and a rechargeable power system (TP4056 with Li-ion battery).
 Open Project in Cirkit Designer
Explore Projects Built with Motor Hat Waveshare (big size)

ESP32-WROOM-32UE Wi-Fi Controlled Robotic Car with OLED Display and RGB LED
This circuit is a WiFi-controlled robotic system powered by an ESP32 microcontroller. It features an OLED display for status messages, an RGB LED for visual feedback, and dual hobby gearmotors driven by an L9110 motor driver for movement. The system is powered by a 4 x AAA battery pack regulated to 5V using a 7805 voltage regulator.
 Open Project in Cirkit Designer
Wi-Fi Controlled Vibration-Sensing Robot with Battery Monitoring
This circuit features a Wemos D1 Mini microcontroller connected to a MX1508 DC Motor Driver for controlling a DC motor, a SW-420 Vibration Sensor for detecting vibrations, and a Type-c Power Bank Module with an 18650 battery holder for power supply. The microcontroller monitors the vibration sensor and controls the motor driver based on the sensor's output, while also measuring the battery voltage through an ADC pin with a connected resistor for voltage scaling. The embedded code enables WiFi connectivity, OTA updates, and integration with Home Assistant for remote monitoring and control.
 Open Project in Cirkit Designer
Arduino-Controlled Obstacle Avoiding Robot with Ultrasonic Sensor and L298N Motor Driver
This is a mobile robot platform controlled by an Arduino UNO with a sensor shield. It uses an HC-SR04 ultrasonic sensor for obstacle detection and a servo motor for directional control. The robot's movement is powered by gearmotors controlled by an L298N motor driver, and it is designed to navigate by avoiding obstacles detected by the ultrasonic sensor.
 Open Project in Cirkit Designer
Bluetooth-Controlled Multi-Function Arduino Nano Gadget
This is a portable, microcontroller-driven interactive device featuring Bluetooth connectivity, visual (RGB LED), auditory (loudspeaker), and haptic (vibration motor) feedback, user input (pushbutton), and a rechargeable power system (TP4056 with Li-ion battery).
 Open Project in Cirkit Designer
Common Applications and Use Cases
- Robotics: Controlling the movement of robot wheels and arms.
- Automation Projects: Managing conveyor belts, automated gates, and other mechanical systems.
- DIY Projects: Building custom motorized devices and gadgets.
- Educational Purposes: Teaching motor control and automation concepts.
Technical Specifications
Key Technical Details
| Specification | Value |
|---|---|
| Operating Voltage | 5V to 12V |
| Motor Channels | 4 (2 DC motors, 2 stepper motors) |
| Current Rating | 1.2A per channel (peak 3A) |
| Communication | I2C |
| Dimensions | 65mm x 56mm |
| Weight | 30g |
Pin Configuration and Descriptions
Power and Communication Pins
| Pin Name | Description |
|---|---|
| VCC | Power supply (5V to 12V) |
| GND | Ground |
| SCL | I2C Clock Line |
| SDA | I2C Data Line |
Motor Control Pins
| Pin Name | Description |
|---|---|
| M1A | Motor 1 Channel A |
| M1B | Motor 1 Channel B |
| M2A | Motor 2 Channel A |
| M2B | Motor 2 Channel B |
| M3A | Motor 3 Channel A |
| M3B | Motor 3 Channel B |
| M4A | Motor 4 Channel A |
| M4B | Motor 4 Channel B |
Usage Instructions
How to Use the Component in a Circuit
Power Supply:
- Connect the VCC pin to a power source (5V to 12V).
- Connect the GND pin to the ground of the power source.
Microcontroller Connection:
- Connect the SCL pin to the I2C clock line of the microcontroller.
- Connect the SDA pin to the I2C data line of the microcontroller.
Motor Connection:
- Connect the motor wires to the corresponding motor control pins (M1A, M1B, etc.).
Important Considerations and Best Practices
- Power Supply: Ensure that the power supply voltage matches the motor requirements.
- Current Rating: Do not exceed the current rating of 1.2A per channel to avoid damage.
- Heat Dissipation: Provide adequate ventilation or heat sinks if the board gets too hot.
- I2C Address: Ensure that the I2C address of the Motor Hat does not conflict with other I2C devices on the bus.
Example Code for Arduino UNO
#include <Wire.h>
#include <Adafruit_MotorShield.h>

// Create the motor shield object with the default I2C address
Adafruit_MotorShield AFMS = Adafruit_MotorShield();

// Connect a DC motor to port M1
Adafruit_DCMotor *myMotor = AFMS.getMotor(1);

void setup() {
  Serial.begin(9600);           // Set up serial communication at 9600 baud
  Serial.println("Adafruit Motorshield v2 - DC Motor test!");

  AFMS.begin();  // Create with the default frequency 1.6KHz

  myMotor->setSpeed(150); // Set the speed to 150 out of 255
  myMotor->run(FORWARD);  // Turn on the motor in forward direction
}

void loop() {
  myMotor->run(FORWARD);  // Run the motor forward
  delay(1000);            // Wait for 1 second

  myMotor->run(BACKWARD); // Run the motor backward
  delay(1000);            // Wait for 1 second

  myMotor->run(RELEASE);  // Stop the motor
  delay(1000);            // Wait for 1 second
}
Troubleshooting and FAQs
Common Issues Users Might Face
Motor Not Running:
- Solution: Check the power supply and ensure it is within the specified range. Verify all connections are secure.
Overheating:
- Solution: Ensure the current does not exceed 1.2A per channel. Provide adequate cooling.
I2C Communication Failure:
- Solution: Check the SCL and SDA connections. Ensure there are no address conflicts on the I2C bus.
Solutions and Tips for Troubleshooting
- Check Connections: Ensure all wires are securely connected and there are no loose connections.
- Verify Code: Double-check the code for any errors or incorrect configurations.
- Use Multimeter: Use a multimeter to check voltage levels and continuity in the circuit.
- Consult Datasheet: Refer to the Waveshare Motor Hat datasheet for detailed technical information.
By following this documentation, users can effectively utilize the Motor Hat Waveshare (Big Size) in their projects, ensuring smooth and efficient motor control.