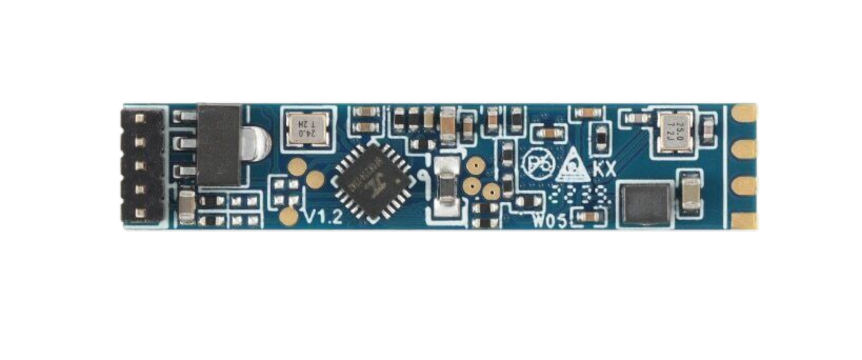
How to Use LD2410B: Examples, Pinouts, and Specs
Introduction
The LD2410B is a high-efficiency, high power LED driver integrated circuit (IC) designed to regulate and control the current in LED lighting applications. It is capable of driving a significant amount of current, making it suitable for high-brightness LEDs used in commercial and industrial lighting systems. The IC ensures consistent light output while maximizing the life of the LEDs by providing a stable current supply.
Explore Projects Built with LD2410B
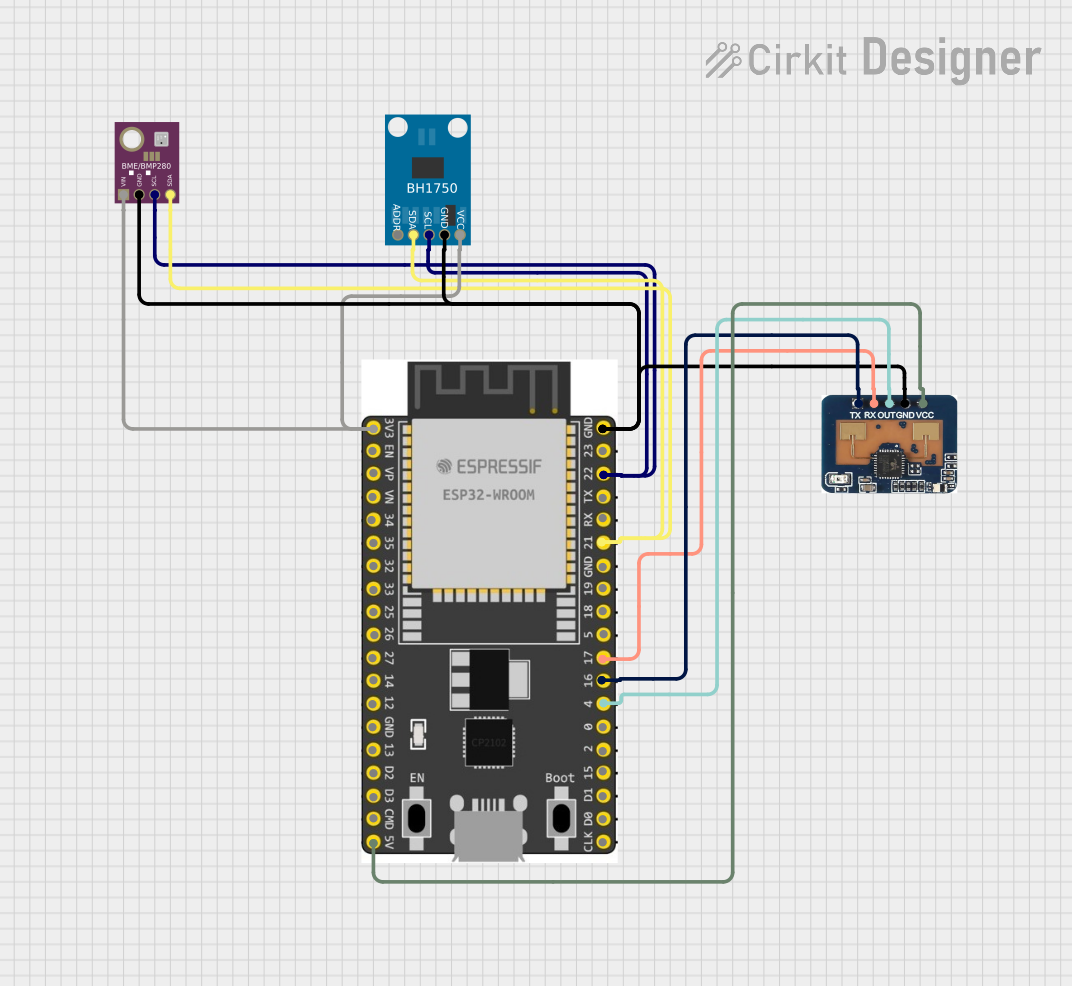


Explore Projects Built with LD2410B
Common Applications and Use Cases
- Commercial LED lighting fixtures
- Industrial high-bay lighting
- Street and area lighting
- Architectural lighting
- Automotive and signaling LED systems
Technical Specifications
Key Technical Details
- Input Voltage Range: 6V to 60V
- Output Current Range: Adjustable up to 3A
- Switching Frequency: 100kHz to 1MHz (adjustable)
- Efficiency: Up to 95%
- Operating Temperature Range: -40°C to +125°C
Pin Configuration and Descriptions
| Pin Number | Name | Description |
|---|---|---|
| 1 | VIN | Input voltage supply pin. Connect to the positive terminal of the power source. |
| 2 | GND | Ground pin. Connect to the system ground. |
| 3 | VOUT | Regulated output voltage to the LED(s). |
| 4 | ADJ | Feedback and adjustment pin. Connect to a resistor network to set the output current. |
| 5 | EN | Enable pin. Drive high to enable the IC, low to disable. |
| 6 | FB | Feedback pin for over-voltage protection. |
| 7 | SW | Switch pin connected to the internal switch. Connect to the inductor. |
| 8 | CS | Current sense pin. Connect to the current sensing resistor. |
Usage Instructions
How to Use the Component in a Circuit
Power Supply Connection: Connect the VIN pin to a DC power supply within the specified input voltage range. Ensure the power supply can handle the current requirements of your LED configuration.
Ground Connection: Connect the GND pin to the system ground.
Output Current Setting: Use a resistor network connected to the ADJ pin to set the desired output current. The value of the resistor will determine the current according to the IC's datasheet.
Enable the IC: Apply a high logic level to the EN pin to turn on the IC. Pulling this pin low will disable the IC.
Connect LEDs: Connect your LED or LED array to the VOUT pin, ensuring that the total forward voltage of the LEDs does not exceed the maximum output voltage of the IC.
Current Sensing: Place a current sensing resistor between the LED negative terminal and the CS pin to provide feedback for constant current regulation.
Over-Voltage Protection: Connect a voltage divider from the output to the FB pin to set the over-voltage protection threshold.
Important Considerations and Best Practices
- Ensure that the input voltage is within the specified range to prevent damage to the IC.
- Use a heat sink if necessary to manage the IC's temperature within the operating range.
- Keep the switching frequency within the specified range to ensure efficient operation.
- Place decoupling capacitors close to the VIN and GND pins to stabilize the input supply.
- Use a diode with a suitable reverse voltage rating and current capacity for the freewheeling diode.
- Follow the recommended PCB layout guidelines from the datasheet to minimize noise and ensure stable operation.
Troubleshooting and FAQs
Common Issues Users Might Face
- LEDs are not illuminating: Check the connections, ensure the power supply is within the specified range, and the EN pin is driven high.
- IC is overheating: Verify that the current settings are within the IC's limits and that adequate heat sinking is provided.
- Flickering LEDs: Ensure that the switching frequency is set correctly and that there are no issues with the feedback loop.
Solutions and Tips for Troubleshooting
- Double-check all connections against the circuit diagram.
- Measure the input voltage to ensure it is within the specified range.
- Verify that the output current setting is correct for your LED configuration.
- Check the temperature of the IC during operation and add a heat sink if necessary.
- Inspect the PCB for solder bridges or cold solder joints that could affect performance.
FAQs
Q: Can the LD2410B be used with a dimming control?
A: Yes, the LD2410B can be used with a PWM dimming control by modulating the EN pin.
Q: What is the maximum number of LEDs that can be driven by the LD2410B?
A: The maximum number of LEDs is determined by the total forward voltage of the LED array, which must not exceed the maximum output voltage of the IC.
Q: How do I set the switching frequency for the LD2410B?
A: The switching frequency is set by an external resistor and capacitor connected to the RT/CT pin, as specified in the datasheet.
Q: Is it necessary to use a current sensing resistor?
A: Yes, a current sensing resistor is necessary for the IC to regulate the output current accurately.
Q: What should I do if the LEDs are too bright or too dim?
A: Adjust the value of the resistor connected to the ADJ pin to increase or decrease the output current as needed.
Example Code for Arduino UNO
// Example code to control LD2410B LED driver with Arduino UNO for dimming

const int enablePin = 9; // Connect to the EN pin of LD2410B

void setup() {
  pinMode(enablePin, OUTPUT);
  // Start with the LED driver disabled
  digitalWrite(enablePin, LOW);
}

void loop() {
  // Enable the LED driver
  digitalWrite(enablePin, HIGH);
  delay(1000); // Keep the LEDs on for 1 second

  // Disable the LED driver
  digitalWrite(enablePin, LOW);
  delay(1000); // Keep the LEDs off for 1 second

  // Add PWM dimming control by varying the duty cycle
  analogWrite(enablePin, 128); // Set to 50% duty cycle for dimming
  delay(1000);
}
Note: The above code is a simple example to demonstrate enabling and disabling the LD2410B using an Arduino UNO. For actual PWM dimming, ensure that the EN pin of the LD2410B is compatible with the PWM frequency of the Arduino UNO.