How to Use VCC 5V: Examples, Pinouts, and Specs

Introduction
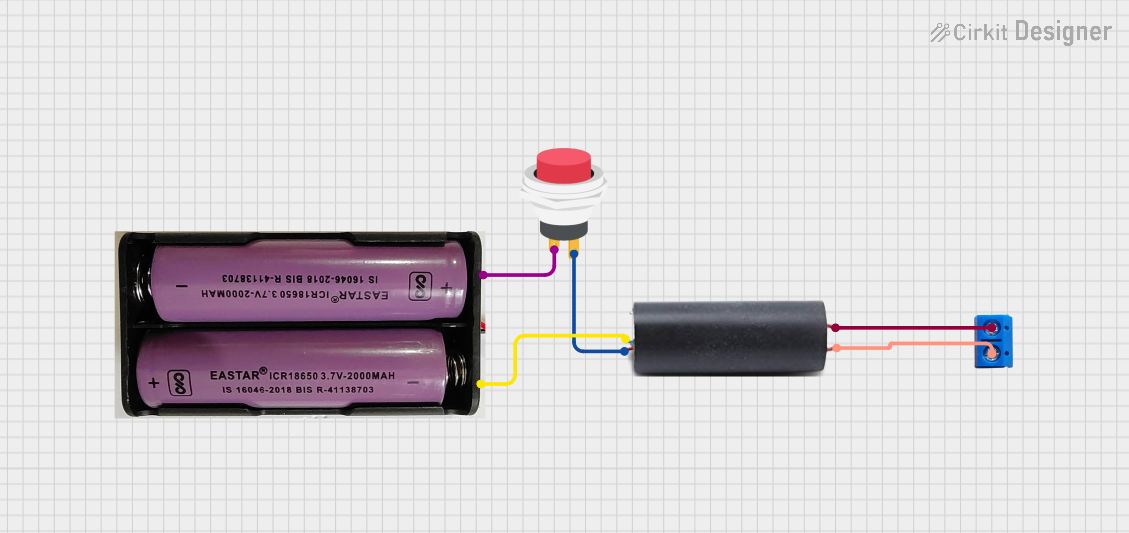
The VCC 5V, manufactured by Xiao, is a power supply voltage reference that provides a constant 5 volts. It is widely used in powering digital circuits, microcontrollers, sensors, and other electronic components that require a stable 5V power source. This component is essential in ensuring reliable operation of devices by maintaining a consistent voltage level.
Explore Projects Built with VCC 5V


Explore Projects Built with VCC 5V
Common Applications and Use Cases
- Powering microcontrollers such as Arduino, Raspberry Pi, and ESP32.
- Supplying voltage to sensors, modules, and actuators.
- Providing a stable reference voltage for analog and digital circuits.
- Used in breadboard prototyping and embedded systems development.
Technical Specifications
The VCC 5V is a standard voltage reference with the following key specifications:
| Parameter | Value |
|---|---|
| Input Voltage Range | 5V (regulated input) |
| Output Voltage | 5V ± 0.1V |
| Maximum Output Current | 500mA (typical) |
| Ripple Voltage | < 50mV |
| Operating Temperature | -40°C to +85°C |
| Efficiency | ~90% (depending on load) |
Pin Configuration and Descriptions
The VCC 5V typically has two pins for connection:
| Pin Name | Description |
|---|---|
| VCC | Output pin providing a constant 5V voltage. |
| GND | Ground pin, used as the reference for the voltage. |
Usage Instructions
How to Use the VCC 5V in a Circuit
- Connect the VCC Pin: Attach the VCC pin to the input pin of the device or circuit requiring 5V power.
- Connect the GND Pin: Ensure the GND pin is connected to the ground of the circuit to complete the power loop.
- Verify Input Voltage: Ensure the input voltage to the VCC 5V module is regulated and within the specified range (5V).
- Check Load Requirements: Ensure the connected load does not exceed the maximum output current of 500mA.
Important Considerations and Best Practices
- Avoid Overloading: Do not connect devices that draw more than 500mA, as this may cause voltage drops or damage the component.
- Use Decoupling Capacitors: Place a 0.1µF ceramic capacitor and a 10µF electrolytic capacitor near the VCC pin to reduce noise and stabilize the voltage.
- Heat Dissipation: If the component is used near its maximum current rating, ensure proper ventilation or heat dissipation to prevent overheating.
- Polarity Check: Always double-check the polarity of connections to avoid damage to the component or connected devices.
Example: Using VCC 5V with an Arduino UNO
The VCC 5V can be used to power an Arduino UNO or other 5V-compatible devices. Below is an example of connecting a sensor to the Arduino using the VCC 5V as the power source.
Circuit Diagram
- Connect the VCC pin of the VCC 5V module to the 5V pin of the Arduino.
- Connect the GND pin of the VCC 5V module to the GND pin of the Arduino.
- Connect the sensor's VCC and GND pins to the corresponding pins of the VCC 5V module.
Example Code
// Example code for reading a sensor powered by VCC 5V
// This code reads an analog value from a sensor connected to pin A0
// and prints the value to the Serial Monitor.

const int sensorPin = A0; // Define the analog pin connected to the sensor
int sensorValue = 0;      // Variable to store the sensor reading

void setup() {
  Serial.begin(9600); // Initialize serial communication at 9600 baud
}

void loop() {
  sensorValue = analogRead(sensorPin); // Read the sensor value
  Serial.print("Sensor Value: ");      // Print a label for the value
  Serial.println(sensorValue);        // Print the sensor reading
  delay(500);                         // Wait for 500ms before the next reading
}
Troubleshooting and FAQs
Common Issues and Solutions
No Output Voltage
- Cause: Incorrect input voltage or loose connections.
- Solution: Verify that the input voltage is 5V and all connections are secure.
Voltage Drops Under Load
- Cause: Load exceeds the maximum output current of 500mA.
- Solution: Reduce the load or use a higher-capacity power supply.
Excessive Heat
- Cause: Prolonged operation near maximum current rating.
- Solution: Improve ventilation or use a heat sink to dissipate heat.
Noise or Voltage Instability
- Cause: Lack of decoupling capacitors.
- Solution: Add a 0.1µF ceramic capacitor and a 10µF electrolytic capacitor near the VCC pin.
FAQs
Q: Can I use the VCC 5V to power a 3.3V device?
A: No, the VCC 5V provides a constant 5V output. Use a voltage regulator or level shifter to step down the voltage to 3.3V.
Q: What happens if I connect a load that exceeds 500mA?
A: The voltage may drop, and the component could overheat or fail. Always ensure the load is within the specified current limit.
Q: Can I use the VCC 5V with a battery?
A: Yes, as long as the battery provides a regulated 5V output. If not, use a voltage regulator to ensure a stable 5V input.
Q: Is the VCC 5V suitable for powering motors?
A: It depends on the motor's current requirements. For motors requiring more than 500mA, use a dedicated motor driver or power supply.
This concludes the documentation for the VCC 5V. For further assistance, refer to the manufacturer's datasheet or contact Xiao support.