How to Use Hooter: Examples, Pinouts, and Specs
Introduction
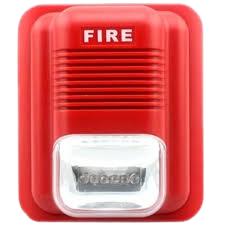
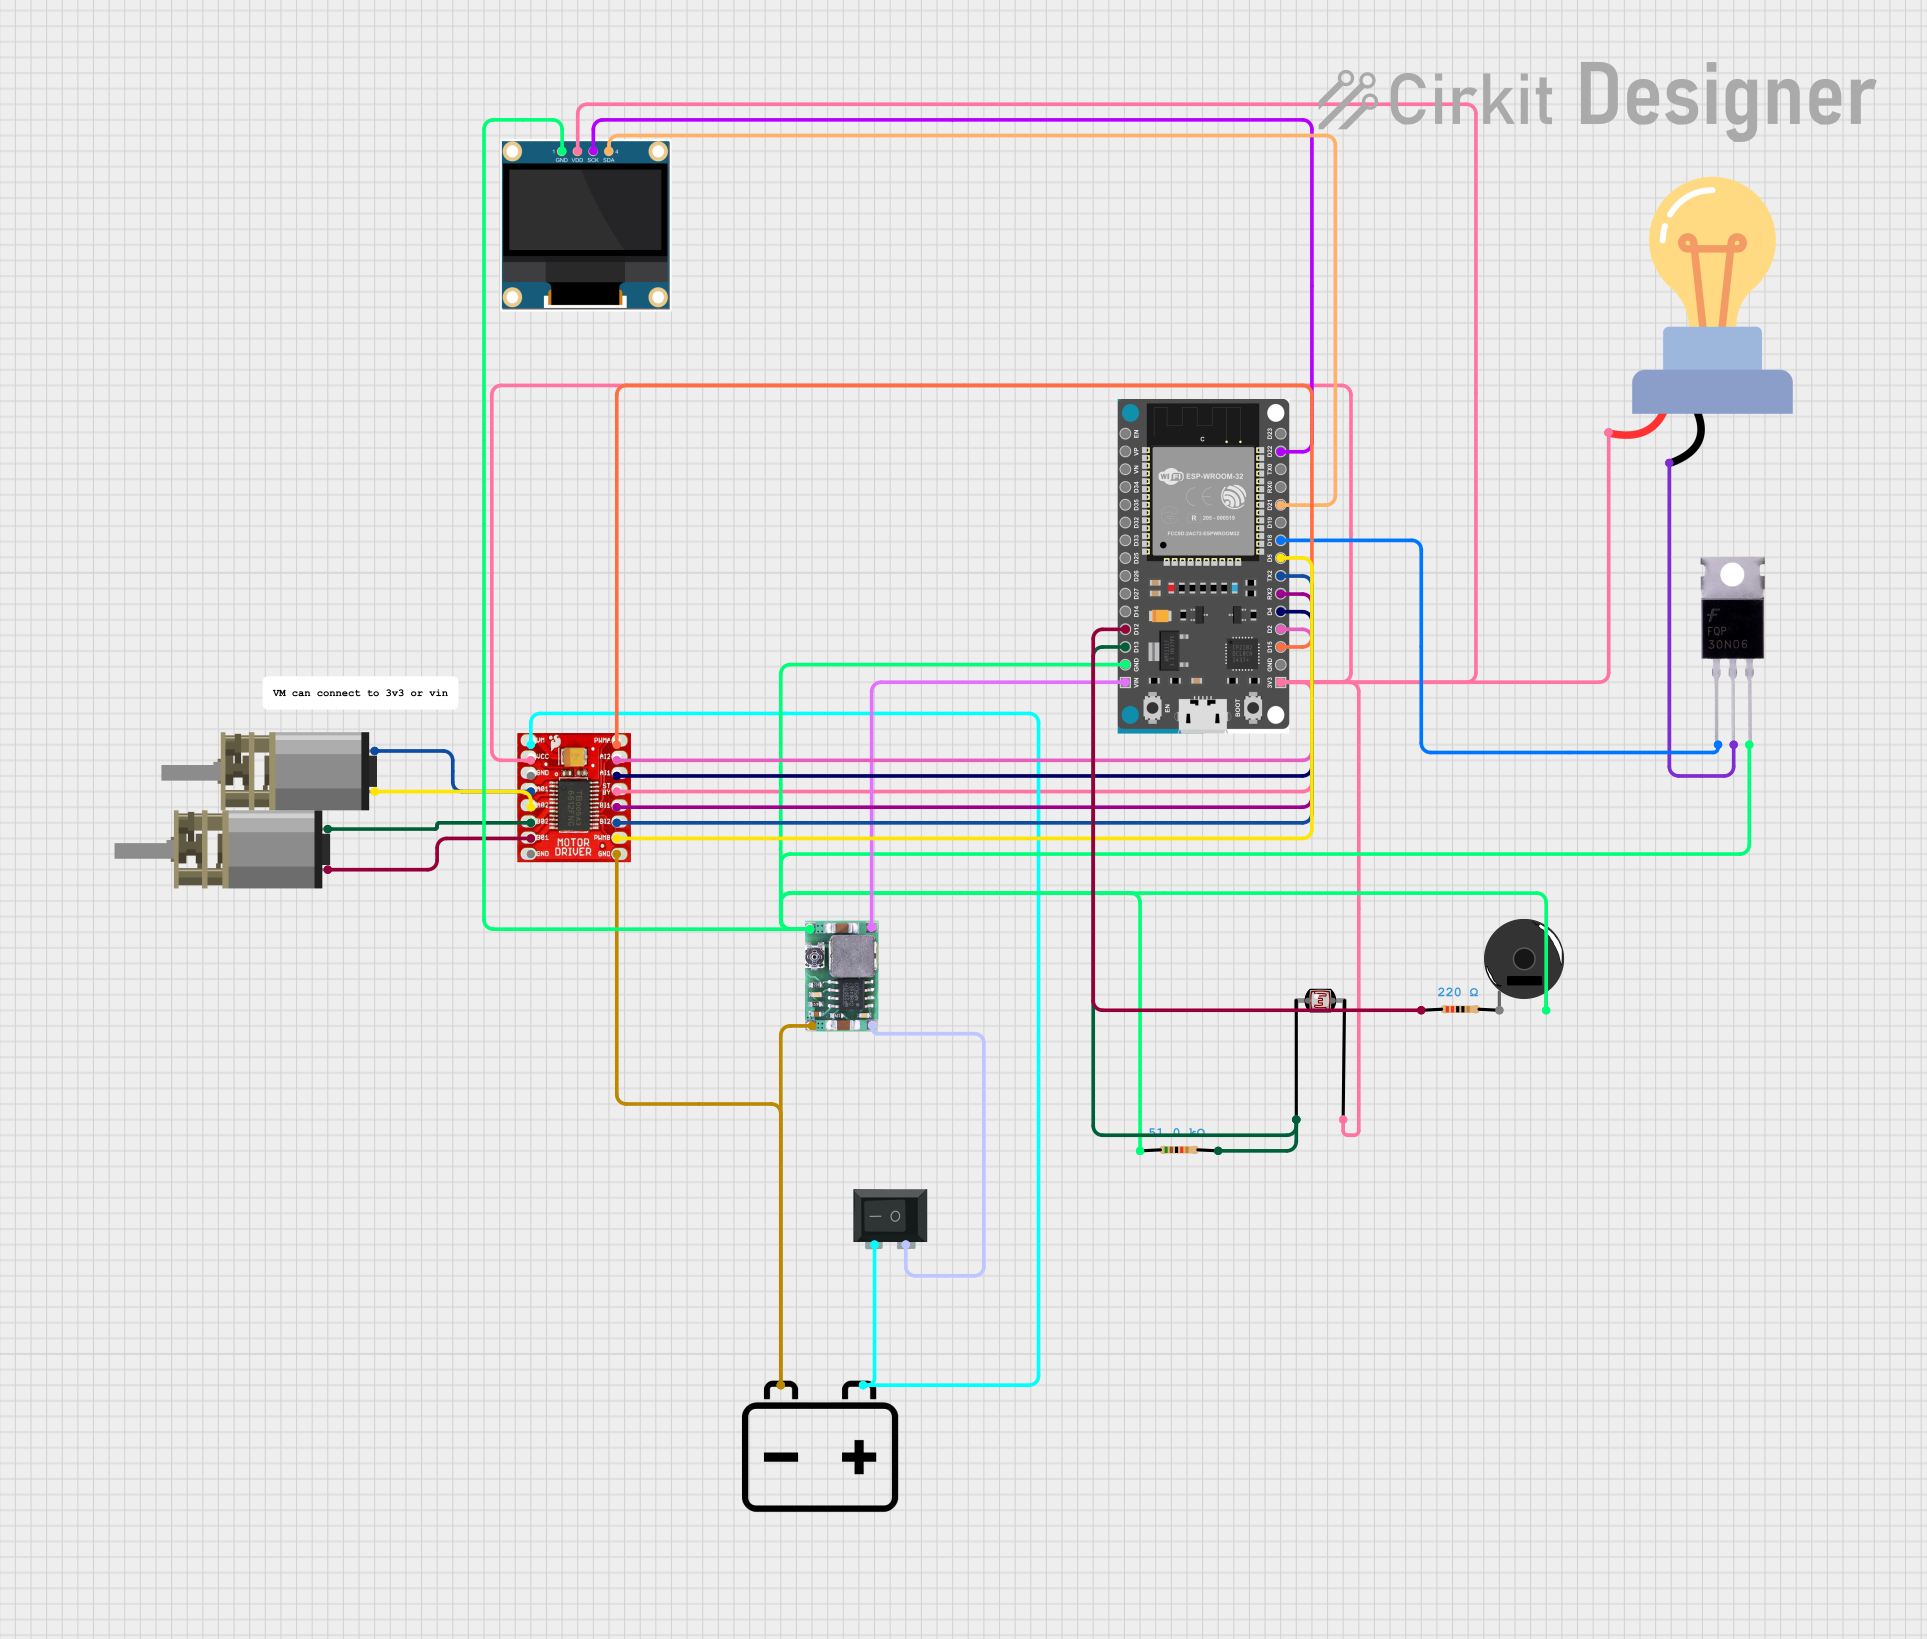
A hooter, manufactured by DPM Instrument, is an audio signaling device designed to produce a loud sound to alert or notify individuals of specific events or conditions. It is commonly used in alarm systems, industrial warning systems, and safety devices to ensure critical notifications are heard in noisy environments or over long distances.
Explore Projects Built with Hooter
Explore Projects Built with Hooter
Common Applications and Use Cases
- Fire alarm systems
- Industrial machinery alerts
- Security systems
- Emergency evacuation systems
- Process monitoring and fault indication
Technical Specifications
The DPM Instrument hooter is designed for reliable performance in various environments. Below are its key technical details:
General Specifications
| Parameter | Value |
|---|---|
| Operating Voltage | 12V DC / 24V DC / 230V AC |
| Current Consumption | 50 mA (12V DC), 25 mA (24V DC) |
| Sound Output Level | 90-110 dB at 1 meter |
| Frequency Range | 2 kHz - 4 kHz |
| Operating Temperature | -10°C to +55°C |
| Housing Material | ABS Plastic |
| Mounting Type | Panel or Wall Mount |
Pin Configuration and Descriptions
The hooter typically has two terminals for electrical connections. The table below describes the pin configuration:
| Pin Number | Label | Description |
|---|---|---|
| 1 | Positive (+) | Connect to the positive terminal of the power supply. |
| 2 | Negative (-) | Connect to the negative terminal (ground) of the power supply. |
Note: Ensure the voltage rating of the hooter matches the power supply to avoid damage.
Usage Instructions
How to Use the Hooter in a Circuit
Power Supply Connection:
- Identify the operating voltage of the hooter (e.g., 12V DC, 24V DC, or 230V AC).
- Connect the positive terminal of the power supply to the hooter's positive pin.
- Connect the negative terminal of the power supply to the hooter's negative pin.
Control via Microcontroller (Optional):
- The hooter can be controlled using a microcontroller like an Arduino UNO by employing a relay or transistor circuit to handle the current and voltage requirements.
Testing:
- After connecting the hooter, apply power to the circuit and verify that the hooter produces sound when activated.
Important Considerations and Best Practices
- Voltage Compatibility: Always ensure the hooter's voltage rating matches the power supply to prevent damage.
- Current Handling: If using a microcontroller, use a relay or transistor to handle the hooter's current requirements.
- Mounting: Securely mount the hooter in a location where the sound can propagate effectively.
- Environmental Conditions: Avoid exposing the hooter to extreme temperatures or moisture unless it is rated for such conditions.
Example: Controlling a 12V DC Hooter with Arduino UNO
Below is an example of how to control a 12V DC hooter using an Arduino UNO and an NPN transistor (e.g., 2N2222):
// Example: Controlling a 12V DC hooter with Arduino UNO
// Components: Arduino UNO, 12V DC hooter, NPN transistor (e.g., 2N2222),
// 1kΩ resistor, 12V power supply

const int hooterPin = 9; // Arduino pin connected to the transistor base

void setup() {
  pinMode(hooterPin, OUTPUT); // Set the hooter control pin as output
}

void loop() {
  digitalWrite(hooterPin, HIGH); // Turn the hooter ON
  delay(1000);                   // Keep it ON for 1 second
  digitalWrite(hooterPin, LOW);  // Turn the hooter OFF
  delay(1000);                   // Keep it OFF for 1 second
}
Circuit Connections:
- Connect the hooter's positive terminal to the 12V power supply.
- Connect the hooter's negative terminal to the collector of the NPN transistor.
- Connect the emitter of the transistor to the ground.
- Connect a 1kΩ resistor between the Arduino pin (e.g., pin 9) and the base of the transistor.
Troubleshooting and FAQs
Common Issues and Solutions
Hooter Does Not Produce Sound:
- Cause: Incorrect voltage or loose connections.
- Solution: Verify the power supply voltage and ensure all connections are secure.
Hooter Produces Weak Sound:
- Cause: Insufficient current supply.
- Solution: Check the power supply's current rating and ensure it meets the hooter's requirements.
Hooter Stays ON Continuously:
- Cause: Faulty control circuit or short circuit.
- Solution: Inspect the control circuit (e.g., relay or transistor) for faults and correct any wiring issues.
Hooter Overheats:
- Cause: Overvoltage or prolonged operation.
- Solution: Ensure the hooter is operated within its specified voltage range and allow cooling periods if necessary.
FAQs
Q1: Can the hooter be used outdoors?
A1: The hooter can be used outdoors if it is housed in a weatherproof enclosure or rated for outdoor use.
Q2: Can I connect the hooter directly to an Arduino?
A2: No, the hooter typically requires more current than an Arduino pin can supply. Use a relay or transistor to control the hooter.
Q3: What is the maximum distance the sound can travel?
A3: The sound output level (90-110 dB) is sufficient for distances up to 100 meters in open environments, depending on ambient noise levels.
Q4: Can I use the hooter with a 5V power supply?
A4: No, the hooter is designed for 12V DC, 24V DC, or 230V AC operation. Using a 5V supply will not produce sufficient sound output.