How to Use MKE-S12 Rain Water Sensor: Examples, Pinouts, and Specs
Introduction
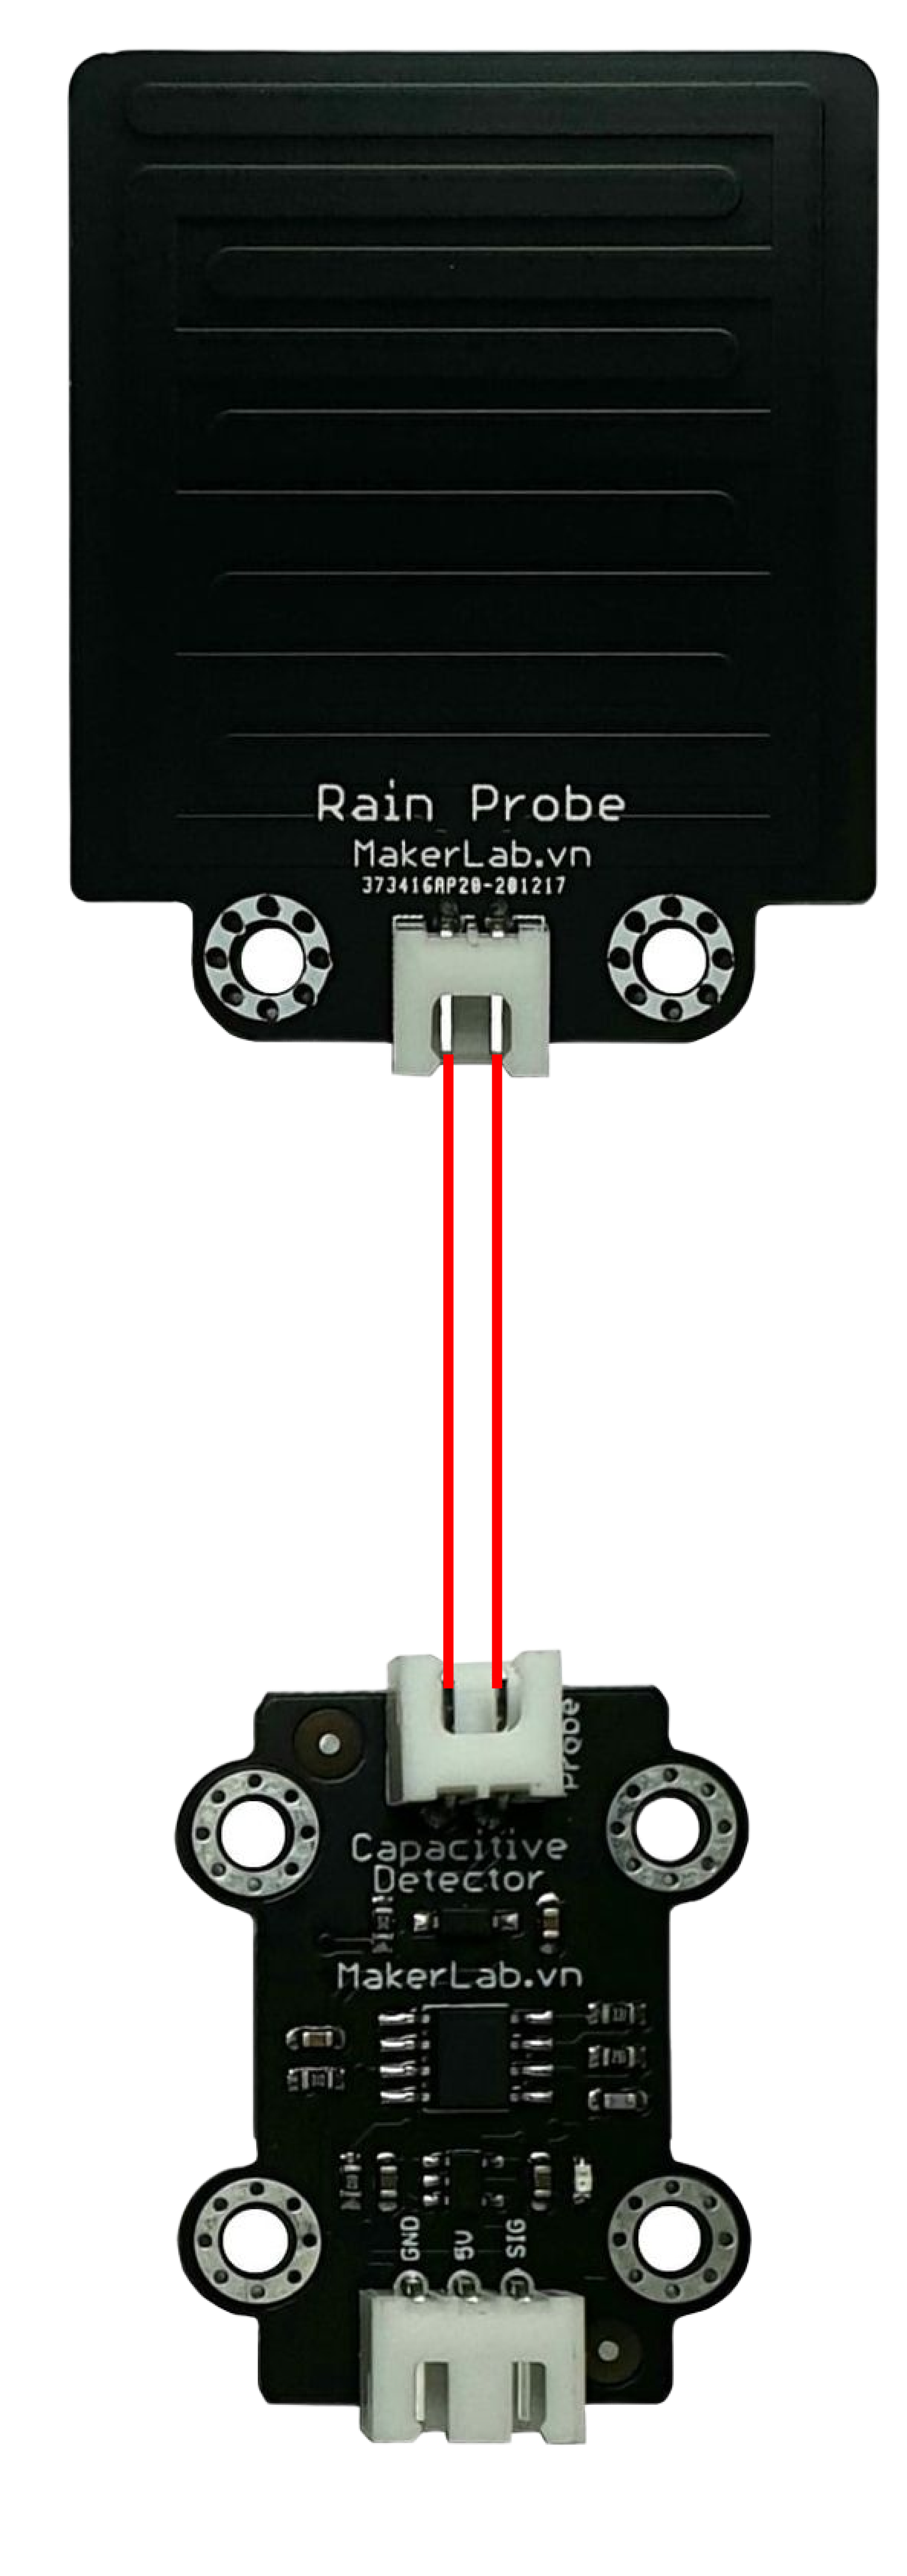
The MKE-S12 Rain Water Sensor is an electronic device designed to detect the presence of water, with a particular focus on rain detection. It is a valuable component for weather monitoring systems, automated irrigation systems, and any application where water detection is crucial. By sensing rain, the MKE-S12 can help in conserving water by automating watering processes, alerting users to potential flooding, or simply by providing data for weather analysis.
Explore Projects Built with MKE-S12 Rain Water Sensor

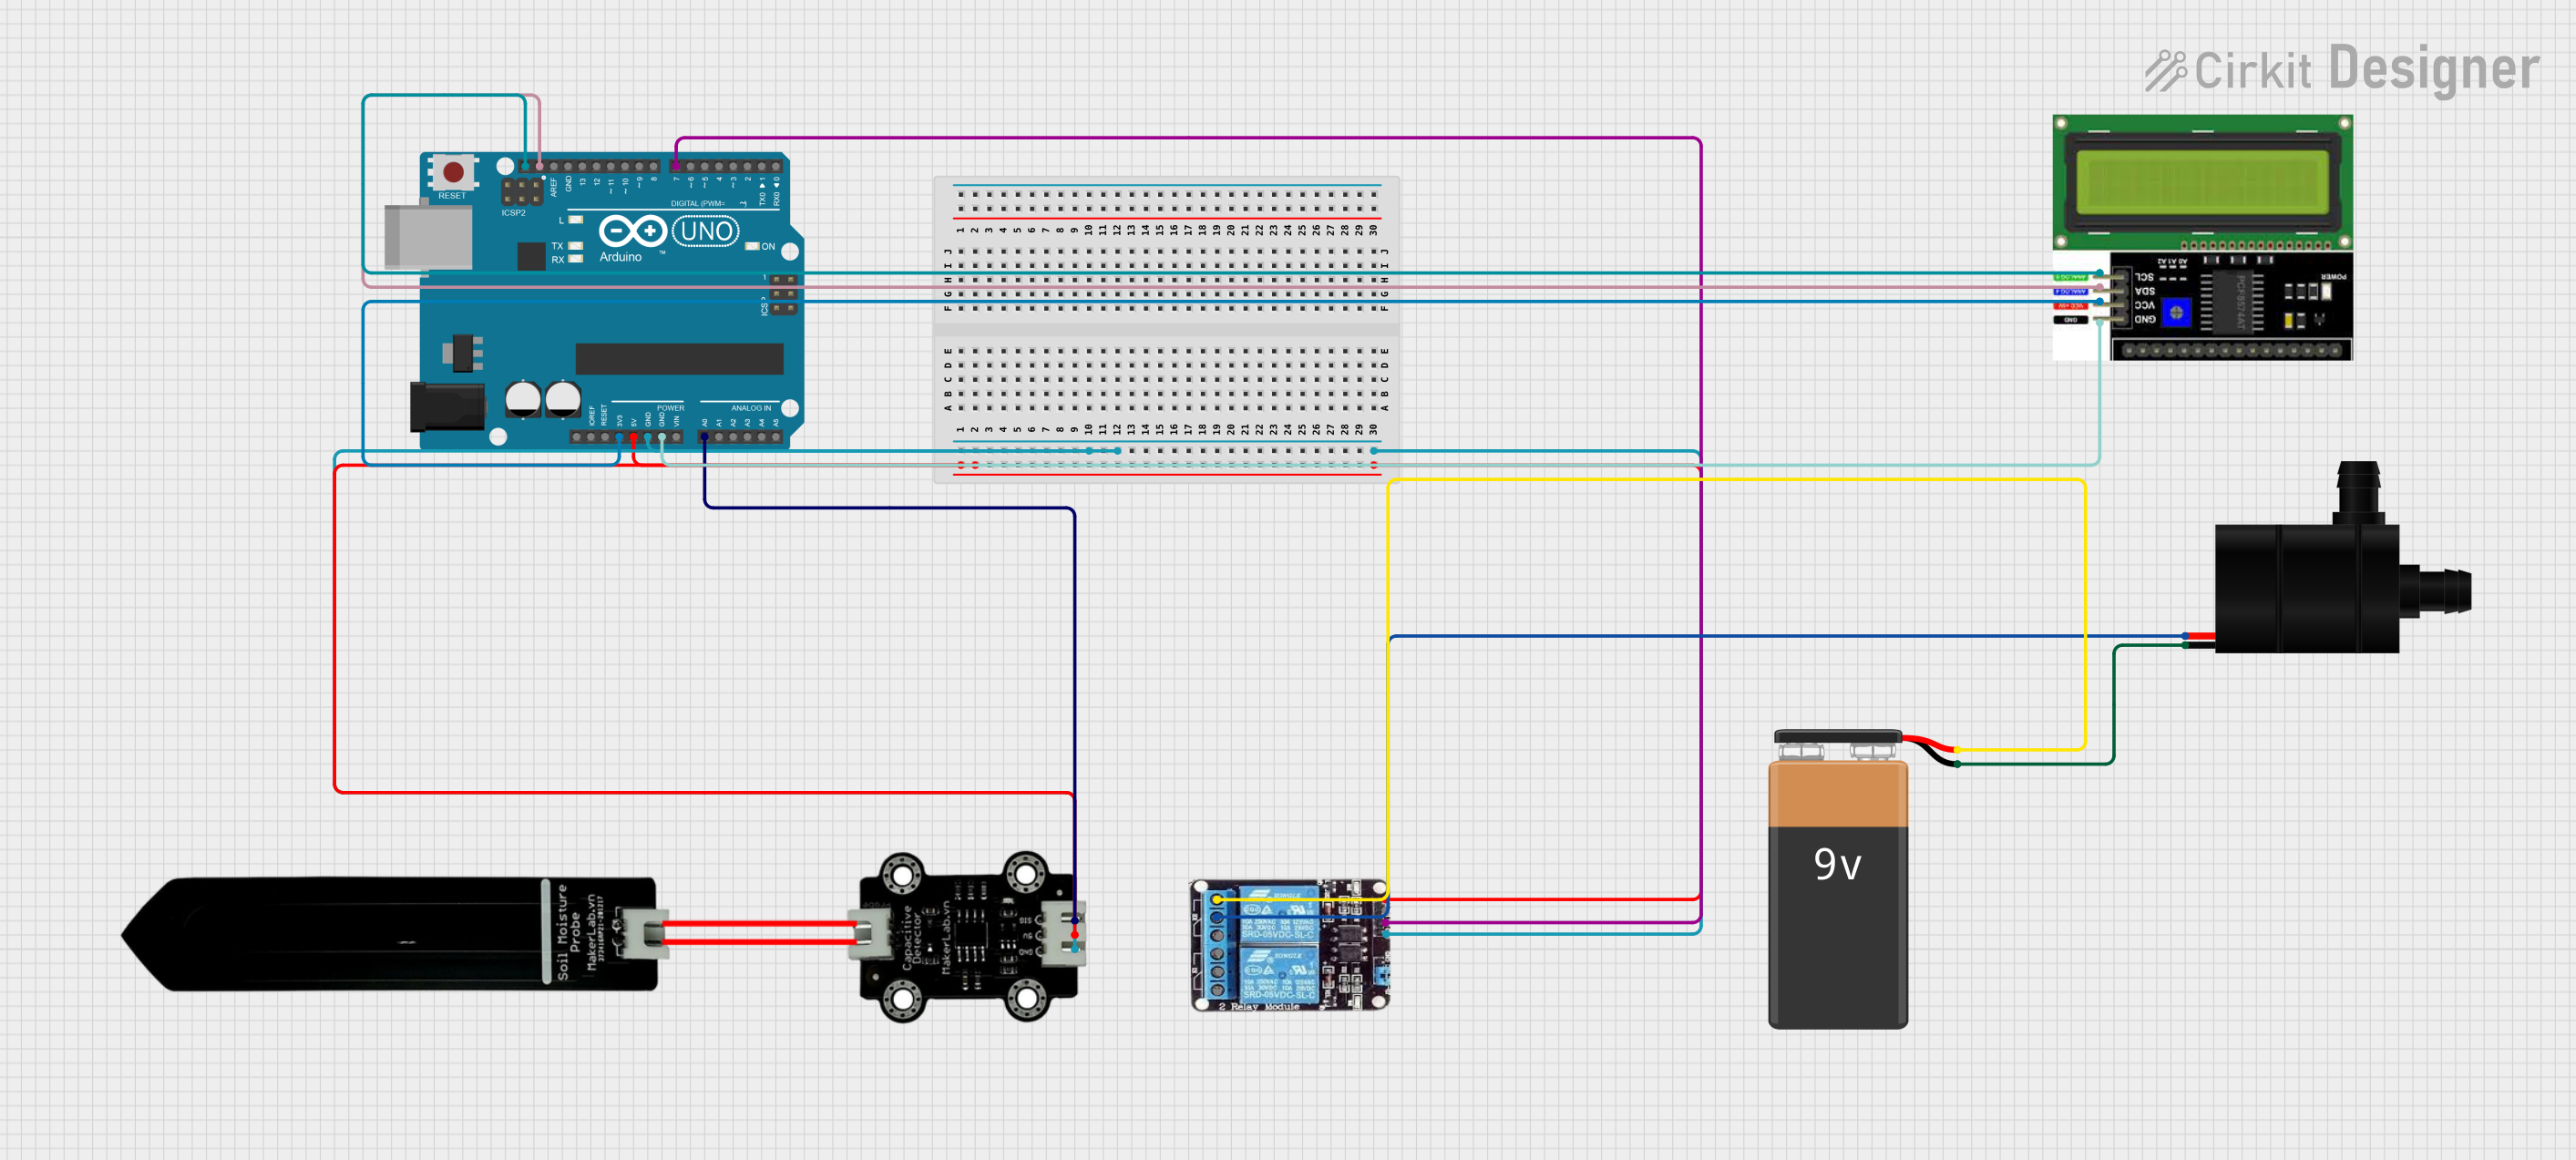
Explore Projects Built with MKE-S12 Rain Water Sensor
Common Applications and Use Cases
- Weather stations for rain detection
- Home automation systems for controlling watering in gardens
- Outdoor event monitoring to alert for potential rain
- Leak detection in buildings
Technical Specifications
Key Technical Details
- Operating Voltage: 5V DC
- Output Type: Analog and Digital
- Sensitivity: Adjustable via onboard potentiometer
- PCB Dimensions: 30mm x 16mm
Pin Configuration and Descriptions
| Pin Number | Name | Description |
|---|---|---|
| 1 | VCC | Connect to 5V power supply |
| 2 | GND | Connect to ground |
| 3 | DO | Digital output; goes high when rain is detected |
| 4 | AO | Analog output; provides an analog signal based on the amount of water detected |
Usage Instructions
How to Use the MKE-S12 in a Circuit
- Connect the VCC pin to a 5V power supply.
- Connect the GND pin to the ground of the power supply.
- Connect the DO (Digital Output) pin to a digital input pin on your microcontroller if you wish to use the digital output.
- Connect the AO (Analog Output) pin to an analog input pin on your microcontroller if you wish to use the analog output.
Important Considerations and Best Practices
- Ensure that the power supply is stable and does not exceed 5V.
- Adjust the sensitivity of the sensor using the onboard potentiometer to suit the requirements of your application.
- Keep the sensor board and connections dry and away from direct exposure to water to prevent damage.
- Use a pull-up or pull-down resistor with the digital output if your microcontroller requires it.
Example Code for Arduino UNO
// Define the digital and analog pins
const int digitalPin = 2; // Digital output from the sensor
const int analogPin = A0; // Analog output from the sensor

void setup() {
  pinMode(digitalPin, INPUT); // Set the digital pin as input
  Serial.begin(9600); // Start serial communication at 9600 baud
}

void loop() {
  int analogValue = analogRead(analogPin); // Read the analog value
  bool isRaining = digitalRead(digitalPin); // Read the digital value

  // Print the analog value to the serial monitor
  Serial.print("Analog Value: ");
  Serial.println(analogValue);

  // Print the rain detection status to the serial monitor
  Serial.print("Is it raining? ");
  if (isRaining) {
    Serial.println("Yes");
  } else {
    Serial.println("No");
  }

  // Wait for a second before the next reading
  delay(1000);
}
Troubleshooting and FAQs
Common Issues
- Sensor not responding: Ensure that all connections are secure and the power supply is at the correct voltage.
- Inaccurate readings: Adjust the sensitivity using the onboard potentiometer. Also, check for any water or moisture on the sensor that may affect the readings.
- Intermittent readings: Check for loose connections or possible interference from other electronic devices.
Solutions and Tips for Troubleshooting
- Always start by checking the wiring and connections.
- If the digital output is not working, try using the analog output to determine if the sensor is functioning.
- Clean the sensor surface gently with a dry cloth if dirt or residue is present.
- Shield the sensor from direct rain and instead use a drip method to simulate rain for testing purposes.
FAQs
Q: Can the MKE-S12 be used to measure the amount of rainfall? A: The MKE-S12 can detect the presence of rain but is not designed to measure the volume of rainfall.
Q: Is the sensor waterproof? A: The sensor is water-resistant but not fully waterproof. It should not be submerged or exposed to heavy rain without proper shielding.
Q: How do I adjust the sensitivity of the sensor? A: Turn the onboard potentiometer clockwise or counterclockwise to increase or decrease the sensitivity, respectively.
Q: Can the sensor operate at voltages other than 5V? A: The MKE-S12 is designed to operate at 5V. Operating it at a higher voltage may damage the sensor, while a lower voltage may result in inaccurate readings.