
How to Use terminalblock 12 pole: Examples, Pinouts, and Specs
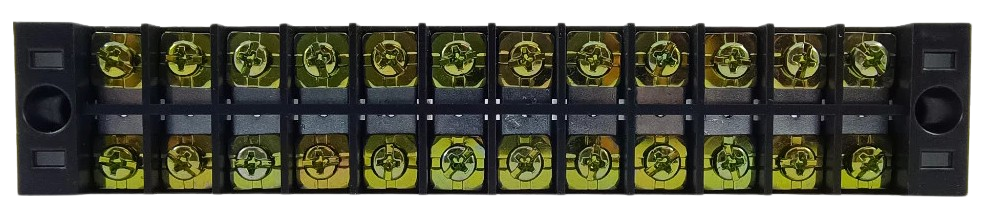
 Design with terminalblock 12 pole in Cirkit Designer
Introduction
A terminal block with 12 poles is a versatile and essential component used for connecting multiple wires together in a secure and organized manner. It simplifies circuit assembly, maintenance, and troubleshooting by providing a centralized point for wire connections. This component is widely used in electrical and electronic systems for distributing power, signals, or ground connections.
Explore Projects Built with terminalblock 12 pole
 Open Project in Cirkit Designer
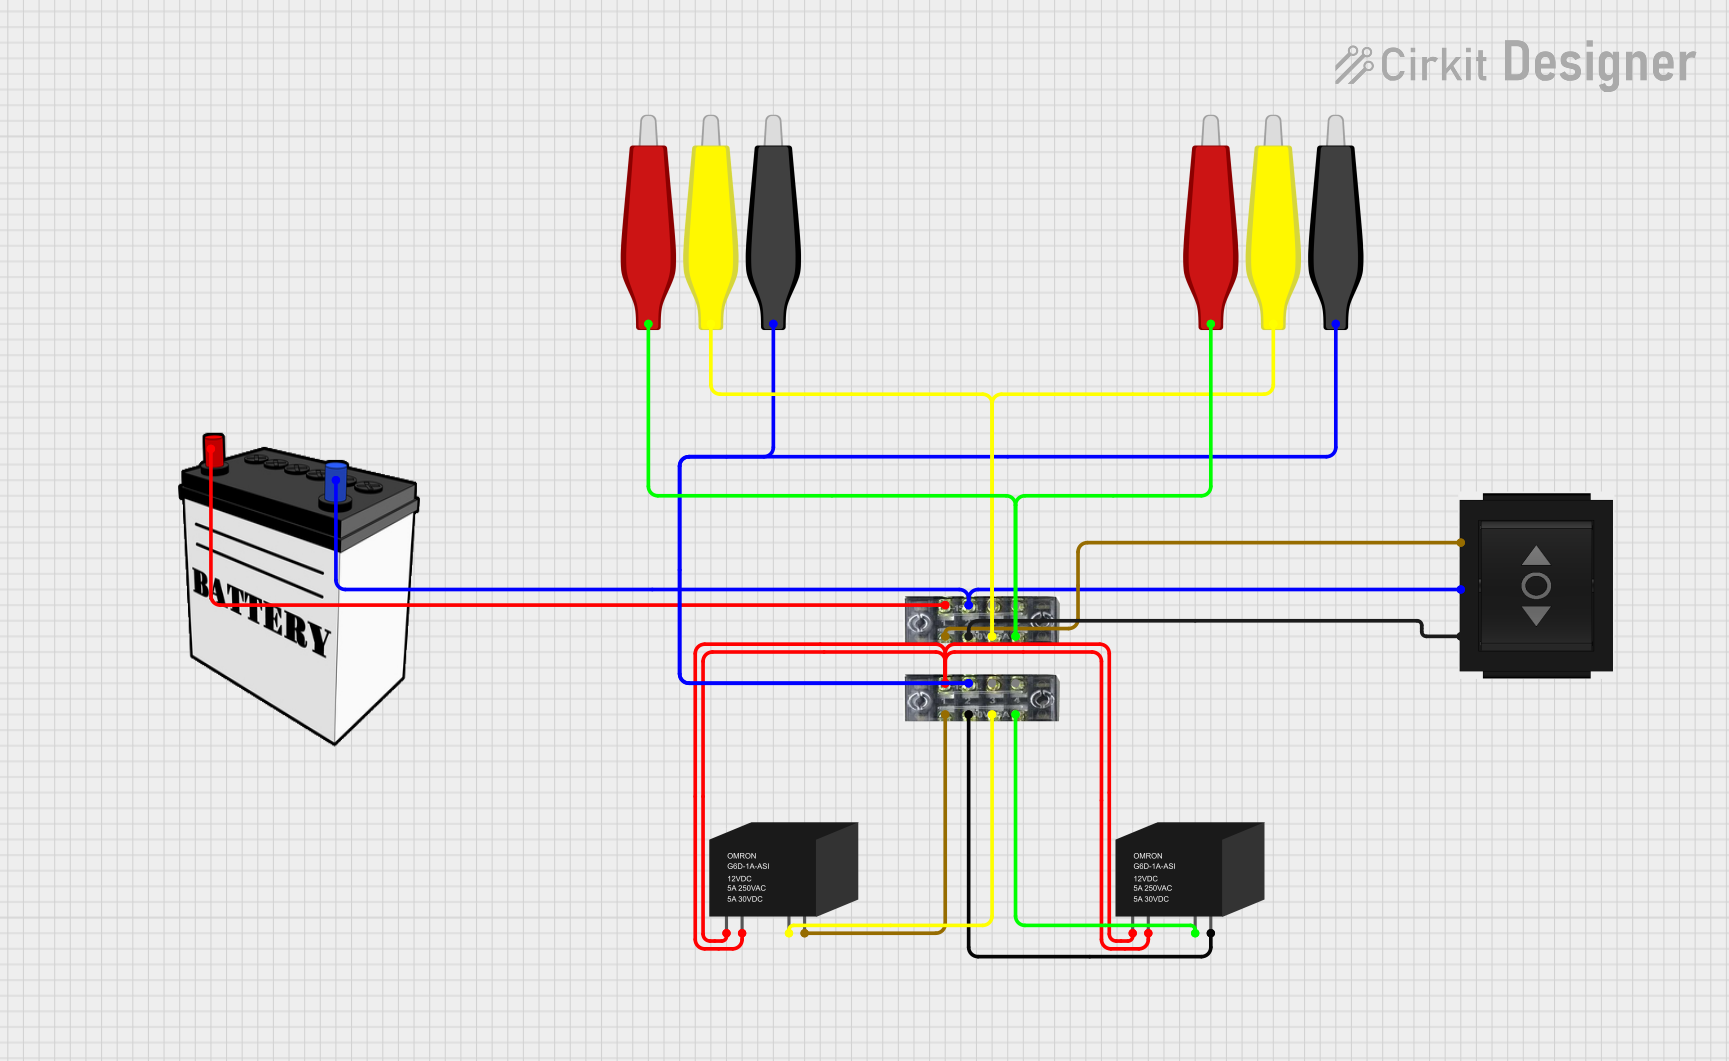 Open Project in Cirkit Designer
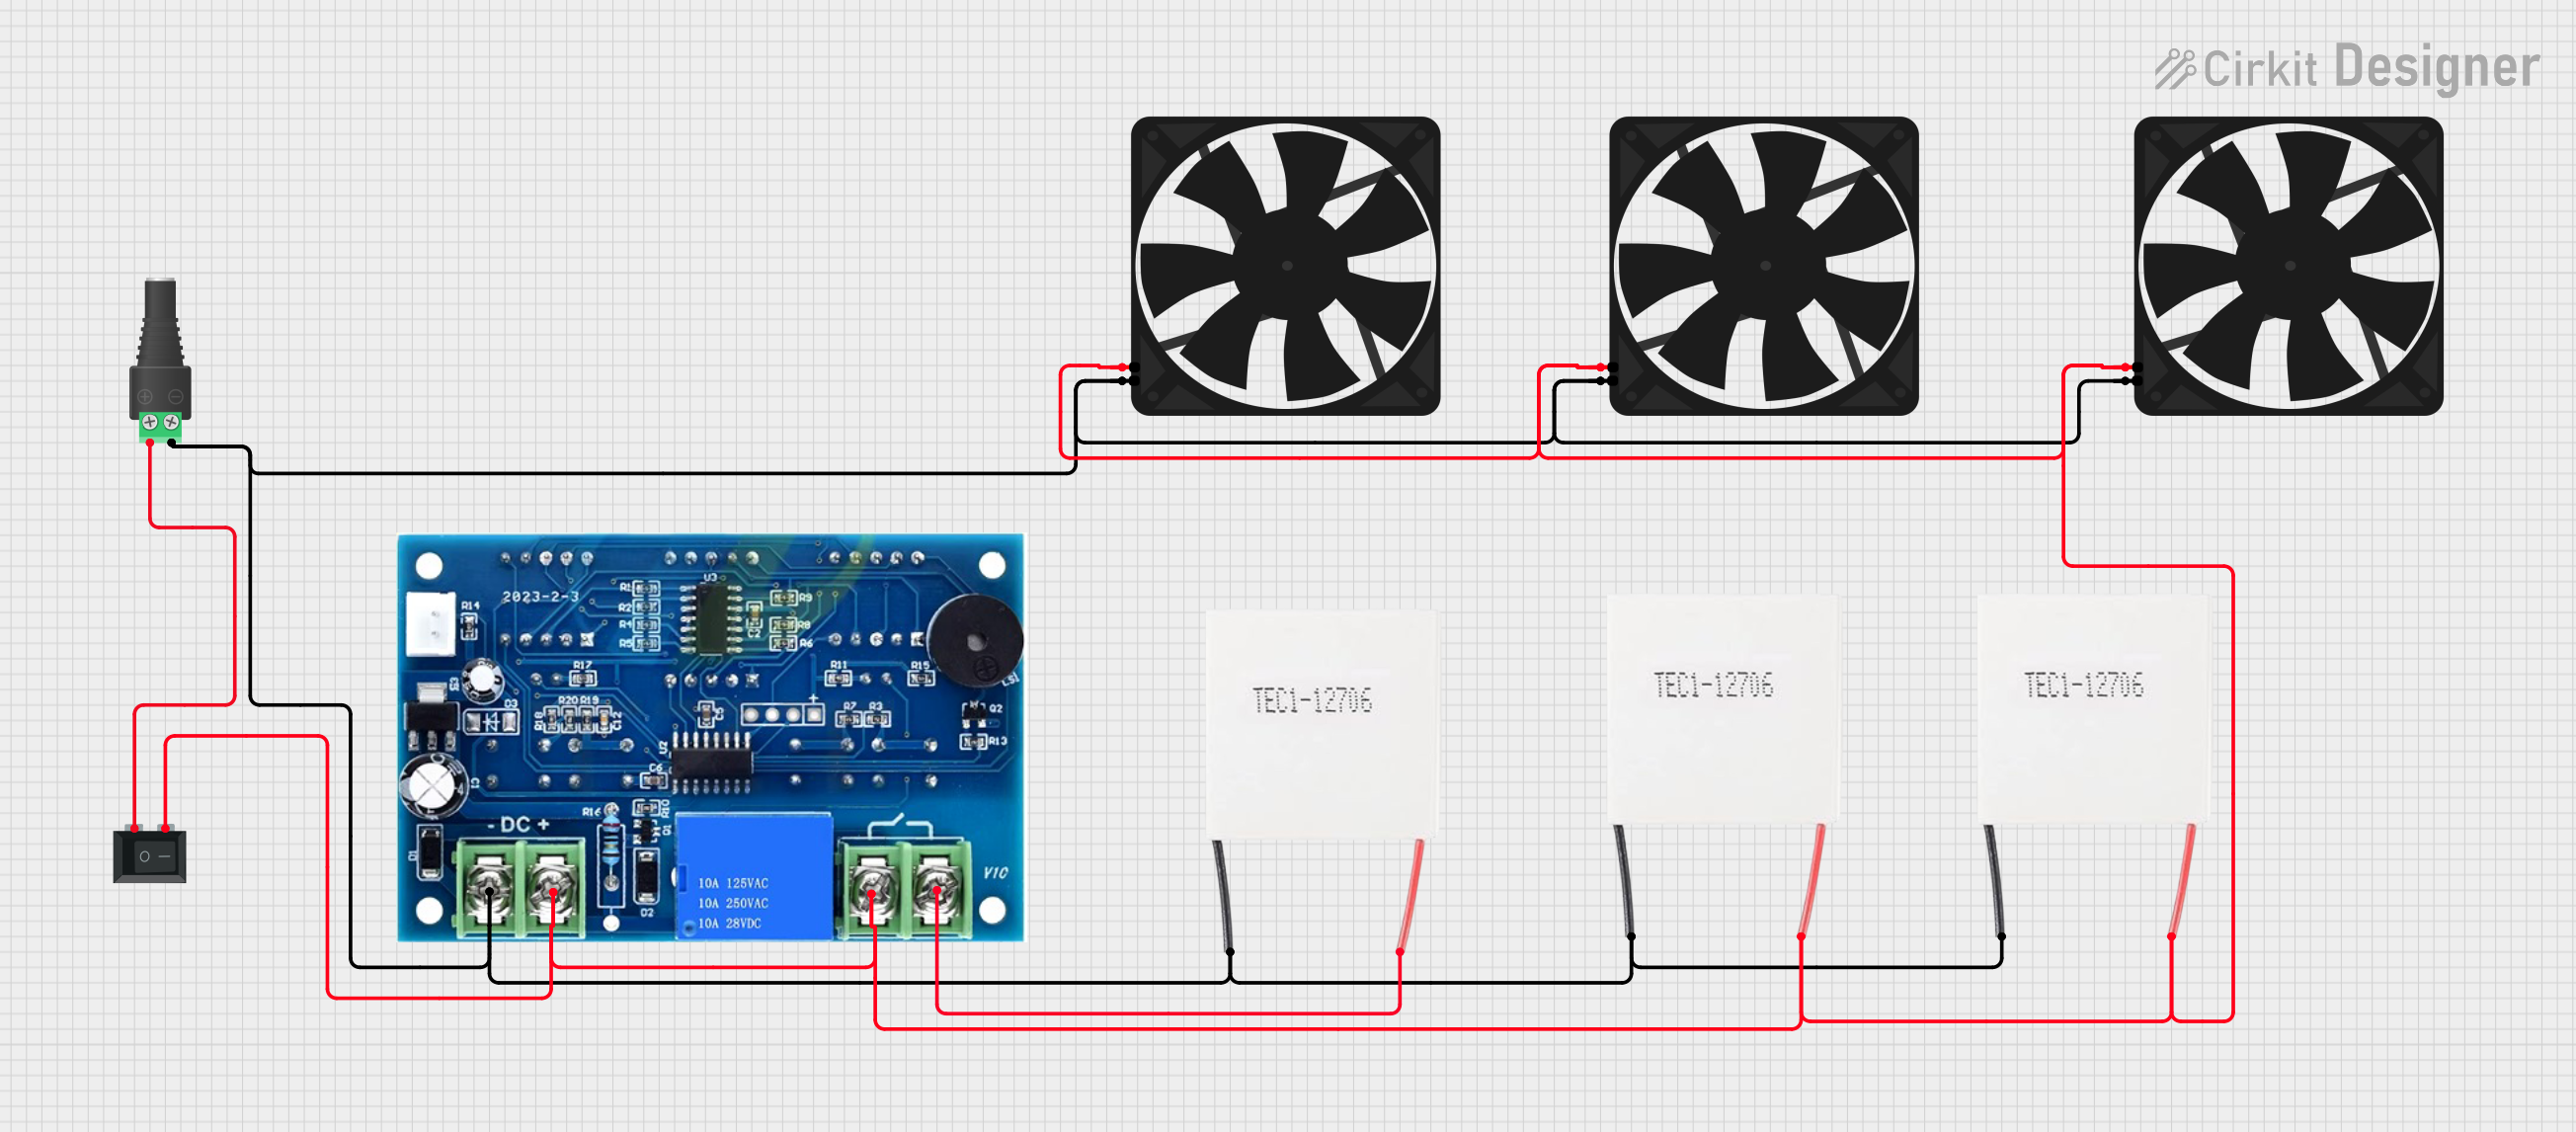 Open Project in Cirkit Designer
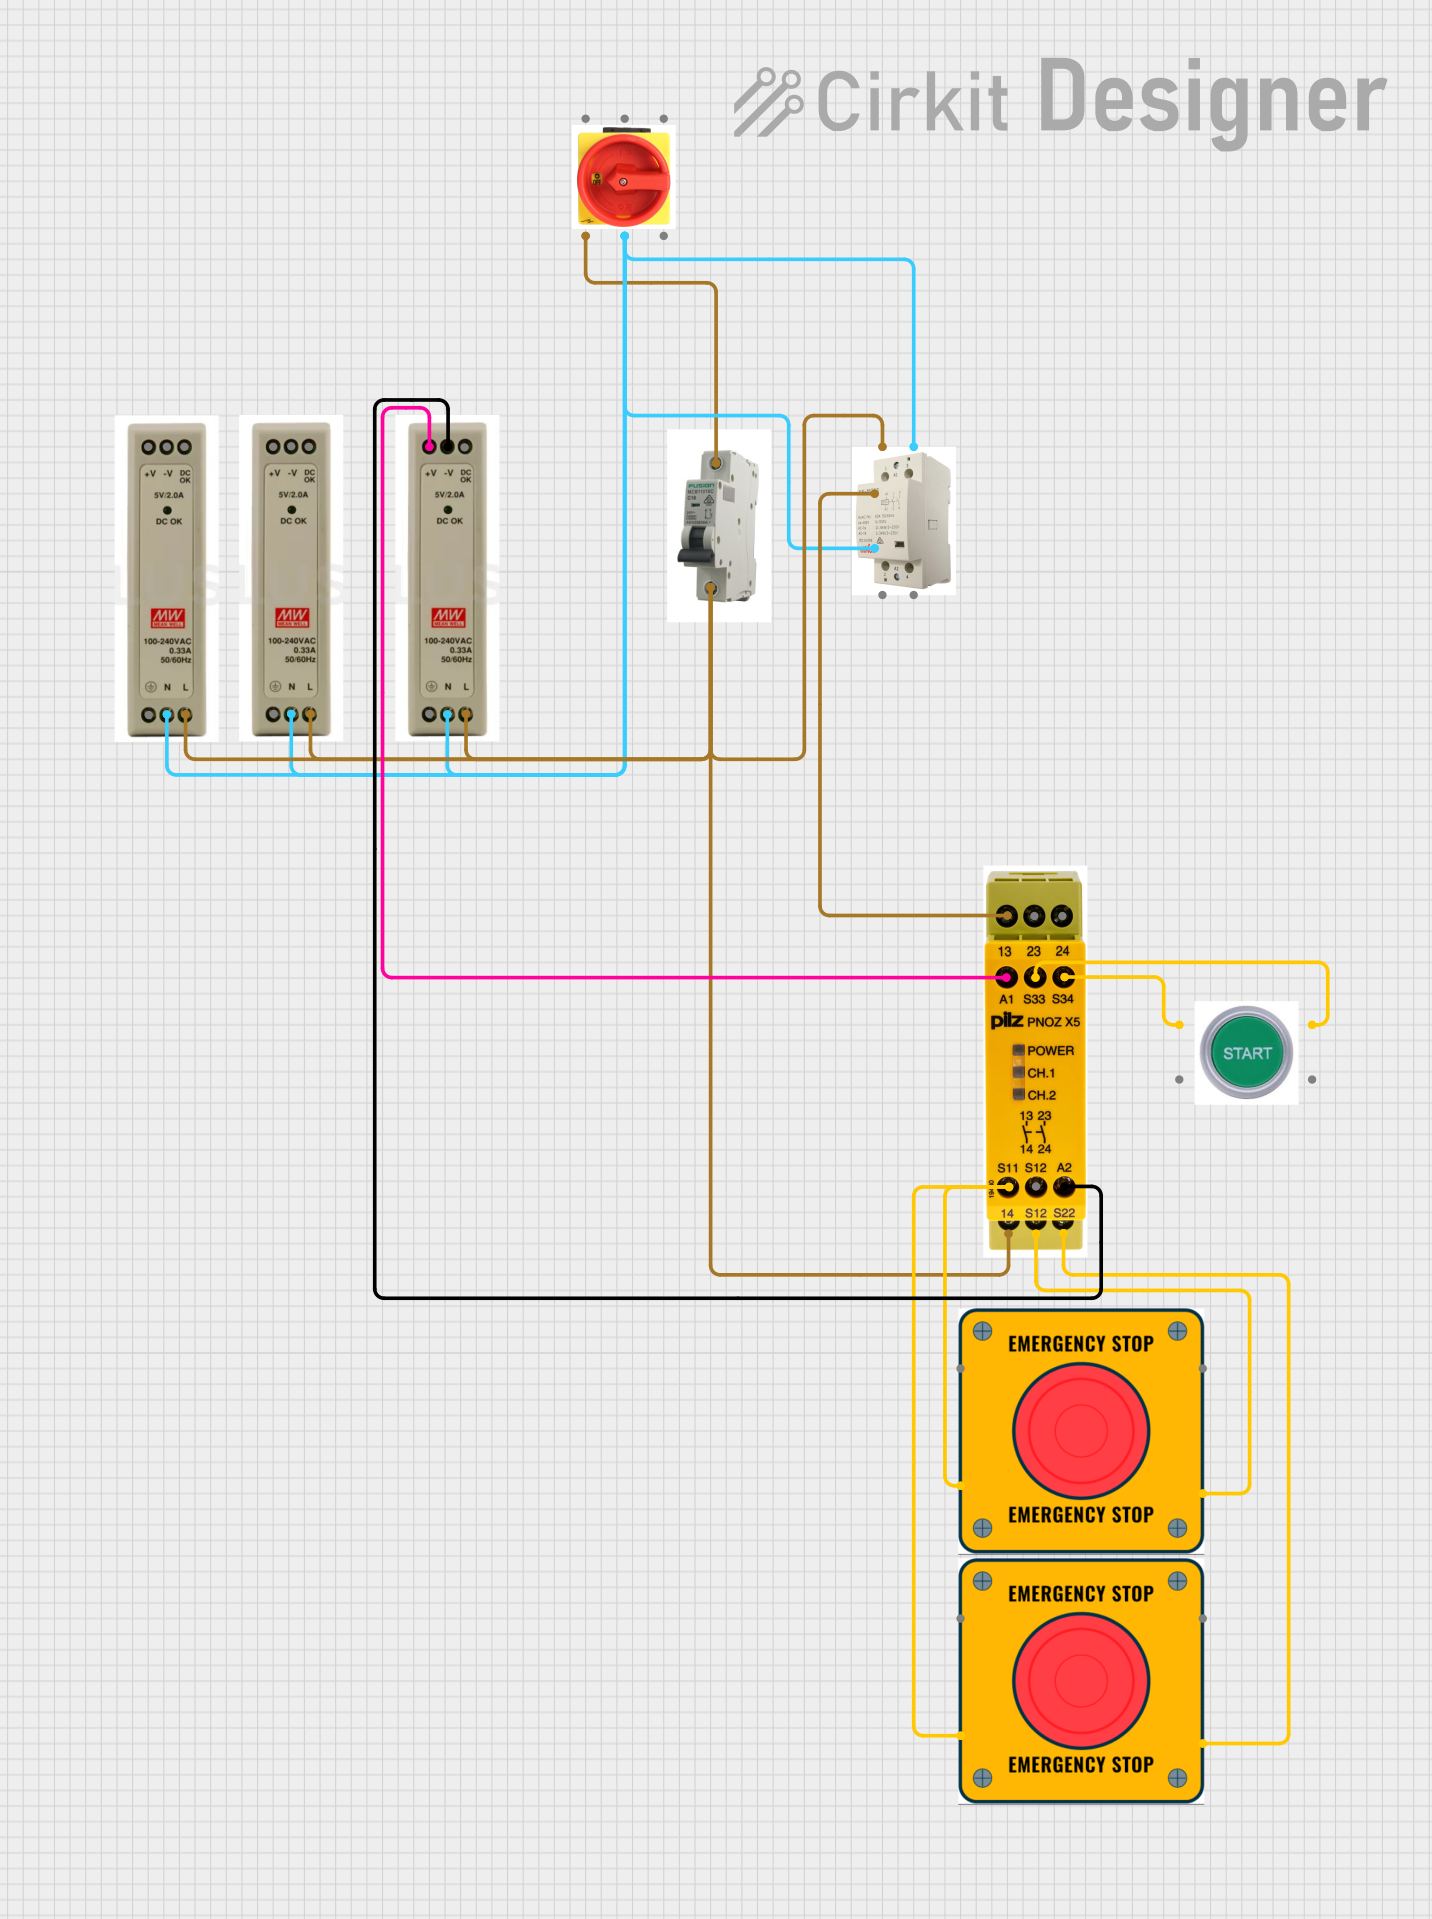 Open Project in Cirkit Designer
Explore Projects Built with terminalblock 12 pole
Open Project in Cirkit DesignerOpen Project in Cirkit DesignerOpen Project in Cirkit DesignerOpen Project in Cirkit DesignerCommon Applications and Use Cases
- Electrical wiring in industrial control panels
- Power distribution in home automation systems
- Signal routing in audio and communication systems
- Prototyping and testing circuits
- Connecting multiple devices in a secure and modular way
Technical Specifications
The following table outlines the key technical details of the 12-pole terminal block:
| Parameter | Specification |
|---|---|
| Number of Poles | 12 |
| Rated Voltage | 300V AC/DC |
| Rated Current | 15A |
| Wire Size Compatibility | 22-12 AWG |
| Material | Flame-retardant thermoplastic (UL94-V0) |
| Mounting Type | Screw-down or DIN rail mount |
| Operating Temperature | -40°C to 105°C |
| Screw Type | M3 steel screws |
Pin Configuration and Descriptions
The terminal block does not have traditional "pins" like an IC but instead features screw terminals for wire connections. Below is a description of the 12 poles:
| Pole Number | Description |
|---|---|
| 1-12 | Individual screw terminals for wire connections. Each pole is isolated from the others to prevent short circuits. |
Usage Instructions
How to Use the Terminal Block in a Circuit
- Prepare the Wires: Strip the insulation from the ends of the wires you want to connect. Ensure the exposed conductor length matches the terminal block's specifications (typically 5-7mm).
- Insert the Wires: Loosen the screw on the desired pole, insert the stripped wire into the terminal, and tighten the screw securely. Avoid overtightening to prevent damage to the wire or terminal.
- Connect the Circuit: Repeat the process for all wires, ensuring proper polarity and connections as per your circuit design.
- Mount the Terminal Block: Secure the terminal block to a panel or DIN rail if required.
Important Considerations and Best Practices
- Wire Compatibility: Ensure the wire gauge (22-12 AWG) matches the terminal block's specifications.
- Tight Connections: Check that all screws are tightened properly to avoid loose connections, which can lead to overheating or signal loss.
- Avoid Overloading: Do not exceed the rated voltage (300V) or current (15A) to prevent damage or hazards.
- Insulation: Use insulated wires and ensure no exposed conductors are touching adjacent poles.
- Labeling: For complex circuits, label the wires and poles for easier identification during maintenance.
Example: Connecting to an Arduino UNO
While terminal blocks are passive components, they can be used to organize connections between an Arduino UNO and external devices. Below is an example of wiring an LED and a resistor through a terminal block:
// Example Arduino code for controlling an LED connected via a terminal block

const int ledPin = 9; // Pin connected to the LED through the terminal block

void setup() {
  pinMode(ledPin, OUTPUT); // Set the LED pin as an output
}

void loop() {
  digitalWrite(ledPin, HIGH); // Turn the LED on
  delay(1000);               // Wait for 1 second
  digitalWrite(ledPin, LOW);  // Turn the LED off
  delay(1000);               // Wait for 1 second
}
Wiring Instructions:
- Connect one terminal of the LED to a resistor (220Ω recommended) and then to the terminal block.
- Connect the other terminal of the LED to the ground (GND) terminal of the block.
- Use a jumper wire to connect the terminal block's output to the Arduino UNO's pin 9 and GND.
Troubleshooting and FAQs
Common Issues Users Might Face
Loose Connections:
- Problem: Wires may come loose if screws are not tightened properly.
- Solution: Recheck and tighten all screws securely without overtightening.
Overheating:
- Problem: Terminal block overheats during operation.
- Solution: Ensure the current does not exceed the rated 15A. Use thicker wires for high-current applications.
Short Circuits:
- Problem: Adjacent poles are shorted due to exposed wires.
- Solution: Ensure wires are properly insulated and trimmed to the correct length.
Wire Compatibility:
- Problem: Wires do not fit into the terminal block.
- Solution: Use wires within the supported range (22-12 AWG).
FAQs
Q1: Can I use this terminal block for AC and DC circuits?
A1: Yes, the terminal block is suitable for both AC and DC circuits, provided the voltage and current ratings are not exceeded.
Q2: How do I mount the terminal block?
A2: The terminal block can be mounted using screws or clipped onto a DIN rail, depending on the model.
Q3: Can I connect multiple wires to a single pole?
A3: While possible, it is not recommended as it may compromise the connection's reliability. Use a larger terminal block or a bus bar for such applications.
Q4: Is the terminal block waterproof?
A4: No, this terminal block is not waterproof. Use it in dry environments or enclosures designed for outdoor use.
By following these guidelines and best practices, you can effectively use the 12-pole terminal block in your projects for secure and organized wire connections.