How to Use Maxiwatt Heater 40W 24V: Examples, Pinouts, and Specs
Introduction
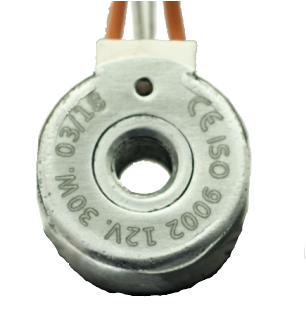
The Maxiwatt Heater 40W 24V (Manufacturer Part ID: ASIN B07RXW1Q2Q) is a compact and efficient electric heating element designed to deliver 40 watts of power at a 24-volt input. This heater is ideal for applications requiring localized heating, such as 3D printer hot ends, small enclosures, or electronic equipment. Its robust design ensures reliable performance and long service life, making it a popular choice for both hobbyists and professionals.
Explore Projects Built with Maxiwatt Heater 40W 24V


Explore Projects Built with Maxiwatt Heater 40W 24V
Common Applications and Use Cases
- 3D printer hot ends for filament melting
- Heating small enclosures or chambers
- Preheating electronic components
- Laboratory equipment requiring controlled heating
- DIY projects involving thermal management
Technical Specifications
The following table outlines the key technical details of the Maxiwatt Heater 40W 24V:
| Parameter | Specification |
|---|---|
| Manufacturer | Maxiwatt |
| Part ID | ASIN B07RXW1Q2Q |
| Rated Power | 40 Watts |
| Operating Voltage | 24 Volts DC |
| Resistance | ~14.4 Ohms |
| Maximum Temperature | Up to 300°C (572°F) |
| Heater Type | Cartridge Heater |
| Dimensions | 6 mm (diameter) x 20 mm (length) |
| Lead Wire Length | 1 meter |
| Insulation Material | High-temperature fiberglass |
| Connector Type | Bare wire leads |
Pin Configuration and Descriptions
The Maxiwatt Heater 40W 24V is a two-wire device. The wires are not polarized, meaning there is no specific positive or negative terminal. The table below describes the connections:
| Wire Color | Description |
|---|---|
| Red | Power input (24V DC) |
| Black | Ground or return path |
Usage Instructions
How to Use the Component in a Circuit
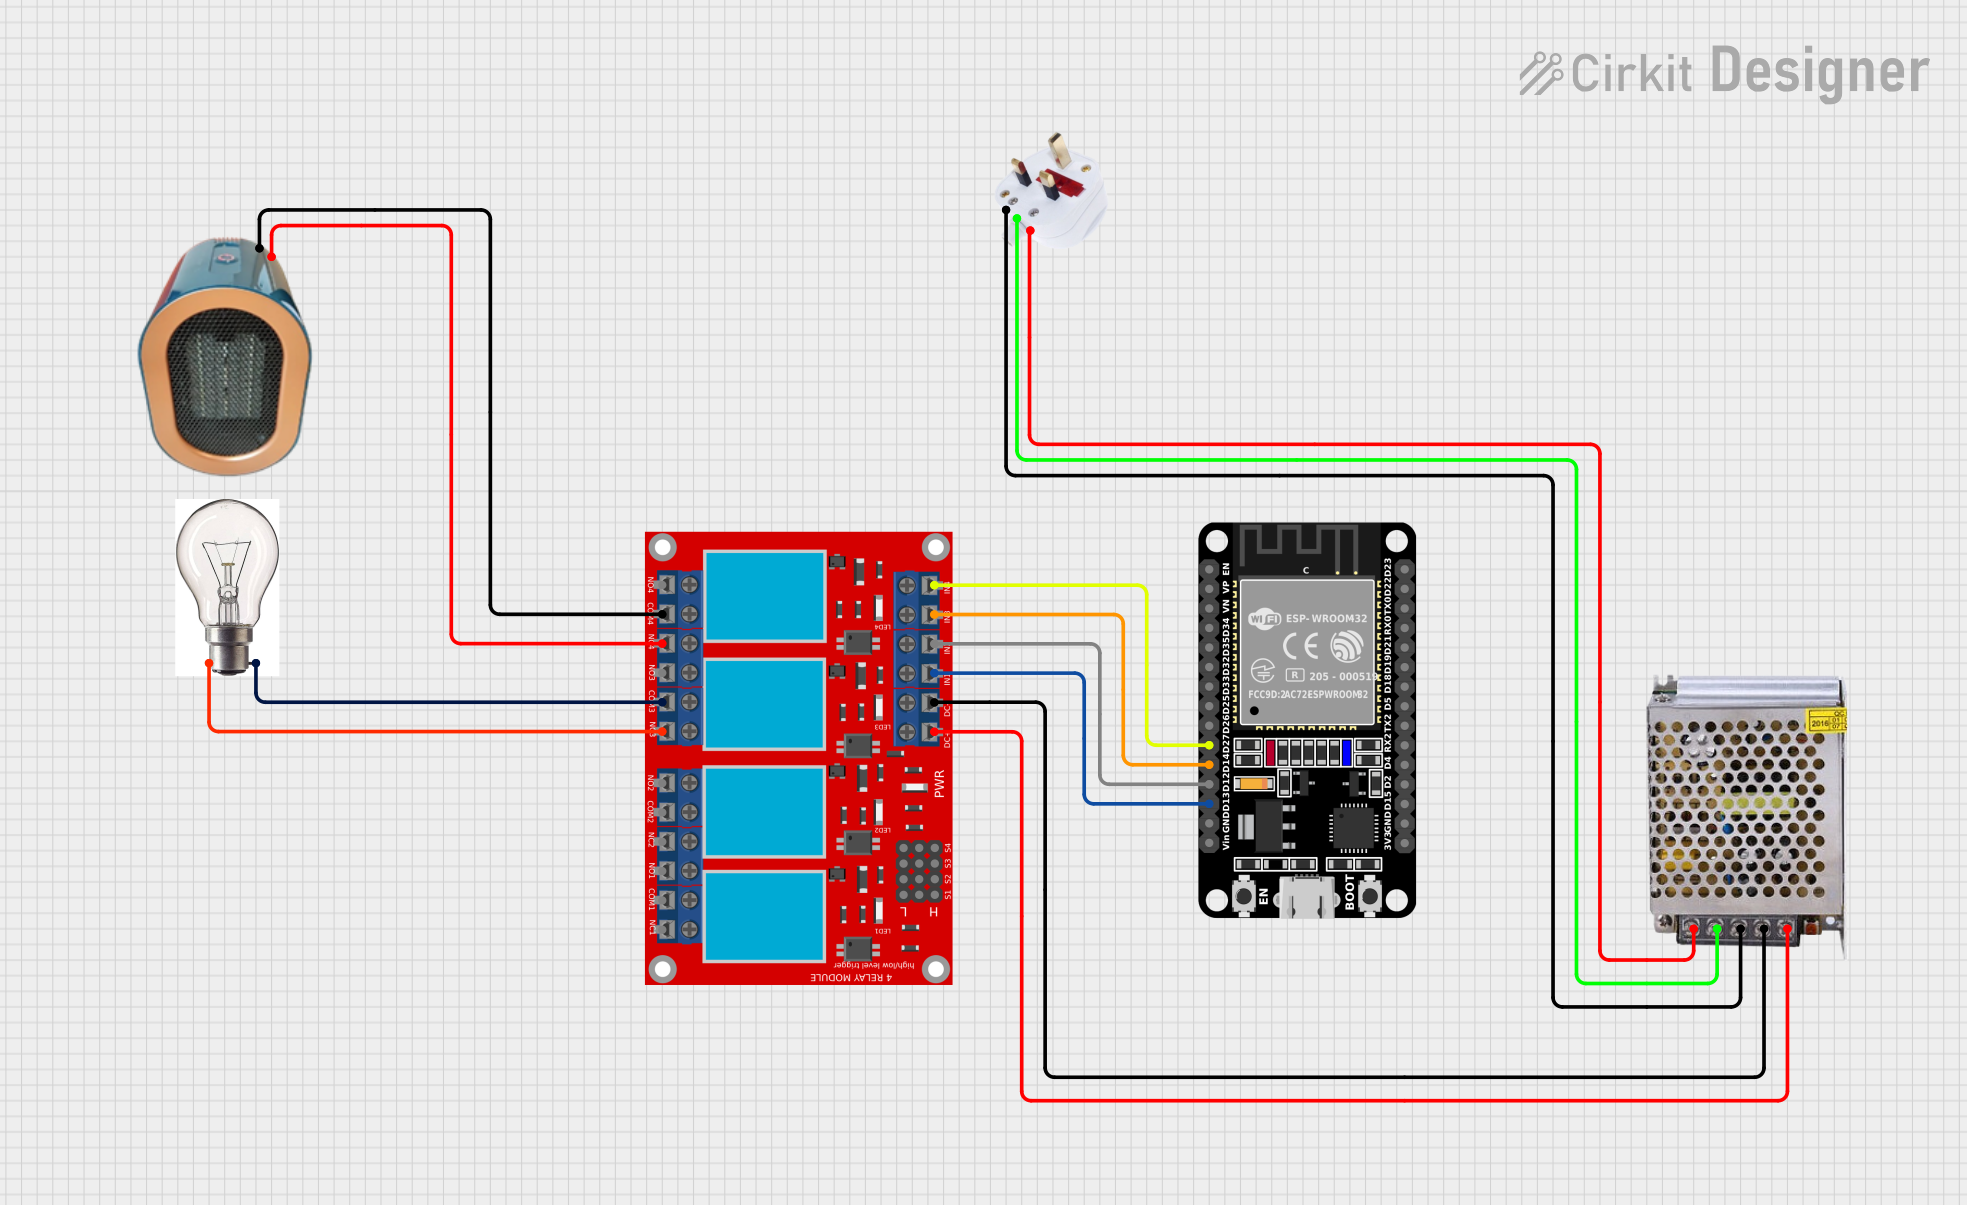
- Power Supply: Connect the heater to a 24V DC power supply capable of delivering at least 2A of current to ensure stable operation.
- Controller: For precise temperature control, use a temperature sensor (e.g., thermistor) and a compatible controller (e.g., PID controller or microcontroller with a MOSFET driver).
- Wiring: Connect the red wire to the positive terminal of the power supply or controller output, and the black wire to the ground terminal.
- Mounting: Insert the heater into the designated heating block or enclosure. Ensure it is securely fastened to maintain good thermal contact.
- Testing: Gradually power on the heater and monitor the temperature to ensure proper operation.
Important Considerations and Best Practices
- Temperature Control: Always use a temperature sensor and controller to prevent overheating and potential damage to the heater or surrounding components.
- Power Supply: Ensure the power supply matches the voltage and current requirements of the heater.
- Insulation: Avoid exposing the heater's wires to sharp edges or high temperatures to prevent insulation damage.
- Safety: Do not touch the heater while it is powered on, as it can reach very high temperatures.
Example: Using with an Arduino UNO
To control the Maxiwatt Heater 40W 24V with an Arduino UNO, you can use a MOSFET to switch the heater on and off based on temperature readings from a thermistor. Below is an example code snippet:
// Example code to control a 24V heater with an Arduino UNO
// and a thermistor for temperature monitoring.

// Define pin connections
const int heaterPin = 9; // PWM pin connected to the MOSFET gate
const int thermistorPin = A0; // Analog pin for thermistor input

// Define temperature thresholds
const float targetTemp = 200.0; // Target temperature in °C
const float tolerance = 5.0;    // Allowable temperature deviation in °C

void setup() {
  pinMode(heaterPin, OUTPUT); // Set heater pin as output
  analogWrite(heaterPin, 0);  // Ensure heater is off at startup
  Serial.begin(9600);         // Initialize serial communication
}

void loop() {
  // Read thermistor value and calculate temperature
  int sensorValue = analogRead(thermistorPin);
  float temperature = calculateTemperature(sensorValue);

  // Control heater based on temperature
  if (temperature < targetTemp - tolerance) {
    analogWrite(heaterPin, 255); // Turn heater on (full power)
  } else if (temperature > targetTemp + tolerance) {
    analogWrite(heaterPin, 0);   // Turn heater off
  }

  // Print temperature for debugging
  Serial.print("Temperature: ");
  Serial.println(temperature);

  delay(500); // Wait for 500ms before next reading
}

// Function to calculate temperature from thermistor value
float calculateTemperature(int sensorValue) {
  // Replace with your thermistor's specific calculation formula
  // Example: Steinhart-Hart equation or lookup table
  return (sensorValue / 1023.0) * 300.0; // Placeholder calculation
}
Troubleshooting and FAQs
Common Issues and Solutions
Heater Not Heating:
- Cause: Insufficient power supply or loose connections.
- Solution: Verify the power supply voltage and current. Check all wiring connections.
Overheating:
- Cause: Lack of temperature control or faulty sensor.
- Solution: Use a temperature controller and ensure the sensor is functioning correctly.
Uneven Heating:
- Cause: Poor thermal contact between the heater and the heating block.
- Solution: Ensure the heater is securely mounted and in full contact with the block.
Wire Insulation Damage:
- Cause: Exposure to sharp edges or excessive heat.
- Solution: Inspect and replace damaged wires. Use heat-resistant insulation if necessary.
FAQs
Q: Can I use the Maxiwatt Heater with a 12V power supply?
A: No, the heater is designed for 24V operation. Using a lower voltage will result in reduced heating performance.
Q: What is the maximum operating temperature of the heater?
A: The heater can reach temperatures of up to 300°C (572°F) under normal operating conditions.
Q: Is the heater waterproof?
A: No, the Maxiwatt Heater is not waterproof and should not be exposed to liquids.
Q: Can I use this heater for food-related applications?
A: The heater is not certified for food-grade applications. Use it only for non-food-related purposes.