Introduction
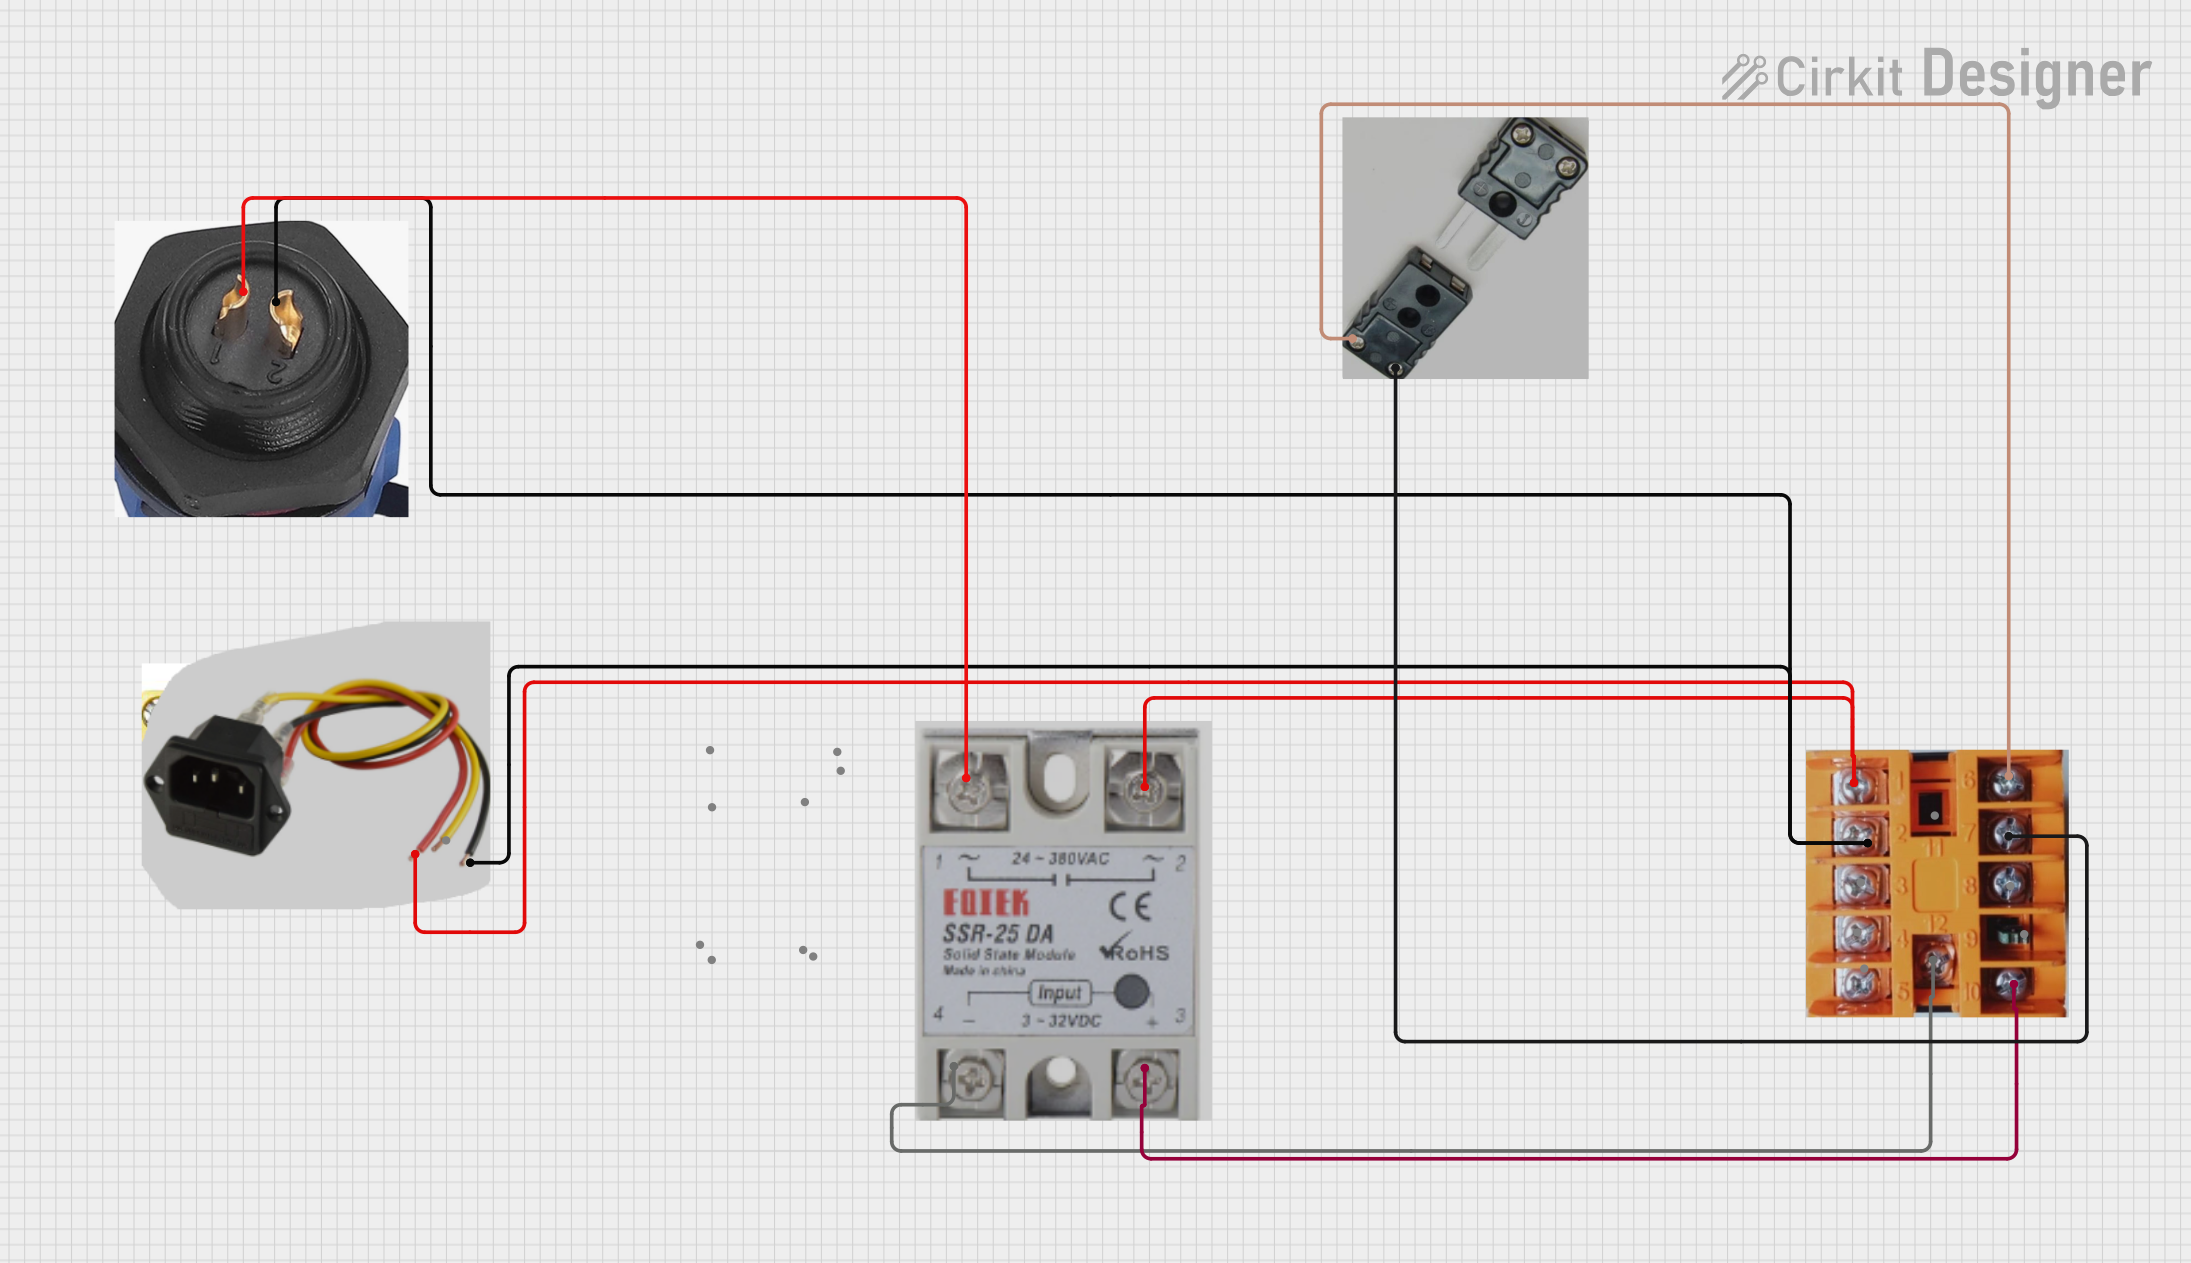
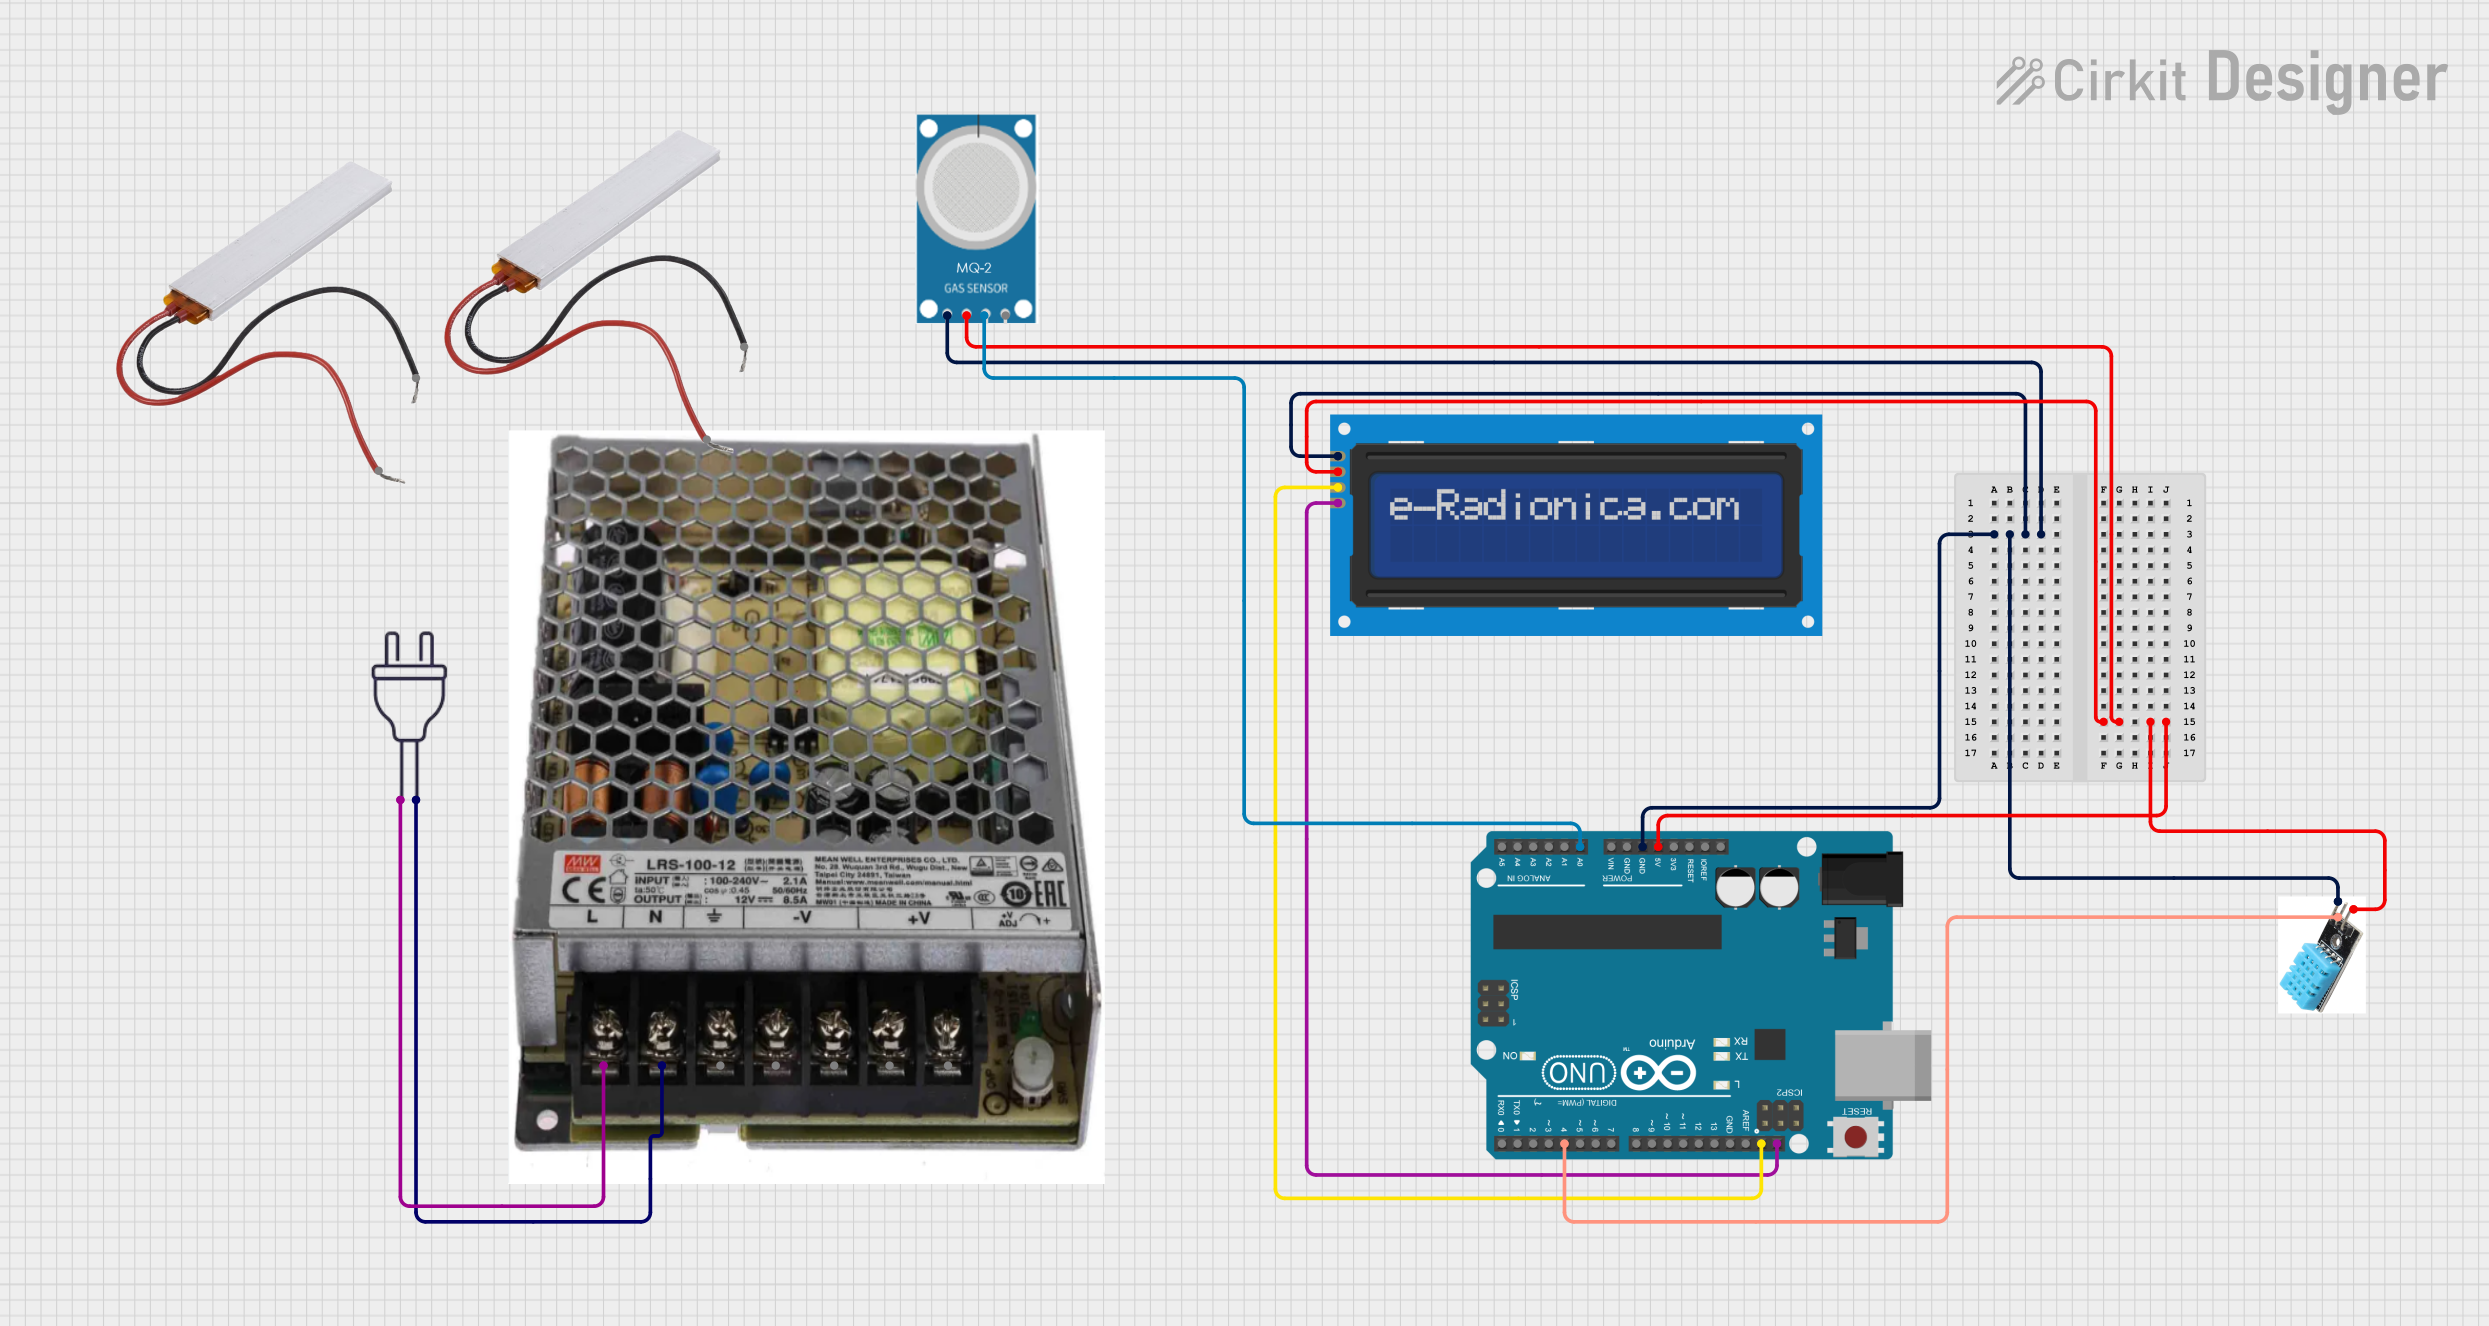
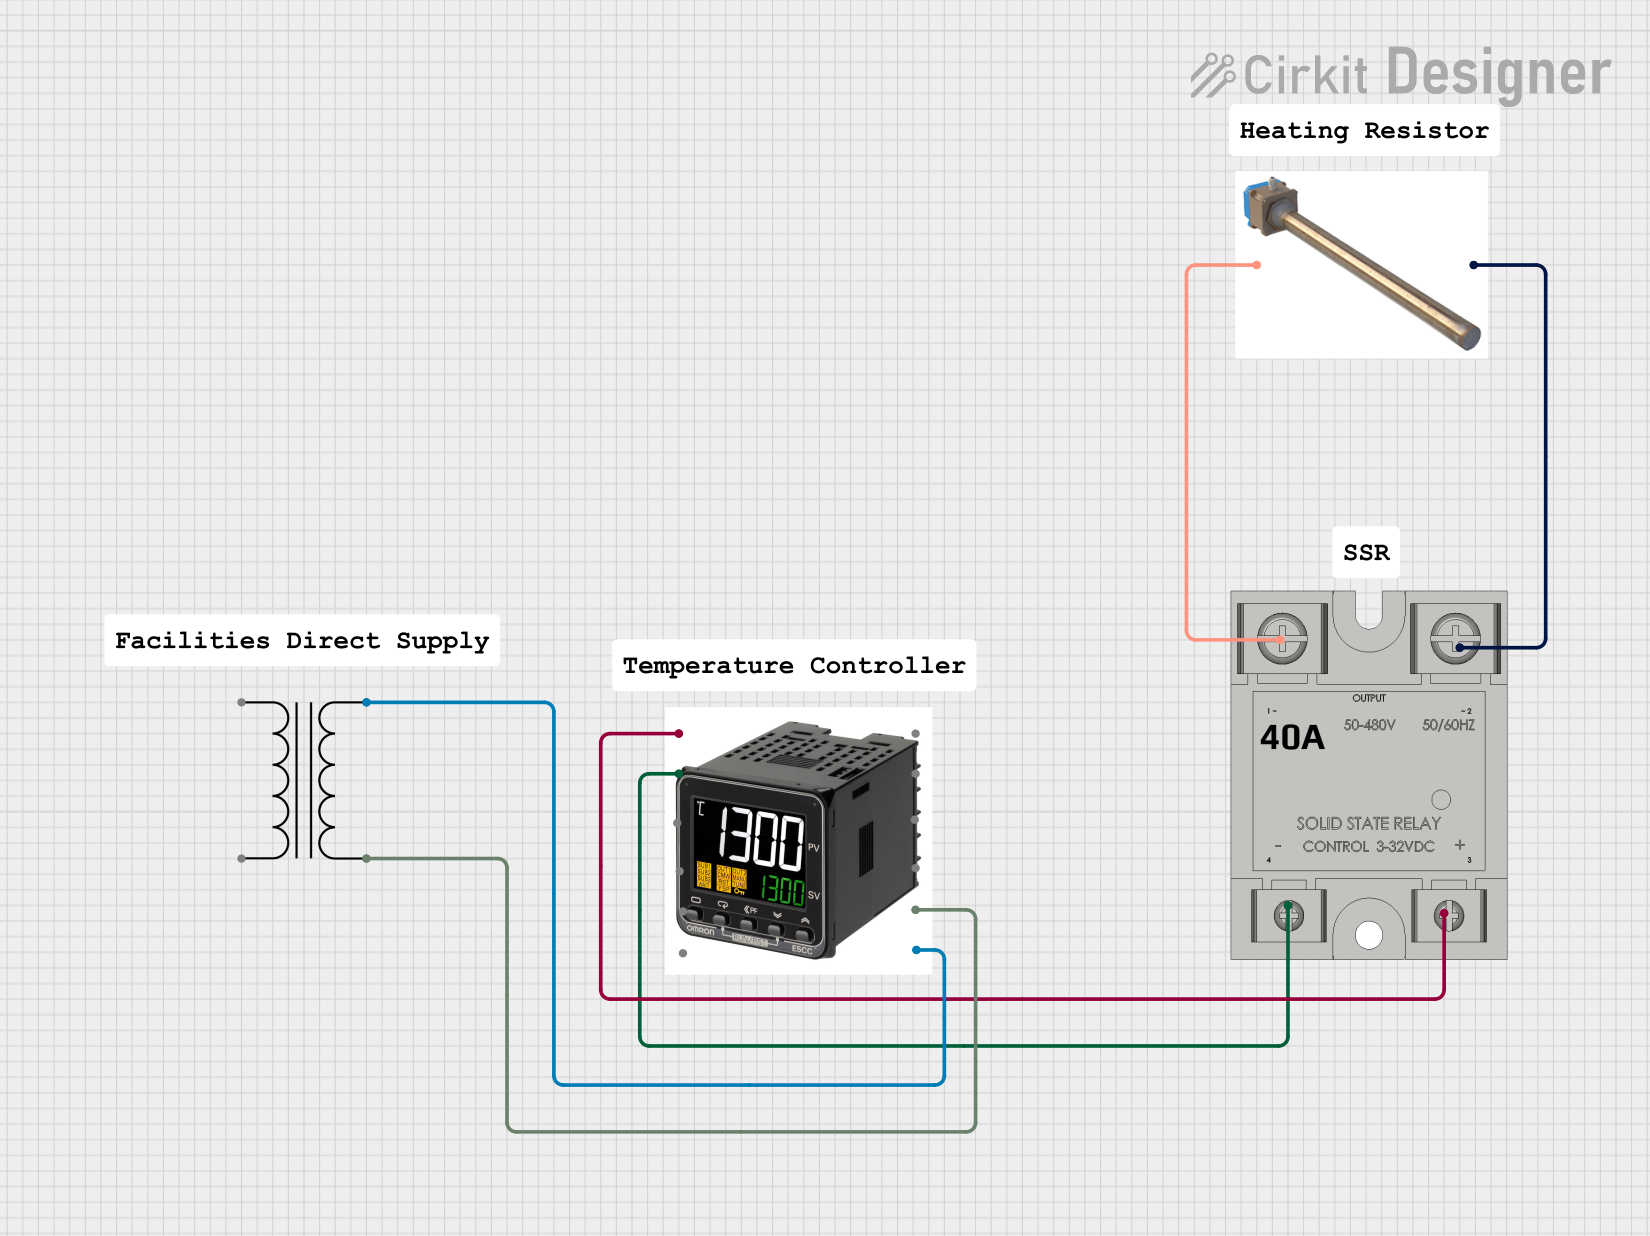
The Crydom D2W203F-11 is a solid state relay (SSR) designed for switching AC loads using DC control signals. This component offers electrical isolation and fast switching times, making it ideal for applications where mechanical relays are unsuitable. The D2W203F-11 can handle AC loads up to 3A with an input control voltage range of 3-32V DC.
Common Applications and Use Cases
- Industrial Automation: Used for controlling motors, heaters, and other high-power devices.
- Home Automation: Ideal for switching household appliances and lighting systems.
- HVAC Systems: Used in heating, ventilation, and air conditioning systems for precise control.
- Test Equipment: Employed in various testing setups requiring reliable and fast switching.
Technical Specifications
Key Technical Details
Pin Configuration and Descriptions
Usage Instructions
How to Use the Component in a Circuit
Connect the DC Control Signal:
- Connect the positive DC control signal to pin 1 (+DC).
- Connect the negative DC control signal to pin 2 (-DC).
Connect the AC Load:
- Connect one terminal of the AC load to pin 3 (AC Load).
- Connect the other terminal of the AC load to pin 4 (AC Load).
Power the Circuit:
- Ensure the DC control voltage is within the specified range (3-32V DC).
- Apply the AC voltage to the load (24-280V AC).
Important Considerations and Best Practices
- Heat Dissipation: Ensure adequate heat dissipation to prevent overheating. Use a heat sink if necessary.
- Isolation: Maintain proper isolation between the control and load circuits to avoid electrical hazards.
- Load Type: Verify that the load type (resistive, inductive) is compatible with the SSR specifications.
- Surge Protection: Implement surge protection to safeguard the SSR from voltage spikes.
Example Code for Arduino UNO
Below is an example code to control the D2W203F-11 SSR using an Arduino UNO:
// Define the pin connected to the SSR control input
const int ssrPin = 7;

void setup() {
  // Initialize the SSR pin as an output
  pinMode(ssrPin, OUTPUT);
}

void loop() {
  // Turn the SSR on (connects AC load)
  digitalWrite(ssrPin, HIGH);
  delay(1000); // Wait for 1 second

  // Turn the SSR off (disconnects AC load)
  digitalWrite(ssrPin, LOW);
  delay(1000); // Wait for 1 second
}
Troubleshooting and FAQs
Common Issues Users Might Face
SSR Not Switching:
- Solution: Verify the control voltage is within the specified range (3-32V DC). Check connections and ensure the control signal is properly applied.
Overheating:
- Solution: Ensure adequate heat dissipation. Use a heat sink if necessary. Check the load current and ensure it does not exceed the maximum rating (3A).
No Load Operation:
- Solution: Verify the AC load connections. Ensure the load voltage is within the specified range (24-280V AC).
FAQs
Q1: Can the D2W203F-11 be used with an inductive load?
- A1: Yes, but ensure the load current does not exceed the maximum rating and consider using a snubber circuit to protect against voltage spikes.
Q2: What is the isolation voltage of the D2W203F-11?
- A2: The isolation voltage is 4000V AC, providing excellent electrical isolation between the control and load circuits.
Q3: How fast can the D2W203F-11 switch?
- A3: The switching time is less than 1ms, making it suitable for applications requiring fast switching.
Q4: What is the operating temperature range?
- A4: The operating temperature range is -30°C to +80°C.
This documentation provides a comprehensive overview of the Crydom D2W203F-11 SSR, including its technical specifications, usage instructions, and troubleshooting tips. Whether you are a beginner or an experienced user, this guide will help you effectively utilize the D2W203F-11 in your projects.


 Open Project in Cirkit Designer