An AC source is an electronic component or device that provides alternating current (AC) electricity. Unlike direct current (DC), AC periodically reverses its direction, typically following a sinusoidal waveform. AC sources are widely used in power distribution systems for homes, businesses, and industrial applications due to their efficiency in transmitting power over long distances.
Explore Projects Built with AC source
Use Cirkit Designer to design, explore, and prototype these projects online. Some projects support real-time simulation. Click "Open Project" to start designing instantly!
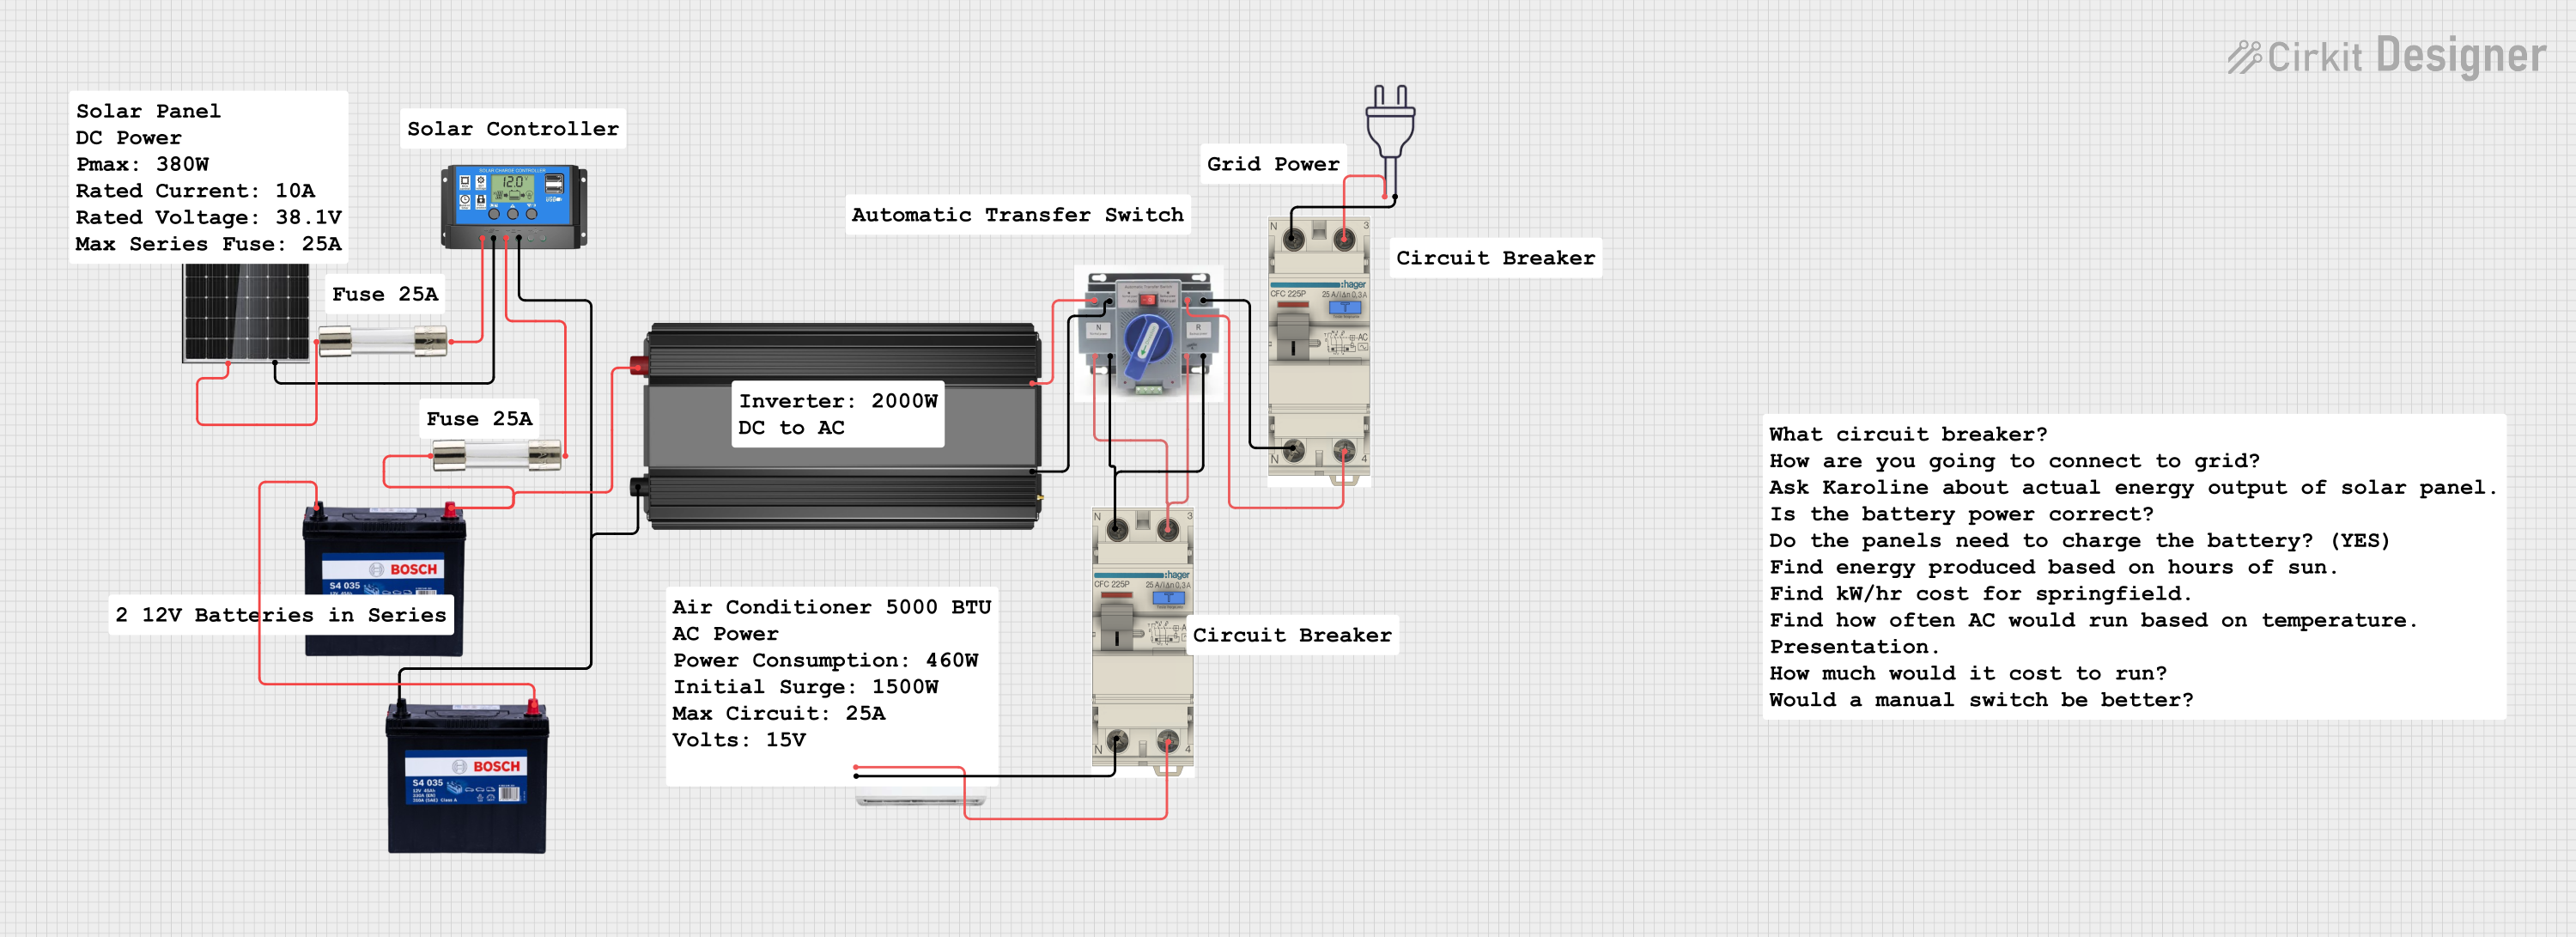
This circuit is a solar power system designed to charge a 12V battery using a 380W solar panel, with a solar charge controller managing the charging process. The stored energy is then converted to AC power via a power inverter, which can be used to power an air conditioner through an automatic transfer switch (ATS) and AC circuit breakers for safety.
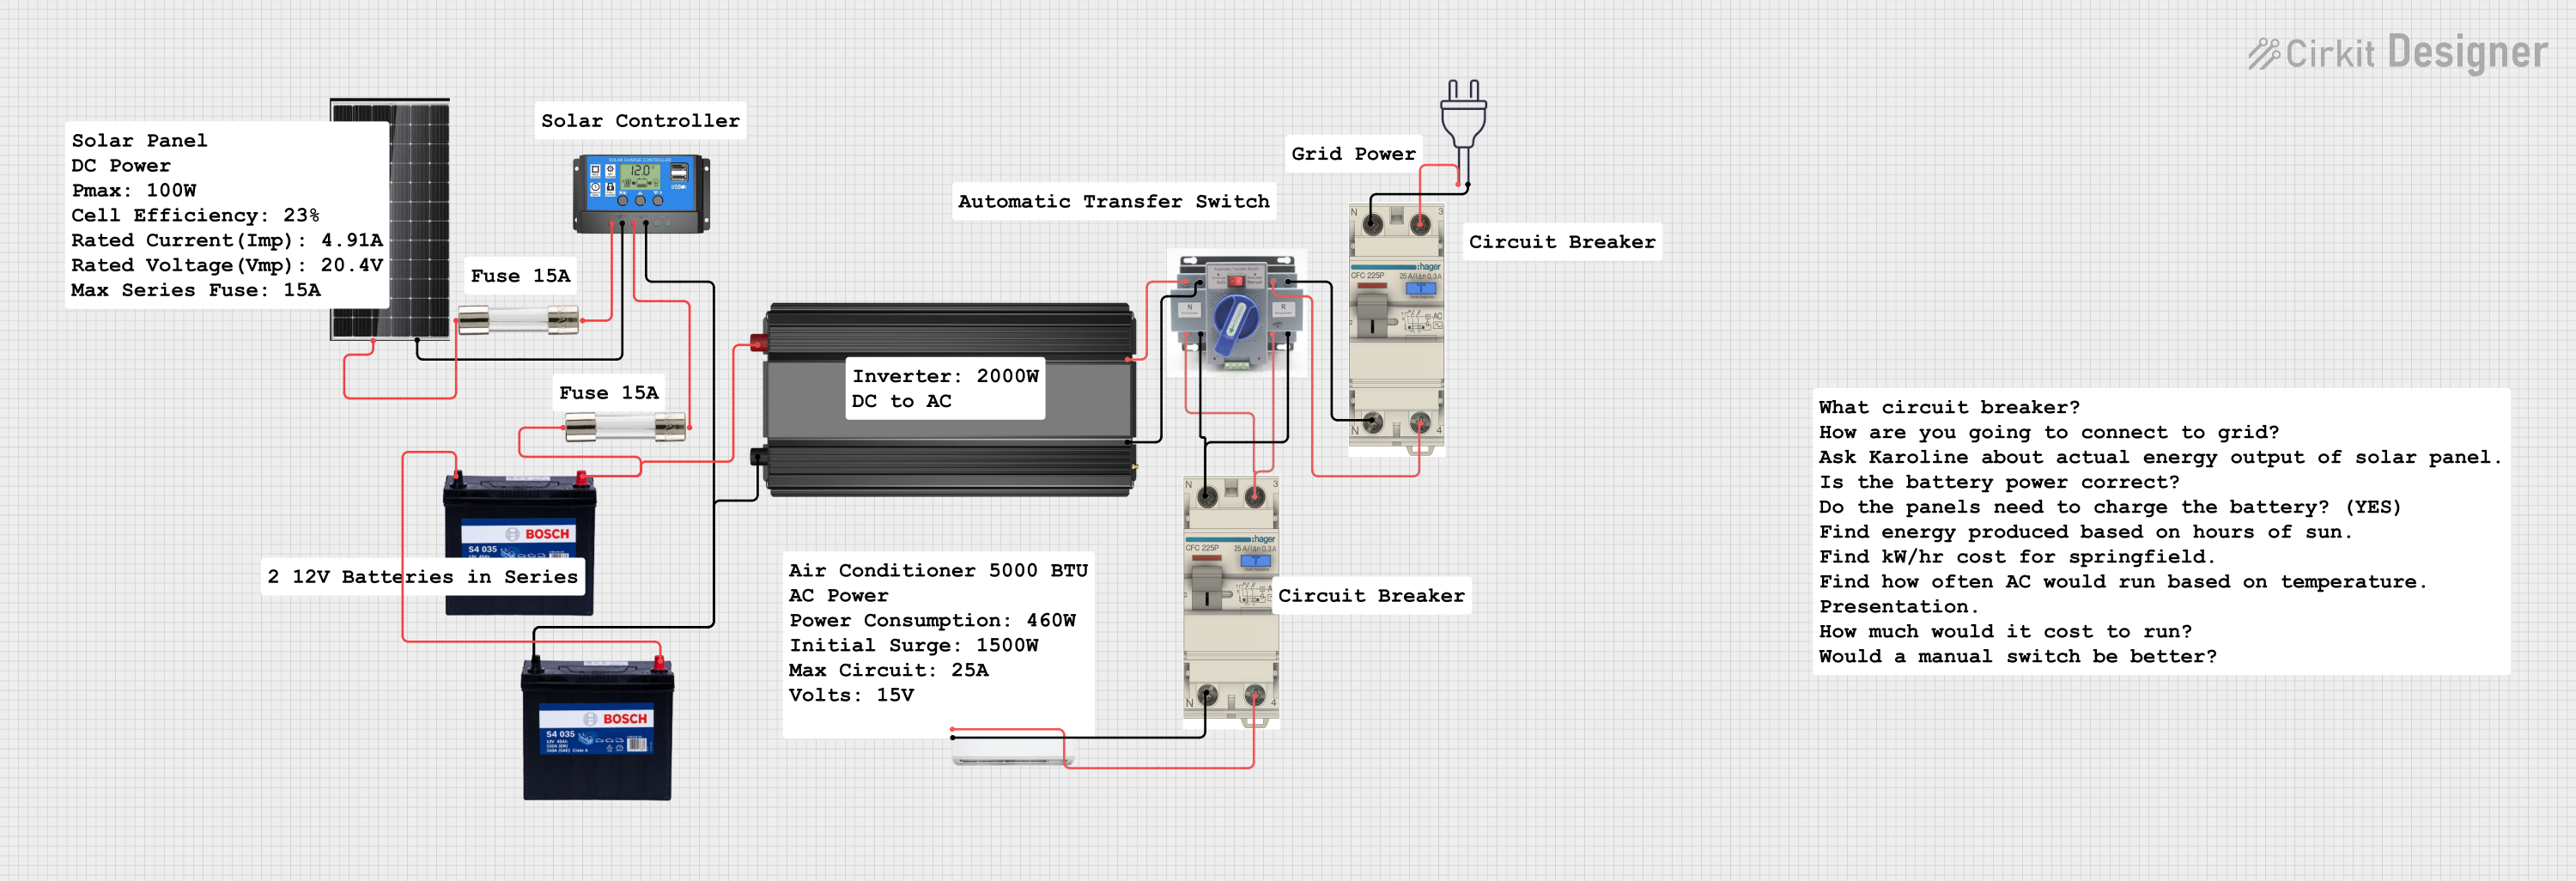
This circuit is a solar power system designed to charge a 12V battery using a 380W solar panel and a solar charge controller. The stored energy is then used to power an inverter, which supplies AC power to an air conditioner through an automatic transfer switch (ATS) and circuit breakers for safety.
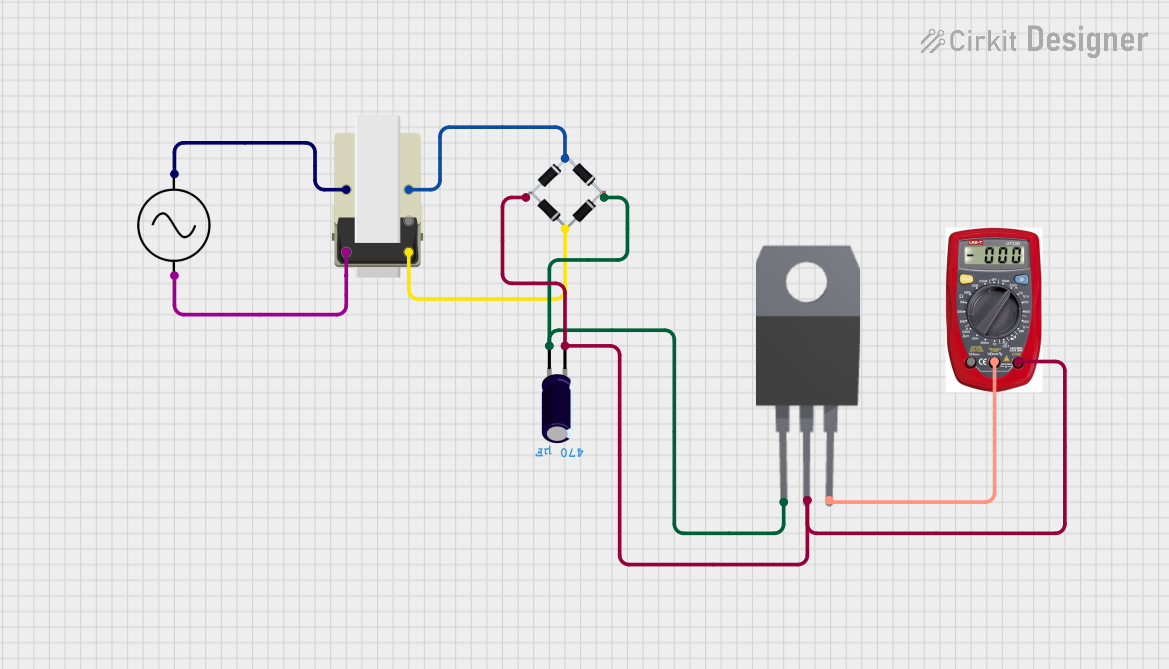
This circuit is a power supply that converts AC voltage to a regulated DC output. An AC supply is connected to a transformer, which steps down the voltage to a lower AC voltage. This lower AC voltage is then rectified by a bridge rectifier into pulsating DC, filtered by an electrolytic capacitor to reduce ripple, and finally regulated by a 7808 voltage regulator to provide a stable 8V DC output. A multimeter is connected to measure the output voltage of the regulator.
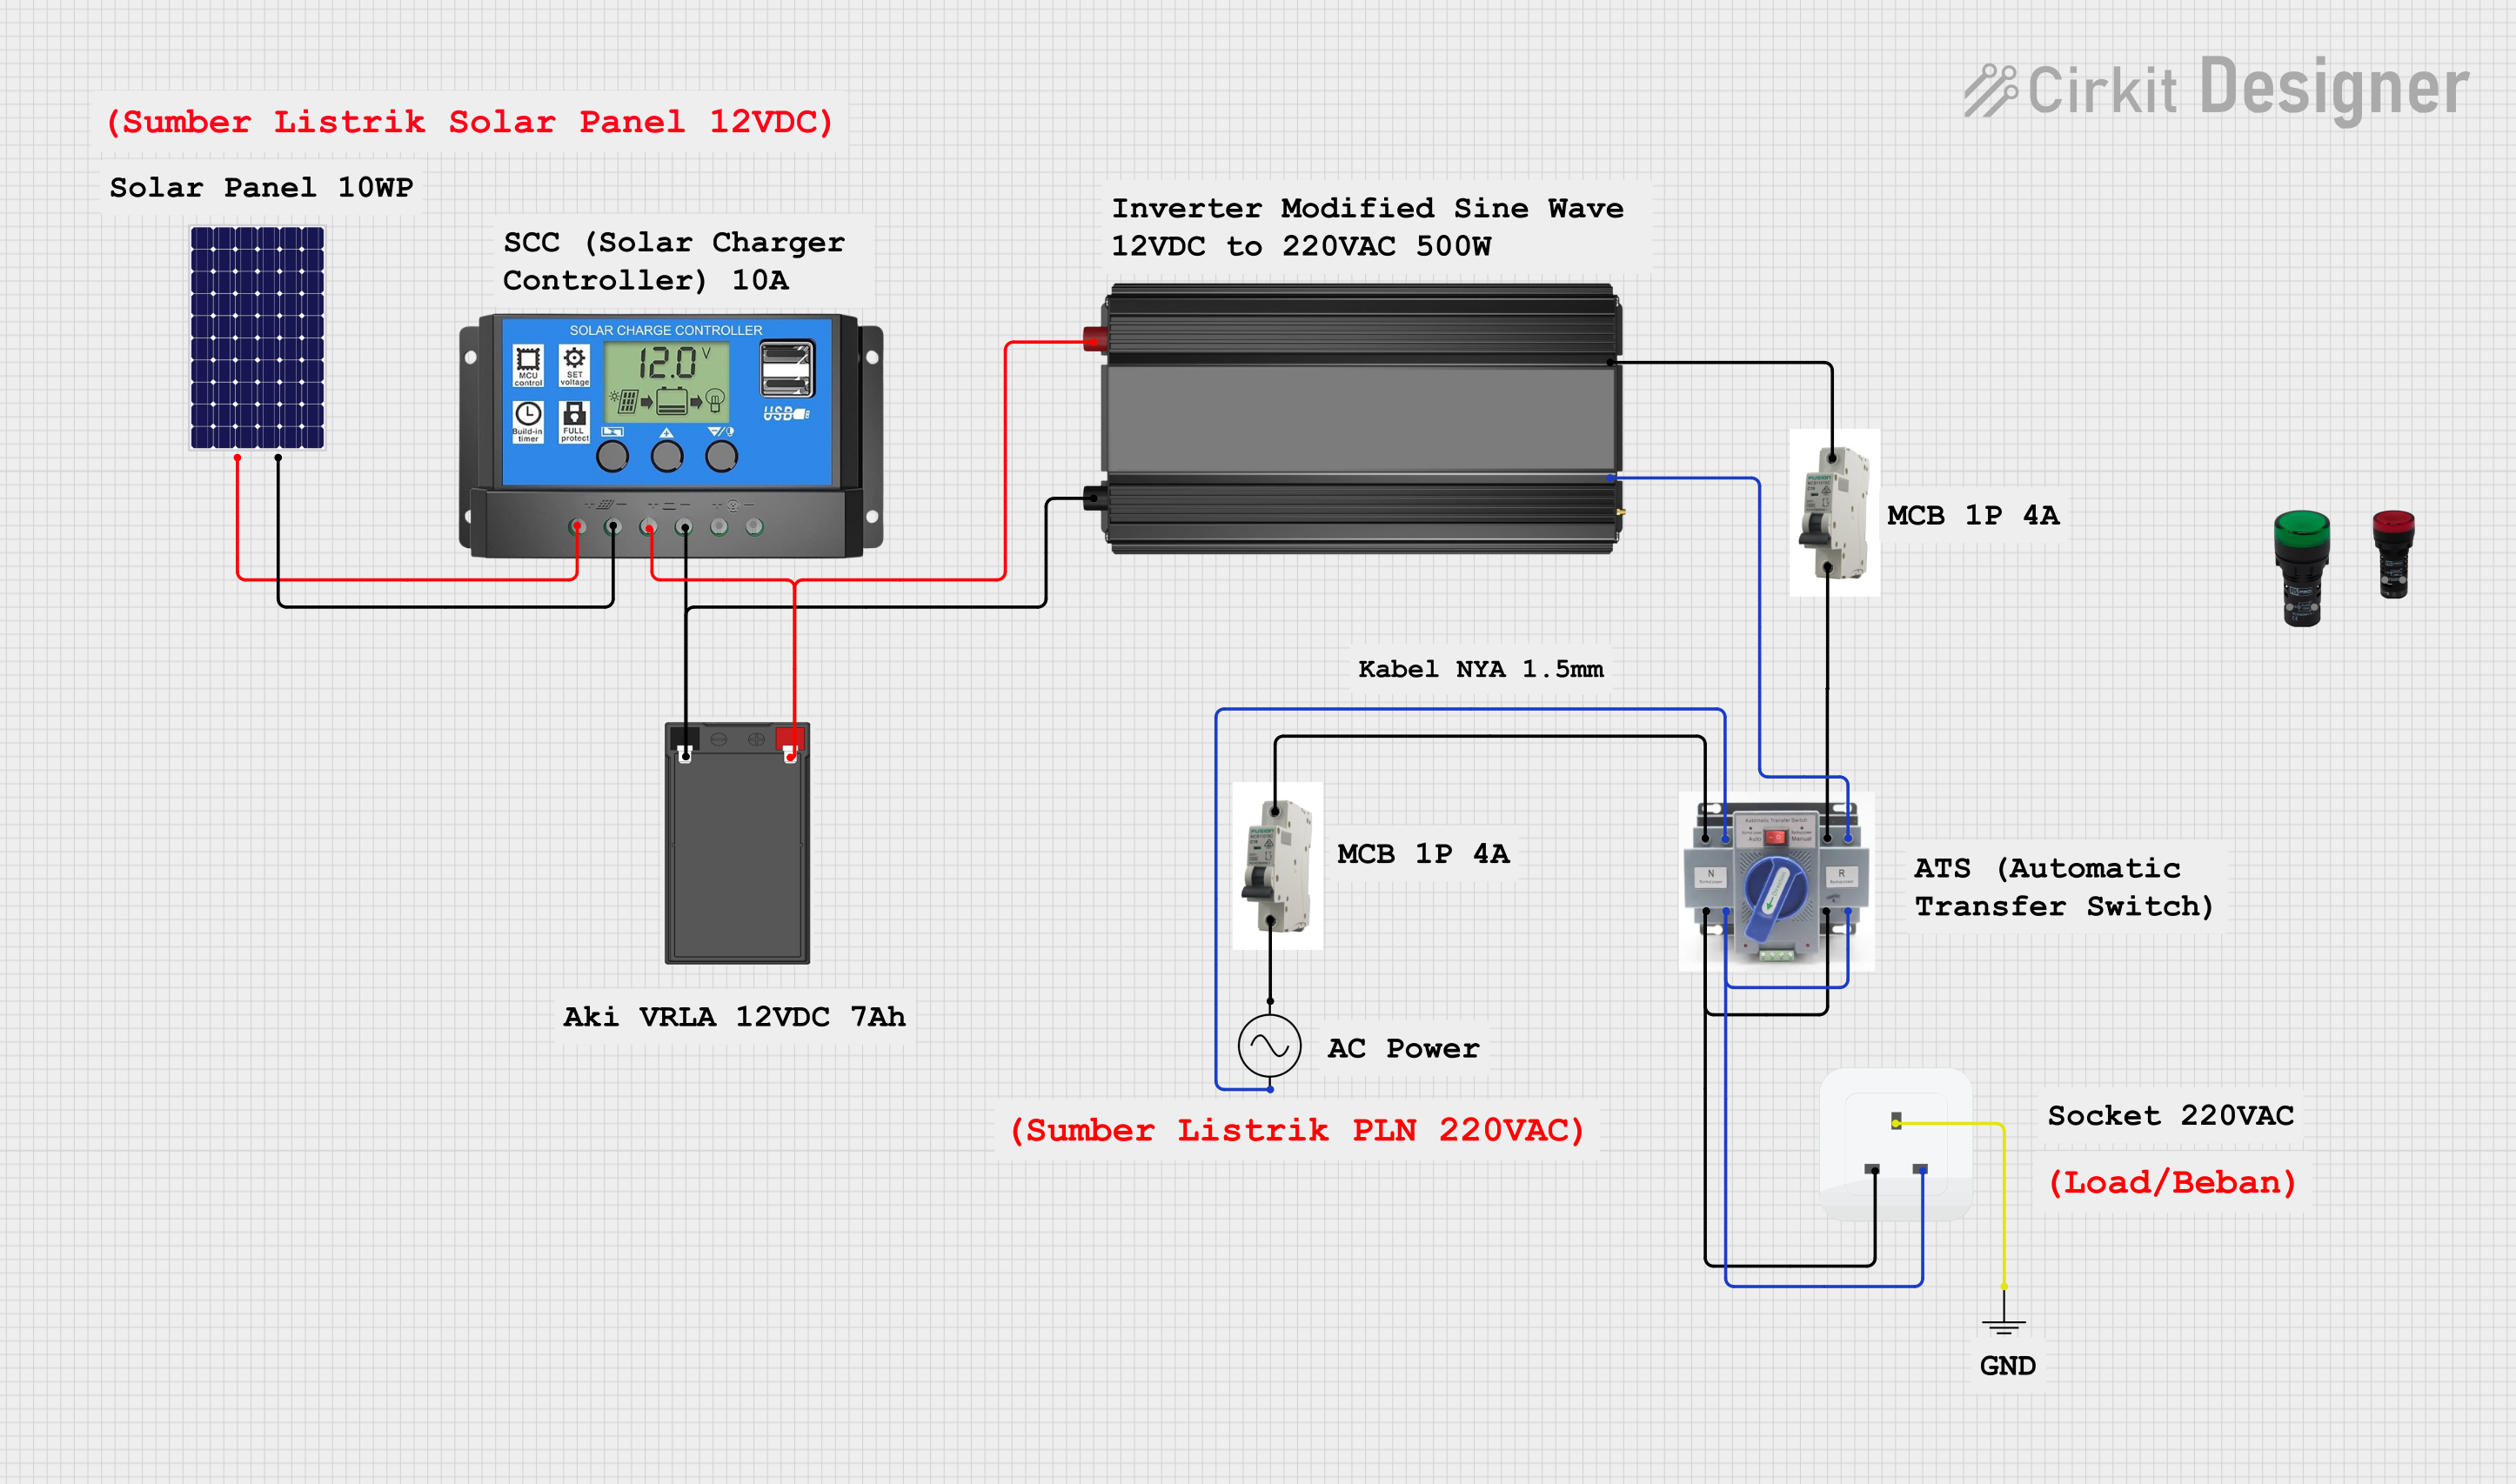
This circuit is a solar power system with an automatic transfer switch (ATS) that manages power from both a solar panel and an AC supply. The solar panel charges a battery through a solar charge controller, and the power inverter converts the stored DC power to AC, which is then distributed through an MCB to a socket. The ATS ensures seamless switching between solar and AC power sources.
Powering household appliances and electronic devices
Industrial machinery and equipment
Testing and development of AC-powered circuits
Power supplies for lighting systems
Laboratory experiments and educational purposes
Technical Specifications
The specifications of an AC source can vary depending on its design and intended application. Below are the general technical details:
Parameter
Specification
Voltage Output Range
110V to 240V (common household range)
Frequency Range
50Hz or 60Hz (region-dependent)
Power Rating
Varies (e.g., 100W, 500W, 1kW, etc.)
Waveform Type
Sinusoidal (standard), square, or custom
Output Regulation
±1% to ±5% (depending on the model)
Input Voltage
110V/220V AC or DC (for programmable units)
Safety Features
Overload protection, short-circuit protection, and thermal shutdown
Pin Configuration and Descriptions
For programmable or modular AC sources, the pin configuration may include input/output terminals and control interfaces. Below is an example of a typical pin configuration:
Pin Name
Description
L (Live)
Connects to the live wire of the AC output
N (Neutral)
Connects to the neutral wire of the AC output
GND
Ground connection for safety and stability
Control IN
Input for external control signals (if applicable)
Sense+
Positive terminal for voltage sensing (if applicable)
Sense-
Negative terminal for voltage sensing (if applicable)
Usage Instructions
How to Use the Component in a Circuit
Safety First: Ensure the AC source is powered off before making any connections. Use insulated tools and wear protective gear when working with high voltages.
Connect the Output Terminals:
Connect the live (L) and neutral (N) terminals of the AC source to the load.
If a ground connection is available, connect it to the ground terminal of the load for safety.
Set the Output Parameters:
For programmable AC sources, configure the desired voltage, frequency, and waveform using the control interface or software.
Power On the AC Source:
Turn on the AC source and verify the output using a multimeter or oscilloscope.
Monitor the Load:
Ensure the load operates within the specified voltage and current ratings of the AC source.
Important Considerations and Best Practices
Voltage and Current Ratings: Always ensure the load does not exceed the maximum power rating of the AC source.
Frequency Compatibility: Verify that the load is compatible with the output frequency (50Hz or 60Hz).
Grounding: Proper grounding is essential to prevent electrical shocks and ensure stable operation.
Heat Dissipation: Allow adequate ventilation around the AC source to prevent overheating.
Isolation: Use isolation transformers or circuit breakers for added safety in high-voltage applications.
Example: Using an AC Source with an Arduino UNO
While Arduino boards typically operate on DC, an AC source can be used in conjunction with a rectifier circuit to power the Arduino or to control AC devices via relays. Below is an example of controlling an AC load using an Arduino and a relay module:
// Example: Controlling an AC load with Arduino and a relay module
// This code toggles an AC load ON and OFF every 2 seconds

const int relayPin = 7; // Pin connected to the relay module

void setup() {
  pinMode(relayPin, OUTPUT); // Set relay pin as output
  digitalWrite(relayPin, LOW); // Ensure relay is OFF at startup
}

void loop() {
  digitalWrite(relayPin, HIGH); // Turn ON the relay (AC load ON)
  delay(2000); // Wait for 2 seconds
  digitalWrite(relayPin, LOW); // Turn OFF the relay (AC load OFF)
  delay(2000); // Wait for 2 seconds
}
Note: Ensure the relay module is rated for the AC voltage and current of the load. Use optoisolated relays for added safety.
Troubleshooting and FAQs
Common Issues and Solutions
No Output from the AC Source:
Check if the AC source is powered on and properly connected.
Verify that the output parameters (voltage, frequency) are correctly configured.
Inspect for blown fuses or tripped circuit breakers.
Overheating:
Ensure the AC source is not overloaded.
Provide adequate ventilation and avoid placing the source near heat-sensitive materials.
Load Not Operating Properly:
Confirm that the load is compatible with the output voltage and frequency.
Check for loose or faulty connections.
Electrical Noise or Interference:
Use shielded cables and proper grounding to minimize noise.
Consider using a line filter if the noise persists.
FAQs
Q1: Can I use an AC source to power DC devices?
A1: No, AC sources provide alternating current, which is not suitable for DC devices. However, you can use a rectifier circuit to convert AC to DC.
Q2: What safety precautions should I take when using an AC source?
A2: Always turn off the AC source before making connections, use insulated tools, and ensure proper grounding. Avoid touching live wires.
Q3: How do I select the right AC source for my application?
A3: Consider the voltage, frequency, power rating, and waveform requirements of your load. Ensure the AC source has adequate safety features.
Q4: Can I use an AC source to test electronic circuits?
A4: Yes, AC sources are commonly used for testing circuits, especially those designed to operate on AC power. Use caution and ensure the circuit is rated for the output voltage and frequency.


 Open Project in Cirkit Designer