Introduction
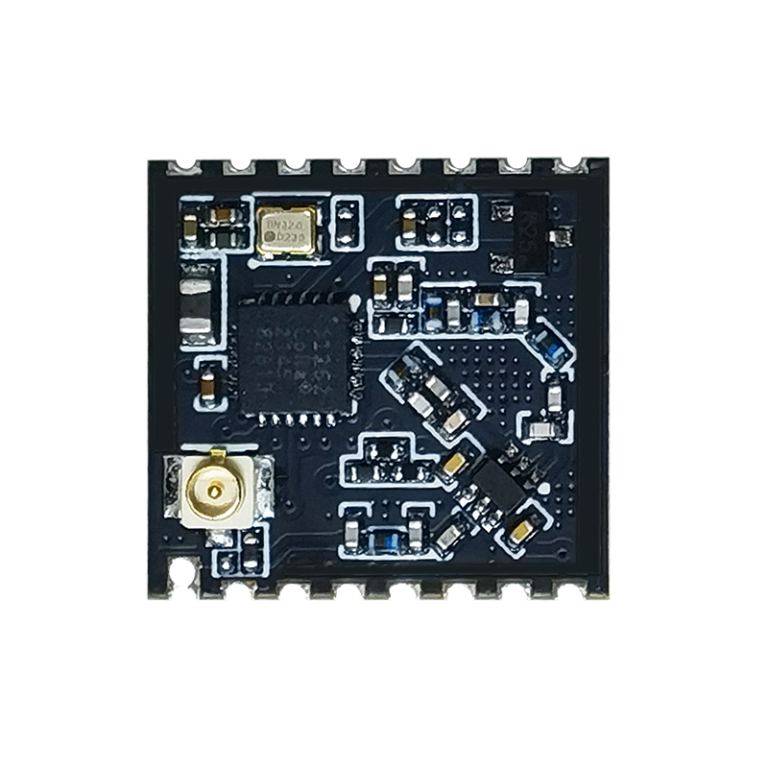
The HT-RA62, manufactured by Heltec, is a versatile electronic component designed for a variety of applications. This component is commonly used in wireless communication systems, IoT devices, and embedded systems. Its robust design and reliable performance make it a popular choice among engineers and hobbyists alike.
Technical Specifications
Below are the key technical details and pin configuration for the HT-RA62:
Key Technical Details
Pin Configuration and Descriptions
Usage Instructions
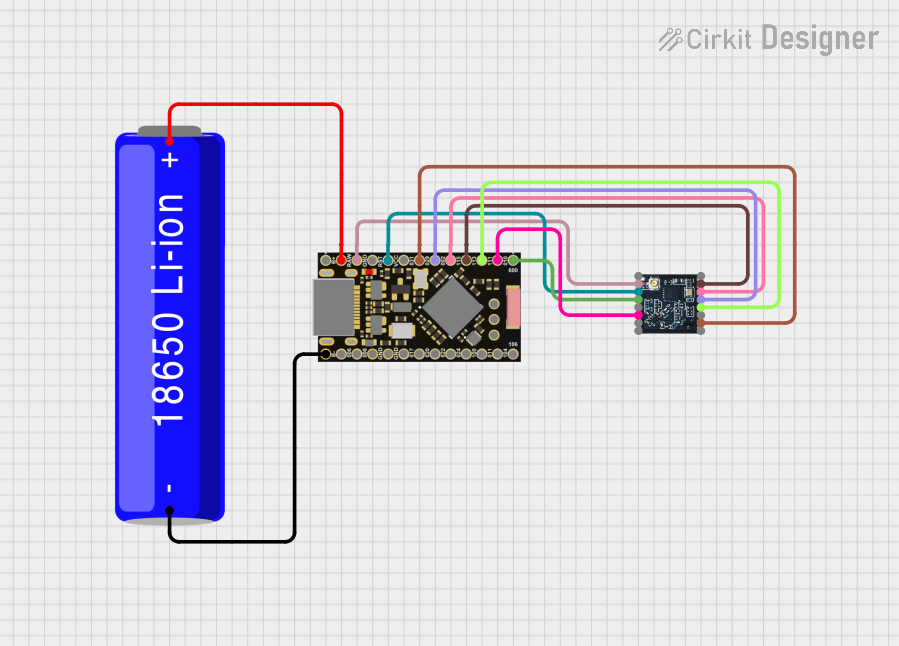
How to Use the HT-RA62 in a Circuit
- Power Supply: Connect the VCC pin to a 3.3V or 5V power supply and the GND pin to the ground of your circuit.
- SPI Interface: Connect the NSS, SCK, MOSI, and MISO pins to the corresponding pins on your microcontroller for SPI communication.
- Digital I/O: Use the DIO pins for digital input/output as required by your application.
- Reset: Connect the RESET pin to a digital pin on your microcontroller to control the reset functionality.
Important Considerations and Best Practices
- Power Supply: Ensure that the power supply voltage is within the specified range (3.3V - 5V) to avoid damaging the component.
- Antenna: For optimal performance, connect an appropriate antenna to the HT-RA62.
- Decoupling Capacitors: Use decoupling capacitors close to the VCC pin to filter out noise and stabilize the power supply.
Example Code for Arduino UNO
Below is an example code to interface the HT-RA62 with an Arduino UNO:
#include <SPI.h>
#include <LoRa.h>

// Define the pins used by the HT-RA62
#define NSS 10
#define RESET 9
#define DIO0 2

void setup() {
  // Initialize serial communication
  Serial.begin(9600);
  while (!Serial);

  // Initialize the LoRa module
  LoRa.setPins(NSS, RESET, DIO0);
  if (!LoRa.begin(915E6)) {
    Serial.println("Starting LoRa failed!");
    while (1);
  }
  Serial.println("LoRa initialized successfully.");
}

void loop() {
  // Send a message every second
  LoRa.beginPacket();
  LoRa.print("Hello, world!");
  LoRa.endPacket();
  delay(1000);
}
Troubleshooting and FAQs
Common Issues and Solutions
No Communication:
- Solution: Check the wiring connections and ensure that the power supply is within the specified range. Verify that the SPI pins are correctly connected.
Poor Signal Quality:
- Solution: Ensure that an appropriate antenna is connected. Check for any sources of interference in the vicinity.
Module Not Initializing:
- Solution: Verify the connections to the NSS, RESET, and DIO0 pins. Ensure that the correct frequency is set in the code.
FAQs
Q1: Can the HT-RA62 operate at 5V?
- A1: Yes, the HT-RA62 can operate at both 3.3V and 5V.
Q2: What is the maximum data rate supported by the HT-RA62?
- A2: The HT-RA62 supports a maximum data rate of 37.5kbps.
Q3: How do I reset the HT-RA62?
- A3: Connect the RESET pin to a digital pin on your microcontroller and toggle it to reset the module.
Q4: Can I use the HT-RA62 for long-range communication?
- A4: Yes, the HT-RA62 supports LoRa modulation, which is suitable for long-range communication.
This documentation provides a comprehensive guide to using the HT-RA62 component. For further details, refer to the manufacturer's datasheet.

 Open Project in Cirkit Designer