
How to Use Arduino Midi Shield: Examples, Pinouts, and Specs
 Design with Arduino Midi Shield in Cirkit Designer
Introduction
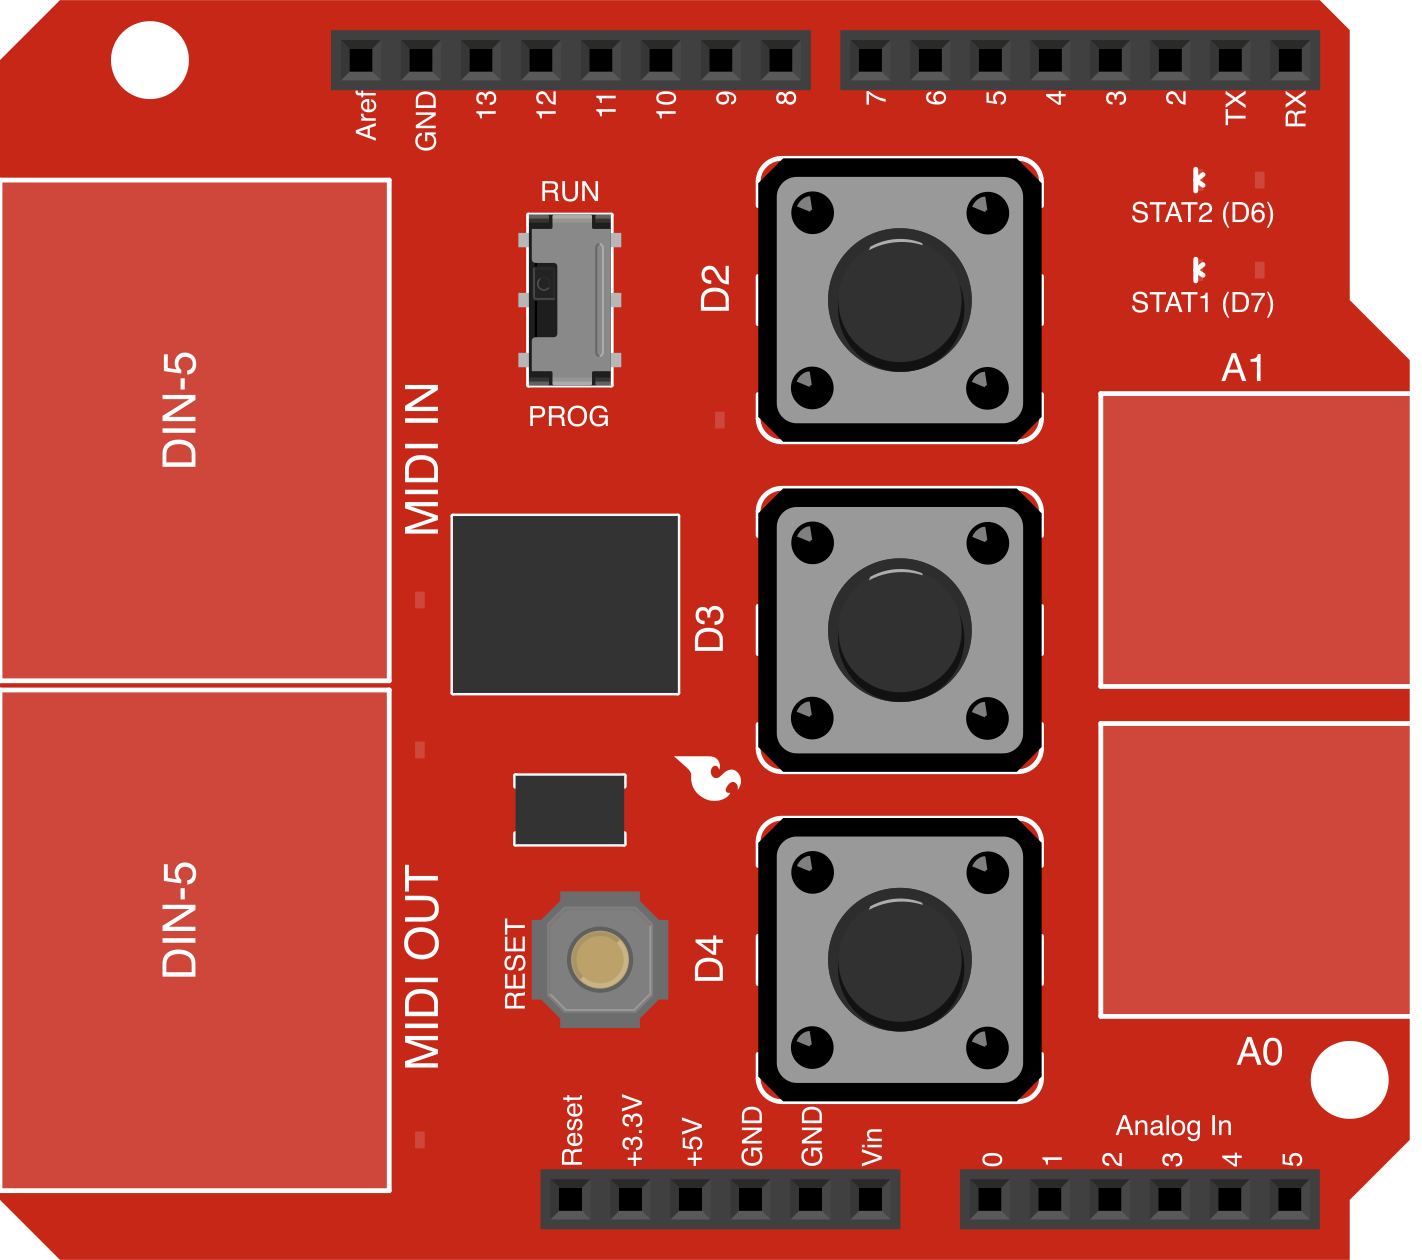
The Arduino MIDI Shield (Manufacturer Part ID: DEV-09595) by SparkFun Electronics is an expansion board designed to enable MIDI (Musical Instrument Digital Interface) communication with an Arduino. This shield allows the Arduino to send and receive MIDI messages, making it an excellent tool for creating musical instruments, MIDI controllers, or integrating Arduino projects with MIDI-enabled devices such as synthesizers, drum machines, and digital audio workstations (DAWs).
Explore Projects Built with Arduino Midi Shield
 Open Project in Cirkit Designer
 Open Project in Cirkit Designer
 Open Project in Cirkit Designer
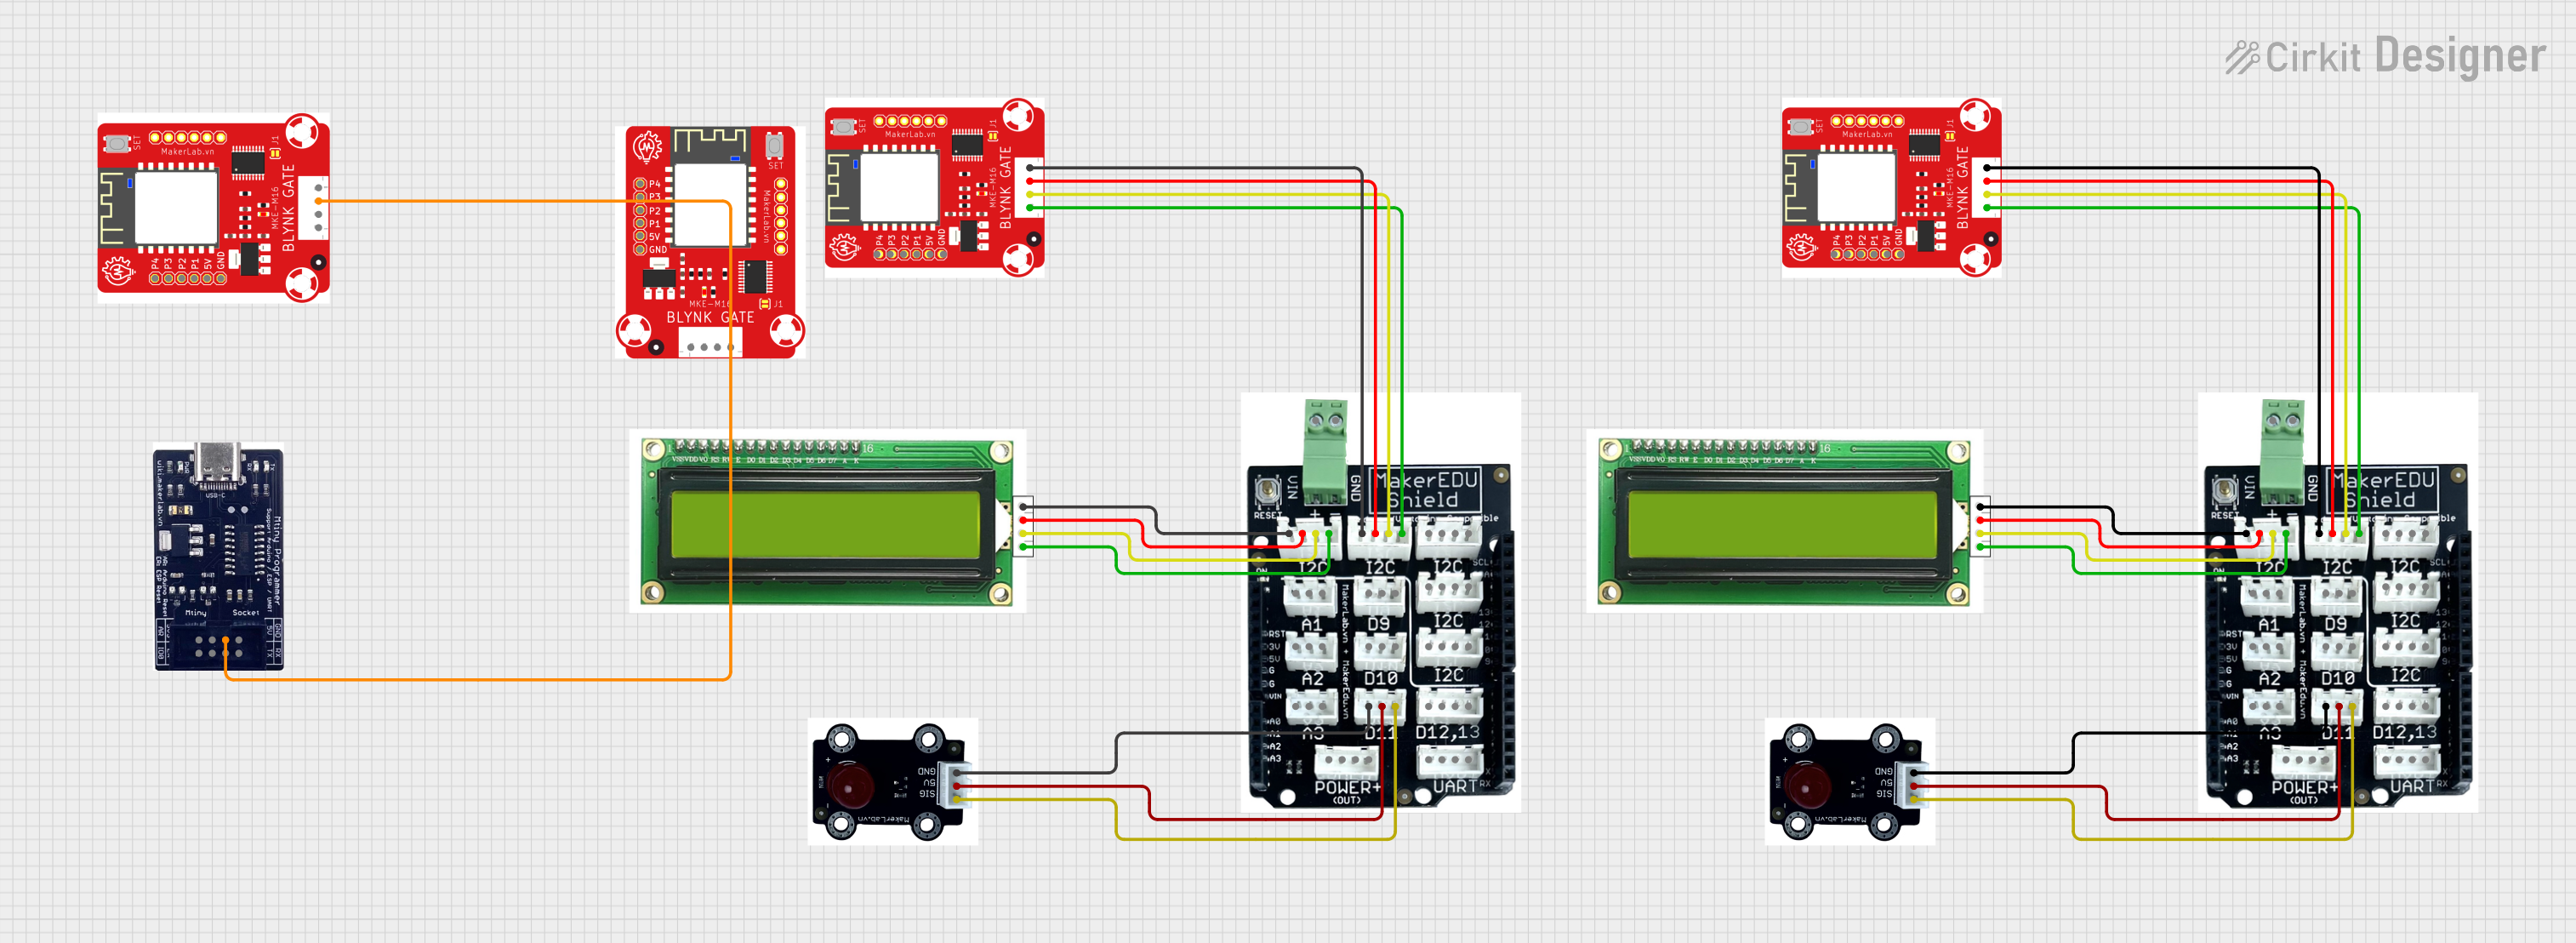 Open Project in Cirkit Designer
Explore Projects Built with Arduino Midi Shield
Open Project in Cirkit DesignerOpen Project in Cirkit DesignerOpen Project in Cirkit DesignerOpen Project in Cirkit DesignerCommon Applications and Use Cases
- Building custom MIDI controllers for music production.
- Creating Arduino-based synthesizers or sound generators.
- Interfacing with MIDI-enabled hardware such as keyboards, drum pads, or sequencers.
- Sending MIDI commands to software-based DAWs or virtual instruments.
- Learning and experimenting with MIDI communication protocols.
Technical Specifications
The Arduino MIDI Shield is designed to simplify MIDI communication while maintaining compatibility with standard MIDI devices. Below are the key technical details:
General Specifications
- Power Supply Voltage: 5V (provided by the Arduino board).
- MIDI Input Voltage: Standard MIDI 5V signal.
- MIDI Output Voltage: Standard MIDI 5V signal.
- MIDI Connectors: 5-pin DIN connectors for MIDI IN and MIDI OUT.
- Additional Features:
- 3.5mm stereo jack for MIDI THRU.
- Breakout pins for additional customization.
- Onboard potentiometer for analog input (e.g., volume control).
- Configurable jumpers for hardware customization.
Pin Configuration and Descriptions
The Arduino MIDI Shield connects to the Arduino's headers and provides additional pins for MIDI communication and customization. Below is the pin configuration:
| Pin | Function |
|---|---|
| TX (D1) | Transmit MIDI OUT data from the Arduino to external MIDI devices. |
| RX (D0) | Receive MIDI IN data from external MIDI devices to the Arduino. |
| A0 | Connected to the onboard potentiometer for analog input (e.g., volume). |
| MIDI IN | 5-pin DIN connector for receiving MIDI messages. |
| MIDI OUT | 5-pin DIN connector for sending MIDI messages. |
| MIDI THRU | 3.5mm stereo jack for passing MIDI IN data directly to another device. |
| GND | Ground connection. |
| 5V | Power supply for the shield (provided by the Arduino). |
Jumper Configuration
The shield includes configurable jumpers to enable or disable specific features:
- MIDI IN/OUT Jumpers: Enable or disable MIDI communication.
- RX/TX Jumpers: Configure the Arduino's serial communication pins.
Usage Instructions
The Arduino MIDI Shield is easy to set up and use. Follow the steps below to integrate it into your project:
Step 1: Hardware Setup
- Attach the Shield: Place the MIDI Shield on top of your Arduino board, ensuring the headers align correctly.
- Connect MIDI Devices:
- Use a standard 5-pin MIDI cable to connect the MIDI OUT port to an external MIDI device.
- Connect the MIDI IN port to receive data from an external MIDI device.
- Power the Arduino: Connect the Arduino to your computer or an external power source.
Step 2: Software Setup
- Install the MIDI Library for Arduino:
- Open the Arduino IDE.
- Go to Sketch > Include Library > Manage Libraries.
- Search for "MIDI Library" and install it.
- Write or upload a sketch to send or receive MIDI messages.
Example Code: Sending MIDI Notes
The following example demonstrates how to send MIDI note messages using the MIDI Shield:
#include <MIDI.h> // Include the MIDI library

MIDI_CREATE_DEFAULT_INSTANCE(); // Create a default MIDI instance

void setup() {
  MIDI.begin(MIDI_CHANNEL_OMNI);
  // Initialize MIDI communication on all channels
}

void loop() {
  MIDI.sendNoteOn(60, 127, 1);
  // Send a "Note On" message for middle C (note 60) on channel 1
  // with a velocity of 127 (maximum volume)

  delay(500); // Wait for 500ms

  MIDI.sendNoteOff(60, 0, 1);
  // Send a "Note Off" message for middle C on channel 1

  delay(500); // Wait for 500ms
}
Important Considerations and Best Practices
- Baud Rate: Ensure the Arduino's serial baud rate is set to 31250 for MIDI communication.
- Power Supply: Use a stable 5V power source to avoid communication errors.
- Cable Length: Keep MIDI cable lengths under 15 meters to maintain signal integrity.
- Jumper Settings: Verify jumper configurations before use to avoid conflicts with other shields or components.
Troubleshooting and FAQs
Common Issues and Solutions
No MIDI Communication:
- Ensure the MIDI cables are securely connected to the correct ports (IN/OUT).
- Verify that the Arduino's baud rate is set to 31250.
- Check the jumper settings on the shield.
MIDI Messages Not Received:
- Confirm that the external MIDI device is powered on and configured correctly.
- Test the MIDI IN port with a known working device.
Arduino Not Responding:
- Ensure the shield is properly seated on the Arduino headers.
- Disconnect other shields or components that may interfere with serial communication.
MIDI THRU Not Working:
- Verify the 3.5mm stereo jack connection.
- Check for any loose solder joints on the shield.
FAQs
Q: Can I use the MIDI Shield with an Arduino Mega?
A: Yes, the MIDI Shield is compatible with the Arduino Mega. However, you may need to adjust the RX/TX jumper settings to match the Mega's serial pins.
Q: Can I use the shield for USB MIDI communication?
A: The MIDI Shield is designed for standard 5-pin MIDI communication. For USB MIDI, you can use an additional USB-to-MIDI adapter.
Q: Is the shield compatible with 3.3V Arduino boards?
A: The shield is designed for 5V operation. Using it with 3.3V boards may require level shifting for proper communication.
By following this documentation, you can effectively use the Arduino MIDI Shield to create and experiment with MIDI-based projects.