How to Use LED 5v Flexible Light: Examples, Pinouts, and Specs
Introduction
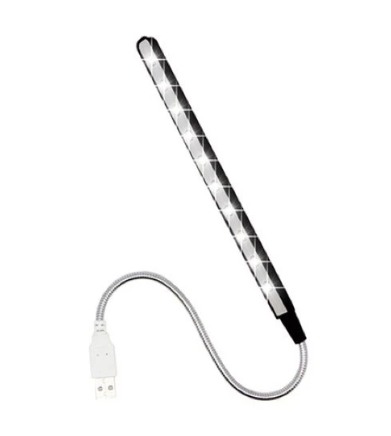
The LED 5V Flexible Light (Manufacturer Part ID: USB DV 5V 1W) is a versatile and energy-efficient lighting solution. This component consists of a flexible strip of LEDs that operates at 5 volts, making it ideal for a wide range of applications. Its flexibility allows it to be bent or cut to fit various spaces, making it perfect for decorative lighting, DIY projects, and ambient lighting in homes, offices, and vehicles.
Explore Projects Built with LED 5v Flexible Light

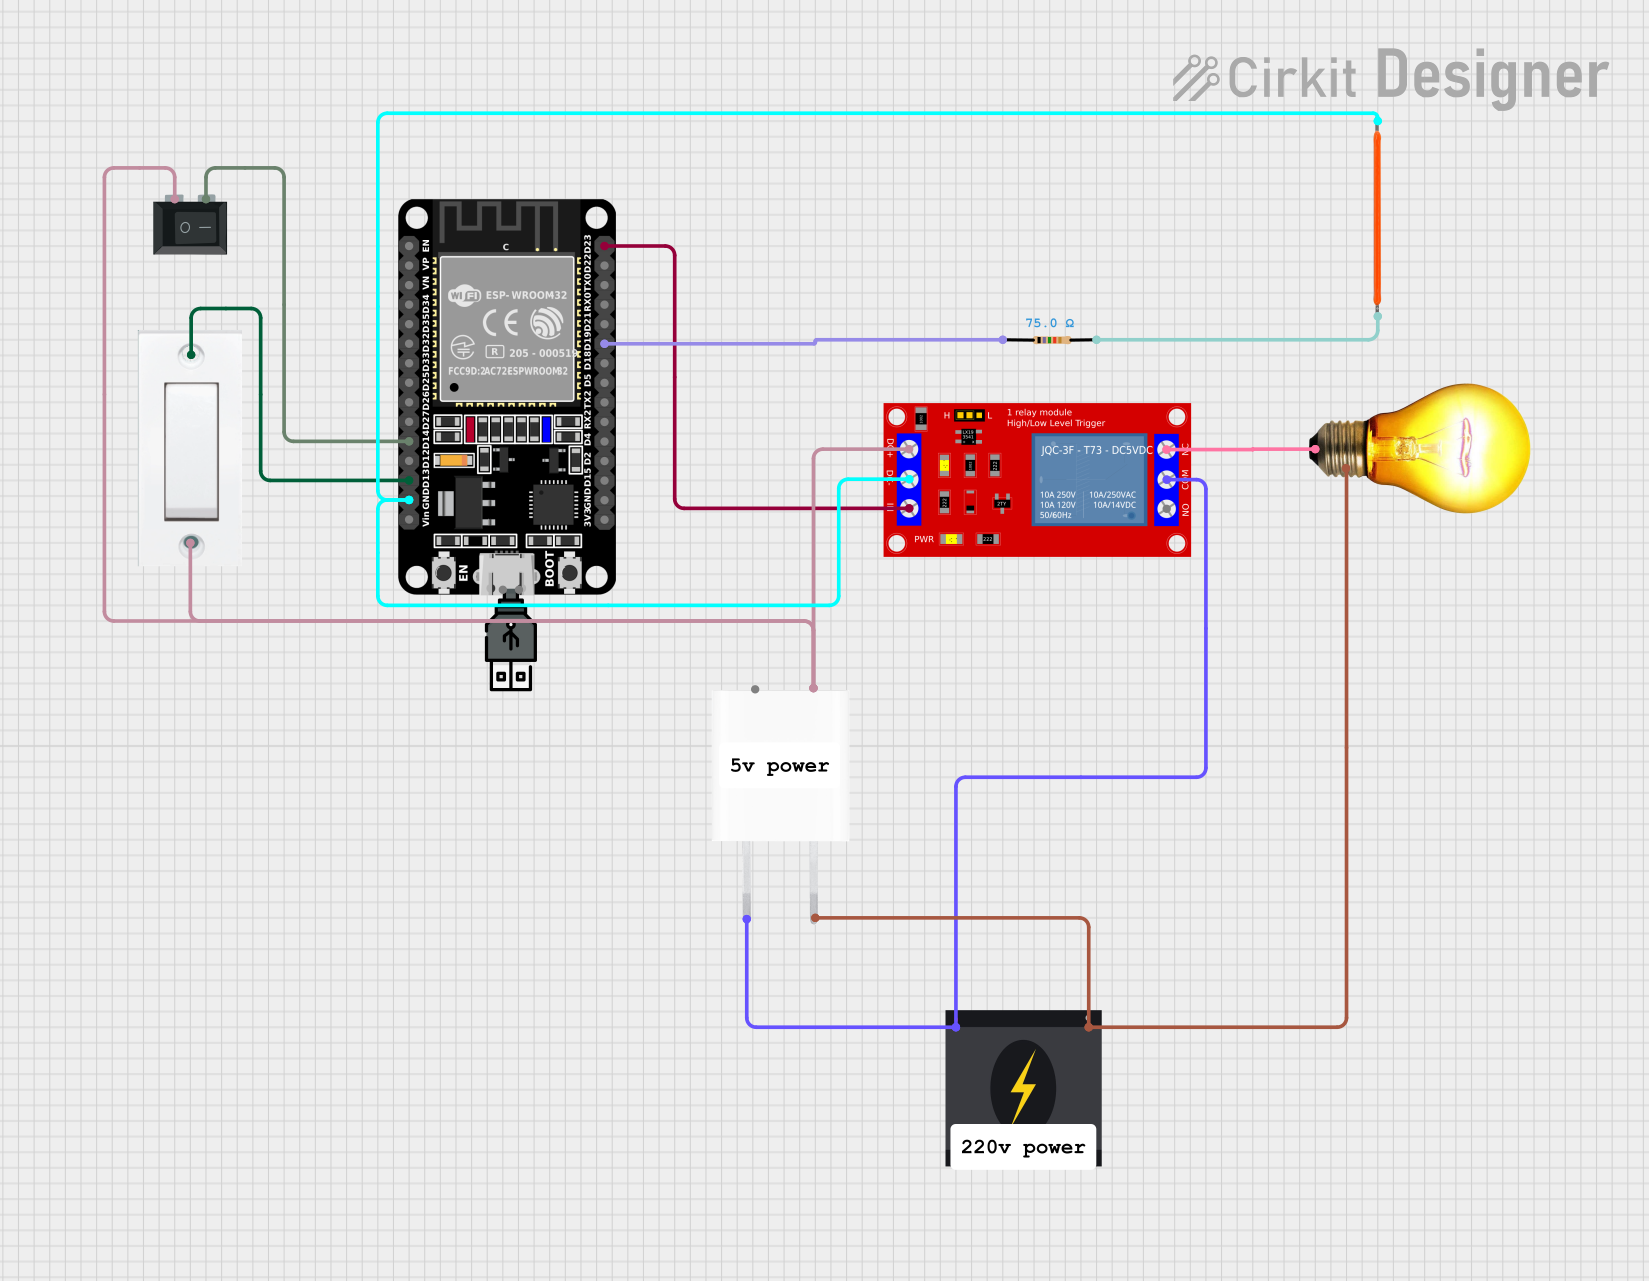


Explore Projects Built with LED 5v Flexible Light
Technical Specifications
Key Technical Details
| Parameter | Value |
|---|---|
| Operating Voltage | 5V DC |
| Power Consumption | 1W |
| LED Type | SMD (Surface-Mounted Device) |
| LED Color | Varies (commonly white, RGB) |
| Strip Length | Varies (commonly 1 meter) |
| Flexibility | Bendable and cuttable |
| Waterproof Rating | Varies (commonly IP65) |
Pin Configuration and Descriptions
| Pin Number | Pin Name | Description |
|---|---|---|
| 1 | VCC | Power supply (5V DC) |
| 2 | GND | Ground |
| 3 | DATA | Data input (for addressable LEDs) |
Usage Instructions
How to Use the Component in a Circuit
- Power Supply: Connect the VCC pin to a 5V DC power source. Ensure that the power supply can provide sufficient current for the entire length of the LED strip.
- Ground Connection: Connect the GND pin to the ground of the power supply.
- Data Input (if applicable): For addressable LED strips, connect the DATA pin to the data output pin of a microcontroller (e.g., Arduino UNO).
Important Considerations and Best Practices
- Cutting the Strip: The LED strip can be cut at designated points, usually marked by a line or scissor icon. Ensure to cut only at these points to avoid damaging the LEDs.
- Heat Management: Although the LED strip operates at low power, it can still generate heat. Ensure proper ventilation or heat dissipation to prolong the lifespan of the LEDs.
- Waterproofing: If using the LED strip in a humid or outdoor environment, ensure it has an appropriate waterproof rating (e.g., IP65).
Example: Connecting to an Arduino UNO
To control an addressable LED strip with an Arduino UNO, you can use the following example code. This example uses the Adafruit NeoPixel library to control an RGB LED strip.
#include <Adafruit_NeoPixel.h>

// Define the number of LEDs in the strip
#define NUM_LEDS 30

// Define the pin where the data line is connected
#define DATA_PIN 6

// Create a NeoPixel object
Adafruit_NeoPixel strip = Adafruit_NeoPixel(NUM_LEDS, DATA_PIN, NEO_GRB + NEO_KHZ800);

void setup() {
  // Initialize the NeoPixel strip
  strip.begin();
  strip.show(); // Initialize all pixels to 'off'
}

void loop() {
  // Example: Set all LEDs to red
  for (int i = 0; i < NUM_LEDS; i++) {
    strip.setPixelColor(i, strip.Color(255, 0, 0)); // Red color
  }
  strip.show(); // Update the strip with new colors
  delay(1000); // Wait for 1 second

  // Example: Turn off all LEDs
  for (int i = 0; i < NUM_LEDS; i++) {
    strip.setPixelColor(i, strip.Color(0, 0, 0)); // Turn off
  }
  strip.show(); // Update the strip with new colors
  delay(1000); // Wait for 1 second
}
Troubleshooting and FAQs
Common Issues Users Might Face
LEDs Not Lighting Up:
- Solution: Check the power supply and ensure it is providing 5V DC. Verify all connections, especially the VCC and GND pins.
LEDs Flickering:
- Solution: This could be due to insufficient power supply or loose connections. Ensure the power supply can handle the current requirements of the LED strip and check all connections.
Incorrect Colors (for RGB Strips):
- Solution: Verify the data connection and ensure the correct data pin is used. Check the code for any errors in color definitions.
Solutions and Tips for Troubleshooting
- Power Supply: Always use a stable and sufficient power supply. For longer strips, consider using a power supply with higher current capacity.
- Connections: Double-check all connections, especially the VCC, GND, and DATA pins. Loose or incorrect connections can cause various issues.
- Code: If using a microcontroller, ensure the code is correctly written and uploaded. Use libraries like Adafruit NeoPixel for easier control of addressable LED strips.
By following these guidelines and best practices, you can effectively use the LED 5V Flexible Light in your projects and enjoy its versatile lighting capabilities.