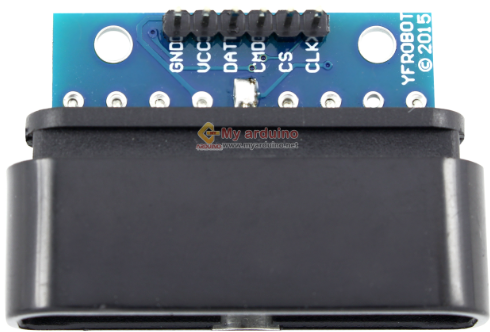
The Bộ thu cho PS2 is a PS2 receiver module designed to facilitate wireless communication between a PS2 controller and the console. This component eliminates the need for physical connections, providing a seamless and convenient gaming experience. It operates by receiving signals from the PS2 controller and transmitting them to the console for processing.
Explore Projects Built with Bộ thu cho ps2
Use Cirkit Designer to design, explore, and prototype these projects online. Some projects support real-time simulation. Click "Open Project" to start designing instantly!
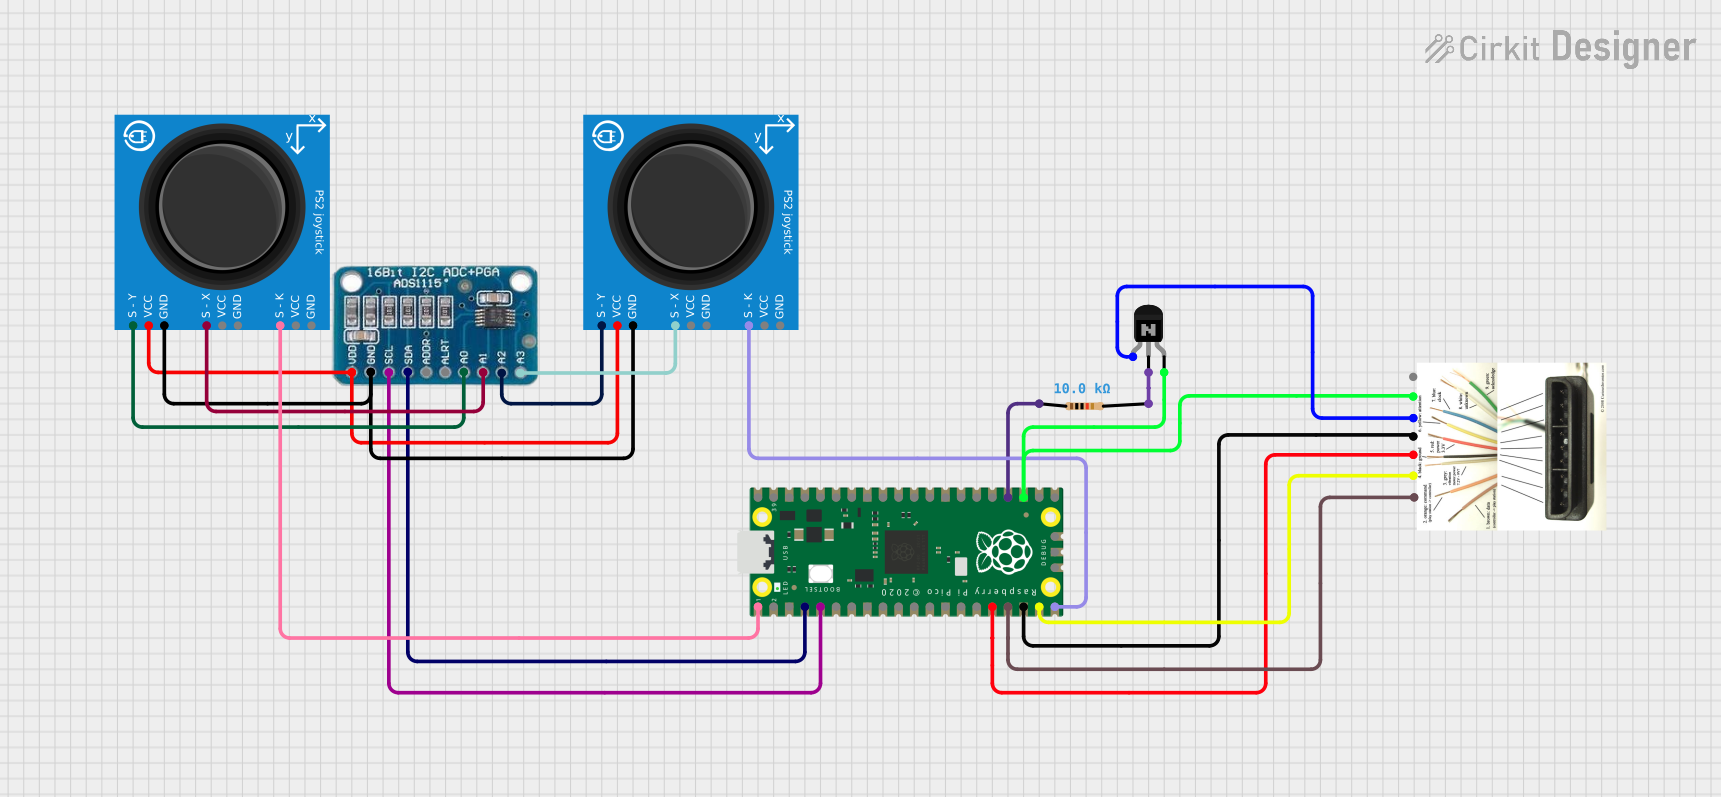
This circuit appears to be a game controller interface that uses a Raspberry Pi Pico microcontroller to emulate a PS2 controller, interfacing with a PS2 joystick and a PS2 console cable. The ADS1115 analog-to-digital converter is used to read the joystick's analog signals, and the microcontroller's SPI and I2C interfaces are utilized for communication with the PS2 console and the ADS1115, respectively. Additionally, an NPN transistor and a resistor are configured to handle the PS2 controller's acknowledge signal.
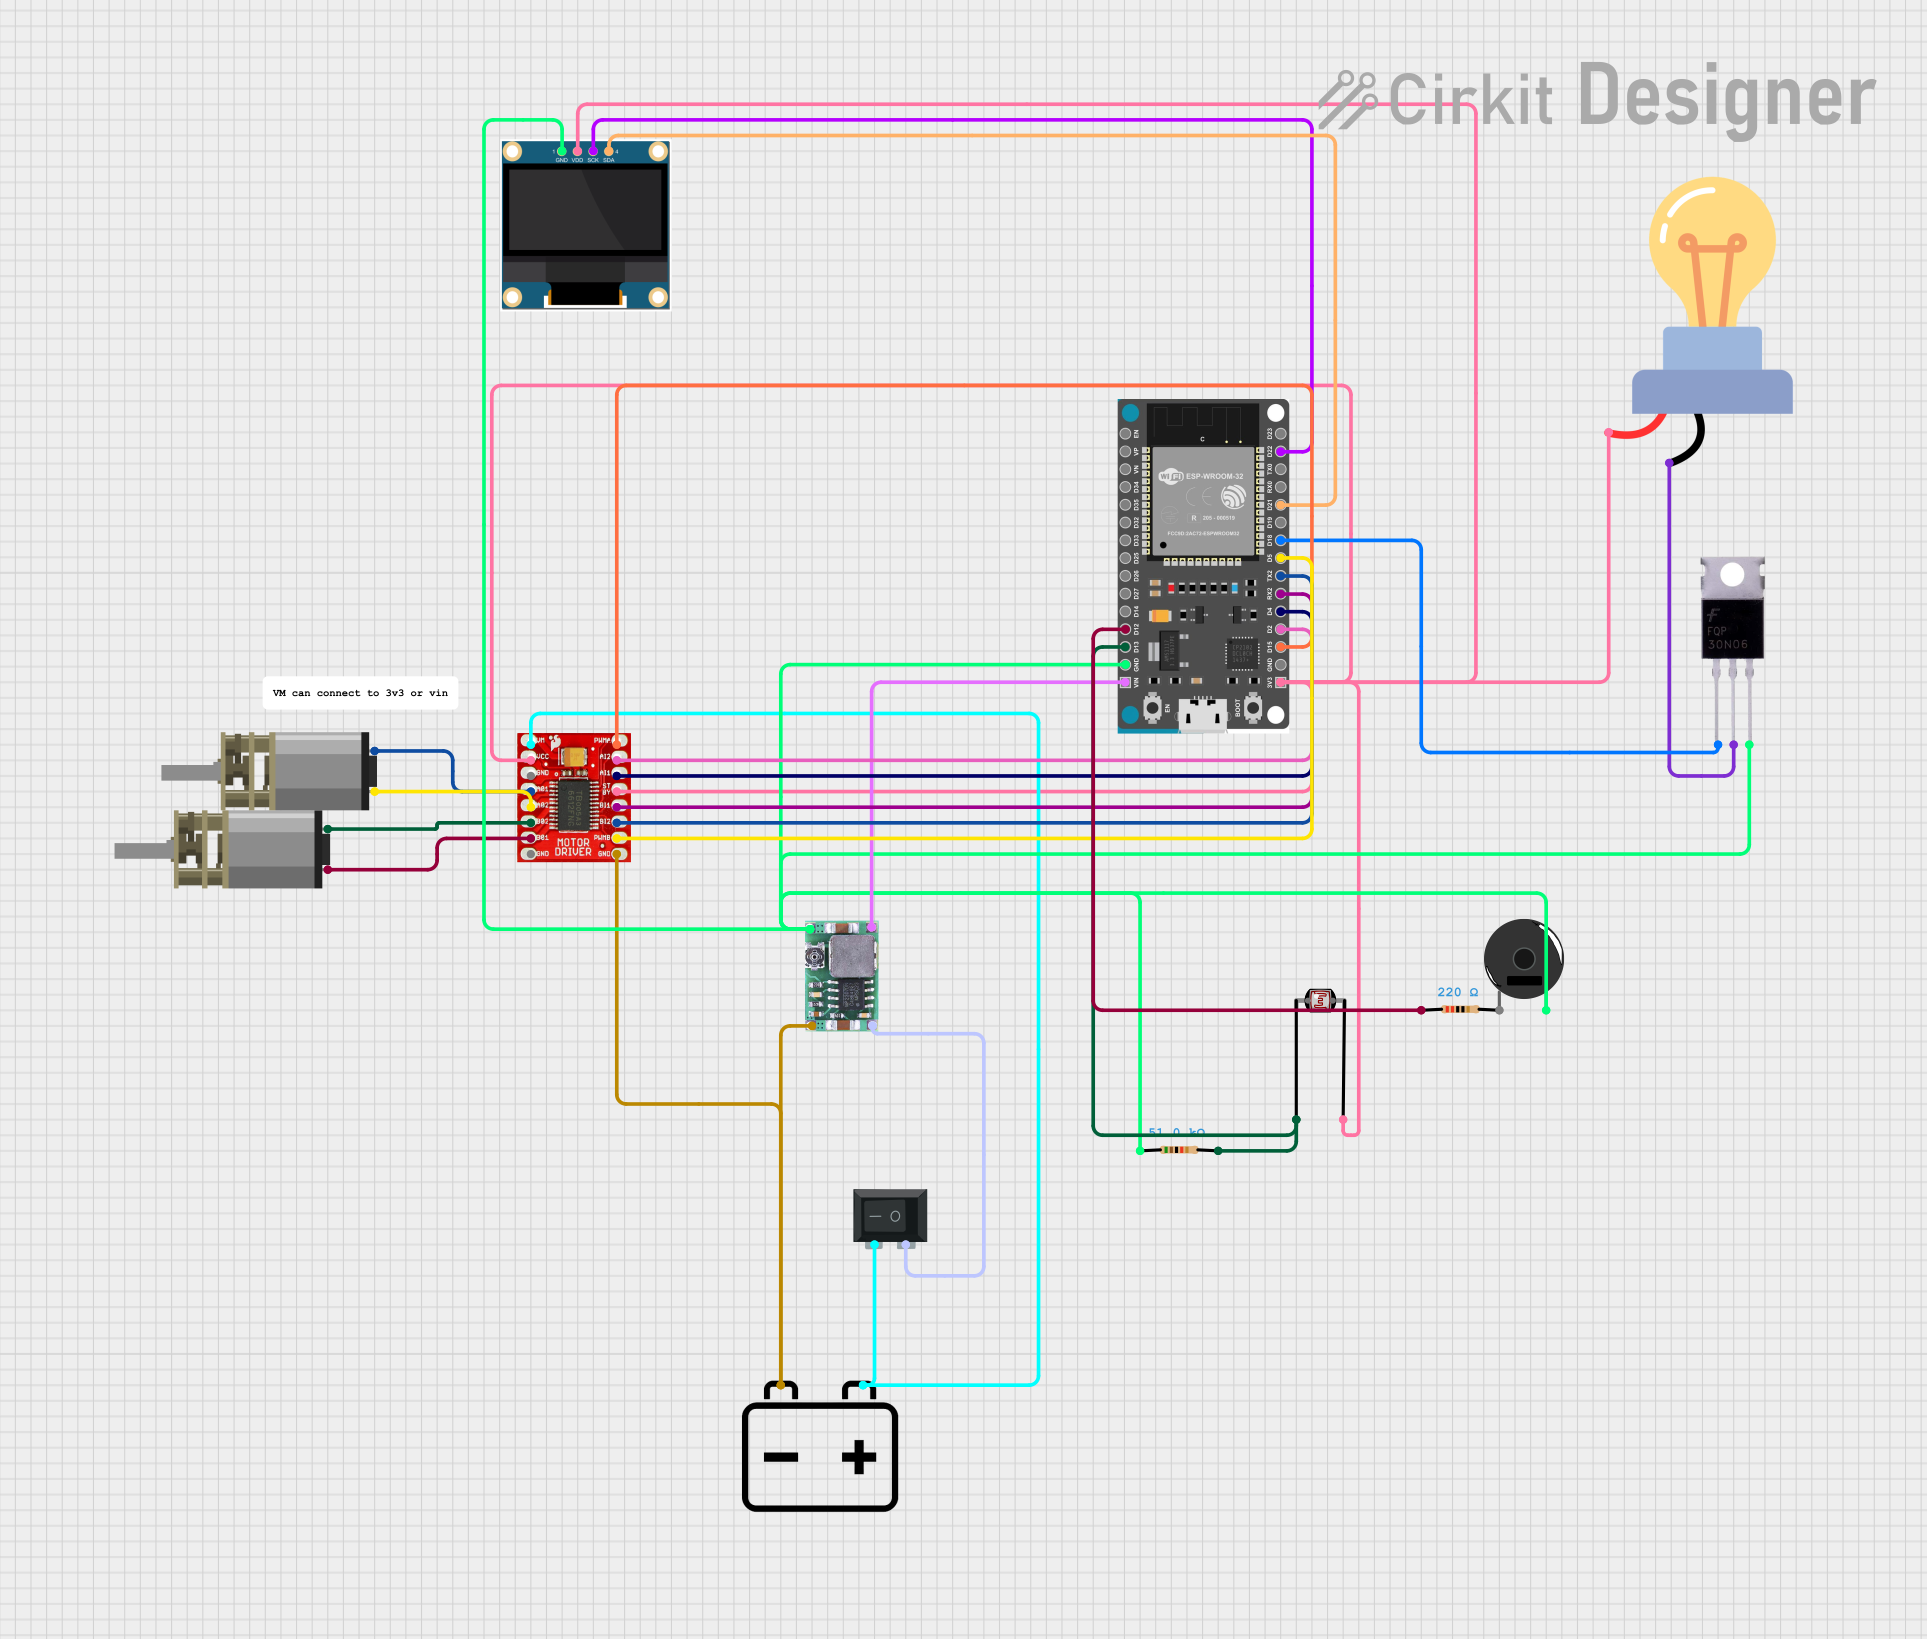
This circuit is a remote-controlled shooting game system using an ESP32 microcontroller, which interfaces with a PS3 controller to control two DC motors via a TB6612FNG motor driver, and a laser for shooting. The system includes an OLED display for game status, a photocell for detecting laser hits, and a piezo buzzer for sound feedback.
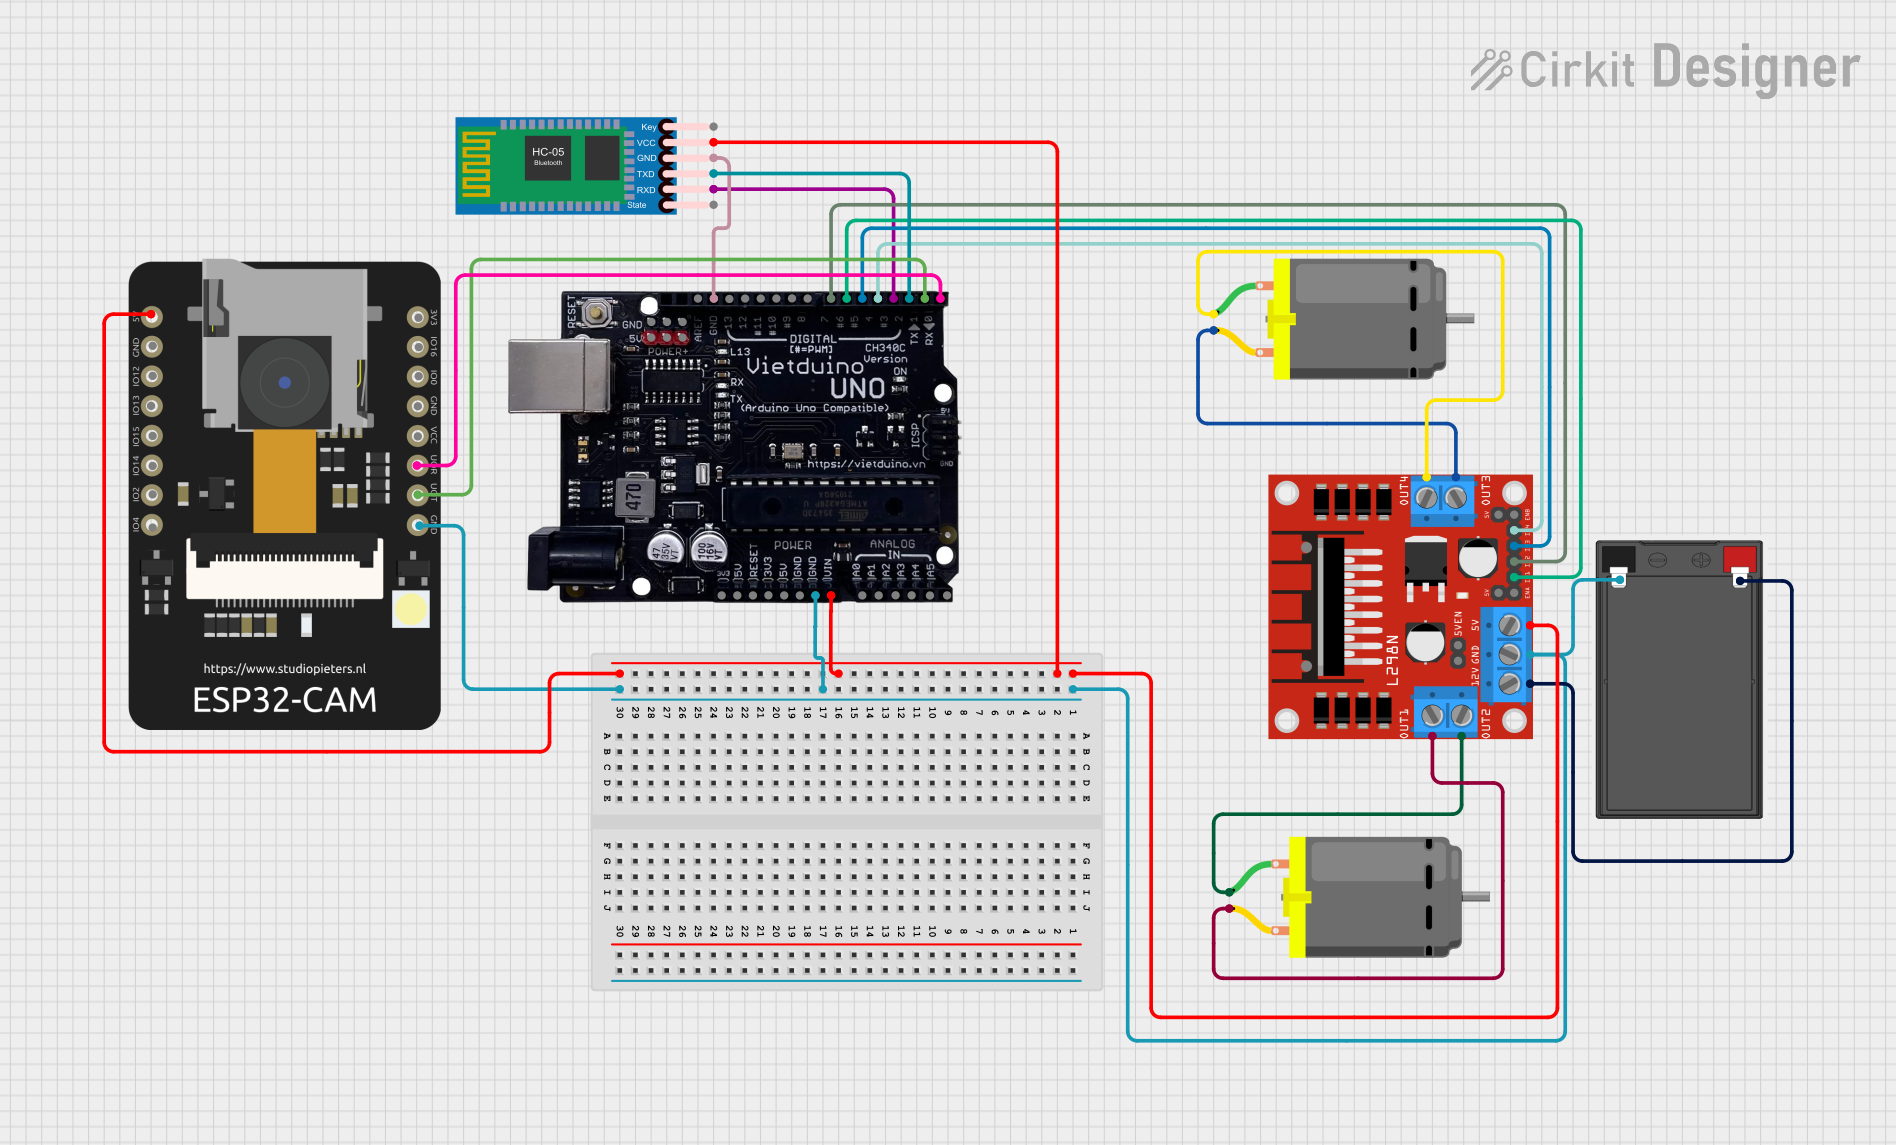
This circuit is a remote-controlled vehicle system that uses a Vietduino Uno to control two DC motors via an L298N motor driver. The system includes an HC-05 Bluetooth module for wireless communication and an ESP32 CAM for video streaming, all powered by a battery.
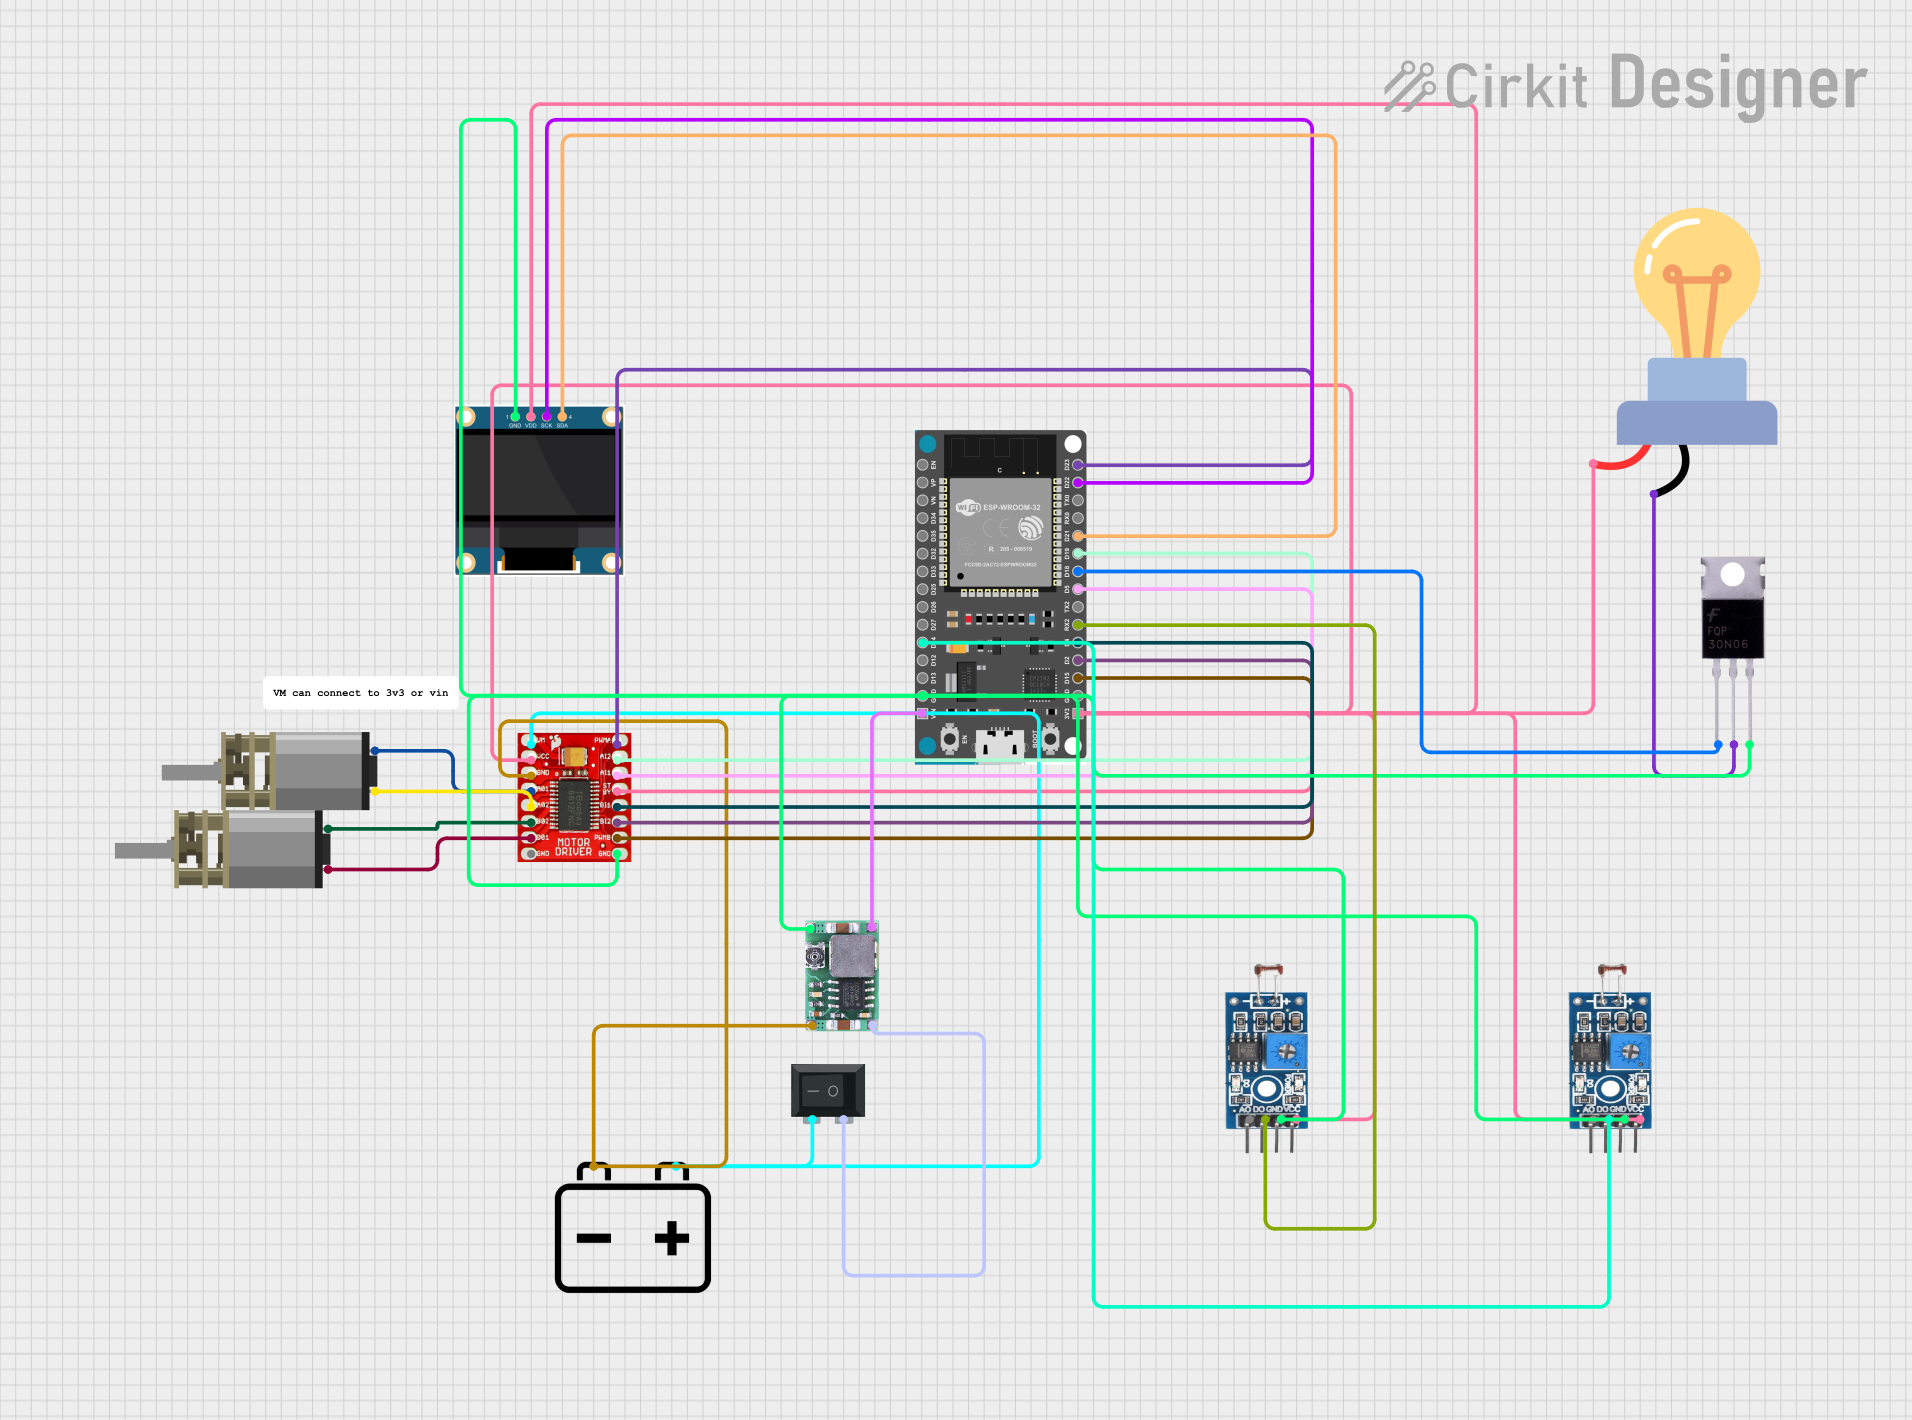
This circuit is a laser shooting game controlled by a PS3 controller, featuring an ESP32 microcontroller, two photosensitive sensors for light detection, and a motor driver to control two DC motors. The game includes an OLED display for score visualization, and a MOSFET to control an LED bulb, with power supplied by a 12V battery and regulated by a DC-DC step-down converter.
Replacement for damaged or lost PS2 receiver modules.
Custom gaming setups or modifications involving PS2 controllers.
Technical Specifications
The following table outlines the key technical details of the Bộ thu cho PS2:
Parameter
Specification
Operating Voltage
3.3V to 5V
Communication Protocol
Proprietary PS2 wireless protocol
Operating Frequency
2.4 GHz
Range
Up to 10 meters (line of sight)
Dimensions
40mm x 20mm x 10mm
Connector Type
PS2 controller port (male plug)
Pin Configuration and Descriptions
The Bộ thu cho PS2 typically connects directly to the PS2 console via the controller port. However, for custom applications, the pinout of the PS2 connector is as follows:
Pin
Name
Description
1
Data
Serial data line for communication with the console
2
Command
Serial command line from the console to the module
3
Ground (GND)
Ground connection
4
Power (VCC)
Power supply (3.3V to 5V)
5
Attention
Signal to indicate active communication
6
Clock
Synchronization clock for data transfer
Usage Instructions
How to Use the Component in a Circuit
Connection to the Console: Plug the Bộ thu cho PS2 directly into the PS2 controller port on the console. Ensure the connector is properly aligned to avoid damage.
Power Supply: The module is powered directly by the console through the controller port. No external power source is required.
Pairing with a PS2 Controller:
Turn on the PS2 console.
Press the pairing button (if available) on the PS2 controller and the receiver module.
Wait for the connection indicator (usually an LED) to confirm successful pairing.
Important Considerations and Best Practices
Line of Sight: For optimal performance, ensure there are no obstructions between the PS2 controller and the receiver module.
Interference: Avoid using the module near devices operating on the 2.4 GHz frequency band (e.g., Wi-Fi routers) to minimize signal interference.
Compatibility: Verify that the PS2 controller is compatible with the receiver module. Some third-party controllers may not work as expected.
Handling: Avoid bending or applying excessive force to the connector pins to prevent damage.
Example Code for Arduino UNO
While the Bộ thu cho PS2 is primarily designed for PS2 consoles, it can be interfaced with an Arduino UNO for custom projects. Below is an example of how to read data from the module:
#include <PS2X_lib.h>  // Include the PS2X library for PS2 communication

PS2X ps2x;  // Create PS2X object

// Pin definitions for PS2 receiver connection
#define PS2_DAT 12  // Data pin
#define PS2_CMD 11  // Command pin
#define PS2_SEL 10  // Attention pin
#define PS2_CLK 13  // Clock pin

void setup() {
  Serial.begin(9600);  // Initialize serial communication for debugging

  // Initialize the PS2 receiver
  int error = ps2x.config_gamepad(PS2_CLK, PS2_CMD, PS2_SEL, PS2_DAT, true, true);

  if (error == 0) {
    Serial.println("PS2 Receiver successfully connected!");
  } else {
    Serial.print("Error connecting PS2 Receiver: ");
    Serial.println(error);
  }
}

void loop() {
  ps2x.read_gamepad(false, 0);  // Read data from the PS2 receiver

  // Check if a button is pressed
  if (ps2x.Button(PSB_CROSS)) {  // Check if the "X" button is pressed
    Serial.println("X button pressed!");
  }

  delay(100);  // Add a small delay to avoid flooding the serial monitor
}
Note: The above code requires the PS2X_lib library, which can be downloaded and installed from the Arduino IDE Library Manager.
Troubleshooting and FAQs
Common Issues Users Might Face
No Signal or Connection:
Ensure the receiver module is properly plugged into the PS2 console.
Verify that the controller is powered on and within range.
Check for physical damage to the module or connector pins.
Intermittent Signal Loss:
Reduce interference by moving away from other 2.4 GHz devices.
Ensure the controller and receiver are within the specified range.
Controller Not Pairing:
Confirm that the controller is compatible with the receiver module.
Reset the pairing process by turning off the console and restarting.
Receiver Not Detected by Arduino:
Double-check the wiring and pin connections.
Ensure the PS2X_lib library is correctly installed and included in the code.
Solutions and Tips for Troubleshooting
Inspect Connections: Ensure all connections are secure and free from dust or debris.
Test with Another Controller: If possible, test the receiver with a different PS2 controller to rule out controller issues.
Update Firmware: For third-party modules, check if firmware updates are available to improve compatibility and performance.
Use a Multimeter: Verify the voltage levels on the power and ground pins to ensure proper operation.
By following this documentation, users can effectively utilize the Bộ thu cho PS2 for both gaming and custom applications.

 Open Project in Cirkit Designer