
How to Use Portenta H7: Examples, Pinouts, and Specs
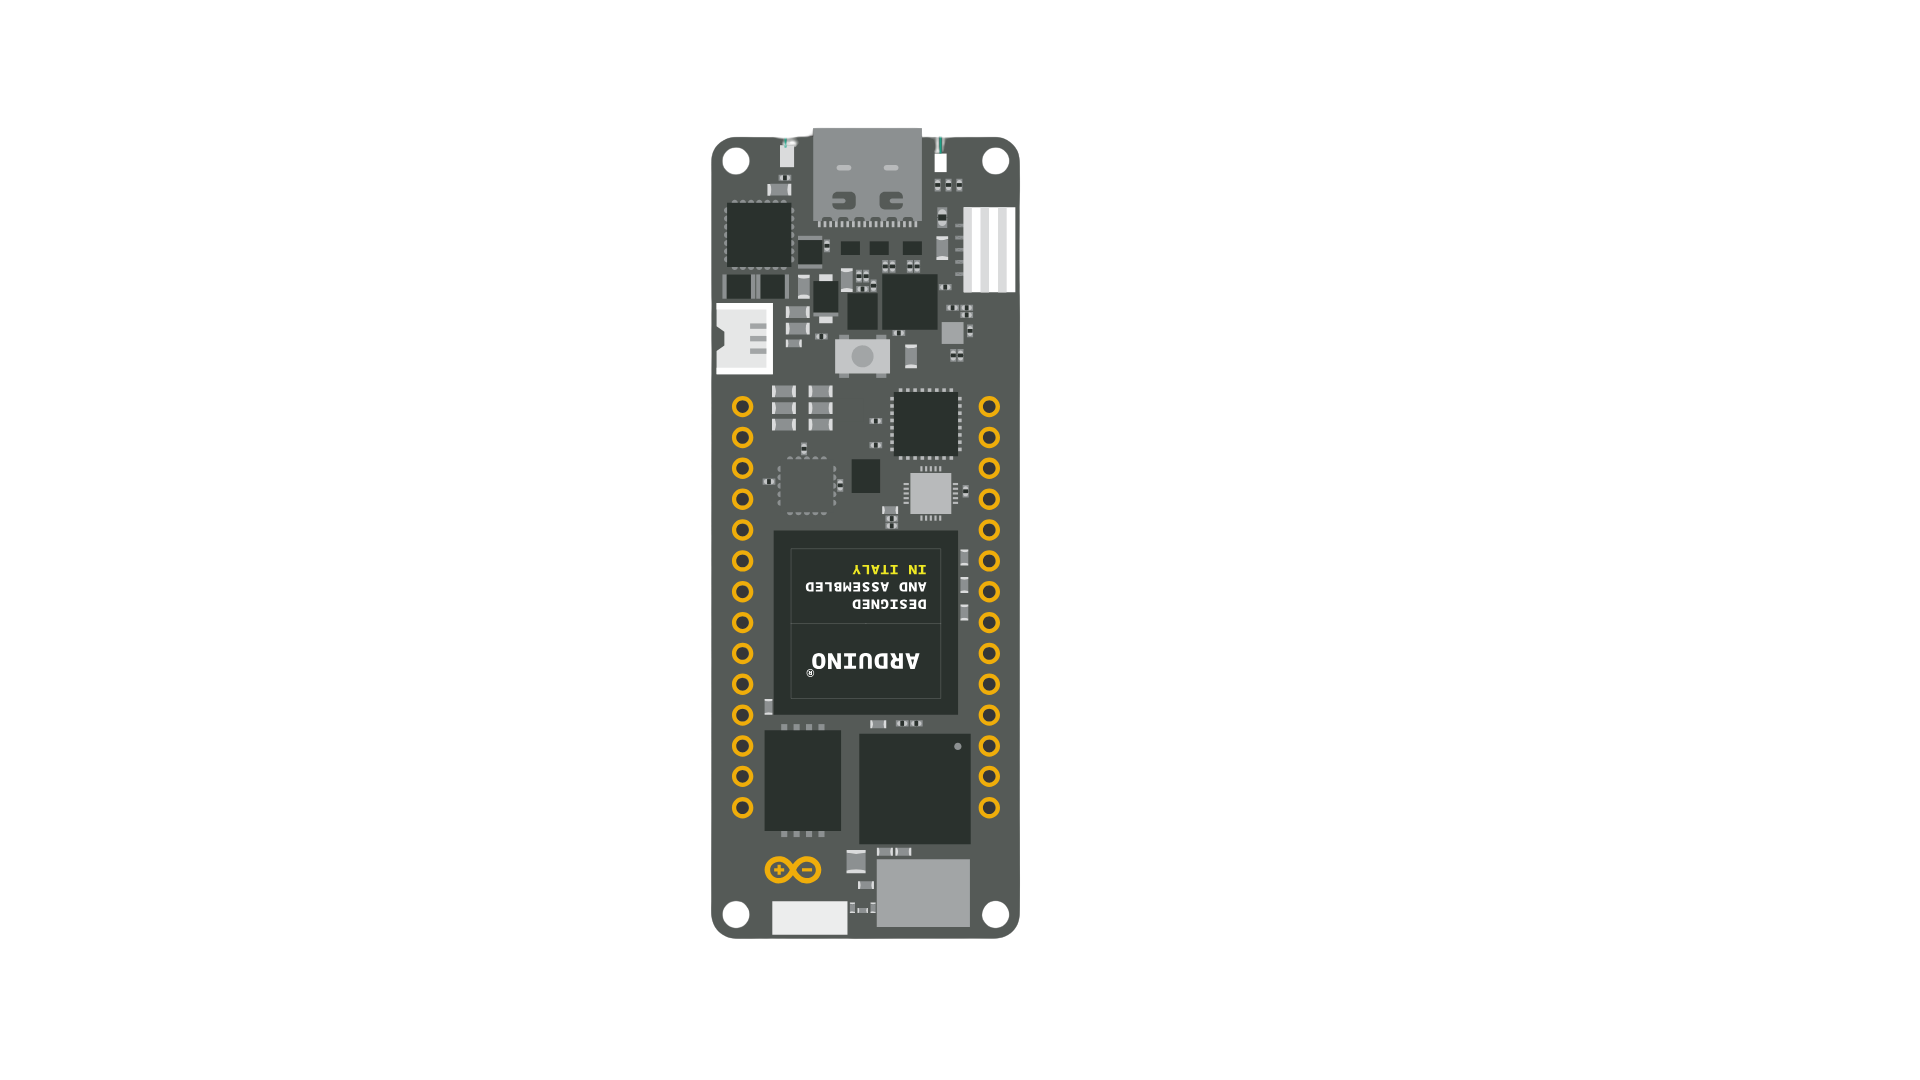
 Design with Portenta H7 in Cirkit Designer
Introduction
The Portenta H7, manufactured by Arduino, is a high-performance microcontroller board designed for advanced applications. It features dual-core processing with an ARM Cortex-M7 running at 480 MHz and an ARM Cortex-M4 running at 240 MHz. This unique architecture allows for parallel execution of complex tasks, making it ideal for applications requiring real-time processing and high computational power.
The Portenta H7 is equipped with Wi-Fi and Bluetooth connectivity, enabling seamless integration into IoT ecosystems. It also supports machine learning, edge computing, and industrial automation, making it a versatile choice for developers and engineers.
Explore Projects Built with Portenta H7
 Open Project in Cirkit Designer
 Open Project in Cirkit Designer
 Open Project in Cirkit Designer
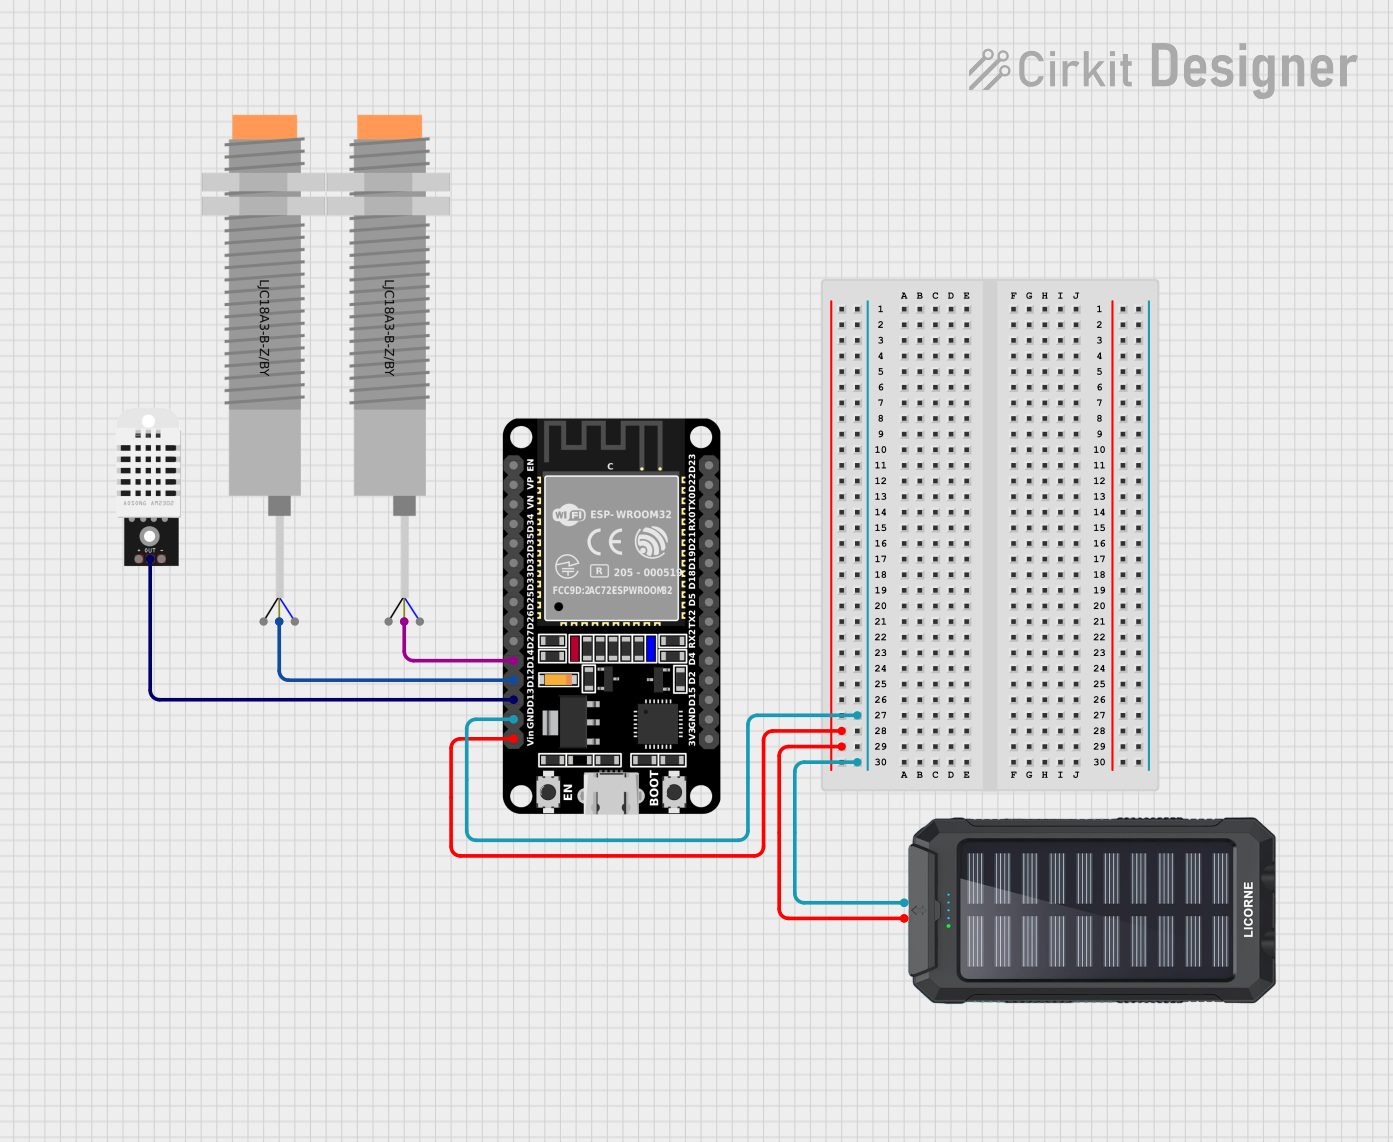
 Open Project in Cirkit Designer
Explore Projects Built with Portenta H7

 Open Project in Cirkit Designer
 Open Project in Cirkit Designer
 Open Project in Cirkit Designer
 Open Project in Cirkit Designer
Common Applications
- Industrial automation and robotics
- IoT (Internet of Things) devices and gateways
- Machine learning and AI at the edge
- High-performance data acquisition and processing
- Smart home and building automation
- Wearable devices and medical equipment
Technical Specifications
Key Technical Details
| Feature | Specification |
|---|---|
| Processor | Dual-core ARM Cortex-M7 (480 MHz) and Cortex-M4 (240 MHz) |
| Memory | 8 MB SDRAM, 16 MB NOR Flash |
| Connectivity | Wi-Fi 802.11 b/g/n, Bluetooth 5.1 (BLE) |
| Operating Voltage | 3.3V |
| Input Voltage Range | 5V (via USB-C) or 6-36V (via VIN pin) |
| Digital I/O Pins | 22 (3.3V logic level) |
| Analog Input Pins | 8 |
| PWM Pins | 8 |
| Communication Interfaces | UART, SPI, I2C, CAN, Ethernet, USB-C |
| Power Consumption | ~500 mW (typical, varies with usage) |
| Dimensions | 102 x 25 mm |
| Operating Temperature | -40°C to 85°C |
Pin Configuration and Descriptions
| Pin Name | Type | Description |
|---|---|---|
| VIN | Power Input | External power input (6-36V) |
| GND | Ground | Ground connection |
| 3.3V | Power Output | 3.3V regulated output |
| A0-A7 | Analog Input | 12-bit ADC channels for analog signal input |
| D0-D21 | Digital I/O | General-purpose digital input/output pins |
| PWM Pins | Digital Output | Pulse Width Modulation output for motor control, LED dimming, etc. |
| SDA, SCL | I2C Interface | I2C communication pins for connecting sensors and peripherals |
| TX, RX | UART Interface | Serial communication pins |
| USB-C | Power/Data | USB-C port for programming, power, and data transfer |
| Ethernet | Communication | Ethernet interface for high-speed wired networking |
Usage Instructions
How to Use the Portenta H7 in a Circuit
Powering the Board:
- Use the USB-C port for power and programming (5V input).
- Alternatively, supply 6-36V to the VIN pin for external power.
Connecting Peripherals:
- Use the digital I/O pins (D0-D21) for connecting sensors, actuators, or other devices.
- For analog sensors, connect to the A0-A7 pins.
Programming the Board:
- Install the Arduino IDE and add the Portenta H7 board via the Board Manager.
- Connect the board to your computer using a USB-C cable.
- Select the Portenta H7 from the Tools menu and upload your code.
Using Communication Interfaces:
- Use I2C (SDA, SCL) for connecting multiple sensors or modules.
- Use UART (TX, RX) for serial communication with other devices.
- For wireless communication, configure the built-in Wi-Fi or Bluetooth.
Important Considerations and Best Practices
- Ensure the input voltage does not exceed the specified range (6-36V for VIN).
- Use level shifters if interfacing with 5V logic devices, as the Portenta H7 operates at 3.3V logic.
- Avoid drawing more than 500 mA from the 3.3V output pin.
- Use proper decoupling capacitors when connecting external components to reduce noise.
Example Code for Arduino IDE
The following example demonstrates how to blink an LED connected to pin D13:
// Blink an LED connected to pin D13 on the Portenta H7

void setup() {
  pinMode(13, OUTPUT); // Set pin D13 as an output
}

void loop() {
  digitalWrite(13, HIGH); // Turn the LED on
  delay(1000);            // Wait for 1 second
  digitalWrite(13, LOW);  // Turn the LED off
  delay(1000);            // Wait for 1 second
}
For IoT applications, you can use the built-in Wi-Fi to connect to a network. Below is an example of connecting to a Wi-Fi network:
#include <WiFi.h>

// Replace with your network credentials
const char* ssid = "Your_SSID";
const char* password = "Your_PASSWORD";

void setup() {
  Serial.begin(115200); // Initialize serial communication
  WiFi.begin(ssid, password); // Connect to Wi-Fi

  // Wait for connection
  while (WiFi.status() != WL_CONNECTED) {
    delay(1000);
    Serial.println("Connecting to Wi-Fi...");
  }

  Serial.println("Connected to Wi-Fi!");
}

void loop() {
  // Add your main code here
}
Troubleshooting and FAQs
Common Issues and Solutions
The board is not detected by the Arduino IDE:
- Ensure the correct USB-C cable is used (some cables are power-only).
- Verify that the Portenta H7 board is selected in the Tools menu.
- Install the latest drivers and update the Arduino IDE.
Wi-Fi or Bluetooth is not working:
- Check that the correct credentials are used for Wi-Fi.
- Ensure the board is within range of the Wi-Fi router or Bluetooth device.
- Update the firmware using the Arduino IDE.
The board overheats during operation:
- Verify that the input voltage is within the specified range.
- Avoid overloading the 3.3V output pin.
- Use proper heat dissipation techniques if running intensive tasks.
Code upload fails:
- Press the reset button on the board and try uploading again.
- Check for syntax errors in the code.
- Ensure no other application is using the USB port.
FAQs
Q: Can the Portenta H7 run Python or JavaScript?
A: Yes, the Portenta H7 supports MicroPython and JavaScript through compatible frameworks.
Q: Is the Portenta H7 compatible with Arduino shields?
A: The Portenta H7 is not directly compatible with standard Arduino shields due to its unique form factor. However, it supports expansion through the high-density connectors.
Q: Can I use the Portenta H7 for machine learning?
A: Yes, the Portenta H7 supports TensorFlow Lite for running machine learning models on the edge.
Q: What is the maximum power consumption of the board?
A: The typical power consumption is around 500 mW, but it may vary depending on the workload and peripherals used.