How to Use 2.42" Oled module Waveshare: Examples, Pinouts, and Specs
Introduction
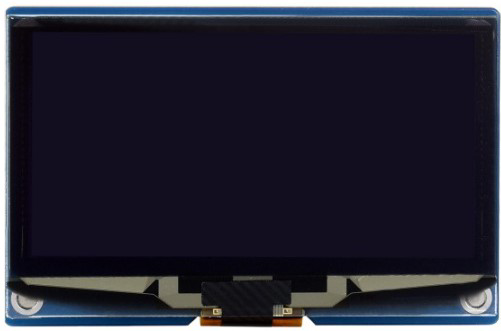
The 2.42" OLED Module from Waveshare is a compact display module designed for embedded systems and projects requiring high-quality visual output. With its 2.42-inch diagonal size, this OLED display offers high contrast, wide viewing angles, and low power consumption. It is ideal for applications such as IoT devices, handheld instruments, and DIY electronics projects. The module supports multiple communication interfaces, making it versatile and easy to integrate into various systems.
Explore Projects Built with 2.42" Oled module Waveshare


Explore Projects Built with 2.42" Oled module Waveshare
Common Applications
- IoT devices and smart home systems
- Portable instruments and handheld devices
- DIY electronics and prototyping
- Industrial control panels
- Wearable technology
Technical Specifications
Key Specifications
| Parameter | Value |
|---|---|
| Display Type | OLED |
| Screen Size | 2.42 inches |
| Resolution | 128 x 64 pixels |
| Interface | I2C, SPI |
| Operating Voltage | 3.3V / 5V |
| Power Consumption | Low (varies with usage) |
| Viewing Angle | >160° |
| Dimensions | 60.5mm x 37mm x 5mm |
| Operating Temperature | -40°C to 85°C |
Pin Configuration
The module features a 7-pin header for interfacing. The pin configuration is as follows:
| Pin Number | Pin Name | Description |
|---|---|---|
| 1 | GND | Ground |
| 2 | VCC | Power supply (3.3V or 5V) |
| 3 | D0 (SCK) | Clock signal for SPI / I2C SCL |
| 4 | D1 (MOSI) | Data signal for SPI / I2C SDA |
| 5 | RES | Reset signal (active low) |
| 6 | DC | Data/Command control (High: Data, Low: Command) |
| 7 | CS | Chip Select for SPI (active low) |
Usage Instructions
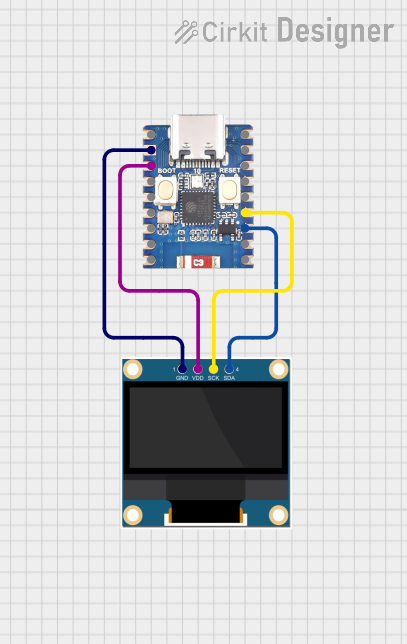
Connecting the Module
- Power Supply: Connect the
VCCpin to a 3.3V or 5V power source and theGNDpin to ground. - Interface Selection: The module supports both I2C and SPI interfaces. Ensure the correct interface is selected in your code and wiring.
- For I2C: Connect
D0to SCL andD1to SDA. - For SPI: Connect
D0to SCK,D1to MOSI, and useCS,DC, andRESas required.
- For I2C: Connect
- Reset: Connect the
RESpin to a GPIO pin on your microcontroller for proper initialization.
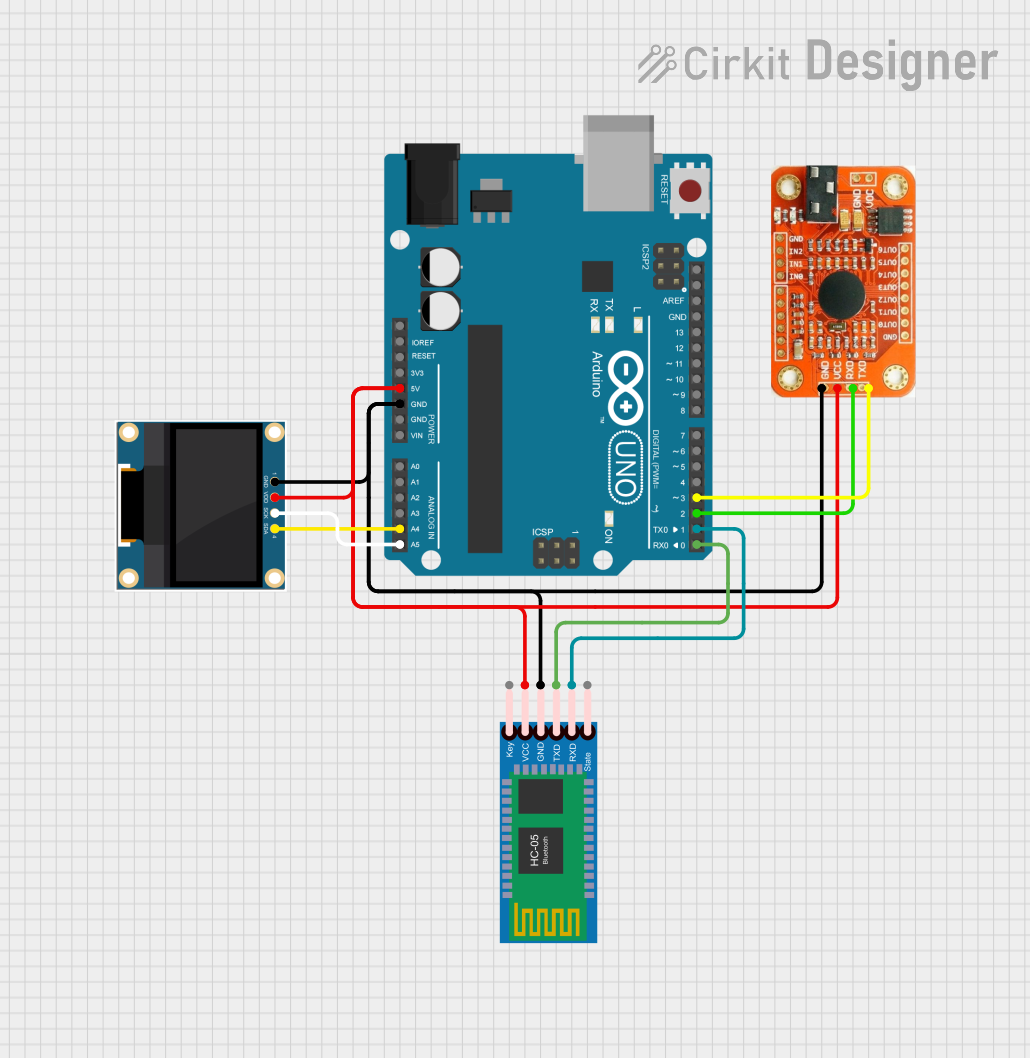
Example Code for Arduino UNO (I2C Interface)
Below is an example of how to use the 2.42" OLED module with an Arduino UNO using the I2C interface. This example uses the Adafruit SSD1306 library.
#include <Wire.h>
#include <Adafruit_GFX.h>
#include <Adafruit_SSD1306.h>

// Define OLED display dimensions
#define SCREEN_WIDTH 128
#define SCREEN_HEIGHT 64

// Create an SSD1306 display object (I2C address: 0x3C)
Adafruit_SSD1306 display(SCREEN_WIDTH, SCREEN_HEIGHT, &Wire, -1);

void setup() {
  // Initialize serial communication for debugging
  Serial.begin(9600);

  // Initialize the OLED display
  if (!display.begin(SSD1306_I2C_ADDRESS, 0x3C)) {
    Serial.println(F("SSD1306 allocation failed"));
    for (;;); // Halt execution if initialization fails
  }

  // Clear the display buffer
  display.clearDisplay();

  // Display a welcome message
  display.setTextSize(1); // Set text size
  display.setTextColor(SSD1306_WHITE); // Set text color
  display.setCursor(0, 0); // Set cursor position
  display.println(F("Waveshare 2.42\" OLED"));
  display.println(F("Hello, World!"));
  display.display(); // Render the text on the screen
  delay(2000); // Wait for 2 seconds
}

void loop() {
  // Example: Draw a rectangle on the screen
  display.clearDisplay(); // Clear the display buffer
  display.drawRect(10, 10, 50, 30, SSD1306_WHITE); // Draw a rectangle
  display.display(); // Render the rectangle on the screen
  delay(1000); // Wait for 1 second
}
Best Practices
- Use a level shifter if your microcontroller operates at 5V logic levels to avoid damaging the module.
- Ensure proper pull-up resistors are used for I2C communication.
- Avoid excessive writes to the display to prolong its lifespan.
- Use a stable power supply to prevent flickering or instability.
Troubleshooting and FAQs
Common Issues and Solutions
Display Not Turning On:
- Verify the power connections (
VCCandGND). - Ensure the correct voltage (3.3V or 5V) is supplied.
- Check the
RESpin connection and ensure it is properly initialized.
- Verify the power connections (
No Output on the Screen:
- Confirm the communication interface (I2C or SPI) is correctly configured in the code.
- Double-check the wiring for
SCL/SDA(I2C) orSCK/MOSI/CS(SPI). - Ensure the correct I2C address (default: 0x3C) is used in the code.
Flickering or Unstable Display:
- Use a stable and clean power source.
- Check for loose connections or poor soldering.
Partial or Distorted Display:
- Verify the initialization sequence in the code.
- Ensure the
RESpin is properly toggled during startup.
FAQs
Q: Can I use this module with a Raspberry Pi?
A: Yes, the module is compatible with Raspberry Pi. You can use libraries like luma.oled for Python to control the display.
Q: What is the typical lifespan of the OLED display?
A: The display has a typical lifespan of 50,000 hours under normal usage conditions.
Q: Can I use this module with 5V logic microcontrollers?
A: Yes, but it is recommended to use a level shifter to protect the module from potential damage.
Q: How do I switch between I2C and SPI modes?
A: The module is pre-configured for I2C or SPI. Refer to the manufacturer's documentation for details on modifying the interface mode if needed.
This concludes the documentation for the 2.42" OLED Module from Waveshare. For further assistance, refer to the official Waveshare documentation or support resources.