How to Use Genelec 8010a Studio Monitor: Examples, Pinouts, and Specs
Introduction
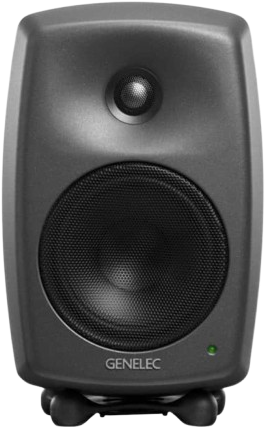
The Genelec 8010A is a compact, high-performance studio monitor designed for professional audio production. It features a 3-inch woofer and a 3/4-inch tweeter, delivering accurate sound reproduction in a small form factor. This monitor is ideal for use in small studios, mobile recording setups, and broadcast environments where space is limited but high-quality sound is essential.
Explore Projects Built with Genelec 8010a Studio Monitor

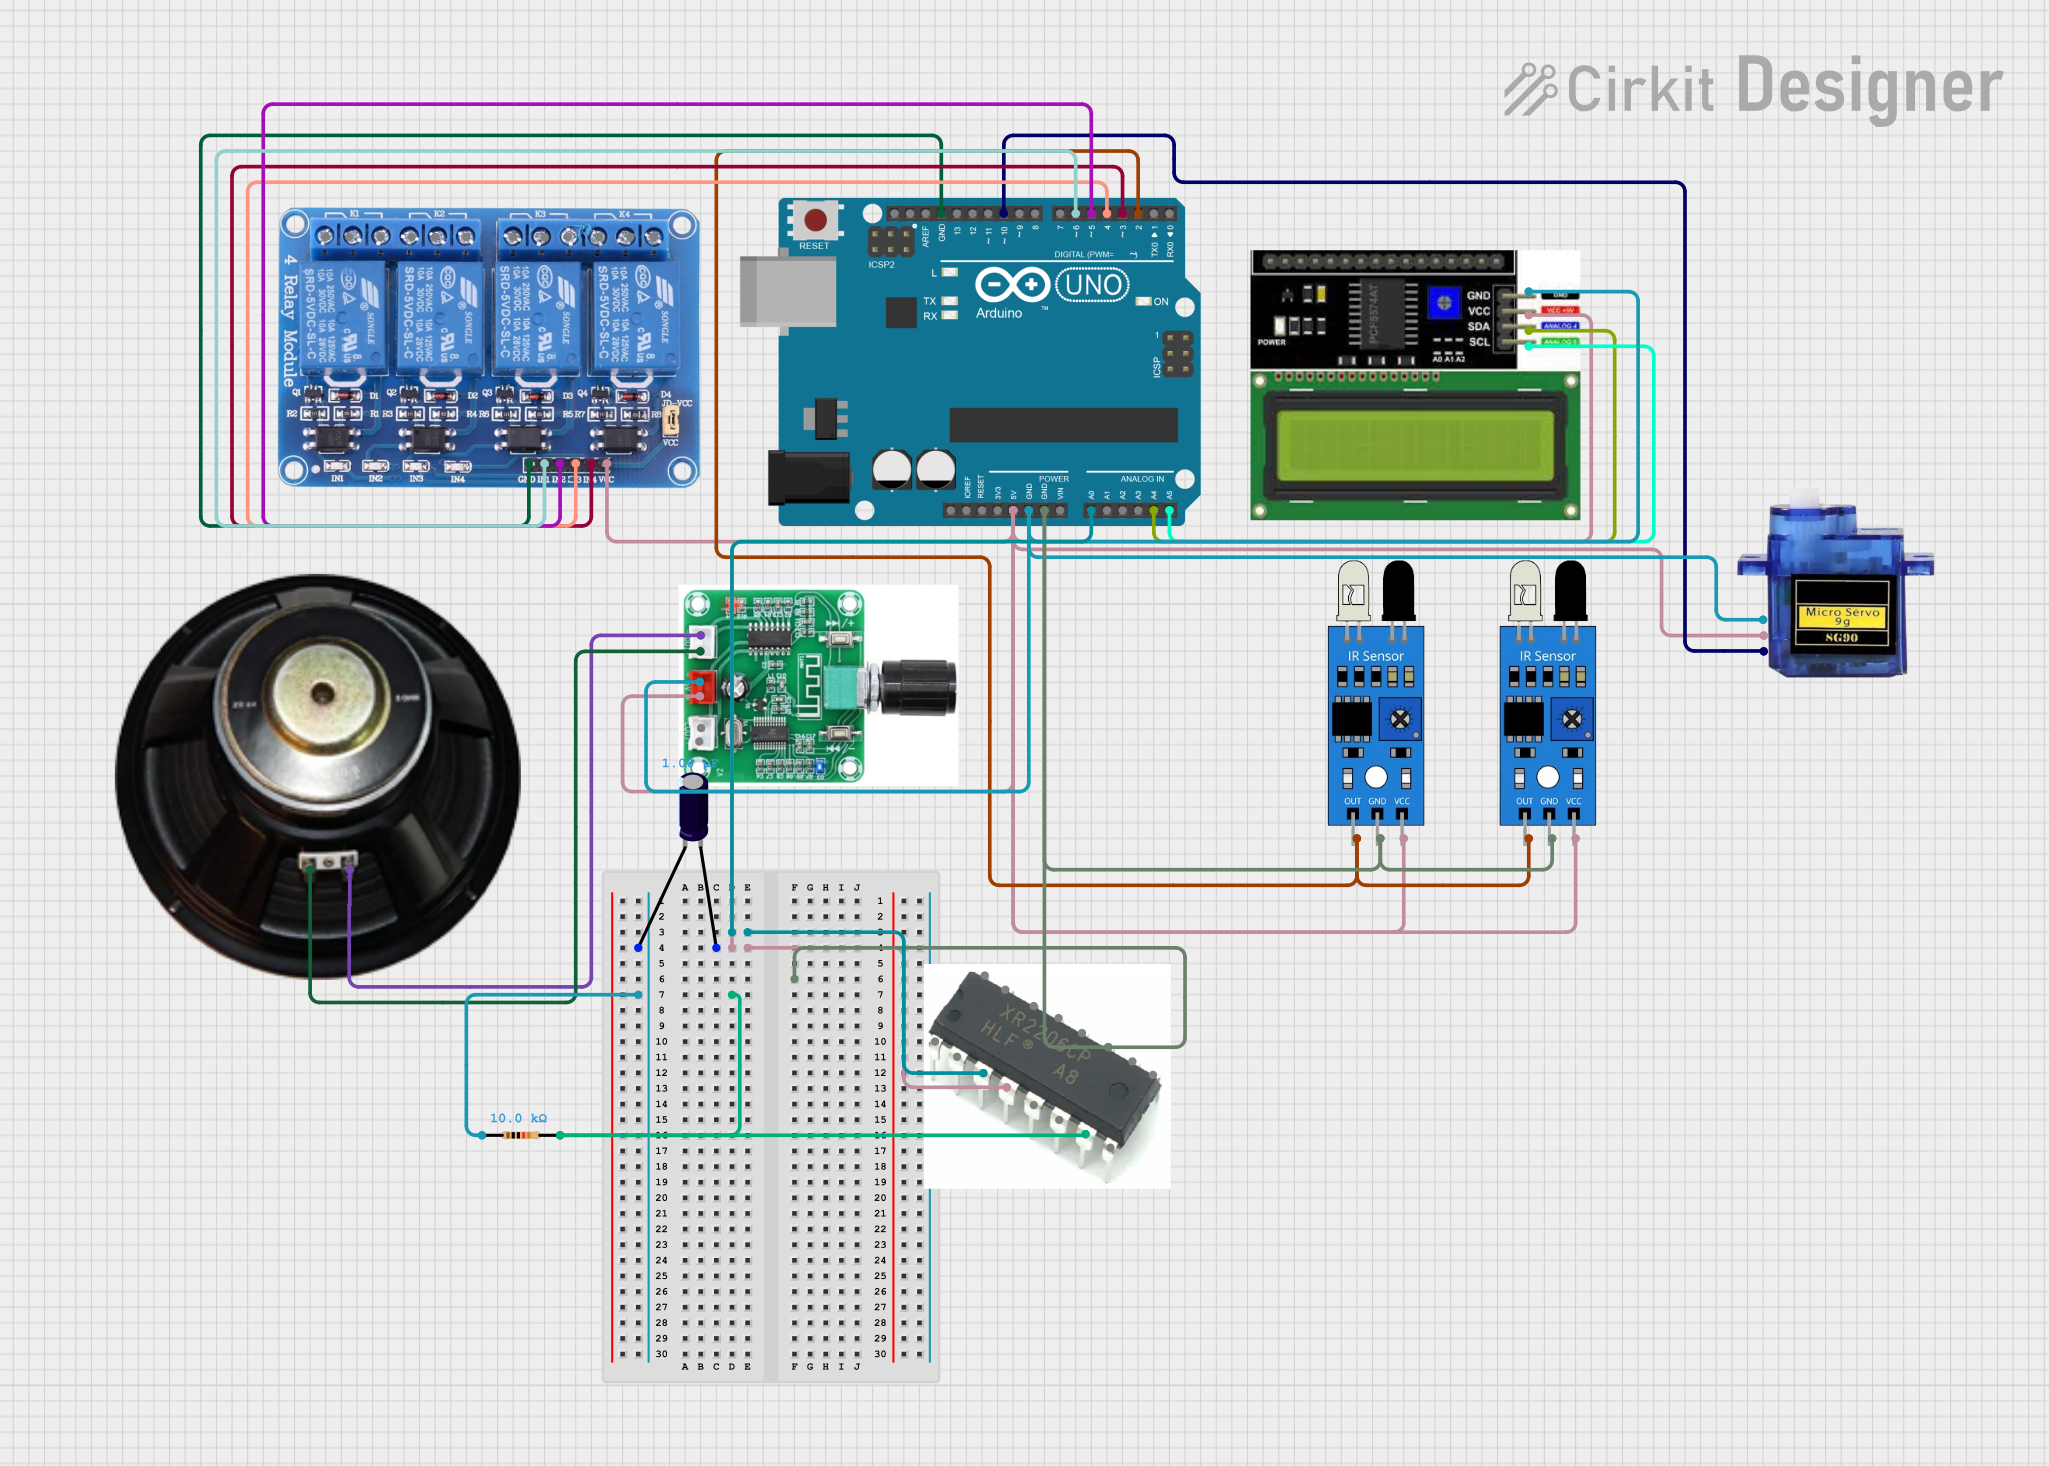
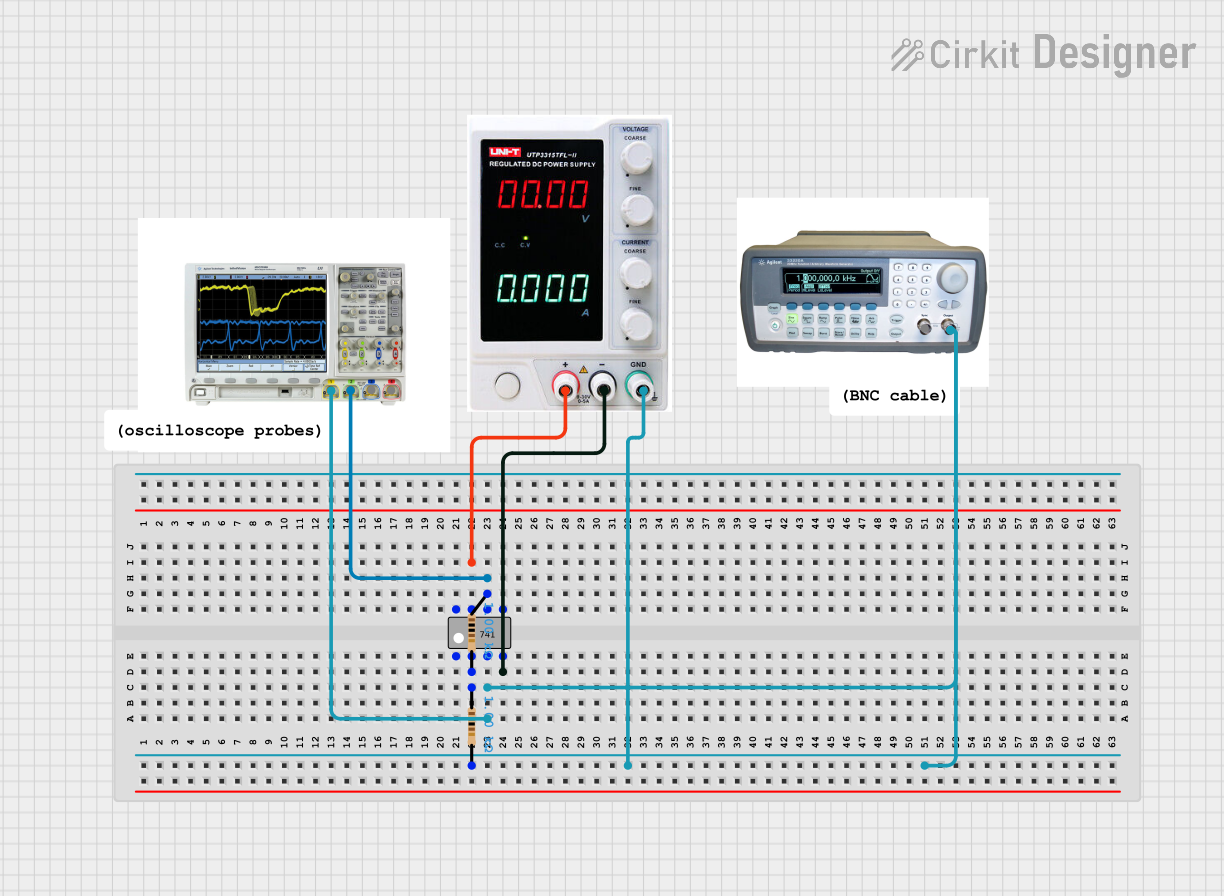
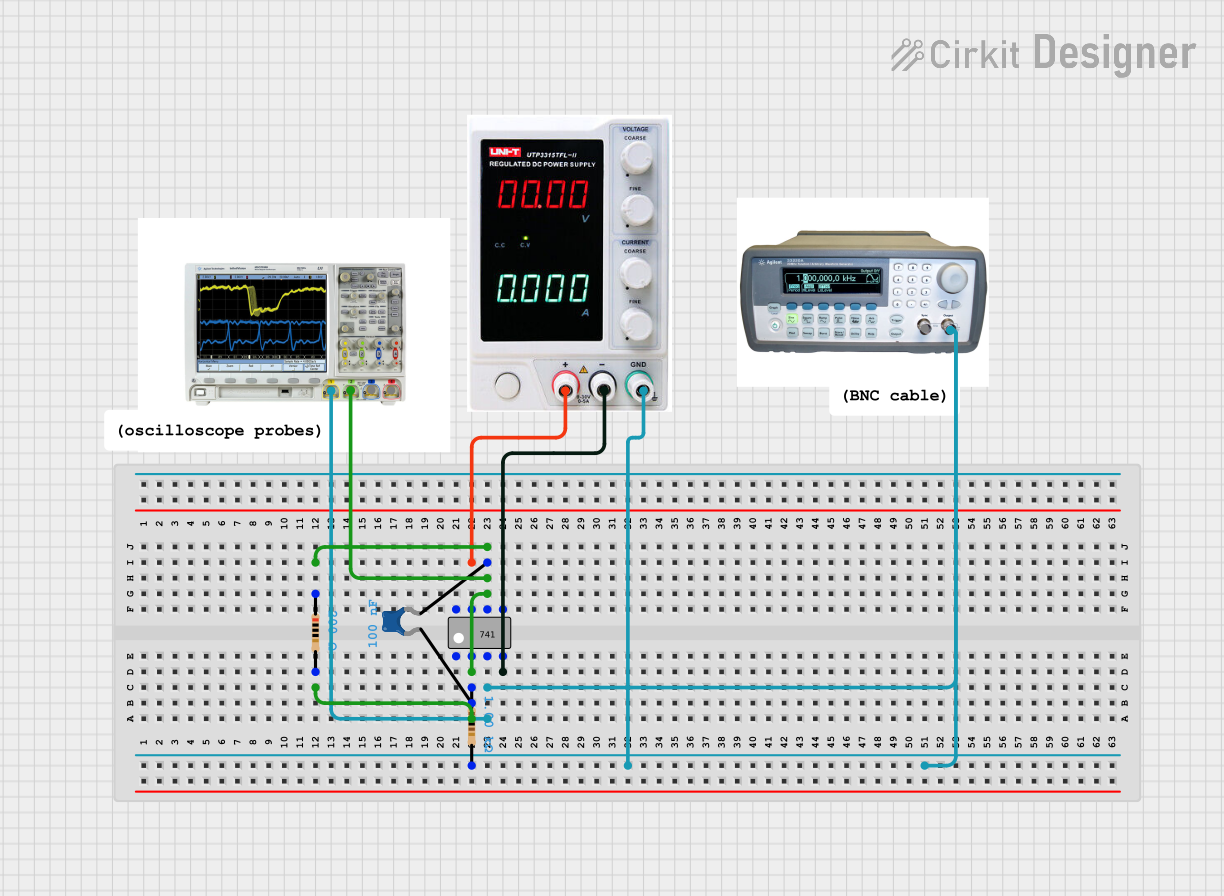
Explore Projects Built with Genelec 8010a Studio Monitor
Common Applications and Use Cases
- Professional audio mixing and mastering
- Mobile recording setups
- Broadcast and post-production environments
- Home studios with limited space
- On-location sound monitoring
Technical Specifications
Key Technical Details
| Parameter | Specification |
|---|---|
| Manufacturer | Genelec |
| Model Number | 8010A |
| Frequency Response | 67 Hz – 25 kHz (-6 dB) |
| Maximum SPL | 96 dB |
| Amplifier Power | 25 W (Woofer), 25 W (Tweeter) |
| Driver Configuration | 3-inch Woofer, 3/4-inch Tweeter |
| Crossover Frequency | 3 kHz |
| Input Type | Balanced XLR |
| Power Supply | 100-240 V AC, 50/60 Hz |
| Dimensions (H x W x D) | 195 mm x 121 mm x 116 mm |
| Weight | 1.5 kg |
Rear Panel Connections and Controls
| Pin/Control Name | Description |
|---|---|
| Balanced XLR Input | Accepts balanced audio signals |
| Power Connector | Standard IEC power input |
| Power Switch | Turns the monitor on/off |
| Volume Control | Adjusts the input sensitivity |
| DIP Switches | Configures acoustic settings (e.g., bass tilt, desktop control) |
Usage Instructions
How to Use the Genelec 8010A in a Setup
Positioning the Monitor:
- Place the monitor at ear level for optimal sound imaging.
- Use the included Iso-Pod stand to angle the monitor correctly and reduce vibrations.
- Maintain an equilateral triangle between the two monitors and the listening position.
Connecting the Monitor:
- Use a balanced XLR cable to connect the audio source (e.g., audio interface or mixer) to the monitor's XLR input.
- Ensure the power switch is in the "off" position before connecting the power cable to the IEC input.
Adjusting Acoustic Settings:
- Use the DIP switches on the rear panel to tailor the monitor's response to your room acoustics:
- Bass Tilt: Reduces low-frequency output for placement near walls or corners.
- Desktop Control: Compensates for reflections when placed on a desk.
- Use the DIP switches on the rear panel to tailor the monitor's response to your room acoustics:
Powering On:
- Turn on the monitor using the rear power switch.
- Adjust the volume control to match your desired listening level.
Important Considerations and Best Practices
- Avoid placing the monitor directly against walls or in corners to prevent bass buildup.
- Use acoustic treatment in your room to minimize reflections and improve sound accuracy.
- Allow the monitor to warm up for a few minutes after powering on for optimal performance.
- Ensure proper grounding of all connected equipment to avoid noise or hum.
Example: Connecting to an Audio Interface
If you're using an audio interface, connect the interface's balanced output to the monitor's XLR input. Adjust the interface's output level to avoid clipping and ensure clean audio delivery.
// Example: Pseudo-code for setting up audio levels with an interface
// Ensure the audio interface output level is set to 0 dB
audioInterface.setOutputLevel(0); // Set output level to unity gain

// Adjust the monitor's volume control to a comfortable listening level
monitor.setVolume(50); // Example: Set volume to 50% of max
Troubleshooting and FAQs
Common Issues and Solutions
| Issue | Possible Cause | Solution |
|---|---|---|
| No sound from the monitor | - Power switch is off | - Turn on the power switch |
| - XLR cable not connected properly | - Check and secure the XLR connection | |
| - Audio source is muted | - Unmute the audio source | |
| Distorted sound | - Input signal is too high | - Reduce the output level of the |
| audio source | ||
| - Faulty cable | - Replace the XLR cable | |
| Excessive bass or poor clarity | - Monitor placed near walls/corners | - Use Bass Tilt DIP switch to adjust |
| - Room acoustics | - Add acoustic treatment to the room |
FAQs
Can I use the Genelec 8010A with unbalanced audio sources?
- Yes, but you will need an appropriate adapter or cable to convert the unbalanced signal to a balanced XLR input.
What is the recommended listening distance for the 8010A?
- The optimal listening distance is approximately 1 meter (nearfield monitoring).
Can I use the 8010A for home theater setups?
- While designed for professional audio, the 8010A can be used in home theater setups, but it may require additional equipment like a subwoofer for extended low-frequency response.
How do I clean the monitor?
- Use a soft, dry cloth to clean the exterior. Avoid using liquids or abrasive materials.
By following this documentation, you can ensure optimal performance and longevity of your Genelec 8010A studio monitor.