How to Use Webasto: Examples, Pinouts, and Specs
Introduction
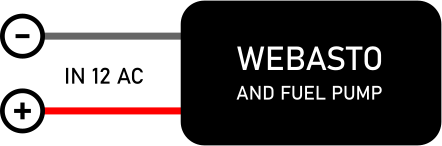
Webasto is a renowned brand specializing in heating systems, primarily designed for vehicles and marine applications. These systems provide efficient and reliable heating solutions by utilizing fuel (such as diesel or gasoline) or electricity to warm the interior of vehicles, boats, or other enclosed spaces. Webasto heaters are widely used in cold climates to ensure comfort and safety, making them an essential component for automotive, recreational, and industrial applications.
Explore Projects Built with Webasto
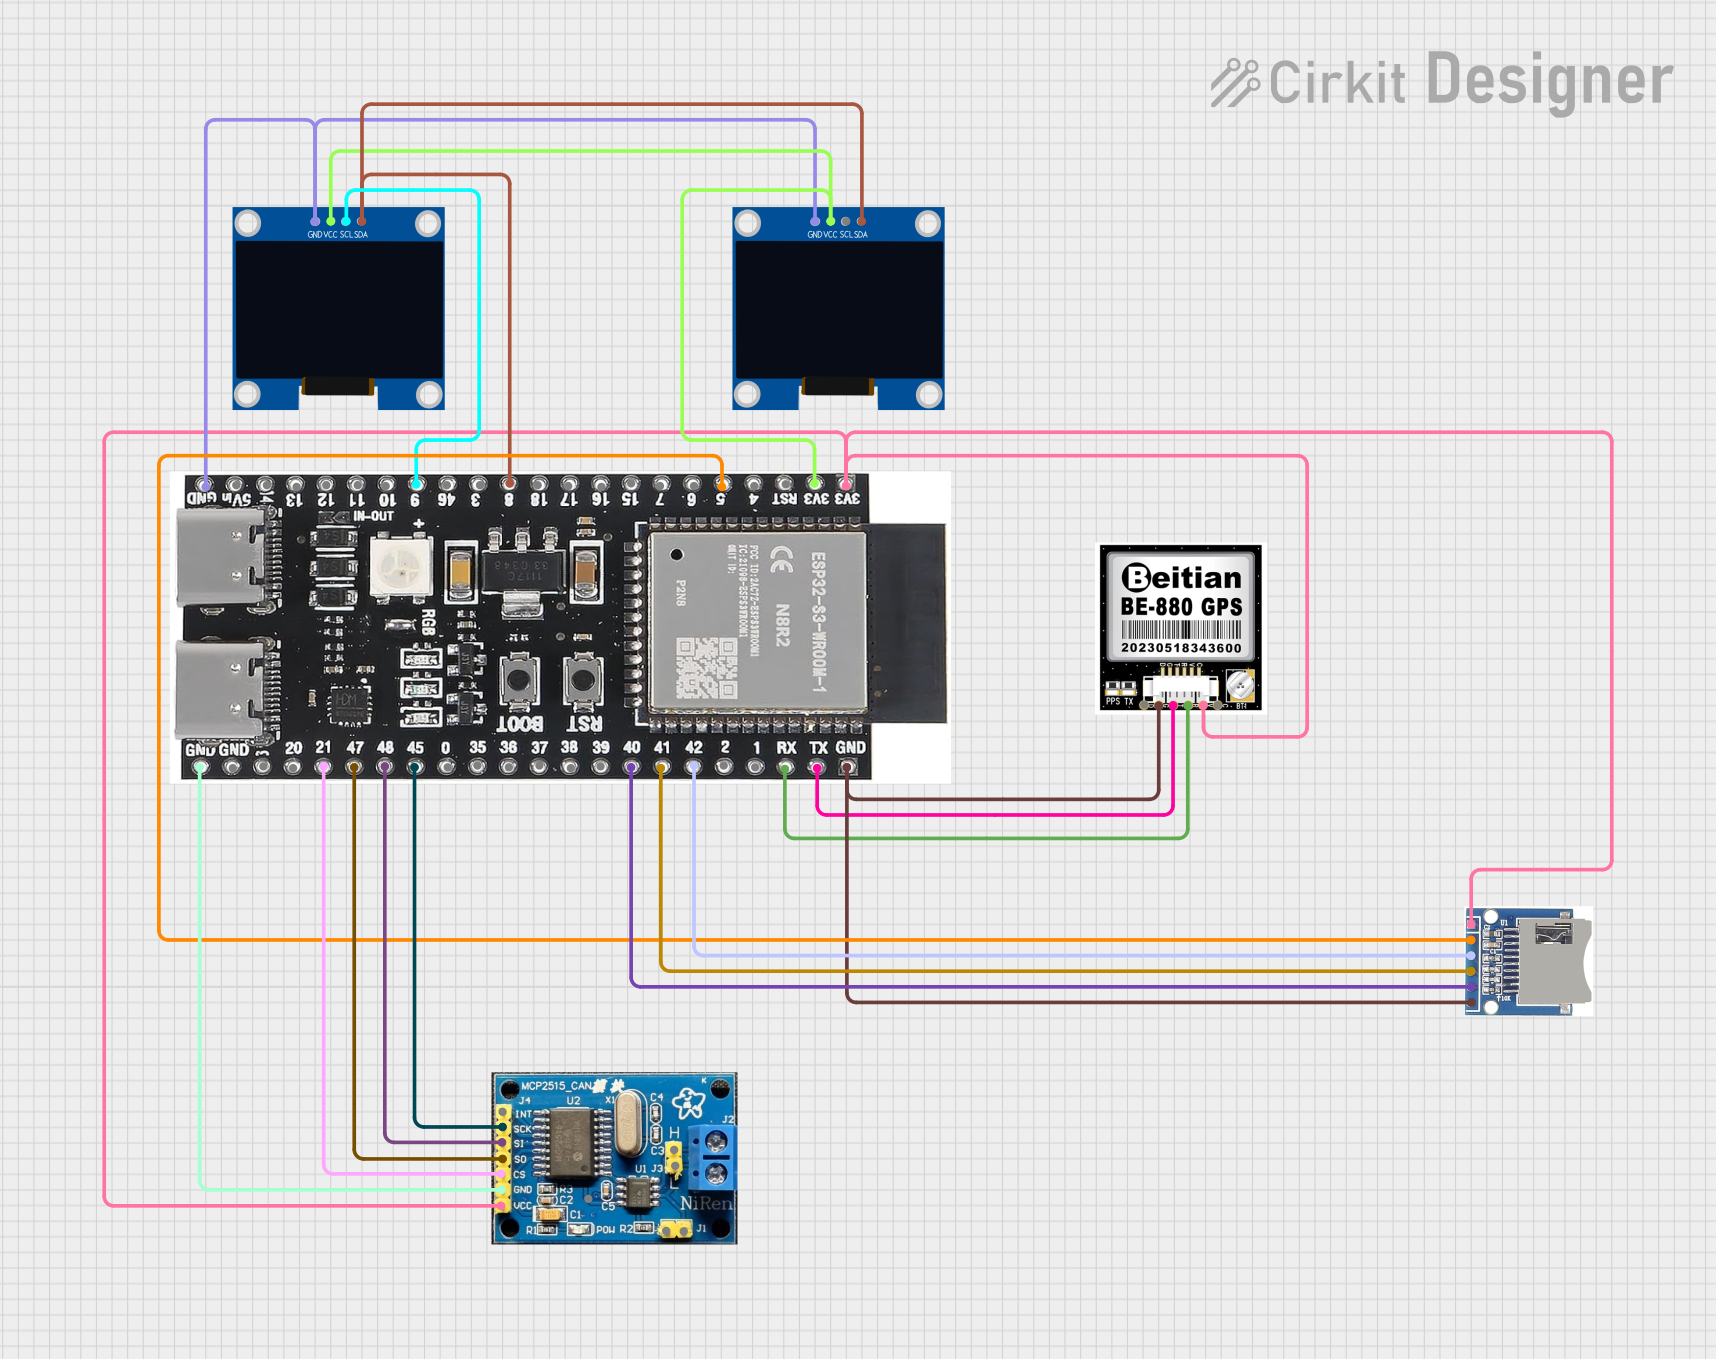
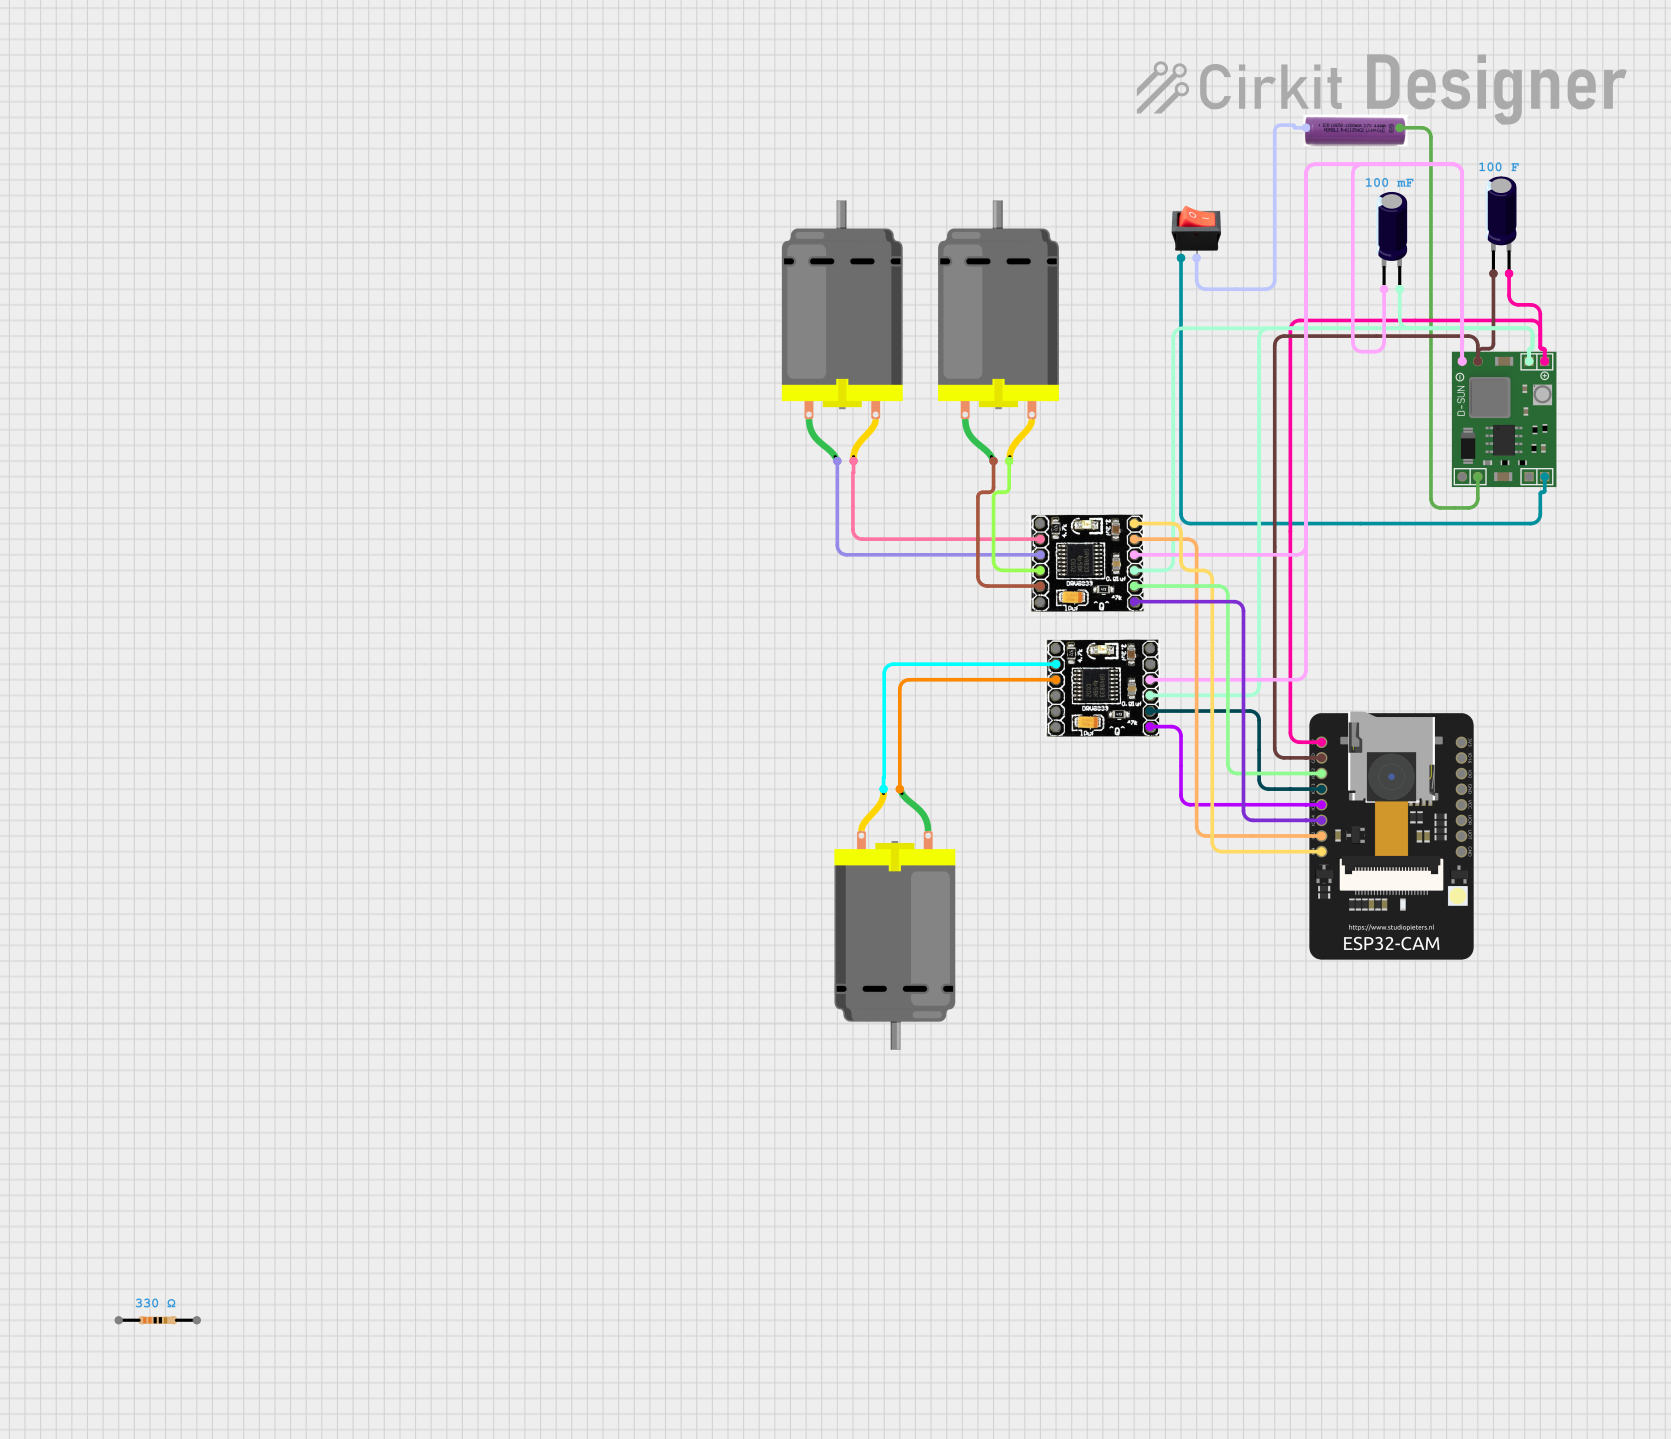
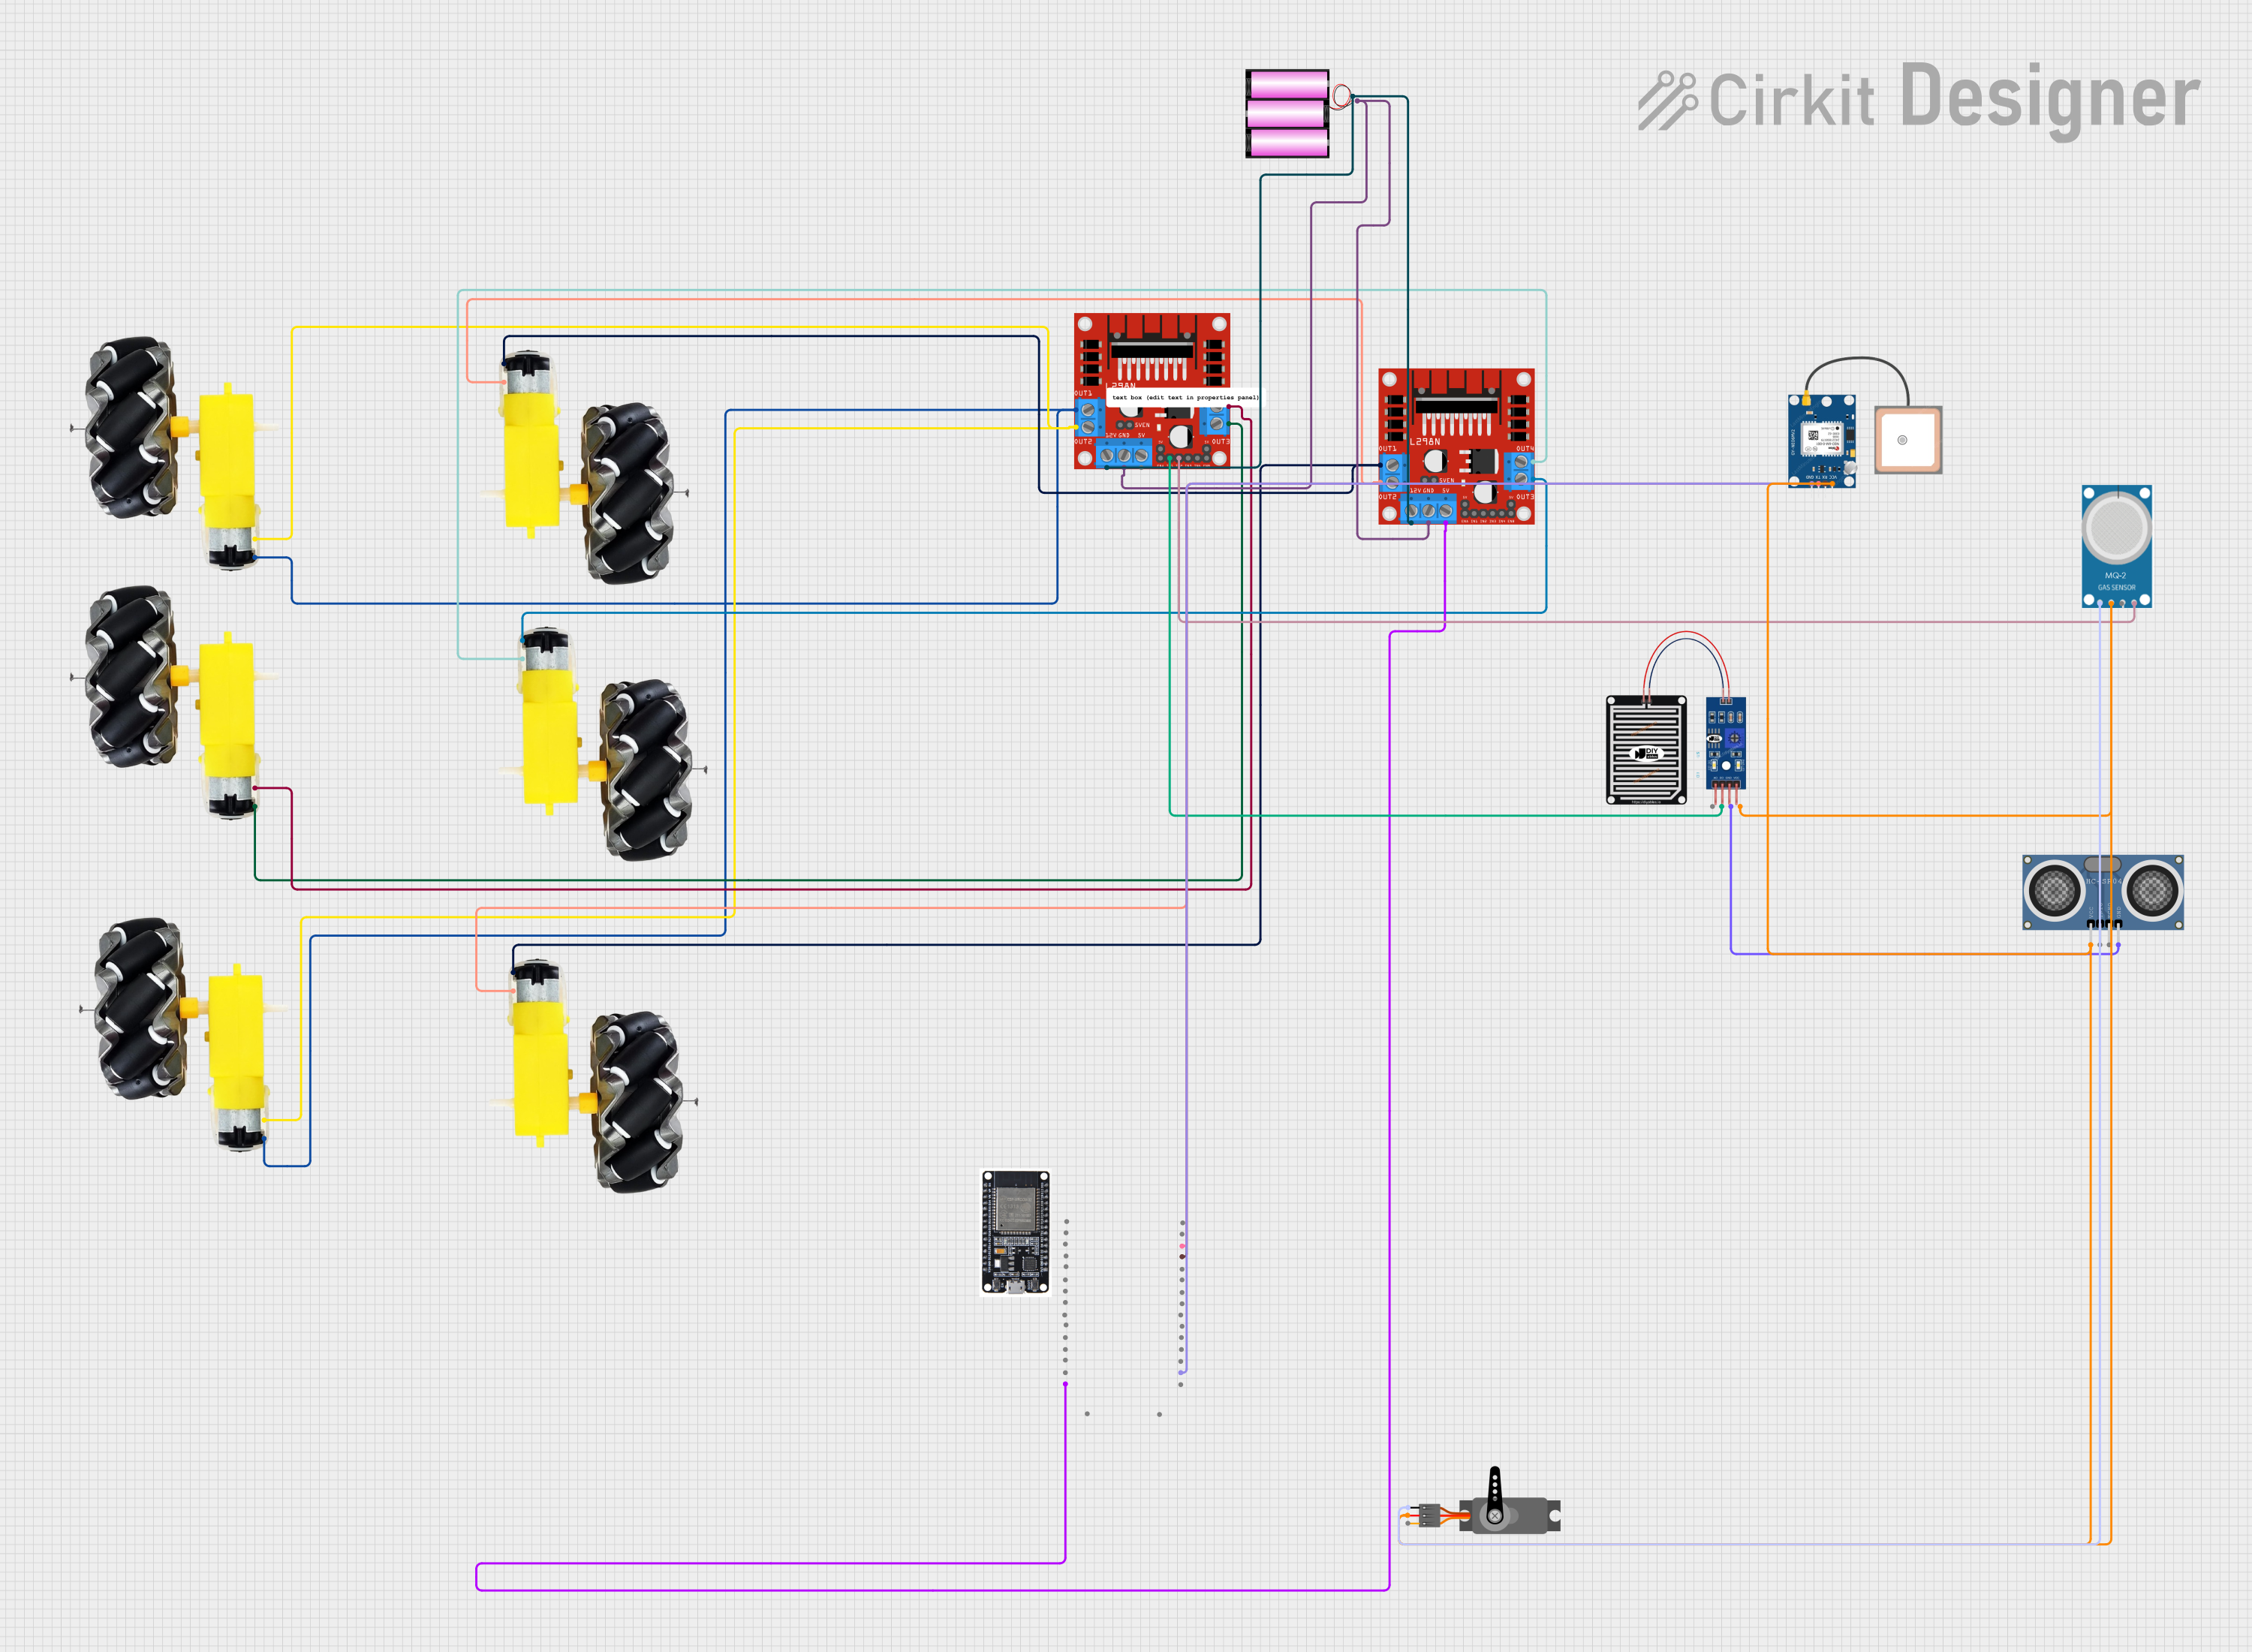
Explore Projects Built with Webasto
Common Applications and Use Cases
- Heating the interior of cars, trucks, and RVs during winter.
- Maintaining a comfortable temperature in boats and yachts.
- Pre-heating vehicle engines to improve cold-start performance.
- Providing warmth in off-grid or remote locations.
- Industrial applications, such as heating construction equipment cabins.
Technical Specifications
Below are the general technical specifications for a typical Webasto air heater (e.g., Webasto Air Top 2000 STC). Specifications may vary depending on the specific model.
Key Technical Details
- Fuel Type: Diesel or gasoline (model-dependent)
- Voltage: 12V or 24V DC
- Heating Power Output: 0.9 kW to 2.0 kW (adjustable)
- Fuel Consumption: 0.12 to 0.24 liters per hour
- Power Consumption: 14W to 29W (during operation)
- Operating Temperature Range: -40°C to +40°C
- Weight: Approximately 2.6 kg
- Dimensions: 311 mm x 120 mm x 121 mm
Pin Configuration and Descriptions
The Webasto heater typically includes a multi-pin connector for power, control, and diagnostics. Below is a table describing the pin configuration for a standard Webasto air heater.
| Pin Number | Function | Description |
|---|---|---|
| 1 | Power (+12V or +24V) | Connect to the positive terminal of the power supply. |
| 2 | Ground (GND) | Connect to the negative terminal of the power supply. |
| 3 | Fuel Pump Control | Controls the operation of the external fuel pump. |
| 4 | Diagnostics (K-Line) | Used for communication with diagnostic tools or control units. |
| 5 | Heater Control (ON/OFF) | Input for turning the heater on or off via an external switch or controller. |
| 6 | Temperature Sensor Input | Connects to an external temperature sensor for automatic temperature control. |
| 7 | Fan Speed Control | Controls the speed of the internal fan for air circulation. |
Usage Instructions
How to Use the Webasto Heater in a Circuit
Power Connection:
- Connect the positive terminal of the power supply to Pin 1 and the negative terminal to Pin 2. Ensure the voltage matches the heater's specifications (12V or 24V).
- Use appropriately rated fuses to protect the circuit.
Fuel Supply:
- Connect the external fuel pump to Pin 3. Ensure the fuel line is properly secured and free of leaks.
- Use the correct type of fuel (diesel or gasoline) as specified for your Webasto model.
Control and Operation:
- Use Pin 5 to connect an external switch or thermostat for turning the heater on or off.
- For advanced control, connect a Webasto controller or timer to manage heating schedules.
Temperature Regulation:
- Attach an external temperature sensor to Pin 6 for automatic temperature adjustment.
- Ensure the sensor is placed in an appropriate location for accurate readings.
Diagnostics:
- Connect a diagnostic tool to Pin 4 (K-Line) for troubleshooting and monitoring the heater's performance.
Important Considerations and Best Practices
- Ventilation: Ensure proper ventilation for the exhaust gases to prevent carbon monoxide buildup.
- Wiring: Use high-quality, heat-resistant wires and connectors to avoid electrical issues.
- Maintenance: Regularly inspect and clean the heater, fuel lines, and air intake to maintain optimal performance.
- Battery Capacity: Ensure the vehicle's battery has sufficient capacity to power the heater without draining excessively.
- Installation: Follow the manufacturer's installation guidelines to ensure safe and efficient operation.
Example Arduino Code for Controlling a Webasto Heater
Below is an example of how to control a Webasto heater using an Arduino UNO and a relay module.
// Define the pin connected to the relay module
const int relayPin = 7; // Relay controls the ON/OFF signal to the Webasto heater

void setup() {
  pinMode(relayPin, OUTPUT); // Set the relay pin as an output
  digitalWrite(relayPin, LOW); // Ensure the relay is off initially
}

void loop() {
  // Turn the heater ON for 10 minutes, then OFF for 5 minutes
  digitalWrite(relayPin, HIGH); // Activate the relay to turn the heater ON
  delay(600000); // Wait for 10 minutes (600,000 milliseconds)

  digitalWrite(relayPin, LOW); // Deactivate the relay to turn the heater OFF
  delay(300000); // Wait for 5 minutes (300,000 milliseconds)
}
Notes:
- Use a relay module rated for the heater's control signal voltage.
- Ensure the Arduino and relay module share a common ground with the heater.
Troubleshooting and FAQs
Common Issues and Solutions
Heater Fails to Start:
- Cause: Insufficient power supply or low battery voltage.
- Solution: Check the battery voltage and connections. Ensure the power supply meets the heater's requirements.
Excessive Smoke from Exhaust:
- Cause: Dirty fuel or clogged fuel lines.
- Solution: Clean or replace the fuel filter and ensure the fuel lines are clear.
Heater Shuts Off Unexpectedly:
- Cause: Overheating or insufficient airflow.
- Solution: Check the air intake and exhaust for blockages. Ensure proper ventilation.
No Response from Diagnostics:
- Cause: Faulty K-Line connection or incompatible diagnostic tool.
- Solution: Verify the K-Line wiring and use a compatible Webasto diagnostic tool.
Unusual Noise During Operation:
- Cause: Worn-out fan or fuel pump.
- Solution: Inspect and replace the faulty components as needed.
FAQs
Q: Can I install a Webasto heater myself?
- A: While it is possible, professional installation is recommended to ensure safety and compliance with regulations.
Q: How often should I service my Webasto heater?
- A: Regular maintenance is recommended annually or after 1,000 hours of operation.
Q: Can I use biodiesel with a Webasto heater?
- A: Some models support biodiesel, but consult the user manual to confirm compatibility.
Q: Is it safe to run the heater overnight?
- A: Yes, as long as the installation is correct and there is adequate ventilation.
Q: What happens if the heater runs out of fuel?
- A: The heater will shut down automatically. Refill the fuel tank and restart the heater.