How to Use Modul Kebisingan: Examples, Pinouts, and Specs

Introduction
The Modul Kebisingan (YS-E02-E12) is an electronic component designed to generate or manipulate sound signals. It is commonly used in audio applications, sound synthesis, and noise generation for testing or creative purposes. This module is versatile and can be integrated into various circuits, including audio amplifiers, synthesizers, and signal processing systems.
Explore Projects Built with Modul Kebisingan

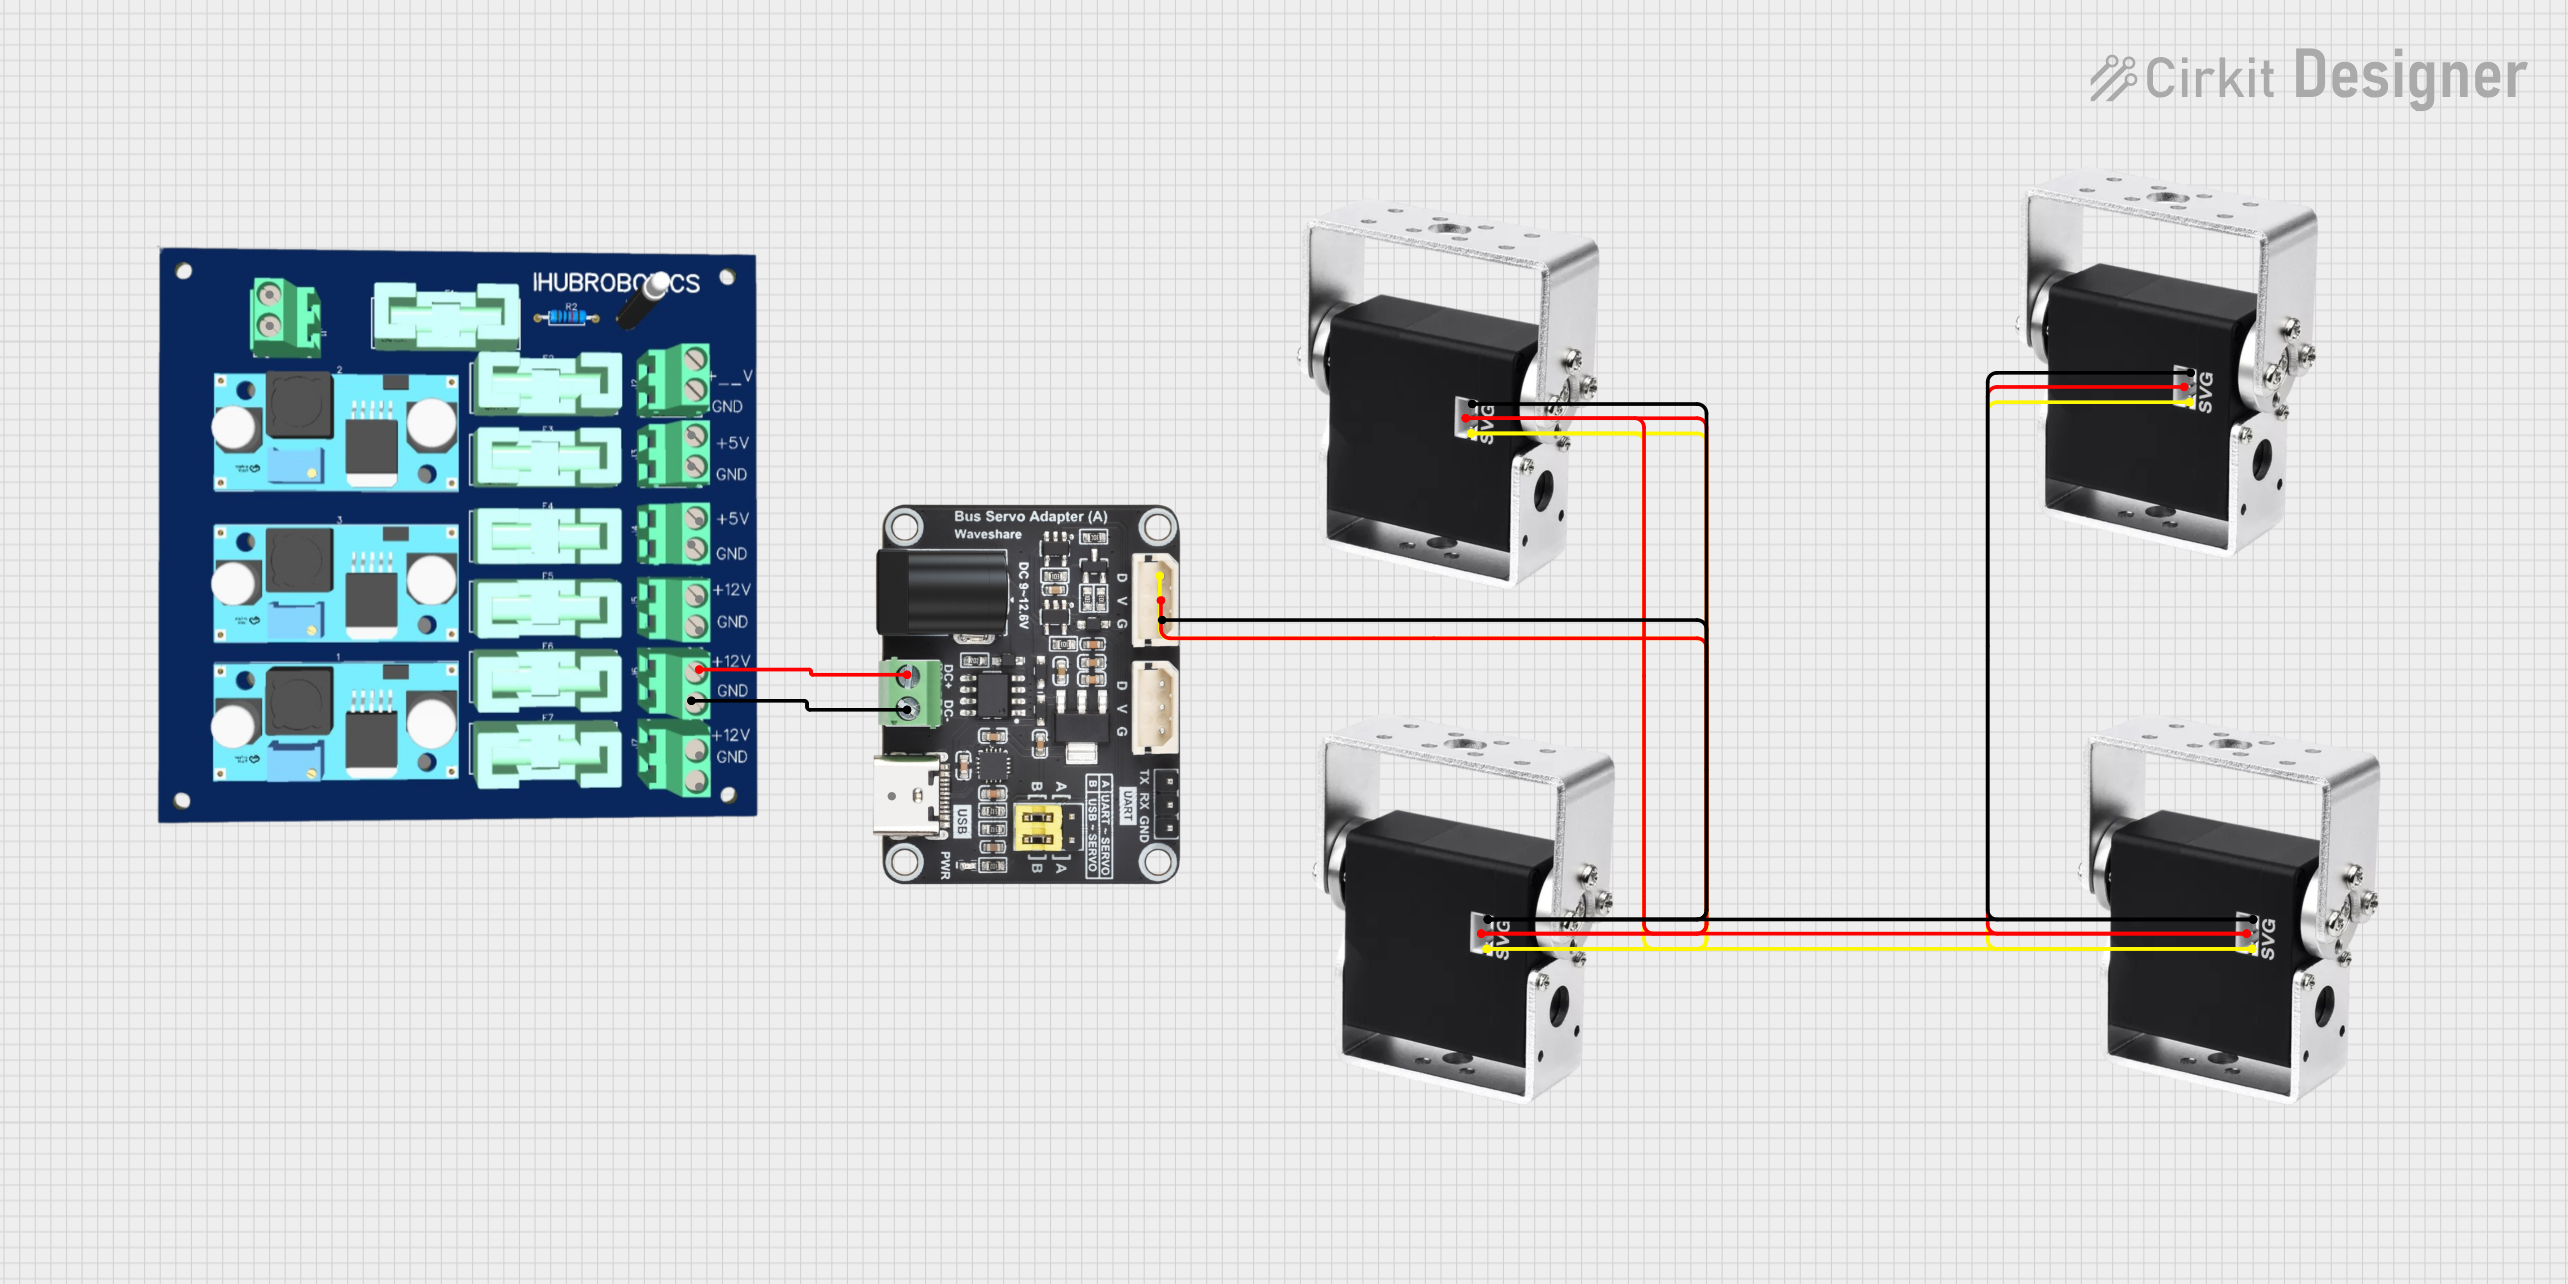

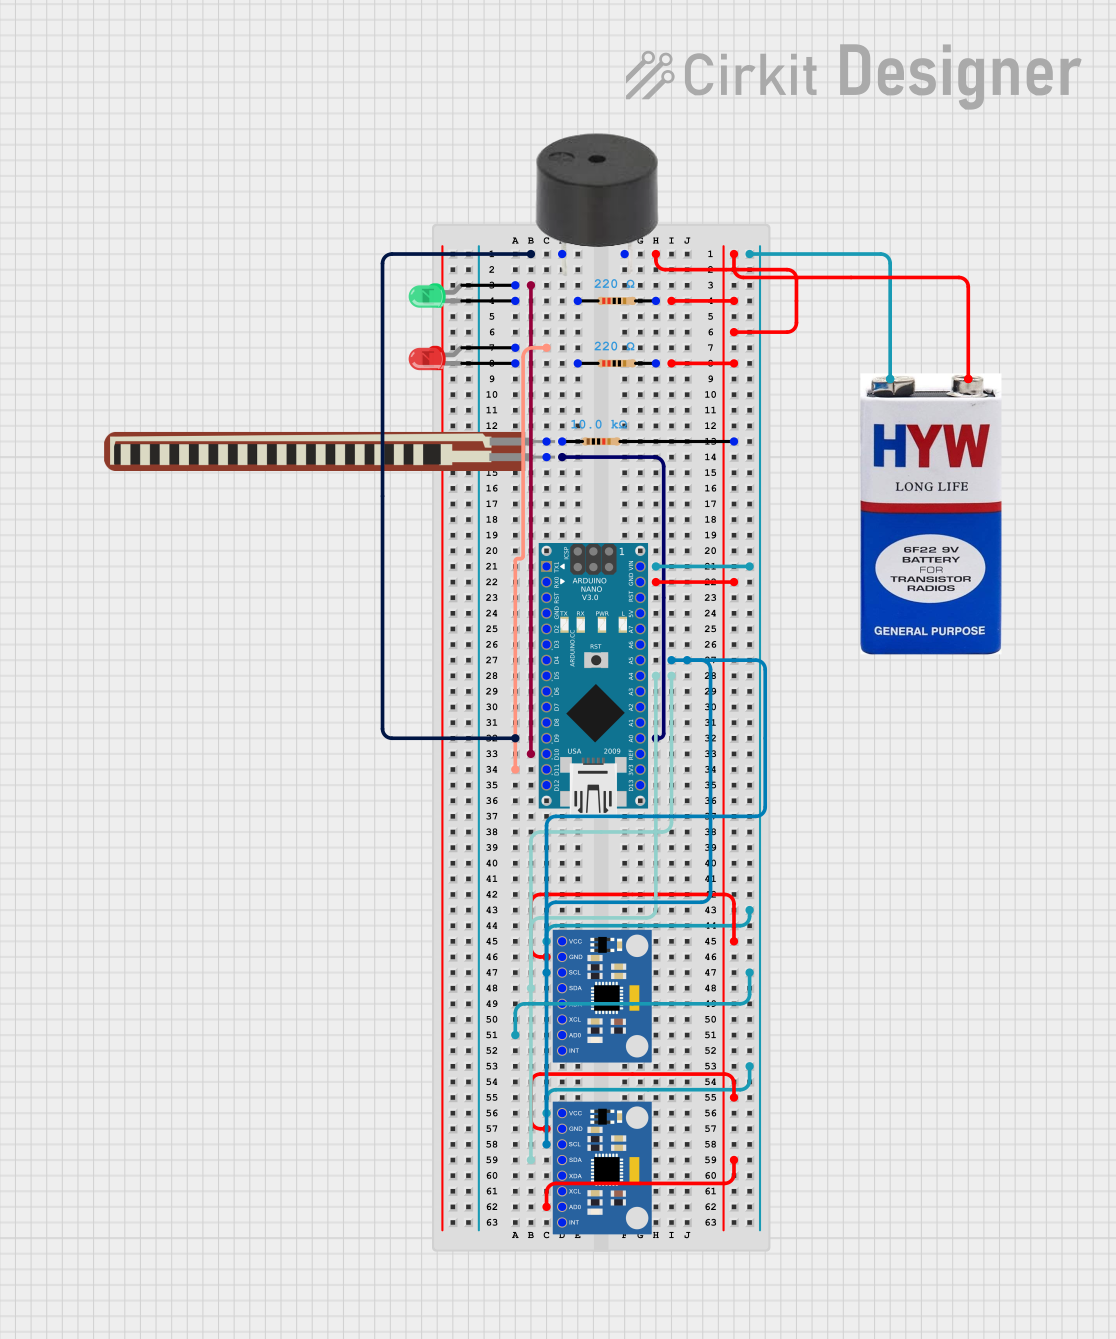
Explore Projects Built with Modul Kebisingan
Common Applications:
- Audio signal generation for testing and calibration
- Sound synthesis in music production
- White noise or pink noise generation for audio masking
- Random signal generation in electronic experiments
- Audio effects in creative sound design
Technical Specifications
Below are the key technical details of the Modul Kebisingan (YS-E02-E12):
| Parameter | Value |
|---|---|
| Manufacturer | YS-E02-E12 |
| Part ID | ys |
| Operating Voltage | 3.3V to 5V |
| Current Consumption | ≤ 20mA |
| Output Signal Type | White noise or pink noise |
| Output Voltage Range | 0.1V to 3.3V (adjustable) |
| Frequency Range | 20Hz to 20kHz |
| Operating Temperature | -20°C to 70°C |
| Dimensions | 25mm x 15mm x 5mm |
Pin Configuration and Descriptions
The Modul Kebisingan has a simple pinout for easy integration into circuits:
| Pin | Name | Description |
|---|---|---|
| 1 | VCC | Power supply input (3.3V to 5V). Connect to the positive terminal of the power source. |
| 2 | GND | Ground. Connect to the negative terminal of the power source. |
| 3 | OUT | Noise signal output. Connect to the input of an amplifier or processing circuit. |
Usage Instructions
How to Use the Modul Kebisingan in a Circuit
- Power Connection: Connect the
VCCpin to a 3.3V or 5V power source and theGNDpin to ground. - Signal Output: Connect the
OUTpin to the input of an audio amplifier, microcontroller, or other processing circuit. - Adjust Output: If the module includes an onboard potentiometer, use it to adjust the output voltage or noise characteristics.
- Filtering: For specific applications, you may add external filters (e.g., low-pass or high-pass filters) to shape the noise signal.
Important Considerations and Best Practices
- Power Supply: Ensure a stable power supply to avoid noise artifacts caused by voltage fluctuations.
- Signal Amplification: The output signal may require amplification depending on the application. Use an operational amplifier or audio amplifier as needed.
- Heat Management: While the module operates efficiently, ensure proper ventilation if used in high-temperature environments.
- Arduino Integration: The module can be connected to an Arduino UNO for further processing or control.
Example Arduino Code
Below is an example of how to read the noise signal from the module using an Arduino UNO:
// Define the analog pin connected to the OUT pin of the Modul Kebisingan
const int noisePin = A0;

void setup() {
  Serial.begin(9600); // Initialize serial communication at 9600 baud
}

void loop() {
  int noiseValue = analogRead(noisePin); // Read the noise signal
  Serial.print("Noise Signal Value: ");
  Serial.println(noiseValue); // Print the noise signal value to the Serial Monitor
  delay(100); // Delay for 100ms to avoid overwhelming the Serial Monitor
}
Notes:
- Use a voltage divider or level shifter if the output signal exceeds the Arduino's input voltage range.
- The noise signal can be further processed in software for specific applications, such as generating audio effects.
Troubleshooting and FAQs
Common Issues and Solutions
| Issue | Possible Cause | Solution |
|---|---|---|
| No output signal | Incorrect wiring or loose connections | Verify all connections, especially VCC, GND, and OUT pins. |
| Weak or distorted noise signal | Insufficient power supply or interference | Ensure a stable power source and minimize external interference. |
| Output signal too low for application | Signal requires amplification | Use an operational amplifier or audio amplifier to boost the signal. |
| Overheating of the module | Excessive current draw | Check the power supply voltage and current to ensure they are within limits. |
FAQs
Can the Modul Kebisingan generate specific types of noise (e.g., pink noise)?
- Yes, the module can generate white noise by default. For pink noise, you may need to add an external filter circuit.
Is the module compatible with microcontrollers like Arduino?
- Yes, the module can be easily interfaced with microcontrollers such as Arduino for signal processing or control.
What is the maximum output voltage of the module?
- The output voltage range is adjustable up to 3.3V.
Can I use this module for audio testing?
- Absolutely! The Modul Kebisingan is ideal for audio testing and calibration purposes.
By following this documentation, users can effectively integrate and utilize the Modul Kebisingan (YS-E02-E12) in their projects.