
How to Use LilyPad Simple Power: Examples, Pinouts, and Specs
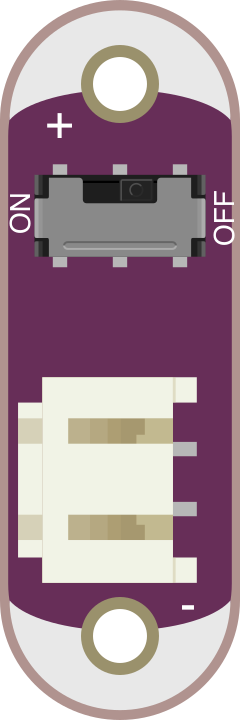
 Design with LilyPad Simple Power in Cirkit Designer
Introduction
The LilyPad Simple Power (Manufacturer Part ID: DEV-10085) is a compact power supply module designed by SparkFun Electronics. It is specifically tailored for use in wearable electronics and LilyPad Arduino projects. This module provides a stable voltage output, ensuring reliable operation of your circuits. Its small form factor and lightweight design make it ideal for e-textile and wearable applications.
Explore Projects Built with LilyPad Simple Power
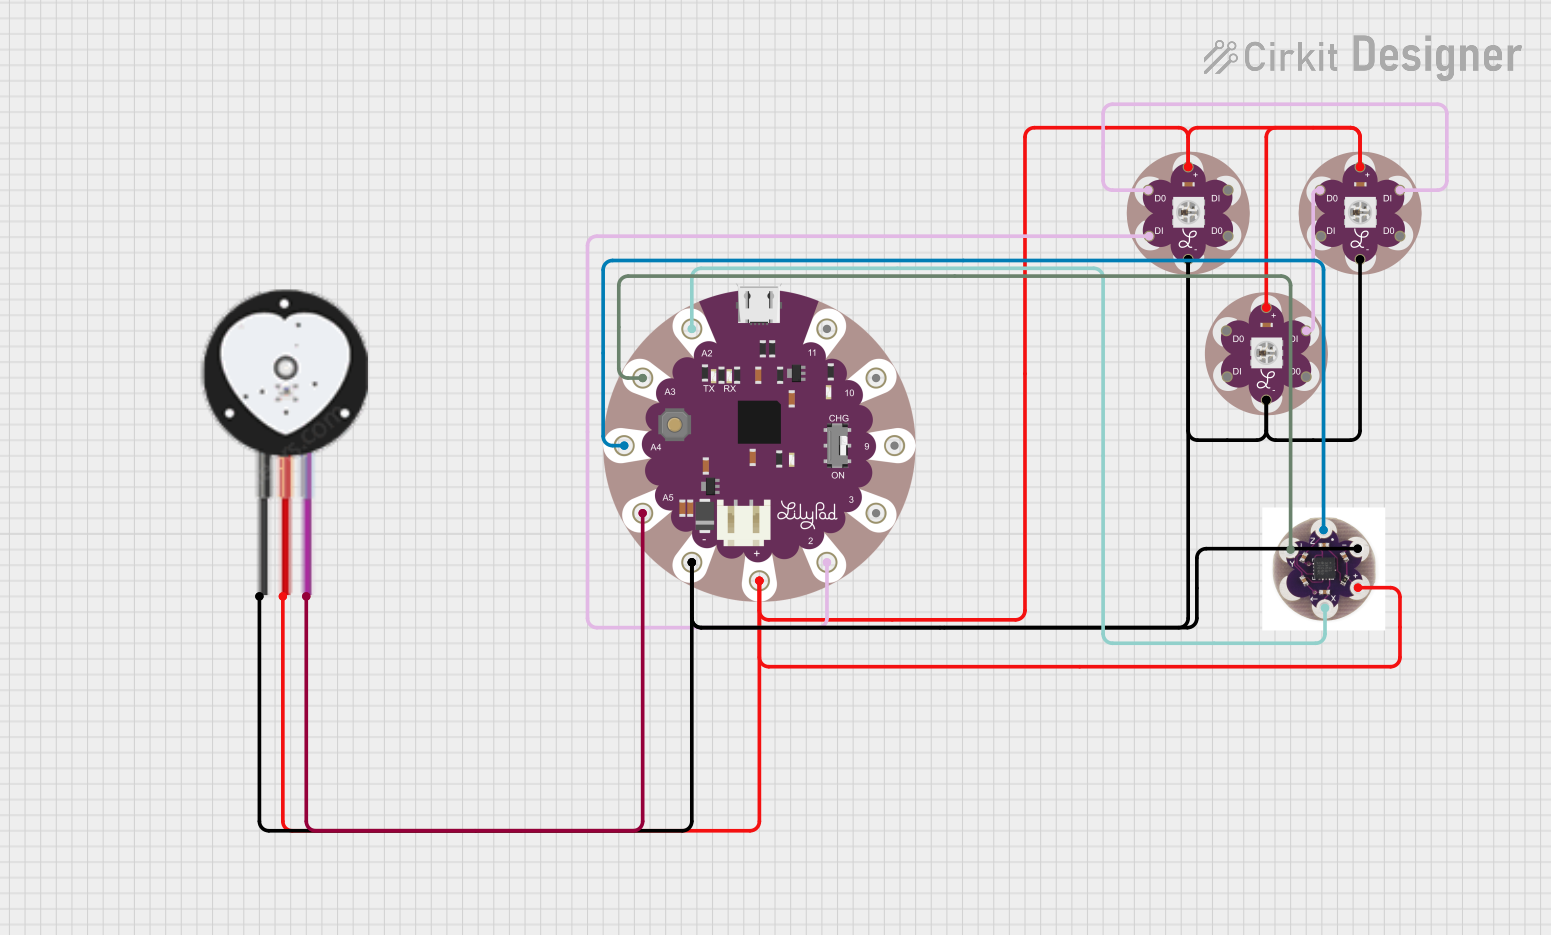 Open Project in Cirkit Designer
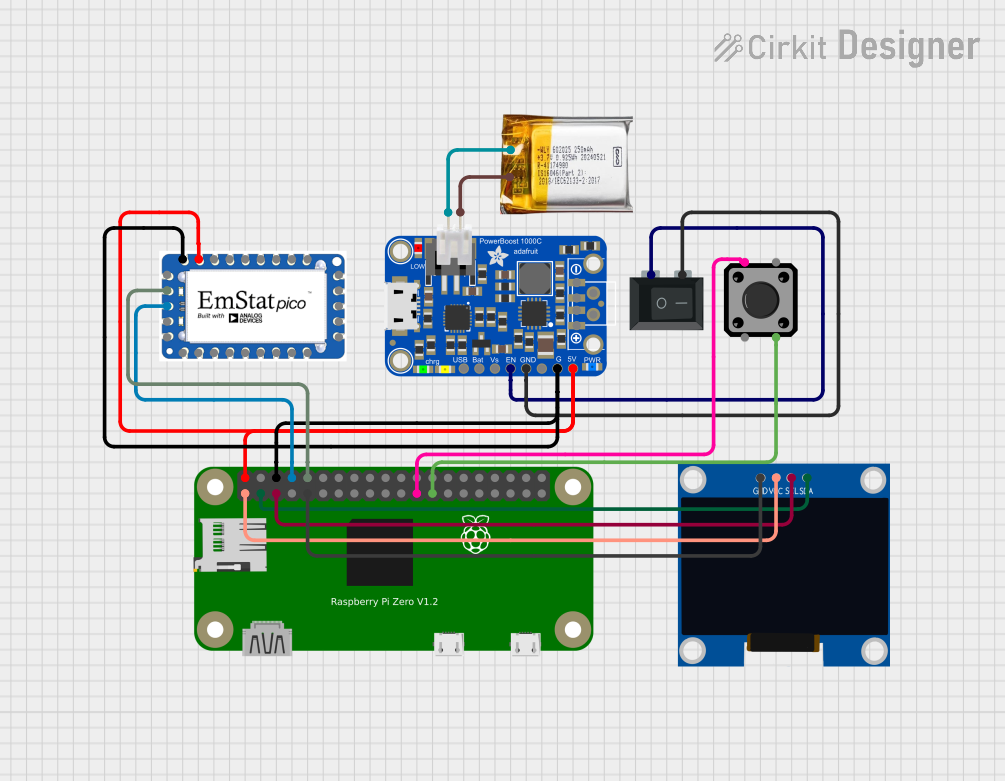 Open Project in Cirkit Designer
 Open Project in Cirkit Designer
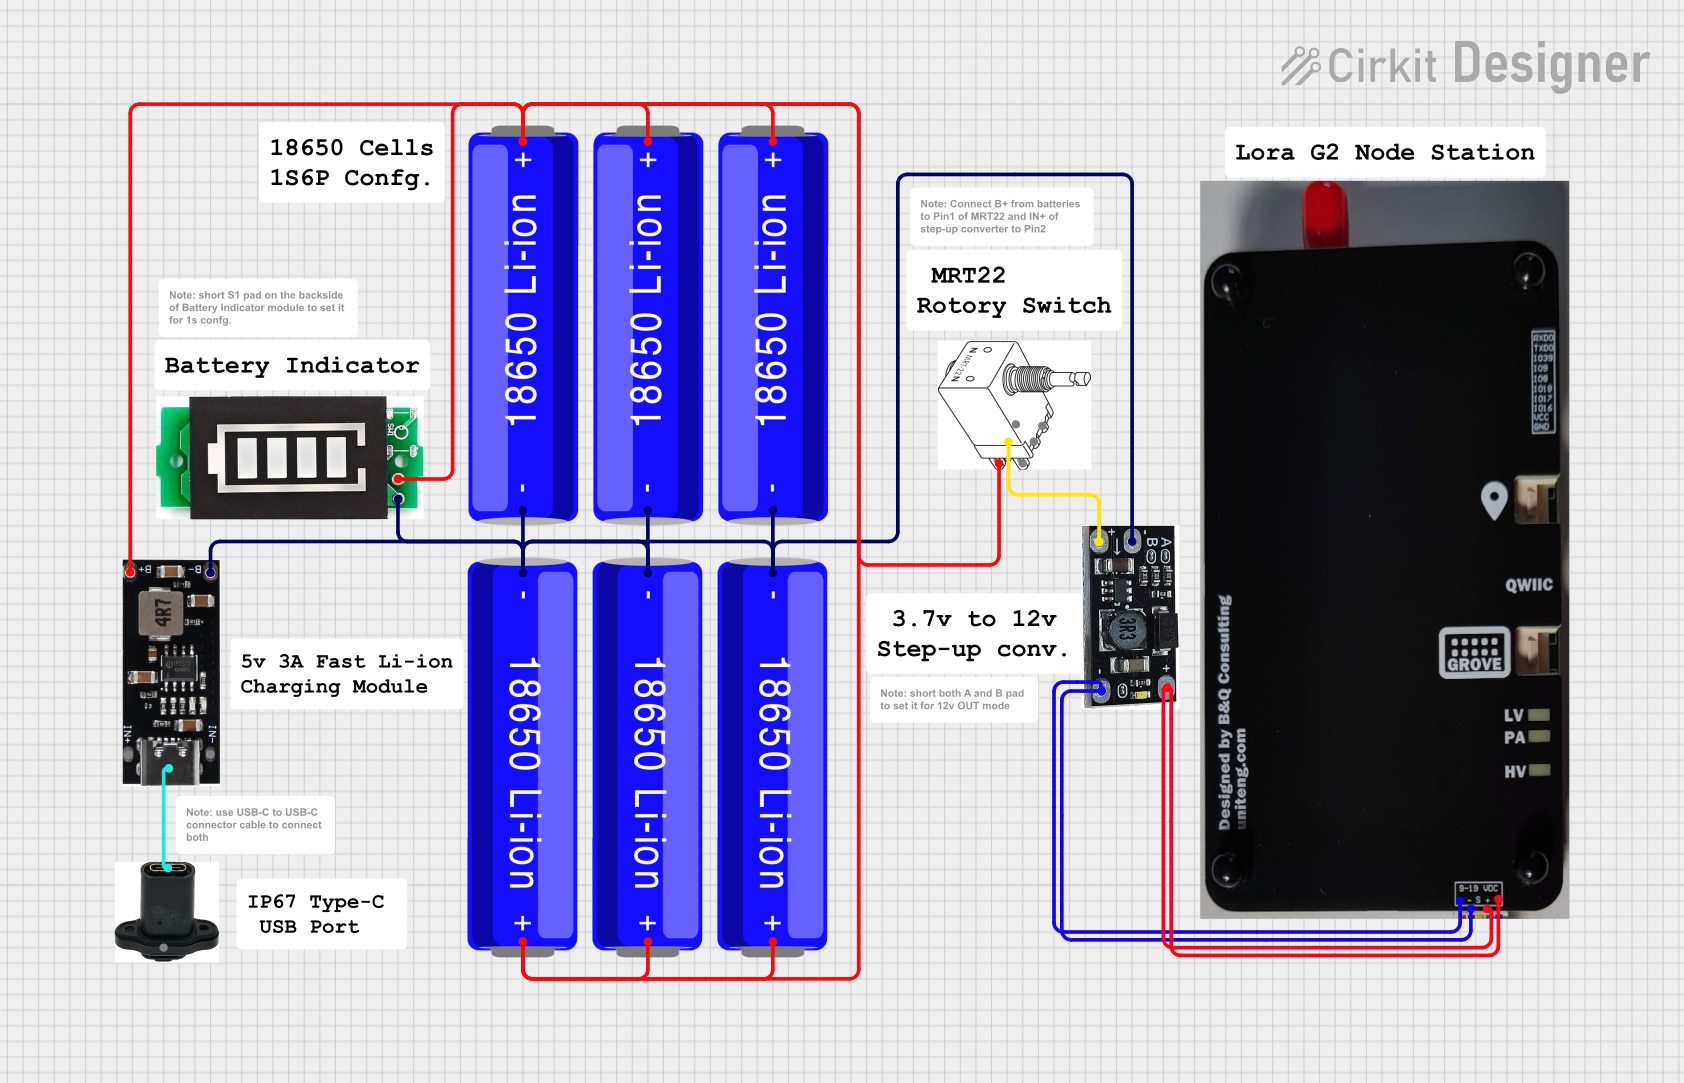 Open Project in Cirkit Designer
Explore Projects Built with LilyPad Simple Power
Open Project in Cirkit DesignerOpen Project in Cirkit DesignerOpen Project in Cirkit DesignerOpen Project in Cirkit DesignerCommon Applications and Use Cases
- Powering LilyPad Arduino boards and other wearable electronics
- E-textile projects requiring a compact and lightweight power source
- Prototyping low-power circuits for wearable technology
- Educational projects involving soft circuits and conductive fabrics
Technical Specifications
The LilyPad Simple Power module is designed to provide a stable power supply for low-power electronic circuits. Below are its key technical details:
Key Technical Details
| Parameter | Specification |
|---|---|
| Input Voltage Range | 3.7V (via LiPo battery) or 5V (via USB) |
| Output Voltage | 5V (regulated) |
| Output Current | Up to 500mA |
| Charging Current | 100mA (via USB) |
| Dimensions | 50mm x 25mm |
| Weight | ~3g |
Pin Configuration and Descriptions
The LilyPad Simple Power module has a simple pin layout for easy integration into circuits. Below is the pin configuration:
| Pin Name | Description |
|---|---|
| + (Positive) | Provides regulated 5V output for powering your circuit |
| - (Negative) | Ground connection for the circuit |
| USB | Micro-USB port for charging the connected LiPo battery and powering the module |
| BAT | JST connector for connecting a 3.7V LiPo battery |
Usage Instructions
The LilyPad Simple Power module is straightforward to use and integrates seamlessly with LilyPad Arduino boards and other wearable electronics. Follow the steps below to use the module effectively:
How to Use the Component in a Circuit
- Power Input Options:
- Connect a 3.7V LiPo battery to the BAT JST connector.
- Alternatively, connect a USB power source (e.g., a computer or USB wall adapter) to the USB port.
- Power Output:
- Use the + and - pins to supply regulated 5V power to your circuit.
- Ensure that the total current draw of your circuit does not exceed 500mA.
- Charging the Battery:
- When a LiPo battery is connected, the module will automatically charge it when powered via USB.
- The charging current is limited to 100mA, so charging may take some time depending on the battery capacity.
Important Considerations and Best Practices
- Battery Safety: Only use 3.7V LiPo batteries with the module. Avoid overcharging or deep discharging the battery.
- Heat Management: The module may become warm during operation, especially when charging a battery. Ensure proper ventilation.
- Circuit Protection: Avoid shorting the + and - pins, as this can damage the module or connected components.
- Arduino Integration: When using the module with a LilyPad Arduino, connect the + and - pins to the corresponding power and ground pins on the board.
Example Code for Arduino UNO
Although the LilyPad Simple Power is primarily used with LilyPad Arduino boards, it can also power an Arduino UNO. Below is an example code snippet for a simple LED blink project:
// Example: Blink an LED using Arduino UNO powered by LilyPad Simple Power

const int ledPin = 13; // Pin connected to the onboard LED

void setup() {
  pinMode(ledPin, OUTPUT); // Set the LED pin as an output
}

void loop() {
  digitalWrite(ledPin, HIGH); // Turn the LED on
  delay(1000);               // Wait for 1 second
  digitalWrite(ledPin, LOW);  // Turn the LED off
  delay(1000);               // Wait for 1 second
}
Note: Ensure the LilyPad Simple Power module is connected to the Arduino UNO's power input pins (Vin and GND) to supply 5V.
Troubleshooting and FAQs
Common Issues and Solutions
Module Not Powering the Circuit:
- Ensure the LiPo battery is properly connected to the BAT connector.
- If using USB power, verify that the USB cable and power source are functional.
- Check for loose connections on the + and - pins.
Battery Not Charging:
- Confirm that the USB power source is providing sufficient current (at least 500mA).
- Ensure the LiPo battery is compatible (3.7V nominal voltage).
- Inspect the JST connector for damage or poor contact.
Overheating:
- Verify that the circuit's current draw does not exceed 500mA.
- Avoid operating the module in high-temperature environments.
Output Voltage Not Stable:
- Check for loose or damaged connections on the + and - pins.
- Ensure the input voltage (from USB or battery) is within the specified range.
Frequently Asked Questions
Q: Can I use the LilyPad Simple Power without a battery?
A: Yes, the module can be powered directly via the USB port without a battery. However, the USB power source must provide sufficient current for your circuit.
Q: What happens if I connect both USB and a battery?
A: The module will prioritize USB power and charge the connected battery simultaneously.
Q: Can I use this module with non-LilyPad Arduino boards?
A: Yes, the module can power any Arduino board or circuit that requires a 5V regulated supply, as long as the current draw does not exceed 500mA.
Q: Is the module waterproof?
A: No, the LilyPad Simple Power is not waterproof. Avoid exposing it to moisture or liquids.
By following this documentation, you can effectively integrate the LilyPad Simple Power module into your wearable electronics projects and ensure reliable performance.