
How to Use Dfrobot gravity : ph meter: Examples, Pinouts, and Specs
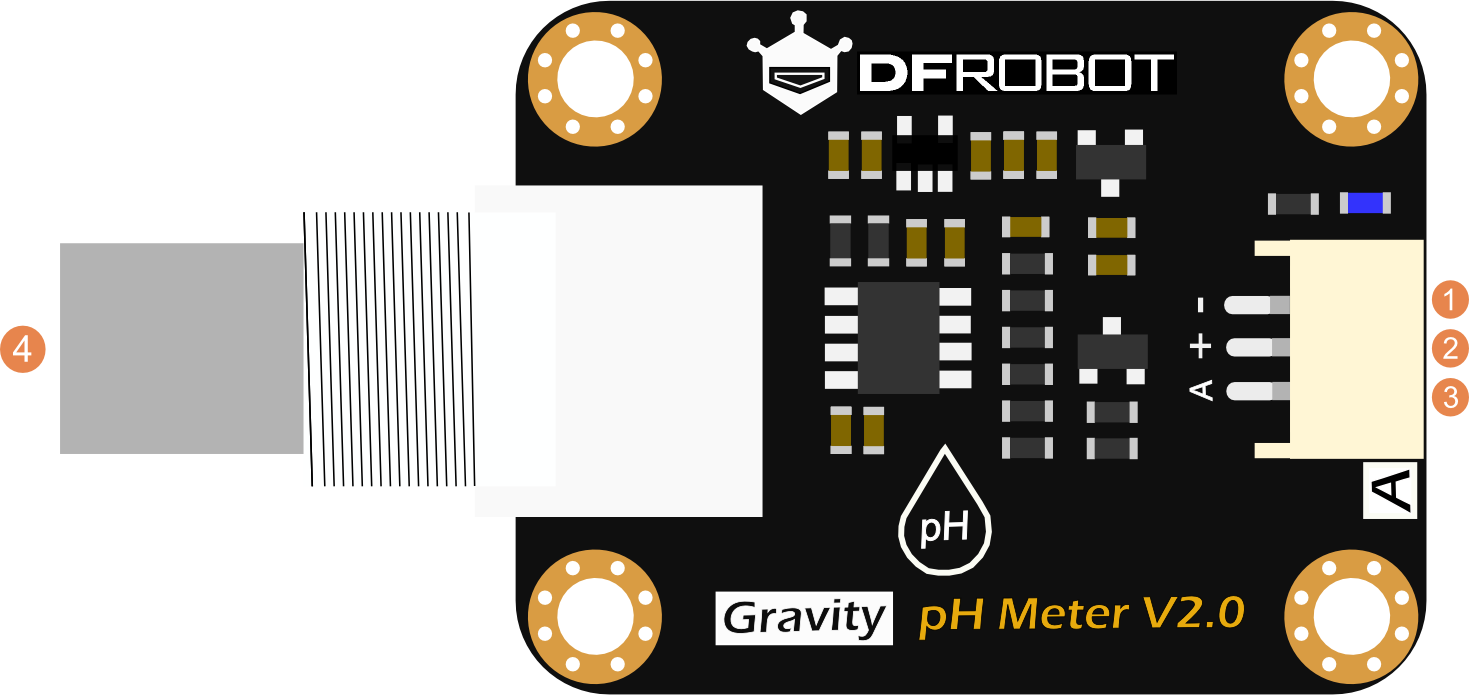
 Design with Dfrobot gravity : ph meter in Cirkit Designer
Introduction
The DFRobot Gravity: pH Meter (SEN0169V2) is a sensor module designed to measure the pH level of a solution. It is widely used in various applications such as environmental monitoring, aquaponics, hydroponics, and other scientific research fields. This module provides a simple and cost-effective way to measure the acidity or alkalinity of a solution, making it an essential tool for hobbyists and professionals alike.
Explore Projects Built with Dfrobot gravity : ph meter
 Open Project in Cirkit Designer
 Open Project in Cirkit Designer
 Open Project in Cirkit Designer
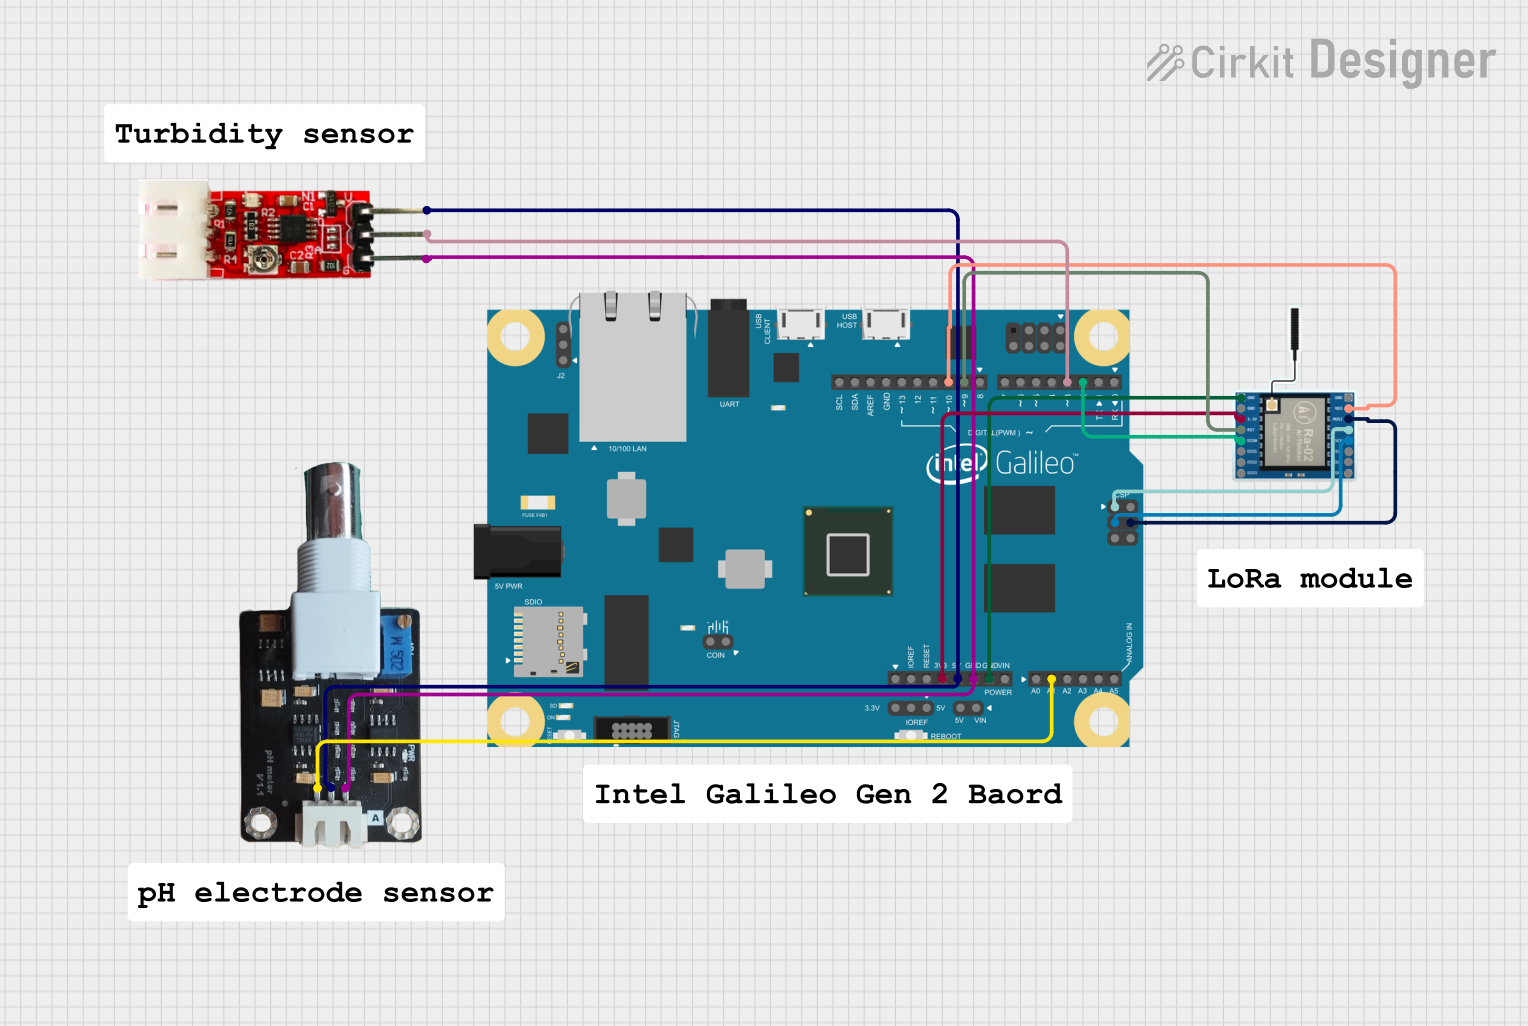
 Open Project in Cirkit Designer
Explore Projects Built with Dfrobot gravity : ph meter

 Open Project in Cirkit Designer
 Open Project in Cirkit Designer
 Open Project in Cirkit Designer
 Open Project in Cirkit Designer
Technical Specifications
Key Technical Details
| Parameter | Value |
|---|---|
| Operating Voltage | 5.0V |
| Operating Current | 5-10mA |
| Measurement Range | 0-14 pH |
| Accuracy | ±0.1 pH (at 25°C) |
| Response Time | ≤ 1 minute |
| Temperature Range | 0-60°C |
| Probe Connector | BNC |
| Interface | Analog |
Pin Configuration and Descriptions
| Pin Name | Description |
|---|---|
| VCC | Power supply (5V) |
| GND | Ground |
| AOUT | Analog output (pH value as voltage) |
Usage Instructions
How to Use the Component in a Circuit
Connect the pH Sensor to the Arduino UNO:
- Connect the VCC pin of the pH sensor to the 5V pin on the Arduino.
- Connect the GND pin of the pH sensor to the GND pin on the Arduino.
- Connect the AOUT pin of the pH sensor to an analog input pin (e.g., A0) on the Arduino.
Calibrate the pH Sensor:
- Immerse the pH probe in a standard buffer solution (e.g., pH 7.0).
- Adjust the potentiometer on the sensor module until the output voltage corresponds to the pH value of the buffer solution.
Write and Upload the Arduino Code:
- Use the following sample code to read the pH value from the sensor and display it on the serial monitor.
// DFRobot Gravity: pH Meter (SEN0169V2) Sample Code
// Connect the pH sensor to analog pin A0

#define SensorPin A0  // Define the analog pin for the pH sensor
#define Offset 0.00   // Define the offset value for calibration
#define SamplingInterval 20  // Sampling interval in milliseconds
#define PrintInterval 800    // Print interval in milliseconds
#define ArrayLength 40       // Length of the sample array

int pHArray[ArrayLength];    // Array to store pH readings
int pHArrayIndex = 0;        // Index for the pH array

void setup() {
  Serial.begin(9600);  // Initialize serial communication
  pinMode(SensorPin, INPUT);  // Set the sensor pin as input
}

void loop() {
  static unsigned long samplingTime = millis();
  static unsigned long printTime = millis();
  static float pHValue, voltage;

  if (millis() - samplingTime > SamplingInterval) {
    samplingTime = millis();
    pHArray[pHArrayIndex++] = analogRead(SensorPin);  // Read the sensor value
    if (pHArrayIndex == ArrayLength) pHArrayIndex = 0;
  }

  if (millis() - printTime > PrintInterval) {
    printTime = millis();
    voltage = averageArray(pHArray, ArrayLength) * 5.0 / 1024;  // Convert to voltage
    pHValue = 3.5 * voltage + Offset;  // Convert voltage to pH value
    Serial.print("Voltage: ");
    Serial.print(voltage, 2);
    Serial.print("V  pH Value: ");
    Serial.println(pHValue, 2);
  }
}

float averageArray(int* arr, int number) {
  int i;
  int max, min;
  float avg;
  long amount = 0;
  if (number <= 0) {
    Serial.println("Error: Array length must be greater than 0");
    return 0;
  }
  if (number < 5) {
    for (i = 0; i < number; i++) {
      amount += arr[i];
    }
    avg = amount / number;
    return avg;
  } else {
    if (arr[0] < arr[1]) {
      min = arr[0];
      max = arr[1];
    } else {
      min = arr[1];
      max = arr[0];
    }
    for (i = 2; i < number; i++) {
      if (arr[i] < min) {
        amount += min;
        min = arr[i];
      } else {
        if (arr[i] > max) {
          amount += max;
          max = arr[i];
        } else {
          amount += arr[i];
        }
      }
    }
    avg = (float)amount / (number - 2);
  }
  return avg;
}
Important Considerations and Best Practices
- Calibration: Regularly calibrate the pH sensor using standard buffer solutions to ensure accurate readings.
- Cleaning: Clean the pH probe with distilled water after each use to prevent contamination.
- Storage: Store the pH probe in a storage solution to maintain its sensitivity and accuracy.
- Temperature: Be aware that temperature can affect pH readings. Use a temperature compensation method if necessary.
Troubleshooting and FAQs
Common Issues Users Might Face
Inaccurate Readings:
- Solution: Ensure the sensor is properly calibrated using standard buffer solutions. Check for any contamination on the probe and clean it if necessary.
No Output or Fluctuating Readings:
- Solution: Verify all connections between the sensor and the Arduino. Ensure the probe is fully immersed in the solution and not touching the container walls.
Slow Response Time:
- Solution: Allow the probe to stabilize in the solution for at least one minute before taking readings. Ensure the probe is clean and free from any deposits.
Solutions and Tips for Troubleshooting
- Check Connections: Ensure all connections are secure and correctly placed.
- Calibrate Regularly: Regular calibration is essential for accurate measurements.
- Clean the Probe: Rinse the probe with distilled water after each use to prevent contamination.
- Use Fresh Buffer Solutions: Always use fresh and uncontaminated buffer solutions for calibration.
By following this documentation, users can effectively utilize the DFRobot Gravity: pH Meter (SEN0169V2) in their projects, ensuring accurate and reliable pH measurements.