How to Use INA125: Examples, Pinouts, and Specs

Introduction
The INA125 is a low-power, precision instrumentation amplifier with a versatile precision voltage reference. It is designed to offer accurate signal amplification in measurement applications, featuring high common-mode rejection and low offset voltage. This makes the INA125 ideal for amplifying small differential signals in the presence of noise or common-mode signals. Common applications include industrial process controls, bridge amplifiers for pressure and strain gauges, and data acquisition systems.
Explore Projects Built with INA125
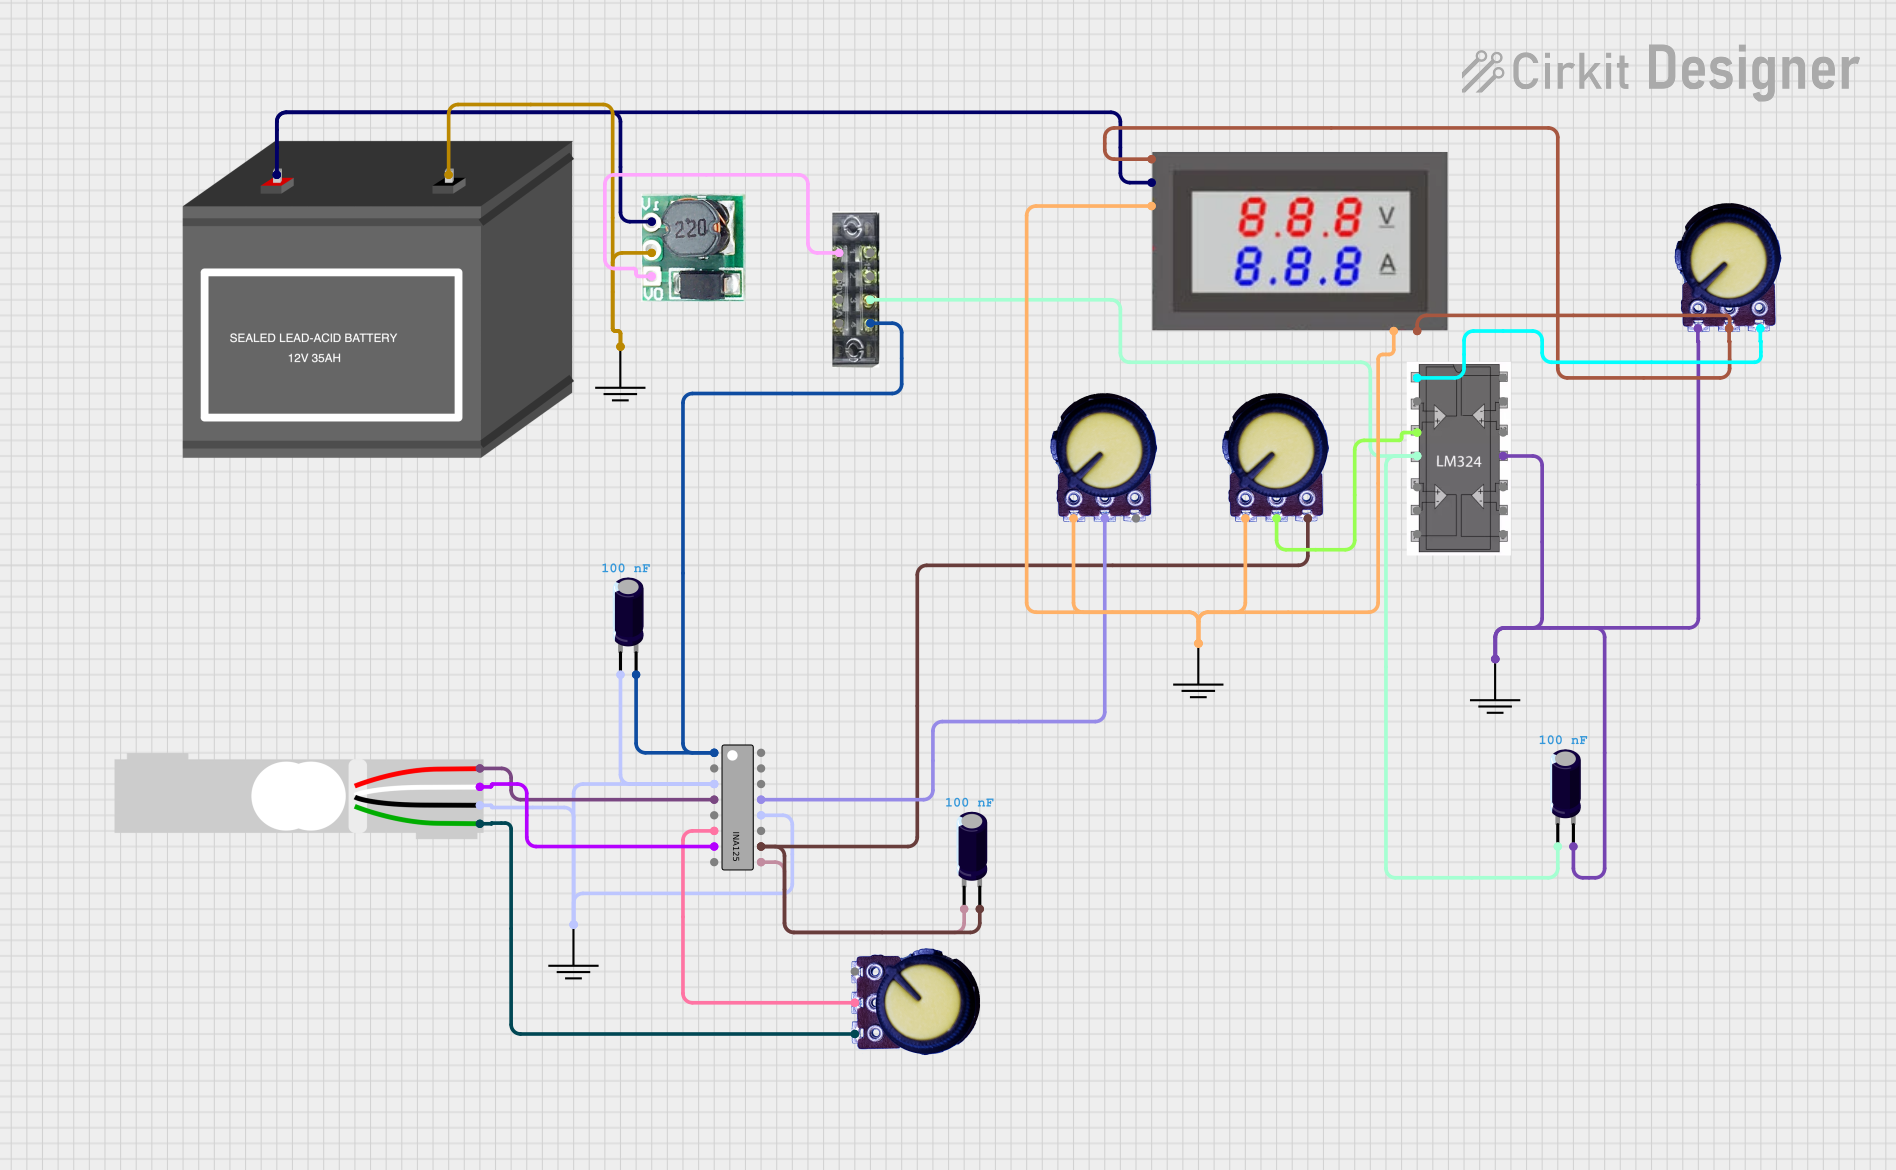
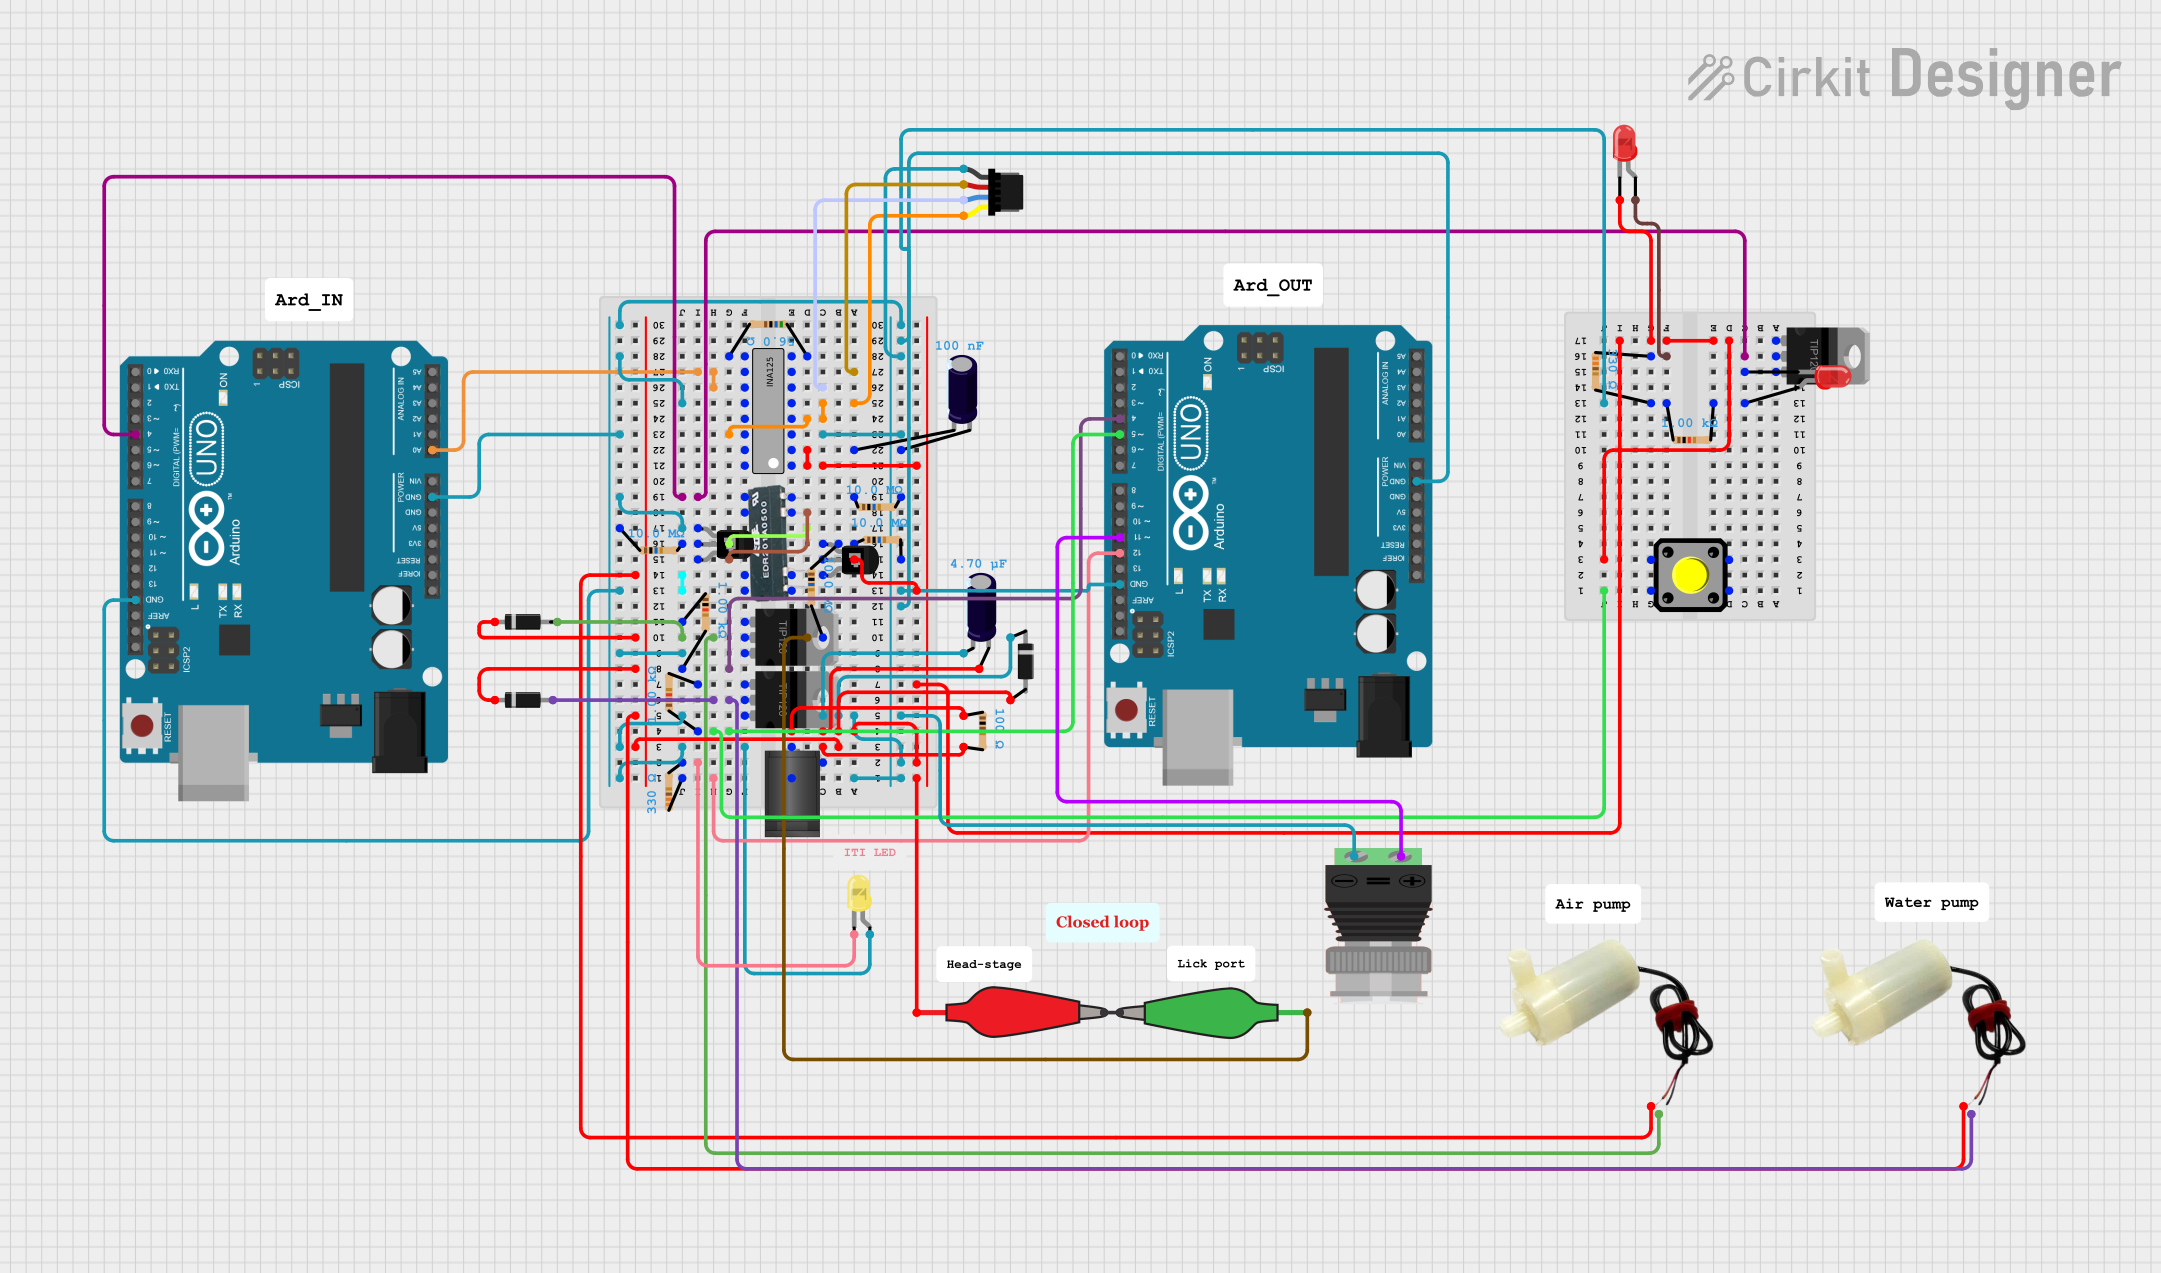

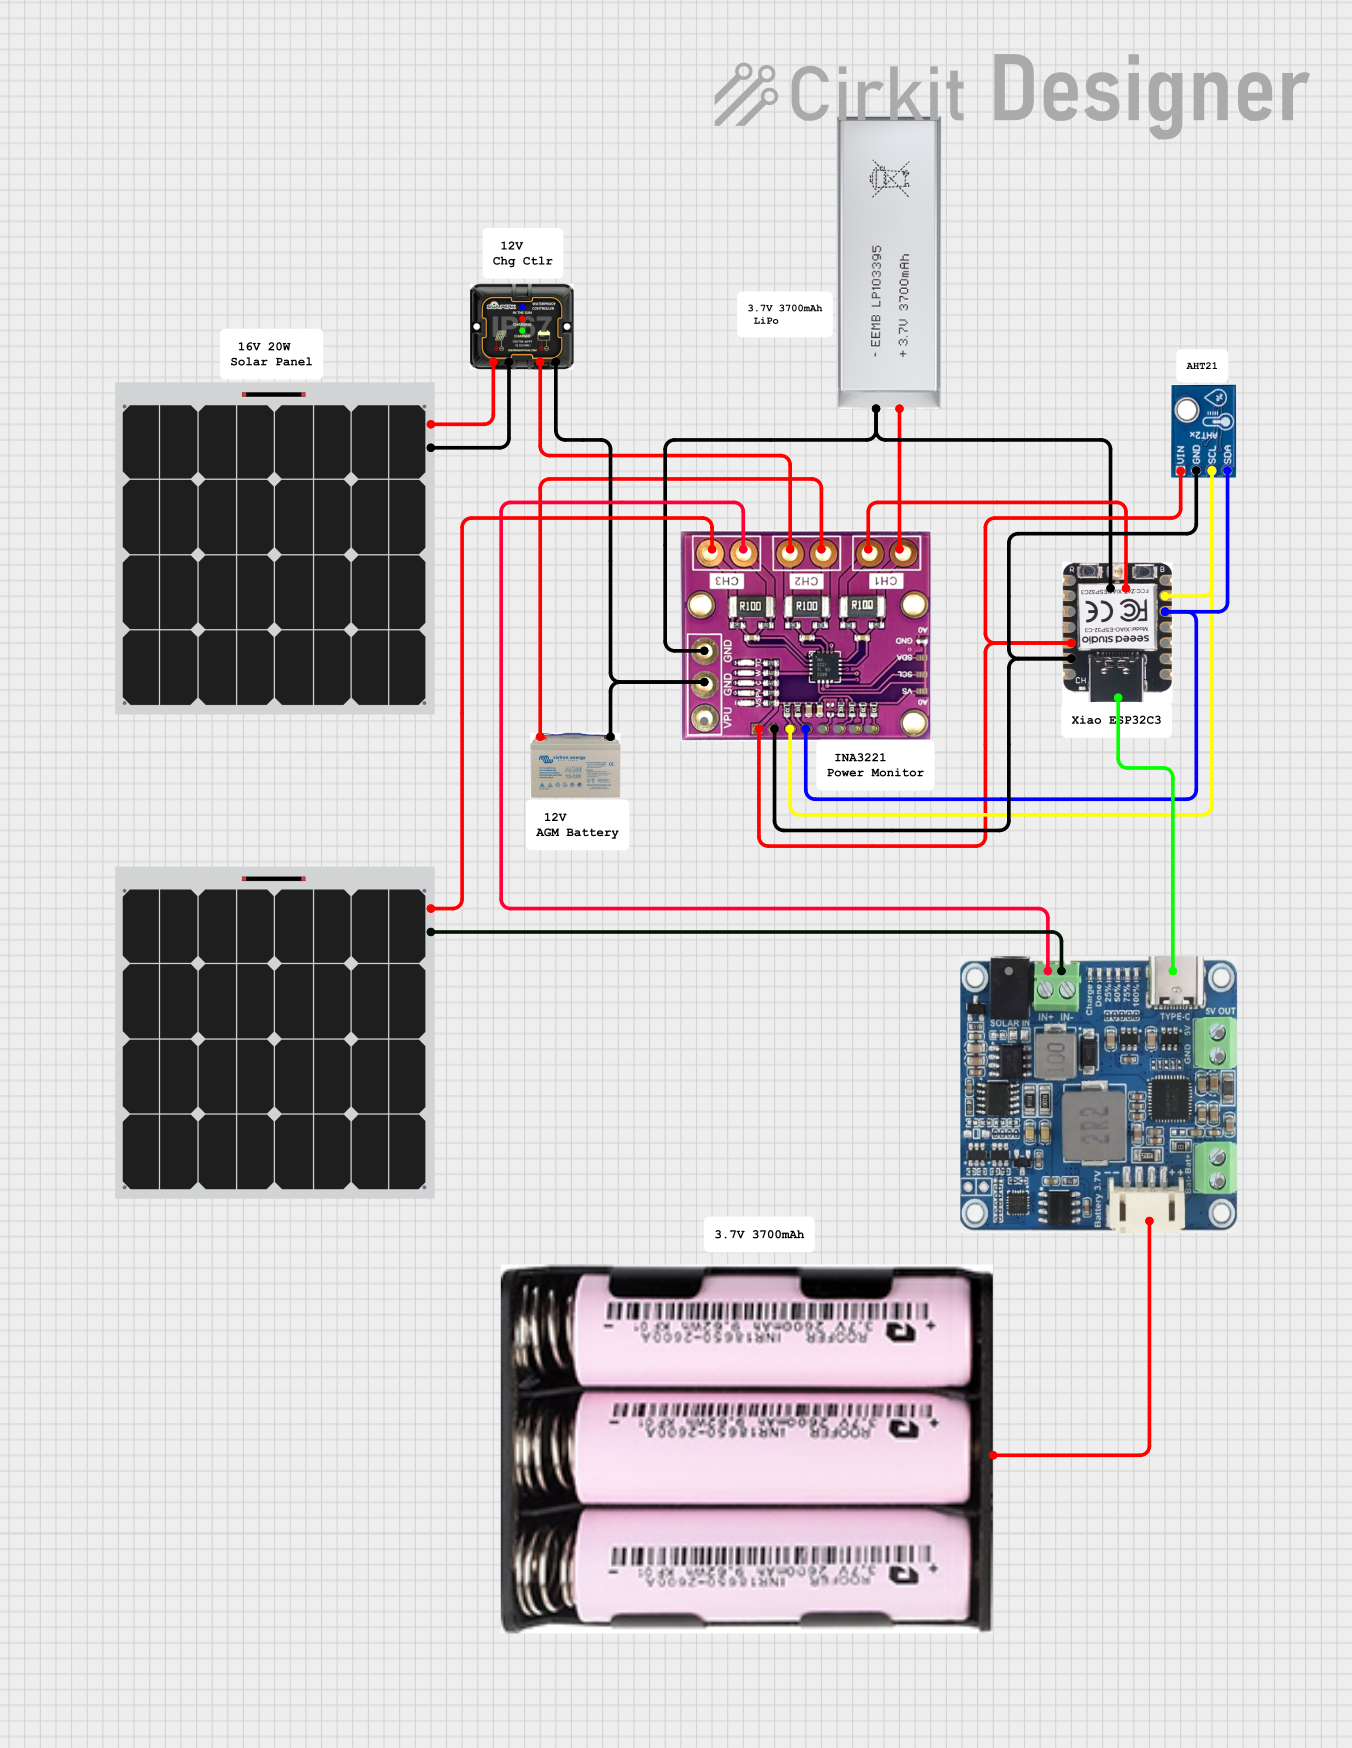
Explore Projects Built with INA125
Technical Specifications
Key Technical Details
- Supply Voltage (V(_{S})): 2.7V to 36V or ±1.35V to ±18V
- Input Bias Current (I(_{B})): 25nA maximum
- Input Offset Voltage (V(_{OS})): 250µV maximum
- Common-Mode Rejection Ratio (CMRR): 100dB minimum at G = 4
- Output Voltage Swing: 0.01V to V(_{S}) - 0.01V
- Operating Temperature Range: -40°C to +85°C
Pin Configuration and Descriptions
| Pin Number | Name | Description |
|---|---|---|
| 1 | RG | Gain set resistor connection. Connect a resistor between pins 1 and 8 to set the gain. |
| 2 | V(_{IN})- | Inverting input. Connect to the negative side of the signal source. |
| 3 | V(_{IN})+ | Non-inverting input. Connect to the positive side of the signal source. |
| 4 | Ref | Reference voltage output/input. Can be used to set output offset. |
| 5 | V(_{S})- | Negative power supply. Ground for single supply operation. |
| 6 | V(_{OUT}) | Output voltage. |
| 7 | V(_{S})+ | Positive power supply. |
| 8 | RG | Gain set resistor connection. Connect a resistor between pins 1 and 8 to set the gain. |
| 9 | NC | No connection. |
Usage Instructions
How to Use the INA125 in a Circuit
Power Supply: Connect the positive power supply to pin 7 (V({S})+) and the negative power supply to pin 5 (V({S})-). For single supply operation, ground pin 5.
Input Connections: Connect the positive side of the signal source to pin 3 (V({IN})+) and the negative side to pin 2 (V({IN})-).
Gain Setting: Place a precision resistor between pins 1 and 8 (RG) to set the desired gain. The gain can be calculated using the formula: G = 4 + (60kΩ / RG).
Output: The amplified signal can be taken from pin 6 (V(_{OUT})).
Reference Voltage (Optional): The reference pin (pin 4) can be used to set an output offset or to buffer the internal 2.5V reference voltage.
Important Considerations and Best Practices
- Ensure that the power supply voltage does not exceed the recommended maximum to prevent damage to the INA125.
- Use precision resistors for setting the gain to achieve the desired accuracy.
- Keep the input signal within the specified common-mode voltage range to maintain linearity and common-mode rejection.
- Use bypass capacitors close to the power supply pins to minimize noise.
- Avoid running high-current traces or noisy signal lines near the INA125 to prevent interference.
Troubleshooting and FAQs
Common Issues and Solutions
- Output Not as Expected: Verify the gain setting resistor and input connections. Check the power supply levels and ensure that the INA125 is not in saturation.
- Excessive Noise: Ensure that the INA125 is properly decoupled with bypass capacitors. Keep the device away from noise sources and use shielded cables for the inputs if necessary.
- No Output: Check for proper power supply voltages and connections. Ensure that the input signal is within the specified range.
FAQs
Q: Can the INA125 be used in a single-supply configuration? A: Yes, the INA125 can operate with a single supply by connecting the V(_{S})- pin to ground.
Q: What is the purpose of the reference pin on the INA125? A: The reference pin can be used to set an output offset voltage or to buffer the internal 2.5V reference voltage for external use.
Q: How do I set the gain of the INA125? A: The gain is set by connecting a resistor between pins 1 and 8. The gain formula is G = 4 + (60kΩ / RG).
Q: What should I do if the output is saturated at the supply rails? A: Check if the input signal is too large or if the gain is set too high. Adjust the gain or input signal accordingly.
Example Code for Arduino UNO
// INA125 Example Code for Arduino UNO
// Connect the INA125 output to Arduino analog pin A0

const int ina125OutputPin = A0; // INA125 output connected to A0
int sensorValue = 0;            // Variable to store the sensor value

void setup() {
  Serial.begin(9600);           // Start serial communication at 9600 baud
}

void loop() {
  sensorValue = analogRead(ina125OutputPin); // Read the analog value from INA125
  Serial.println(sensorValue);               // Print the value to the Serial Monitor
  delay(1000);                               // Wait for 1 second before the next read
}
Remember to adjust the gain and reference voltage according to your specific application needs. The above code is a simple starting point for reading the amplified signal from the INA125 using an Arduino UNO.