
How to Use Radiator Fan 12V 80W: Examples, Pinouts, and Specs
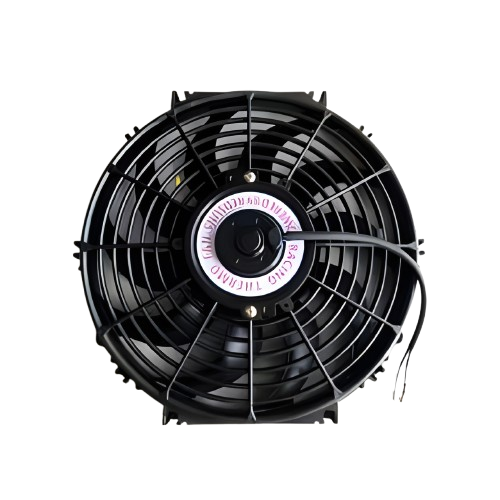
 Design with Radiator Fan 12V 80W in Cirkit Designer
Introduction
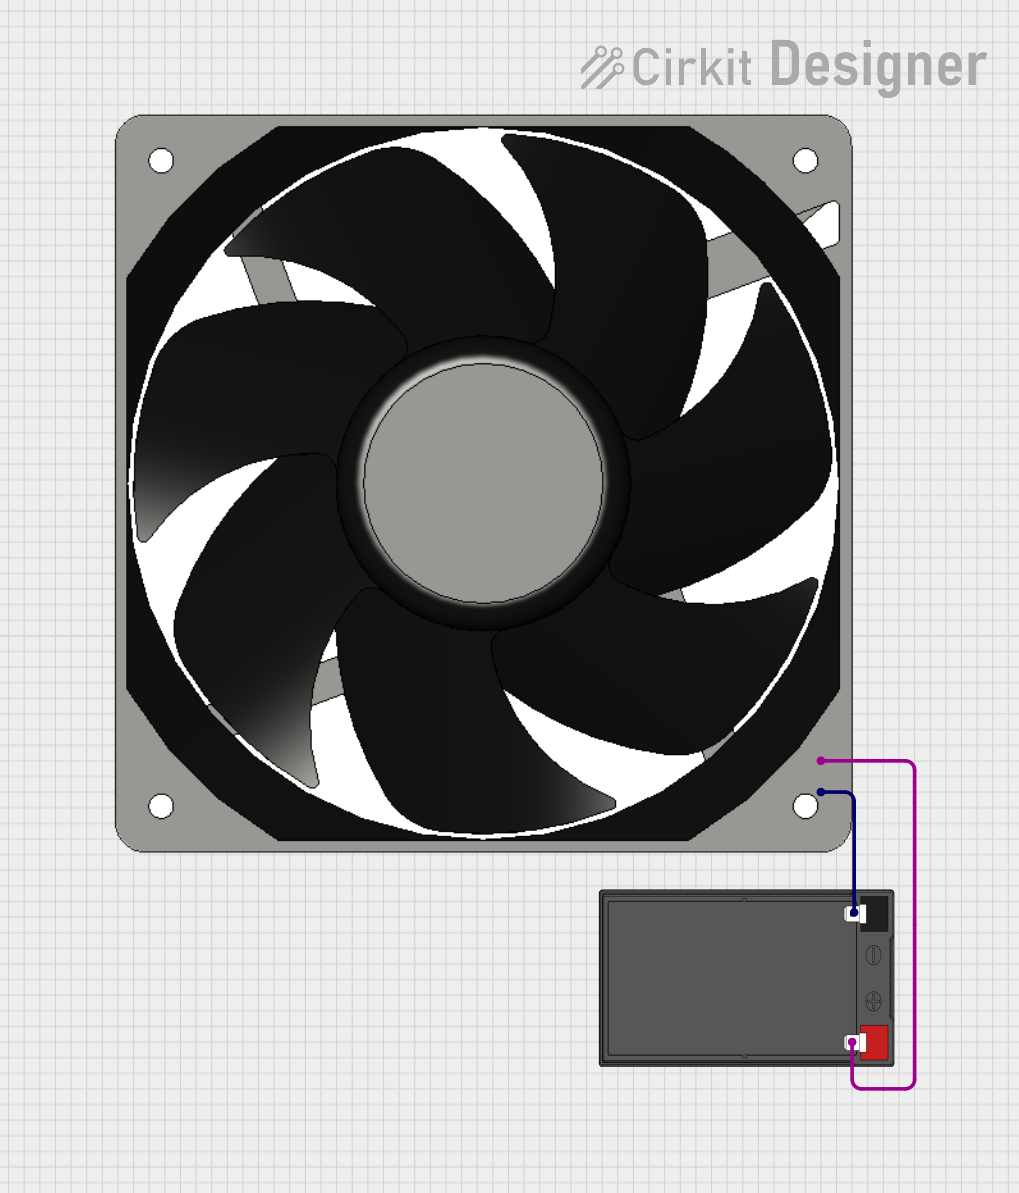
The Radiator Fan 12V 80W is a high-performance cooling device designed to dissipate heat effectively from engines, radiators, or electronic components. Operating at 12 volts and consuming 80 watts of power, this fan ensures efficient airflow to maintain optimal operating temperatures. Its robust design makes it suitable for automotive applications, industrial machinery, and custom cooling solutions for high-power electronics.
Explore Projects Built with Radiator Fan 12V 80W
 Open Project in Cirkit Designer
 Open Project in Cirkit Designer
 Open Project in Cirkit Designer
 Open Project in Cirkit Designer
Explore Projects Built with Radiator Fan 12V 80W
Open Project in Cirkit DesignerOpen Project in Cirkit DesignerOpen Project in Cirkit DesignerOpen Project in Cirkit DesignerCommon Applications and Use Cases
- Automotive engine cooling systems
- Heat dissipation for industrial equipment
- Custom cooling for high-power electronic circuits
- Radiator cooling in HVAC systems
- DIY projects requiring efficient airflow
Technical Specifications
Below are the key technical details and pin configuration for the Radiator Fan 12V 80W:
Key Technical Details
| Parameter | Specification |
|---|---|
| Operating Voltage | 12V DC |
| Power Consumption | 80W |
| Current Draw | ~6.67A (at 12V) |
| Airflow | 1200 CFM (approx.) |
| Fan Speed | 3000 RPM (nominal) |
| Dimensions | 120mm x 120mm x 25mm |
| Connector Type | 2-pin (positive and ground) |
| Operating Temperature | -20°C to 70°C |
| Noise Level | 35 dB (typical) |
| Material | ABS plastic housing, aluminum blades |
Pin Configuration and Descriptions
| Pin Number | Wire Color | Description |
|---|---|---|
| 1 | Red | Positive terminal (+12V DC) |
| 2 | Black | Ground (GND) |
Usage Instructions
How to Use the Radiator Fan in a Circuit
- Power Supply: Ensure a stable 12V DC power source capable of supplying at least 7A to handle the fan's current draw.
- Wiring:
- Connect the red wire to the positive terminal of the power supply.
- Connect the black wire to the ground terminal of the power supply.
- Mounting:
- Secure the fan using screws or brackets to ensure proper alignment and airflow.
- Position the fan to direct airflow toward the heat source for maximum cooling efficiency.
- Optional Speed Control:
- Use a PWM (Pulse Width Modulation) controller to adjust the fan speed if needed.
- Ensure the PWM controller is rated for at least 7A to avoid damage.
Important Considerations and Best Practices
- Power Supply: Use a regulated 12V DC power source to prevent voltage fluctuations that could damage the fan.
- Heat Dissipation: Ensure adequate ventilation around the fan to avoid recirculating hot air.
- Polarity: Double-check the wiring polarity before powering the fan to prevent damage.
- Noise Reduction: Use rubber mounts or grommets to minimize vibration and noise during operation.
- Safety: Avoid placing fingers or objects near the spinning blades to prevent injury or damage.
Example: Connecting to an Arduino UNO
To control the fan using an Arduino UNO, you can use a transistor or MOSFET as a switch. Below is an example circuit and code:
Circuit Setup
- Connect the fan's red wire to the drain of an N-channel MOSFET (e.g., IRF540N).
- Connect the fan's black wire to the ground.
- Connect the source of the MOSFET to ground.
- Connect the MOSFET's gate to a PWM-capable pin on the Arduino (e.g., Pin 9) through a 220-ohm resistor.
- Add a flyback diode (e.g., 1N4007) across the fan terminals to protect against voltage spikes.
Arduino Code
// Define the PWM pin connected to the MOSFET gate
const int fanPin = 9;

void setup() {
  pinMode(fanPin, OUTPUT); // Set the fan pin as an output
}

void loop() {
  analogWrite(fanPin, 128); // Set fan speed to 50% (128 out of 255)
  delay(5000); // Run the fan at 50% speed for 5 seconds

  analogWrite(fanPin, 255); // Set fan speed to 100% (255 out of 255)
  delay(5000); // Run the fan at full speed for 5 seconds
}
Troubleshooting and FAQs
Common Issues and Solutions
| Issue | Possible Cause | Solution |
|---|---|---|
| Fan does not spin | Incorrect wiring or no power | Verify wiring and ensure 12V power supply is functional. |
| Fan spins but airflow is weak | Obstruction or incorrect mounting | Check for obstructions and ensure proper alignment. |
| Excessive noise or vibration | Loose mounting or damaged blades | Tighten screws and inspect blades for damage. |
| Fan overheats or stops working | Overvoltage or insufficient current | Use a regulated 12V power supply with adequate current rating. |
FAQs
Can I use this fan with a 24V power supply?
- No, this fan is designed for 12V DC operation. Using a higher voltage may damage the fan.
How can I reduce the noise level?
- Use rubber mounts or grommets to minimize vibration. Additionally, ensure the fan is not obstructed and is mounted securely.
Can I control the fan speed without an Arduino?
- Yes, you can use a standalone PWM controller or a variable resistor rated for the fan's current.
What happens if I reverse the polarity?
- Reversing the polarity may damage the fan. Always double-check the wiring before powering it on.
By following this documentation, you can effectively integrate the Radiator Fan 12V 80W into your projects for reliable and efficient cooling.