
How to Use Adafruit Circuit Playground Dev Edition: Examples, Pinouts, and Specs
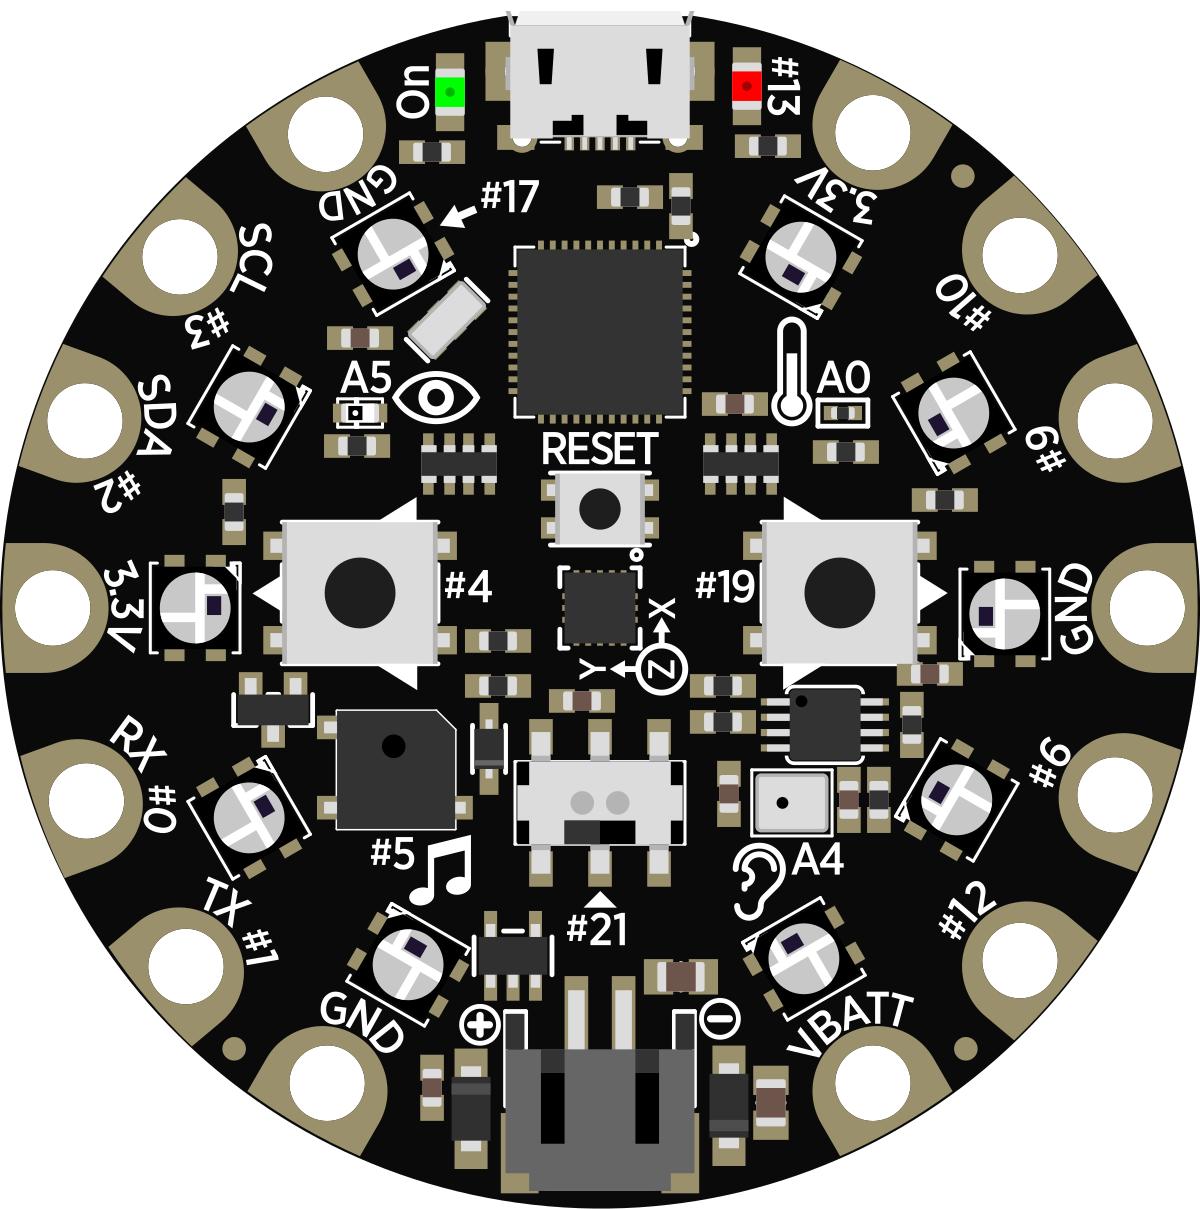
 Design with Adafruit Circuit Playground Dev Edition in Cirkit Designer
Introduction
The Adafruit Circuit Playground Dev Edition (Manufacturer Part ID: 3000) is a versatile development board designed for learning, prototyping, and experimenting with electronics. Manufactured by Adafruit, this board integrates a variety of sensors, LEDs, and connectivity options, making it an excellent choice for beginners and advanced users alike. Its all-in-one design eliminates the need for additional components, allowing users to focus on coding and creativity.
Explore Projects Built with Adafruit Circuit Playground Dev Edition
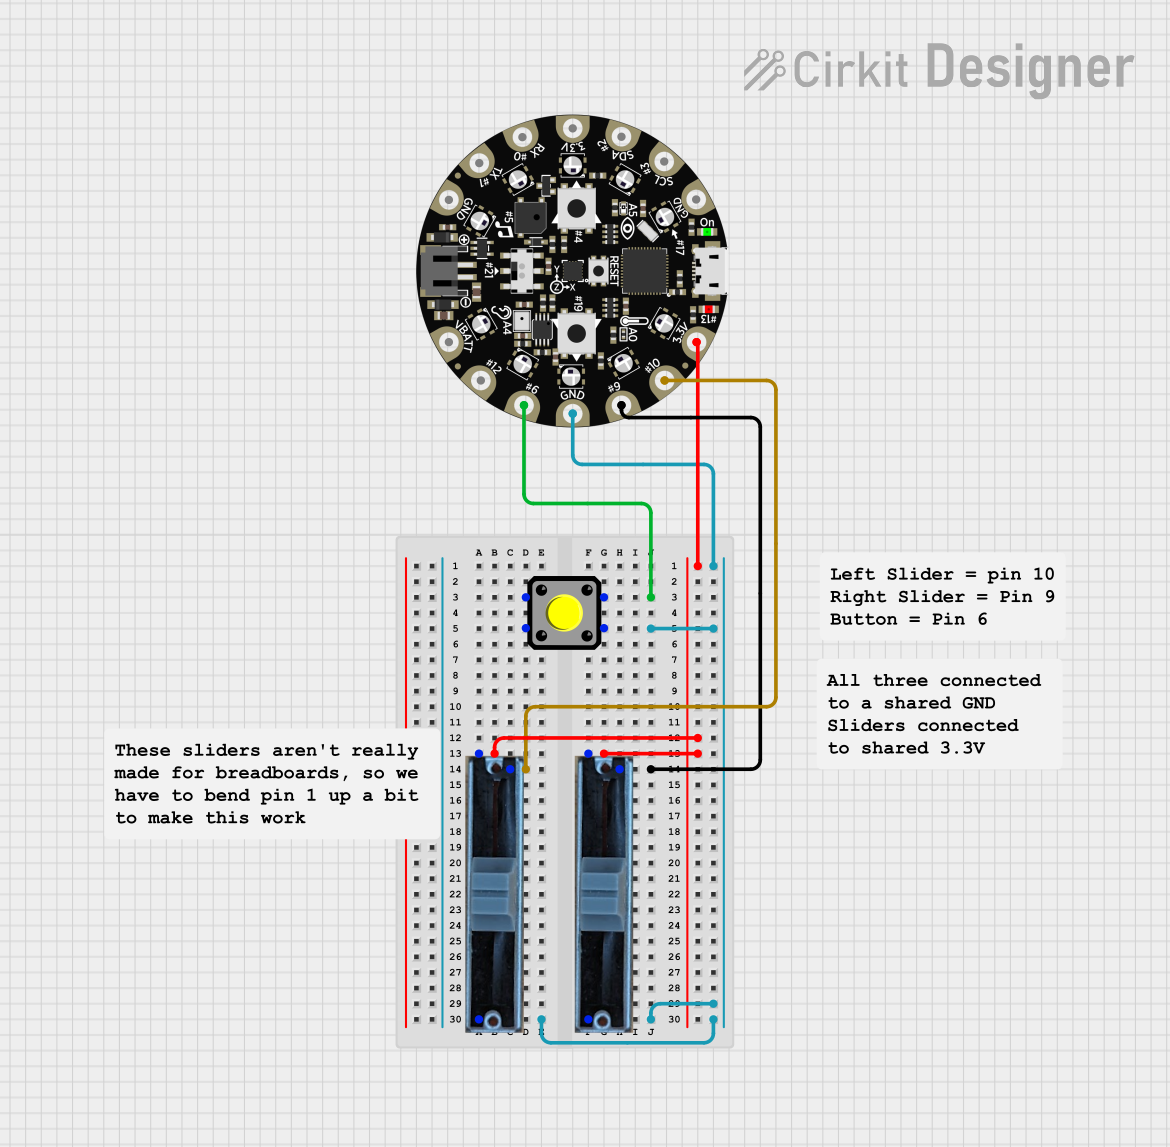 Open Project in Cirkit Designer
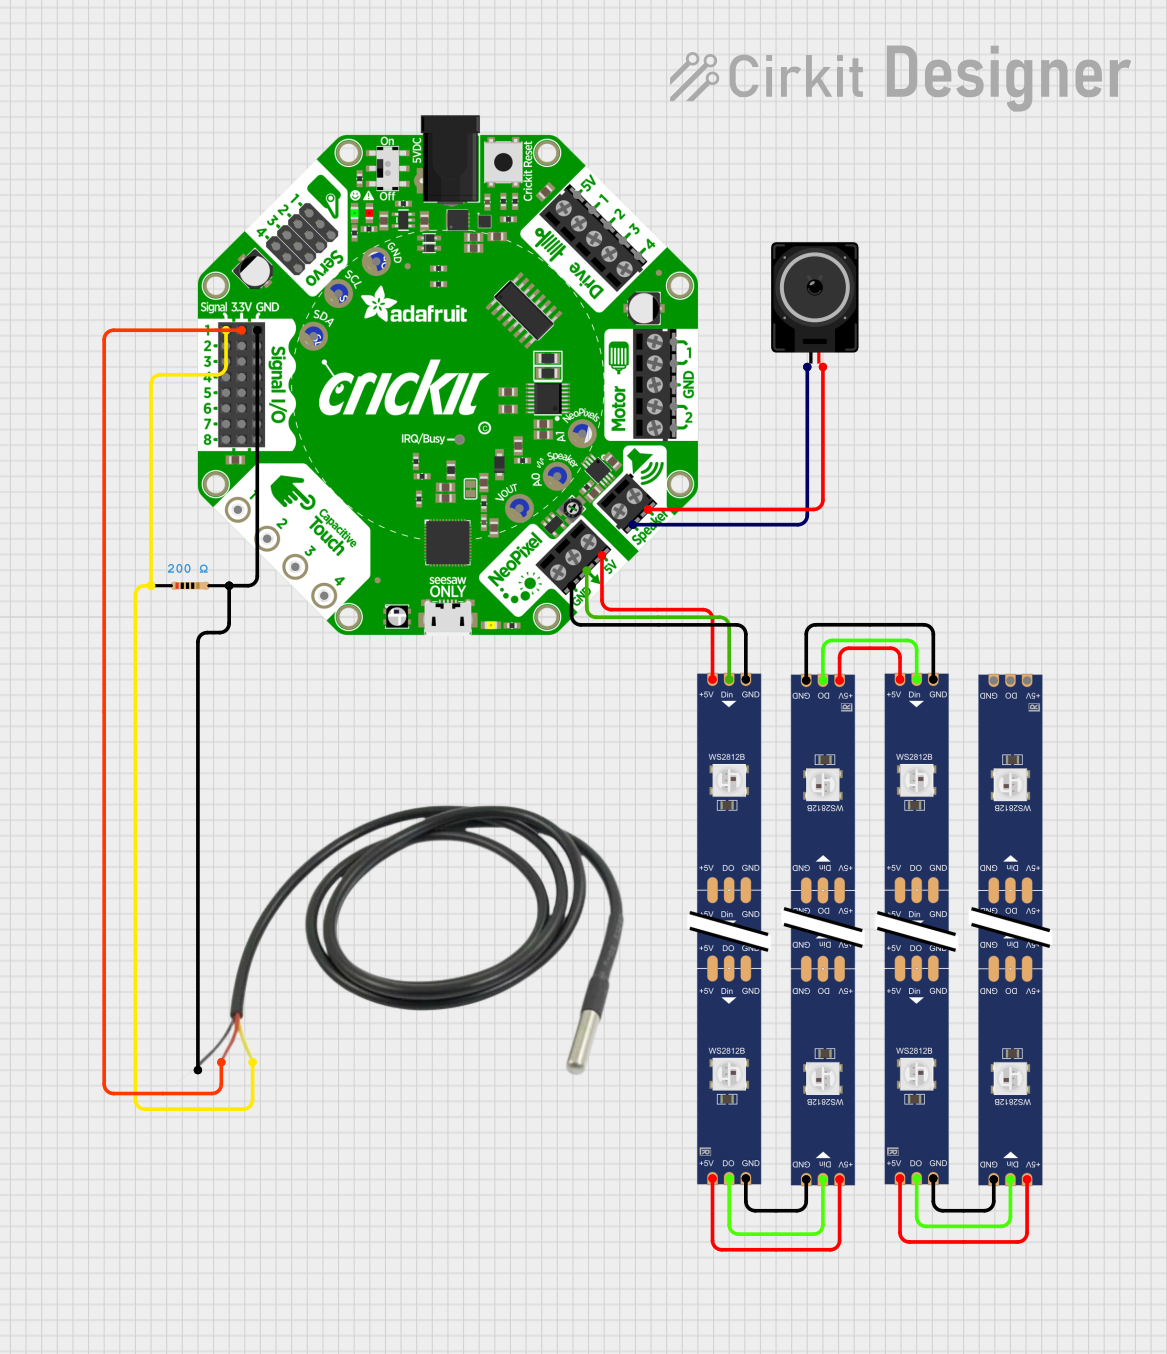 Open Project in Cirkit Designer
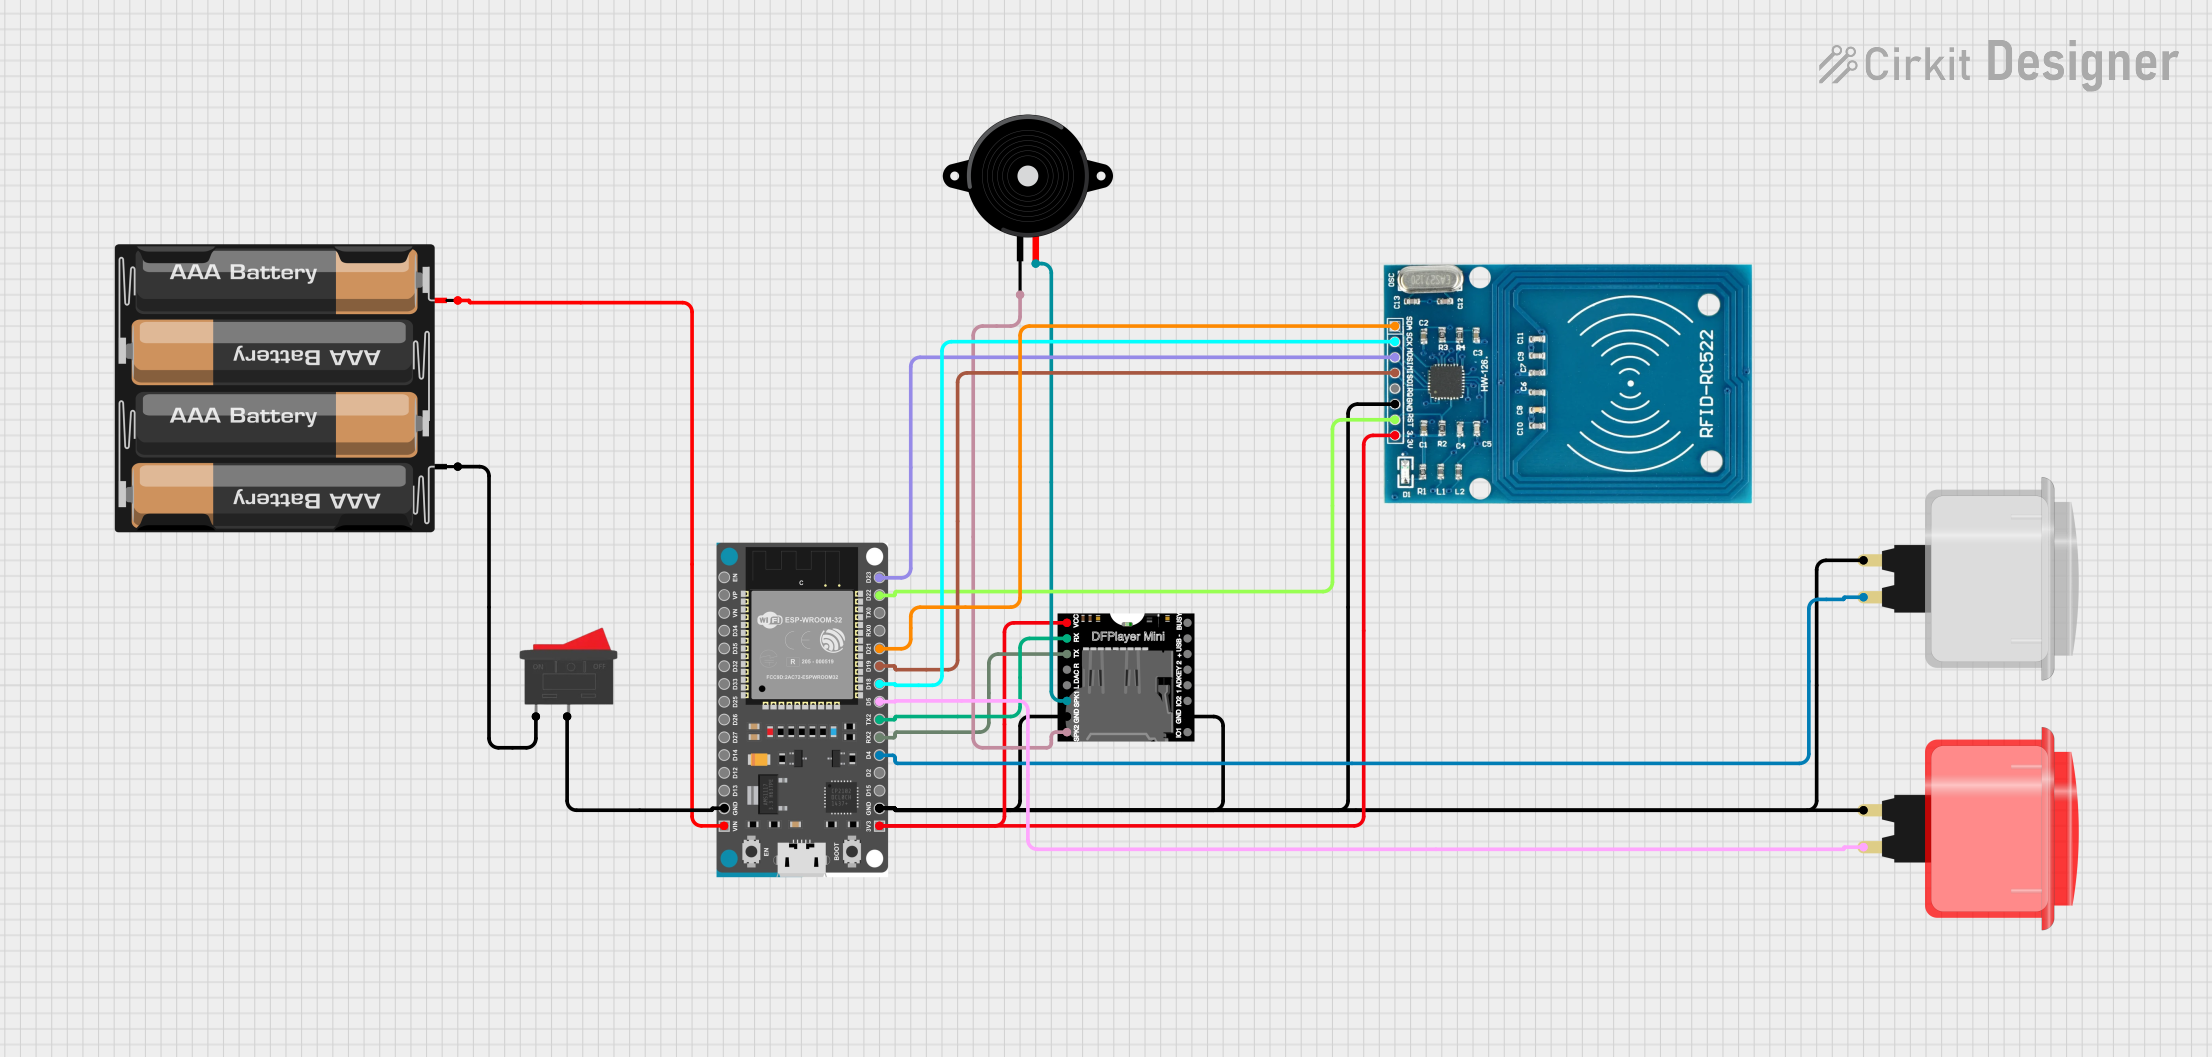 Open Project in Cirkit Designer
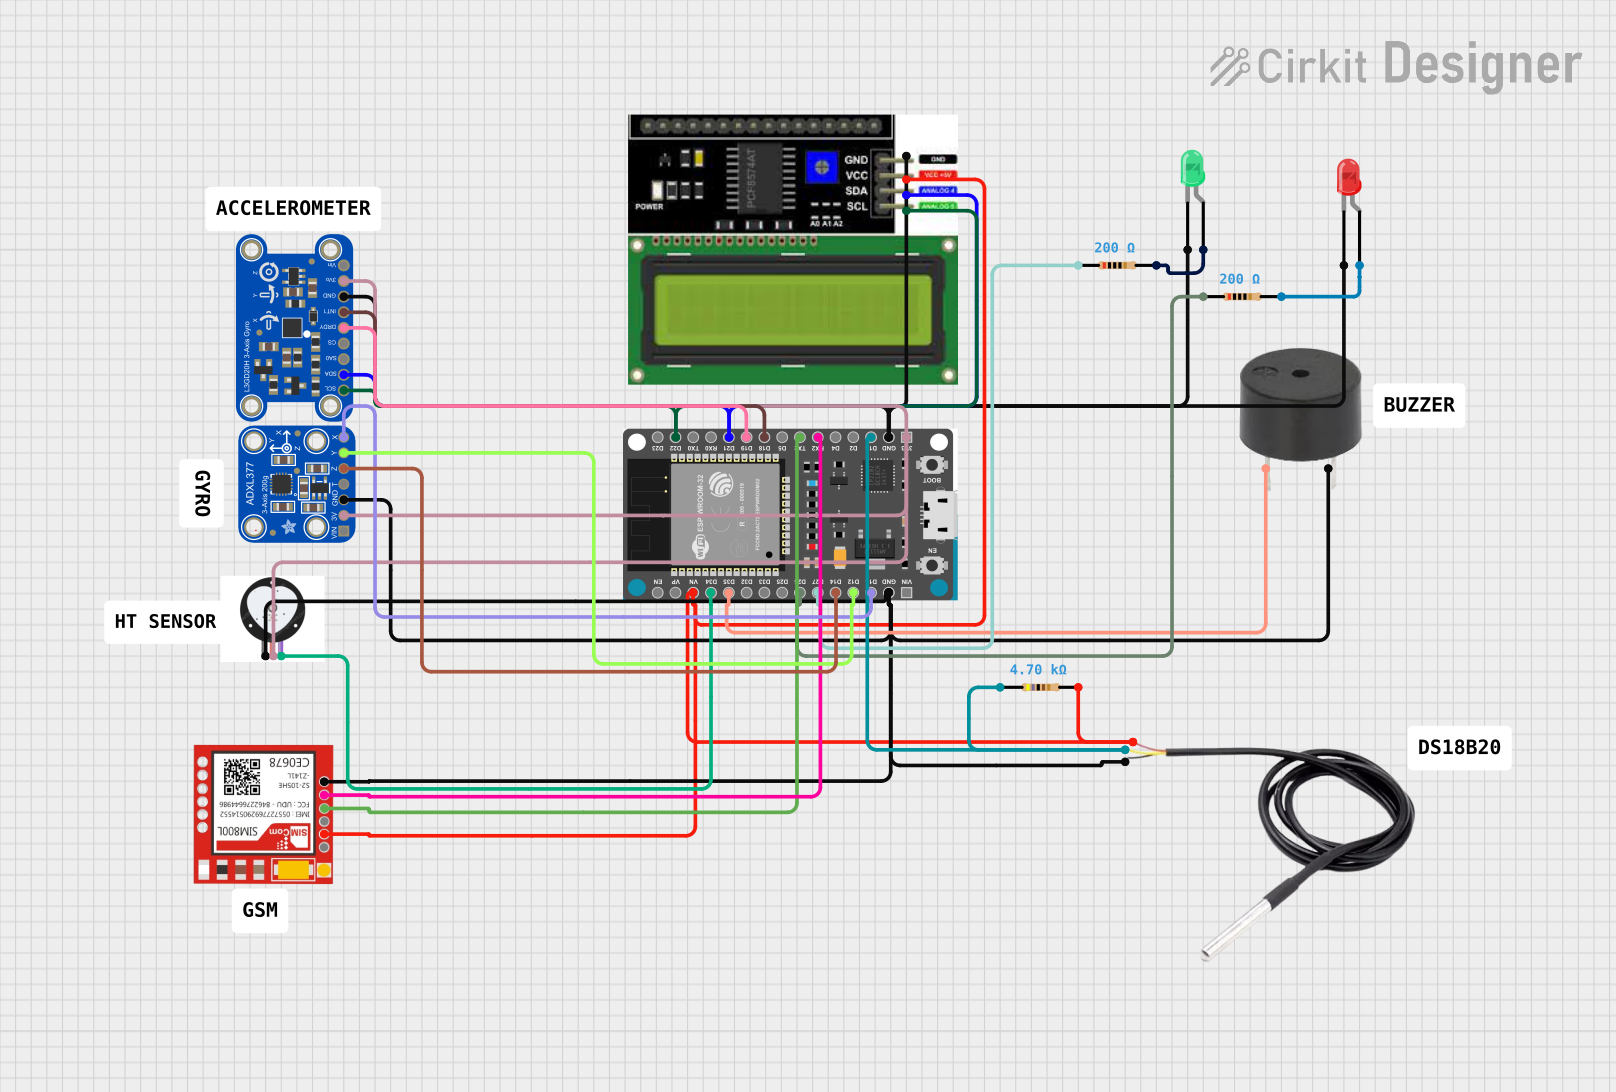 Open Project in Cirkit Designer
Explore Projects Built with Adafruit Circuit Playground Dev Edition
Open Project in Cirkit DesignerOpen Project in Cirkit DesignerOpen Project in Cirkit DesignerOpen Project in Cirkit DesignerCommon Applications and Use Cases
- Educational projects and STEM learning
- Prototyping interactive devices
- Wearable electronics
- Environmental sensing and data logging
- Creative lighting and sound projects
Technical Specifications
The Adafruit Circuit Playground Dev Edition is packed with features to support a wide range of projects. Below are its key technical details:
General Specifications
| Feature | Description |
|---|---|
| Microcontroller | ATmega32u4 (8-bit AVR architecture) |
| Operating Voltage | 3.3V or 5V (selectable) |
| Clock Speed | 16 MHz |
| Flash Memory | 32 KB (4 KB used by bootloader) |
| SRAM | 2.5 KB |
| EEPROM | 1 KB |
| Power Supply | USB or external battery (3.7V LiPo supported) |
| Dimensions | 50mm diameter (round form factor) |
Onboard Components
| Component | Description |
|---|---|
| LEDs | 10 RGB NeoPixels (individually addressable) |
| Buttons | 2 push buttons (reset and user-programmable) |
| Sensors | Temperature, light, sound, motion (accelerometer), and capacitive touch |
| Speaker | Mini piezo speaker for sound output |
| Microphone | MEMS microphone for sound input |
| Connectivity | Micro USB for programming and power |
| GPIO Pins | 8 GPIO pins (6 analog-capable, 2 capacitive touch) |
Pin Configuration and Descriptions
| Pin Number | Pin Name | Description |
|---|---|---|
| 1 | A0/D12 | Analog input or digital I/O |
| 2 | A1/D6 | Analog input or digital I/O |
| 3 | A2/D9 | Analog input or digital I/O |
| 4 | A3/D10 | Analog input or digital I/O |
| 5 | A4/SDA | Analog input, digital I/O, or I2C data line |
| 6 | A5/SCL | Analog input, digital I/O, or I2C clock line |
| 7 | TX/D1 | UART transmit pin |
| 8 | RX/D0 | UART receive pin |
Usage Instructions
The Adafruit Circuit Playground Dev Edition is designed to be beginner-friendly while offering advanced features for experienced users. Below are the steps and best practices for using the board.
How to Use the Component in a Circuit
- Power the Board: Connect the board to your computer using a Micro USB cable or use a 3.7V LiPo battery for portable projects.
- Install Drivers: If using Windows, install the necessary USB drivers from the Adafruit website.
- Set Up the IDE: Use the Arduino IDE or CircuitPython to program the board. For Arduino:
- Install the Adafruit AVR Boards package via the Arduino Board Manager.
- Select "Adafruit Circuit Playground" from the Tools > Board menu.
- Write and Upload Code: Write your code in the IDE and upload it to the board via the USB connection.
- Connect External Components: Use the GPIO pins to connect additional sensors, actuators, or other peripherals.
Important Considerations and Best Practices
- Power Supply: Ensure the board is powered correctly (via USB or battery) to avoid damage.
- NeoPixel Usage: Avoid drawing too much current from the NeoPixels. Use an external power source if driving many LEDs.
- Capacitive Touch: For reliable touch sensing, avoid placing the board on conductive surfaces.
- Firmware Updates: Keep the bootloader and firmware updated for optimal performance.
Example Code for Arduino UNO
Below is an example of how to control the onboard NeoPixels using the Arduino IDE:
#include <Adafruit_CircuitPlayground.h> // Include the Circuit Playground library

void setup() {
  CircuitPlayground.begin(); // Initialize the Circuit Playground board
}

void loop() {
  // Turn all NeoPixels red
  for (int i = 0; i < 10; i++) {
    CircuitPlayground.setPixelColor(i, 255, 0, 0); // Set pixel to red (R, G, B)
  }
  delay(500); // Wait for 500 milliseconds

  // Turn all NeoPixels off
  for (int i = 0; i < 10; i++) {
    CircuitPlayground.setPixelColor(i, 0, 0, 0); // Turn off pixel
  }
  delay(500); // Wait for 500 milliseconds
}
Troubleshooting and FAQs
Common Issues Users Might Face
- Board Not Recognized by Computer:
- Ensure the USB cable is data-capable (not charge-only).
- Check that the correct board and port are selected in the Arduino IDE.
- NeoPixels Not Lighting Up:
- Verify that the
CircuitPlayground.begin()function is called insetup(). - Ensure the board is receiving sufficient power.
- Verify that the
- Capacitive Touch Not Responding:
- Avoid touching multiple pins simultaneously.
- Ensure the board is not placed on a conductive surface.
Solutions and Tips for Troubleshooting
- Reset the Board: Press the reset button twice to enter bootloader mode if the board is unresponsive.
- Check Connections: Ensure all external components are securely connected to the correct pins.
- Consult Documentation: Refer to the Adafruit Learning System for detailed guides and tutorials.
By following this documentation, users can effectively utilize the Adafruit Circuit Playground Dev Edition for a wide range of projects and applications.