How to Use raspberry pi: Examples, Pinouts, and Specs
Introduction
The Raspberry Pi, manufactured by Raspberry, is a small, affordable single-board computer designed for a wide range of applications. It is widely used in programming, robotics, IoT (Internet of Things) projects, and as a general-purpose computer. Its compact size, versatility, and affordability make it an excellent choice for hobbyists, educators, and professionals alike.
Common applications of the Raspberry Pi include:
- Learning programming and computer science.
- Building IoT devices and smart home systems.
- Robotics and automation projects.
- Media centers and retro gaming consoles.
- Prototyping and testing hardware/software solutions.
Explore Projects Built with raspberry pi

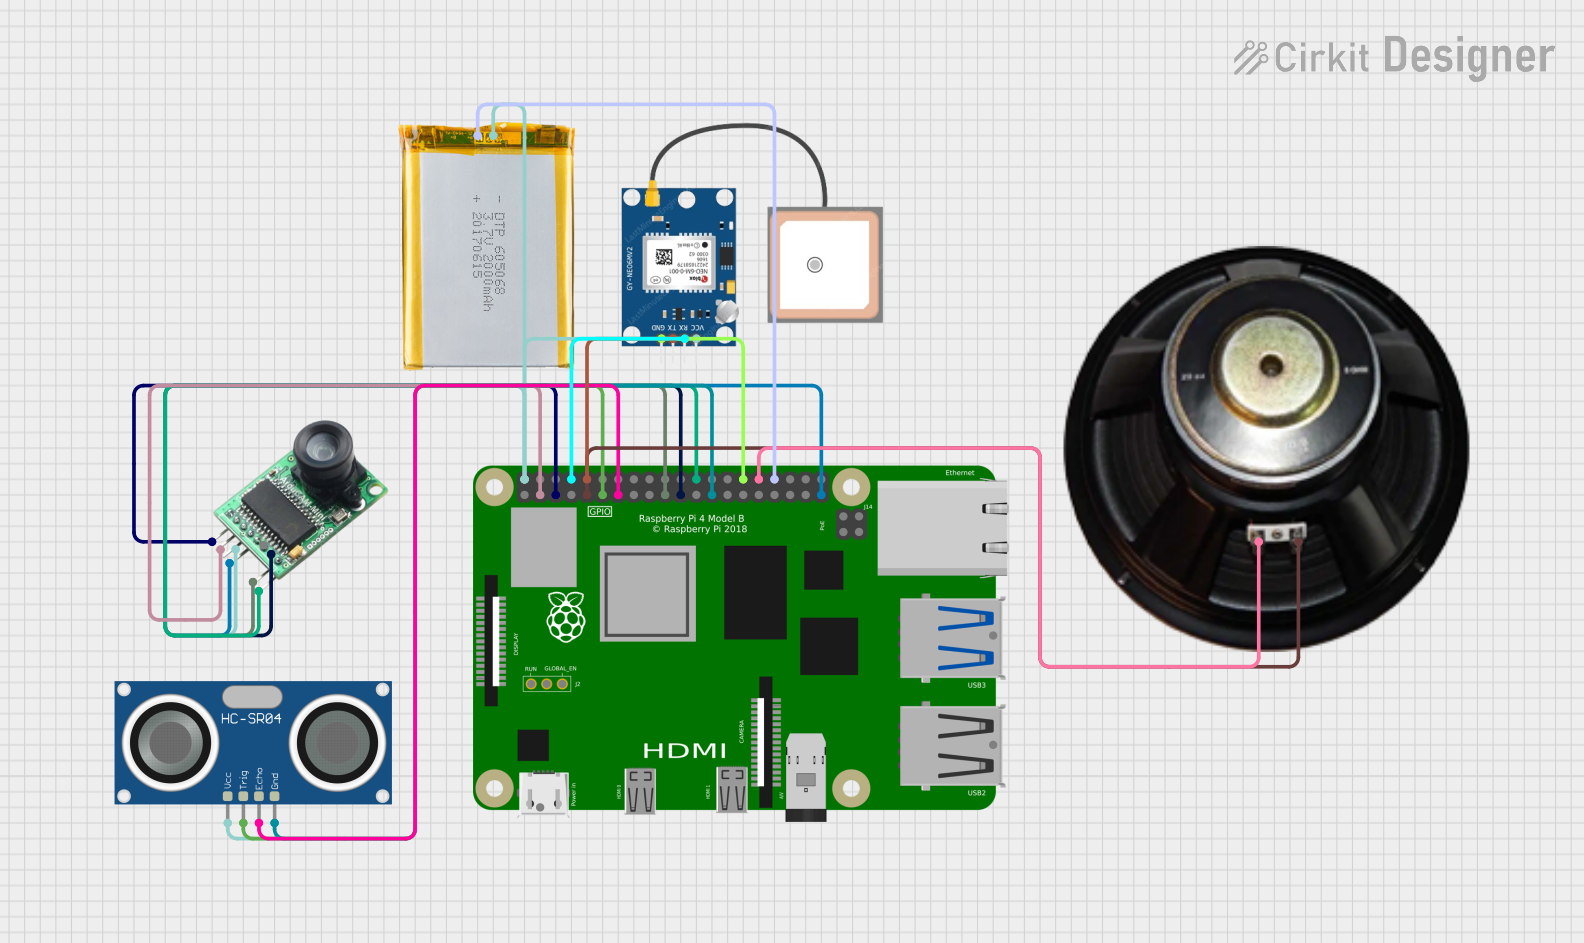
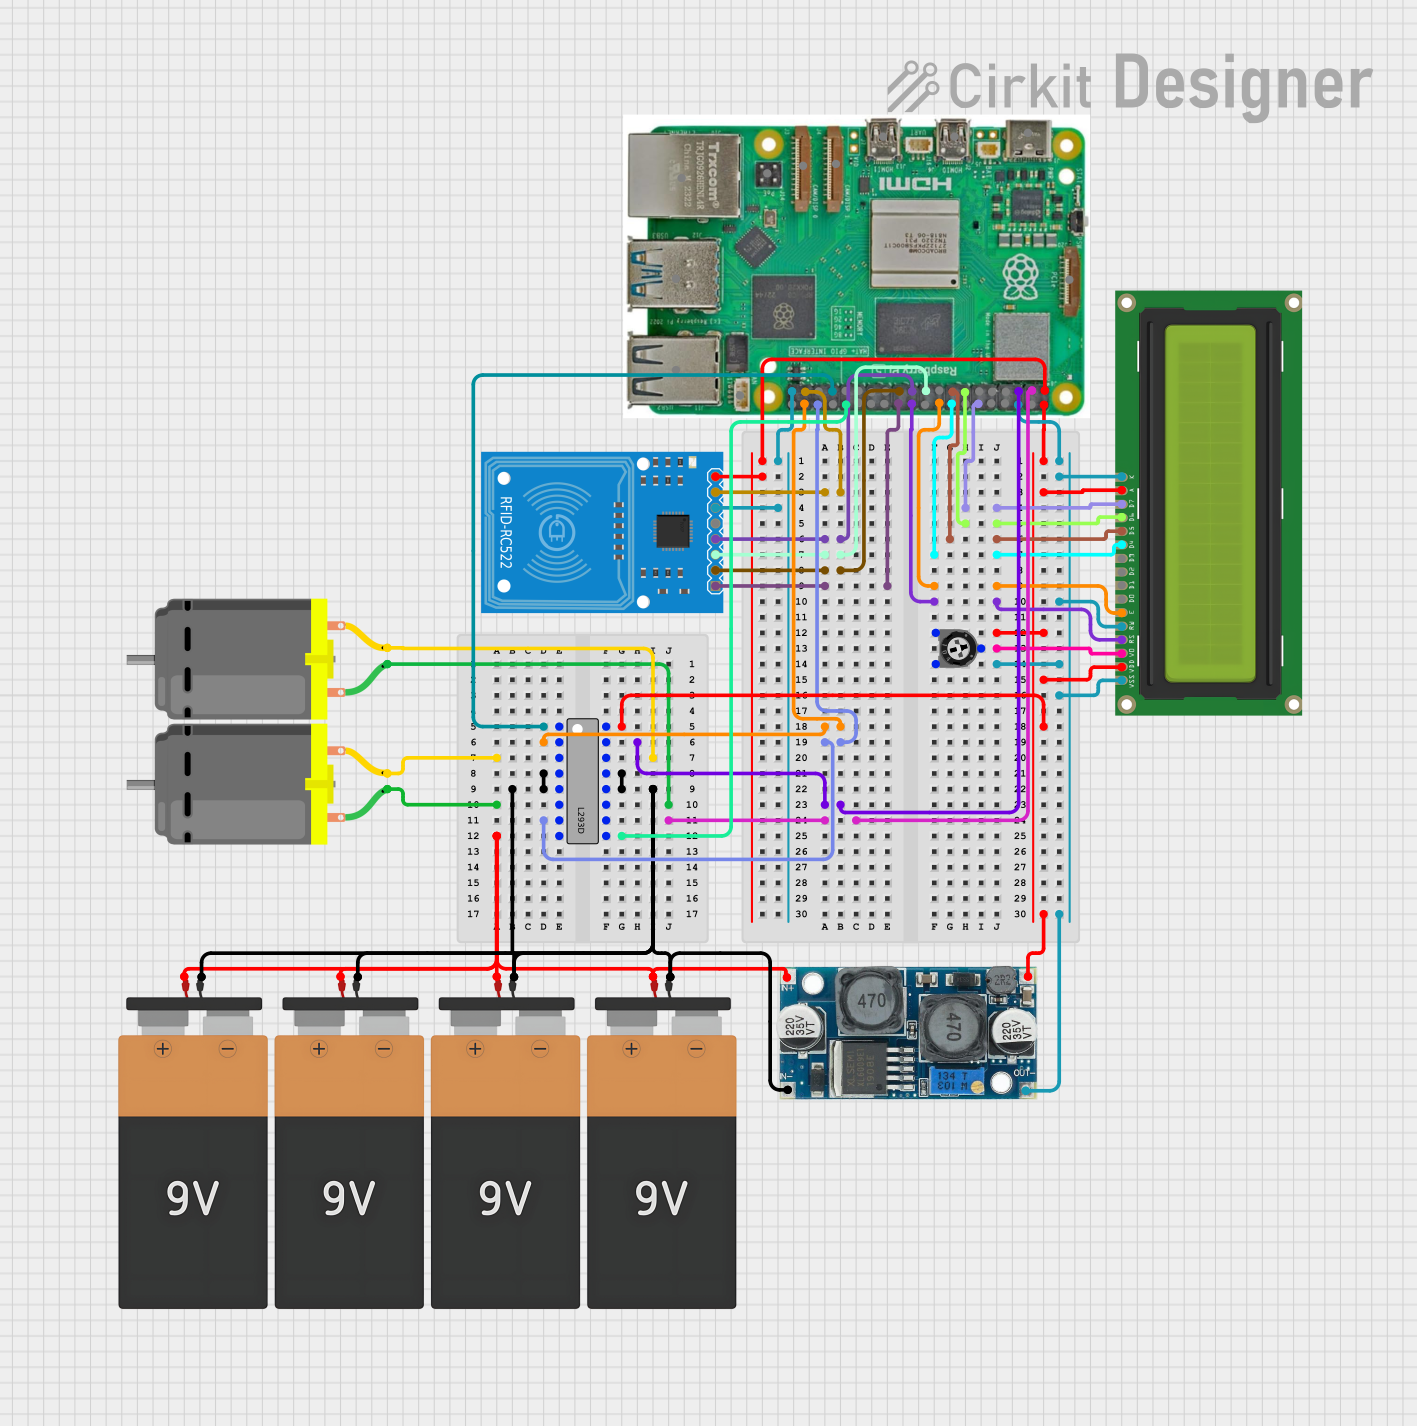

Explore Projects Built with raspberry pi
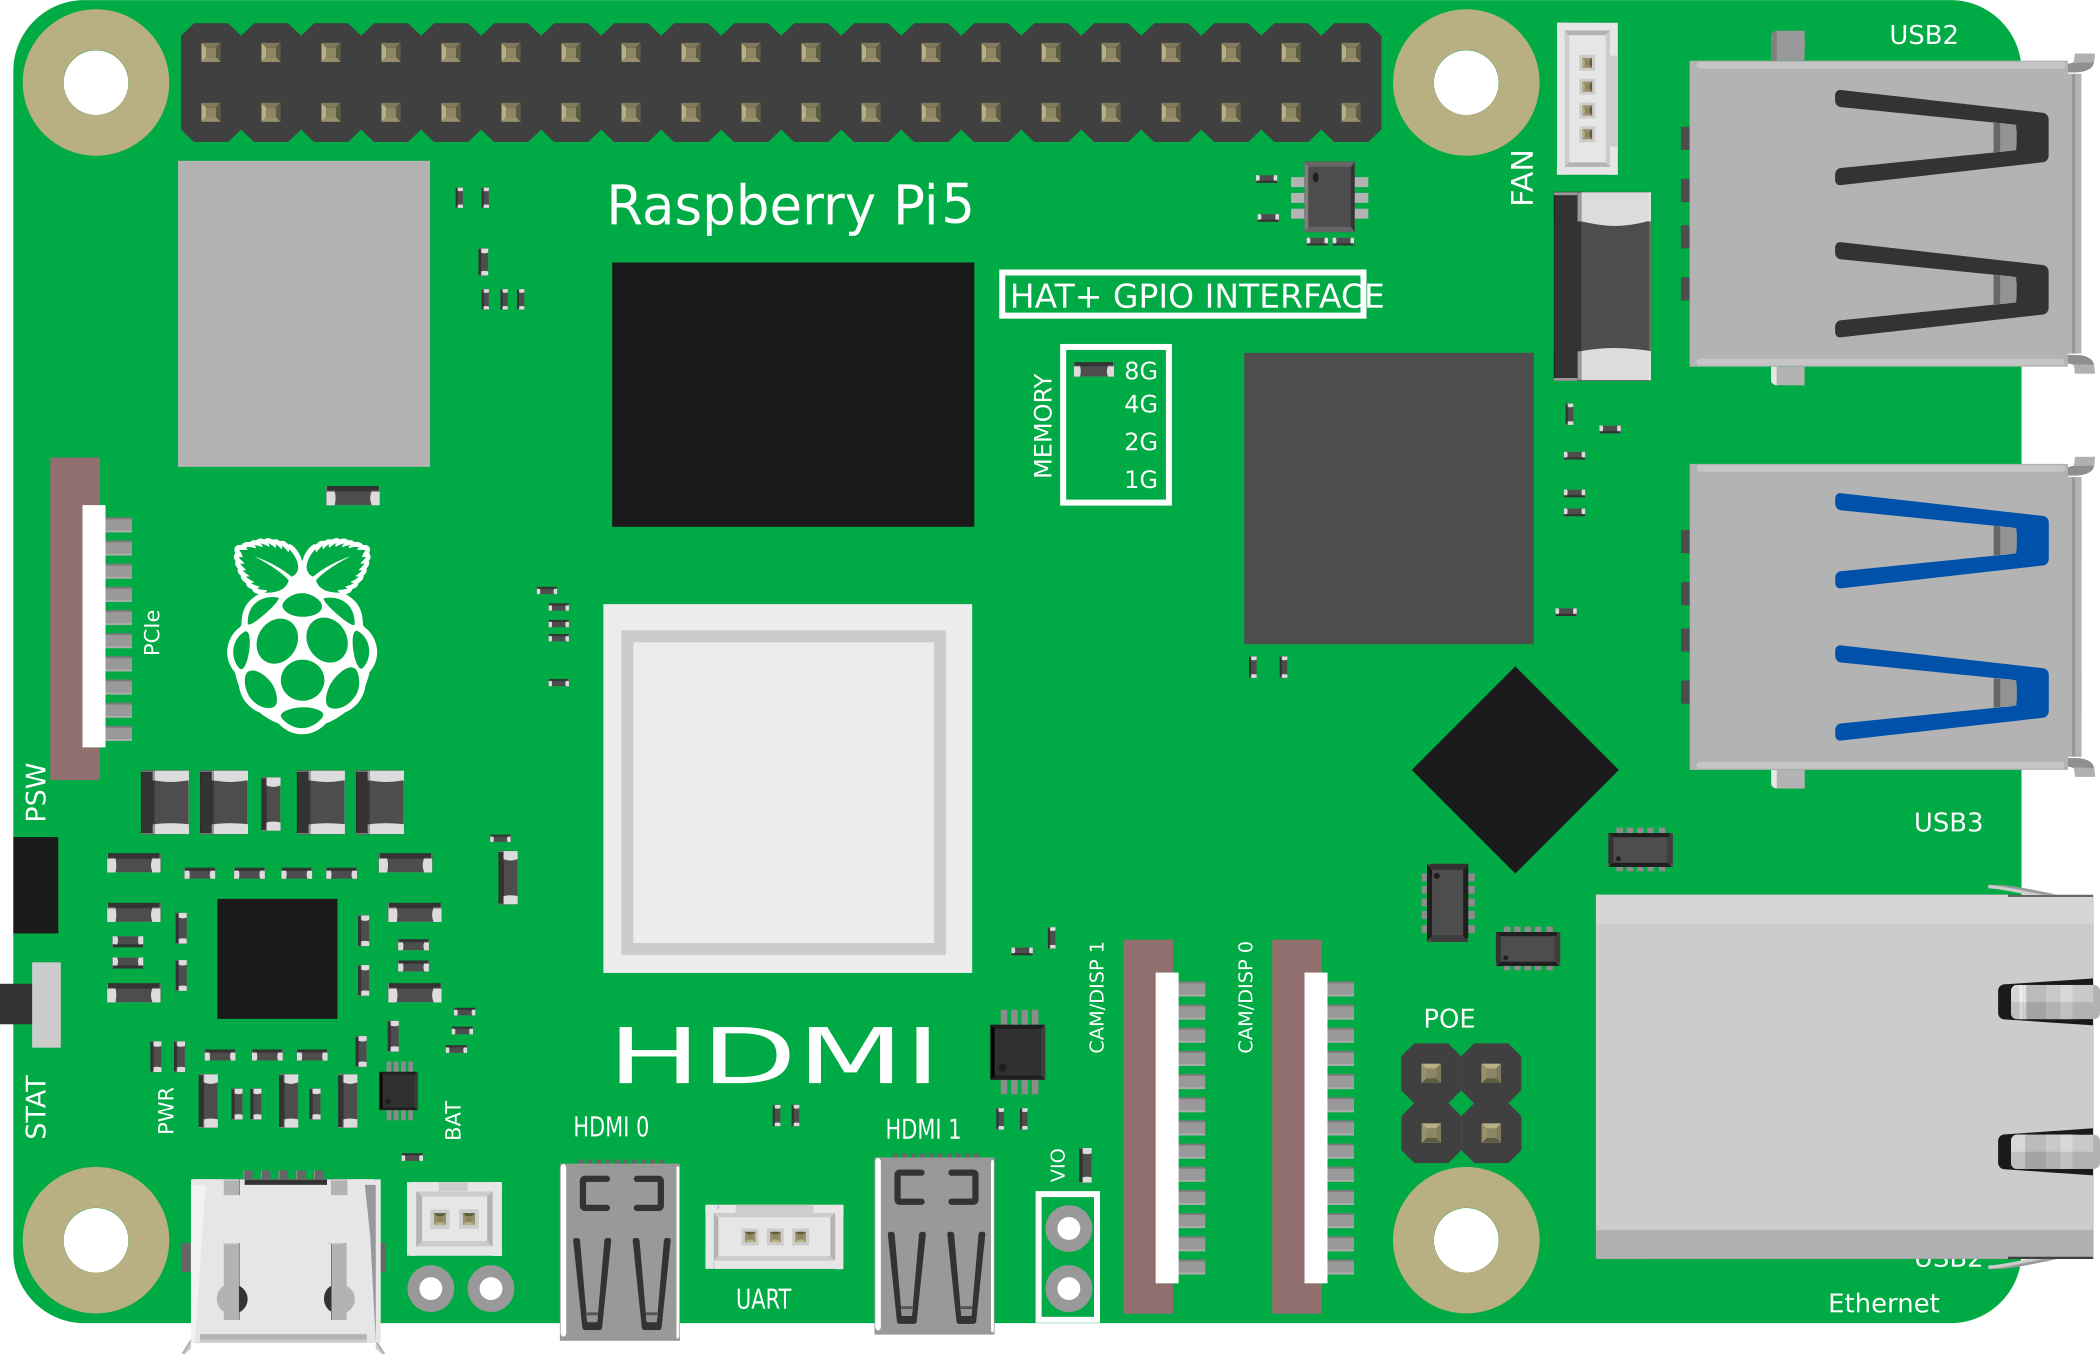
Technical Specifications
The Raspberry Pi is available in various models, but the following specifications are for the Raspberry Pi 4 Model B, one of the most popular versions:
Key Technical Details
| Specification | Details |
|---|---|
| Processor | Quad-core ARM Cortex-A72 (64-bit) at 1.5 GHz |
| RAM Options | 2GB, 4GB, or 8GB LPDDR4 |
| Storage | MicroSD card slot (supports booting and storage) |
| USB Ports | 2 × USB 3.0, 2 × USB 2.0 |
| HDMI Ports | 2 × Micro HDMI (supports up to 4K resolution) |
| Networking | Gigabit Ethernet, 802.11ac Wi-Fi, Bluetooth 5.0 |
| GPIO Pins | 40-pin GPIO header (3.3V logic) |
| Power Supply | 5V/3A via USB-C or GPIO header |
| Operating System | Raspberry Pi OS (Linux-based), supports other OS options |
| Dimensions | 85.6mm × 56.5mm × 17mm |
GPIO Pin Configuration
The Raspberry Pi features a 40-pin GPIO (General Purpose Input/Output) header. Below is a table summarizing the pin configuration:
| Pin Number | Function | Description |
|---|---|---|
| 1 | 3.3V Power | Power supply (3.3V) |
| 2 | 5V Power | Power supply (5V) |
| 3 | GPIO 2 (SDA1) | I2C Data |
| 4 | 5V Power | Power supply (5V) |
| 5 | GPIO 3 (SCL1) | I2C Clock |
| 6 | Ground | Ground |
| ... | ... | ... |
| 39 | Ground | Ground |
| 40 | GPIO 21 | General-purpose I/O |
For a complete GPIO pinout, refer to the official Raspberry Pi documentation.
Usage Instructions
How to Use the Raspberry Pi
Set Up the Hardware:
- Insert a microSD card with a pre-installed operating system (e.g., Raspberry Pi OS).
- Connect peripherals such as a keyboard, mouse, and monitor.
- Power the Raspberry Pi using a 5V/3A USB-C power supply.
Boot the Raspberry Pi:
- Power on the device and follow the on-screen instructions to complete the initial setup.
- Configure Wi-Fi, language, and other settings as needed.
Programming and GPIO Usage:
- Use programming languages like Python to interact with the GPIO pins.
- Install libraries such as
RPi.GPIOorgpiozerofor easier GPIO control.
Example: Blinking an LED with Python
Below is an example of how to blink an LED connected to GPIO pin 17:
Import necessary libraries
import RPi.GPIO as GPIO import time
Set up GPIO mode and pin
GPIO.setmode(GPIO.BCM) # Use Broadcom pin numbering GPIO.setup(17, GPIO.OUT) # Set GPIO 17 as an output pin
try: while True: GPIO.output(17, GPIO.HIGH) # Turn LED on time.sleep(1) # Wait for 1 second GPIO.output(17, GPIO.LOW) # Turn LED off time.sleep(1) # Wait for 1 second except KeyboardInterrupt: # Clean up GPIO settings on exit GPIO.cleanup()
Important Considerations
- Always use a proper power supply to avoid under-voltage issues.
- Be cautious when connecting external components to GPIO pins to prevent damage.
- Use resistors with LEDs to limit current and protect the GPIO pins.
Troubleshooting and FAQs
Common Issues and Solutions
The Raspberry Pi does not boot:
- Ensure the microSD card is properly inserted and contains a valid operating system.
- Check the power supply for sufficient voltage and current.
Wi-Fi connectivity issues:
- Verify the Wi-Fi credentials and ensure the network is within range.
- Update the Raspberry Pi OS to the latest version.
GPIO pins not working:
- Double-check the pin numbering (BCM vs. physical pin numbers).
- Ensure the correct GPIO library is installed and configured.
Overheating:
- Use a heatsink or fan for better thermal management.
- Avoid running resource-intensive tasks for extended periods.
FAQs
Can I use the Raspberry Pi as a desktop computer? Yes, the Raspberry Pi 4 Model B is powerful enough for basic desktop tasks like web browsing, document editing, and media playback.
What operating systems are supported? The Raspberry Pi supports Raspberry Pi OS, Ubuntu, and other Linux-based distributions. It can also run lightweight versions of Windows.
How do I update the Raspberry Pi OS? Run the following commands in the terminal:
sudo apt update
sudo apt full-upgrade
By following this documentation, you can effectively use the Raspberry Pi for a variety of projects and applications.