
How to Use Adafruit FunHouse: Examples, Pinouts, and Specs
 Design with Adafruit FunHouse in Cirkit Designer
Introduction
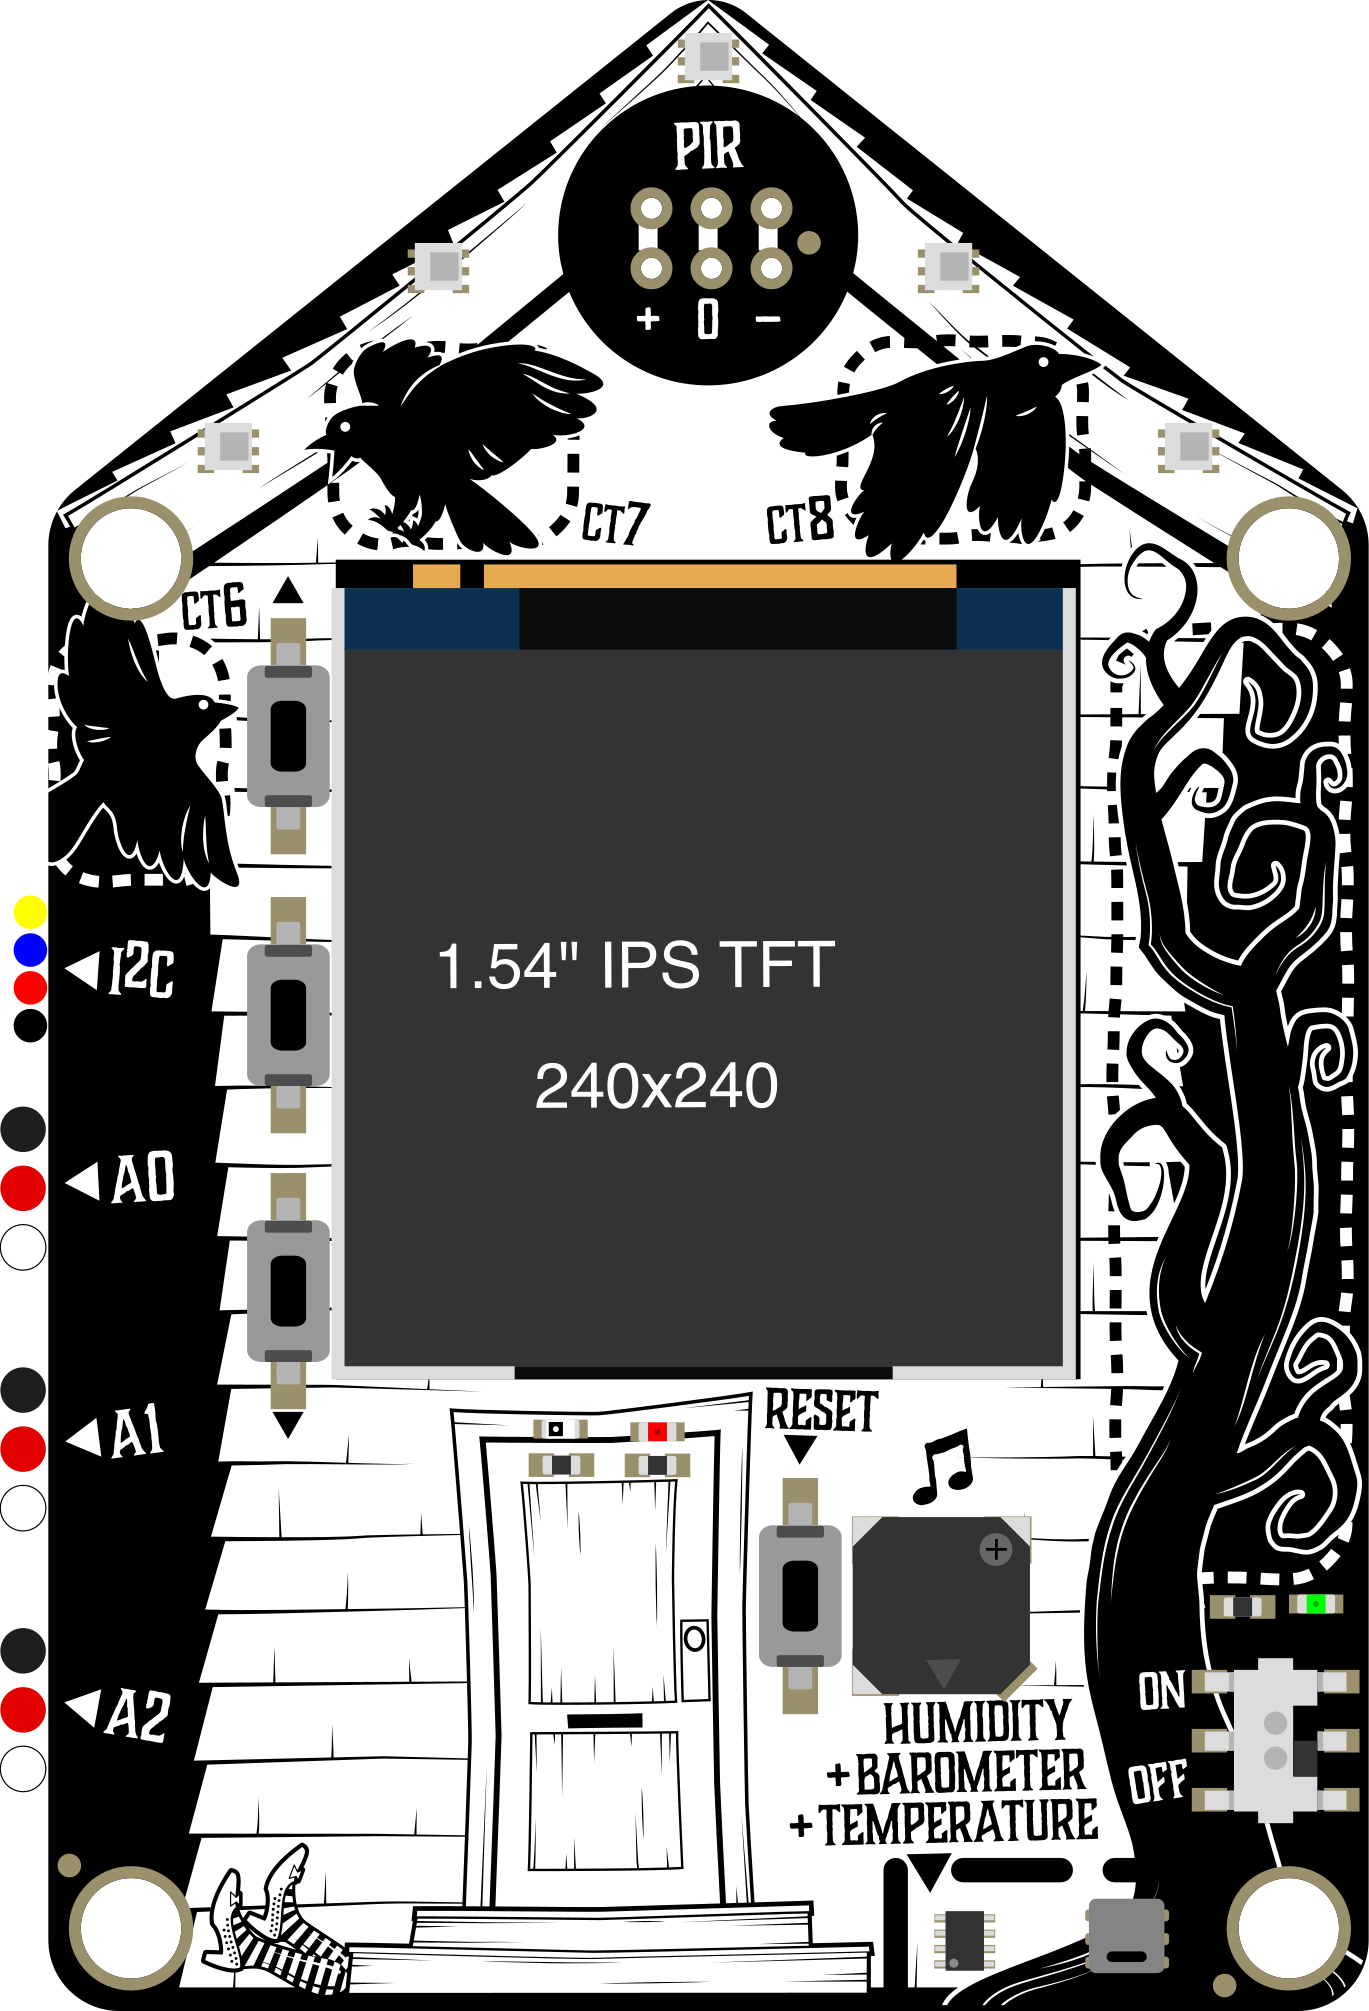
The Adafruit FunHouse (Manufacturer Part ID: 4985) is a versatile microcontroller board designed specifically for Internet of Things (IoT) projects. It features a built-in touchscreen display, multiple onboard sensors, and Wi-Fi connectivity, making it an excellent choice for creating smart home applications, interactive devices, and educational projects. Its user-friendly design and compatibility with CircuitPython and Arduino IDE make it accessible to both beginners and experienced developers.
Explore Projects Built with Adafruit FunHouse
 Open Project in Cirkit Designer
 Open Project in Cirkit Designer
 Open Project in Cirkit Designer
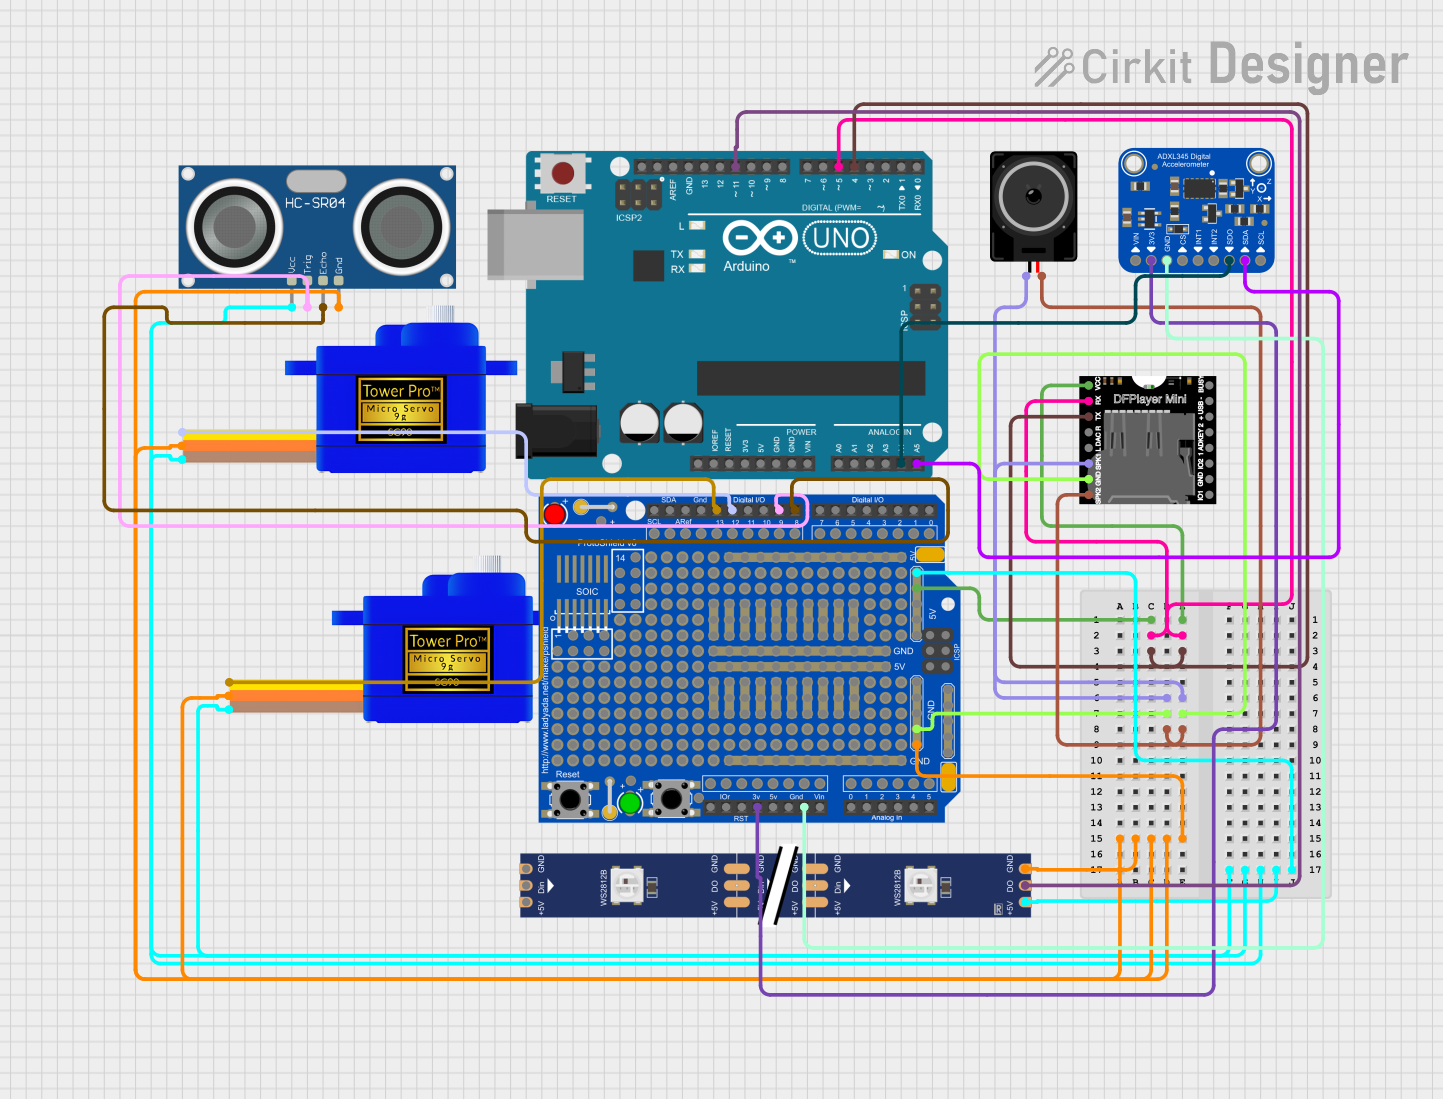 Open Project in Cirkit Designer
Explore Projects Built with Adafruit FunHouse
Open Project in Cirkit DesignerOpen Project in Cirkit DesignerOpen Project in Cirkit DesignerOpen Project in Cirkit DesignerCommon Applications and Use Cases
- Smart home automation (e.g., controlling lights, monitoring temperature, or detecting motion)
- Environmental monitoring (e.g., air quality, humidity, and temperature tracking)
- Interactive IoT devices with touchscreen interfaces
- Educational projects for learning about IoT and microcontrollers
- Prototyping and testing IoT concepts
Technical Specifications
Key Technical Details
| Specification | Details |
|---|---|
| Microcontroller | ESP32-S2 (240 MHz, single-core processor with Wi-Fi) |
| Flash Memory | 4 MB SPI Flash |
| Display | 1.14" 240x135 color TFT LCD with ST7789 driver |
| Connectivity | Wi-Fi 802.11b/g/n |
| Sensors | Temperature, humidity, barometric pressure, PIR motion sensor, light sensor |
| Power Supply | USB-C (5V input) or external battery (via JST connector) |
| GPIO Pins | 8 GPIO pins (3.3V logic) |
| Programming | CircuitPython, Arduino IDE |
| Dimensions | 90mm x 70mm x 12mm |
Pin Configuration and Descriptions
| Pin | Name | Description |
|---|---|---|
| 1 | 3V3 | 3.3V power output for external components |
| 2 | GND | Ground connection |
| 3 | GPIO0 | General-purpose I/O pin (can also be used for touch input) |
| 4 | GPIO1 | General-purpose I/O pin |
| 5 | GPIO2 | General-purpose I/O pin |
| 6 | GPIO3 | General-purpose I/O pin |
| 7 | GPIO4 | General-purpose I/O pin |
| 8 | GPIO5 | General-purpose I/O pin |
| 9 | JST Battery | Connector for external battery (3.7V LiPo/LiIon) |
| 10 | USB-C | USB-C connector for power and programming |
Usage Instructions
How to Use the Adafruit FunHouse in a Circuit
Powering the Board:
- Connect the FunHouse to a USB-C power source (5V) or use a 3.7V LiPo/LiIon battery via the JST connector.
- Ensure the power source provides sufficient current for the board and any connected peripherals.
Programming the Board:
- Install CircuitPython or Arduino IDE on your computer.
- For CircuitPython:
- Download the latest CircuitPython firmware for the FunHouse from the Adafruit website.
- Copy the firmware
.uf2file to the board's USB drive to install CircuitPython.
- For Arduino IDE:
- Install the ESP32-S2 board support package and the necessary Adafruit libraries.
Connecting Sensors and Peripherals:
- Use the GPIO pins to connect external sensors, actuators, or other peripherals.
- Ensure all connected components are compatible with the 3.3V logic level.
Wi-Fi Setup:
- Use the built-in Wi-Fi module to connect the FunHouse to your local network.
- Configure the Wi-Fi credentials in your code to enable IoT functionality.
Important Considerations and Best Practices
- Avoid exceeding the 3.3V logic level on GPIO pins to prevent damage to the board.
- Use appropriate pull-up or pull-down resistors when connecting external components.
- Ensure proper ventilation and avoid exposing the board to extreme temperatures or humidity.
- Regularly update the firmware and libraries to access the latest features and bug fixes.
Example Code for Arduino IDE
The following example demonstrates how to connect the FunHouse to Wi-Fi and read the onboard temperature sensor:
#include <WiFi.h>
#include <Adafruit_Sensor.h>
#include <Adafruit_AHTX0.h>

// Replace with your Wi-Fi credentials
const char* ssid = "Your_SSID";
const char* password = "Your_PASSWORD";

// Initialize the temperature and humidity sensor
Adafruit_AHTX0 aht;

void setup() {
  Serial.begin(115200);
  delay(1000);

  // Connect to Wi-Fi
  Serial.print("Connecting to Wi-Fi");
  WiFi.begin(ssid, password);
  while (WiFi.status() != WL_CONNECTED) {
    delay(500);
    Serial.print(".");
  }
  Serial.println("\nWi-Fi connected!");

  // Initialize the AHT sensor
  if (!aht.begin()) {
    Serial.println("Failed to initialize AHT sensor!");
    while (1);
  }
  Serial.println("AHT sensor initialized.");
}

void loop() {
  // Read temperature and humidity
  sensors_event_t humidity, temp;
  aht.getEvent(&humidity, &temp);

  // Print the readings to the Serial Monitor
  Serial.print("Temperature: ");
  Serial.print(temp.temperature);
  Serial.println(" °C");

  Serial.print("Humidity: ");
  Serial.print(humidity.relative_humidity);
  Serial.println(" %");

  delay(2000); // Wait 2 seconds before the next reading
}
Troubleshooting and FAQs
Common Issues and Solutions
The board is not detected by my computer:
- Ensure the USB-C cable is a data cable (not just a charging cable).
- Try a different USB port or cable.
- Check if the board is in bootloader mode by double-pressing the reset button.
Wi-Fi connection fails:
- Verify the SSID and password in your code.
- Ensure the Wi-Fi network is 2.4 GHz (the ESP32-S2 does not support 5 GHz networks).
- Check if the router is blocking new devices or has MAC address filtering enabled.
Sensors are not providing data:
- Confirm that the required libraries are installed and up to date.
- Check the wiring and connections for external sensors.
- Ensure the board is powered properly.
The touchscreen is unresponsive:
- Verify that the touchscreen library is installed and initialized correctly.
- Avoid touching the screen with wet or dirty hands.
FAQs
Can I use the FunHouse with a battery only?
Yes, the FunHouse can be powered by a 3.7V LiPo/LiIon battery via the JST connector. Ensure the battery is charged and has sufficient capacity for your project.What programming languages are supported?
The FunHouse supports CircuitPython and Arduino IDE. Both platforms are well-documented and have extensive libraries for IoT development.Is the FunHouse compatible with other Adafruit sensors?
Yes, the FunHouse is compatible with most Adafruit sensors and breakout boards. Use the GPIO pins to connect additional components.Can I use the FunHouse without Wi-Fi?
Yes, the FunHouse can function as a standalone microcontroller without Wi-Fi. However, many of its features are designed for IoT applications.
This concludes the documentation for the Adafruit FunHouse. For additional resources, visit the Adafruit FunHouse product page.