
How to Use Stepper Motor: Examples, Pinouts, and Specs
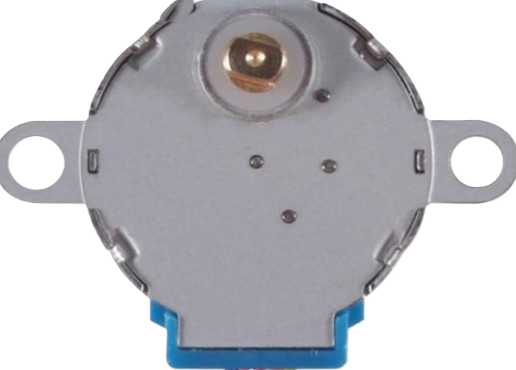
 Design with Stepper Motor in Cirkit Designer
Introduction
A stepper motor is a type of electric motor that divides a full rotation into a large number of discrete steps. This allows for precise control of position, speed, and acceleration without requiring feedback systems. Stepper motors are widely used in applications where accurate positioning is critical, such as 3D printers, CNC machines, robotics, and camera platforms.
Explore Projects Built with Stepper Motor
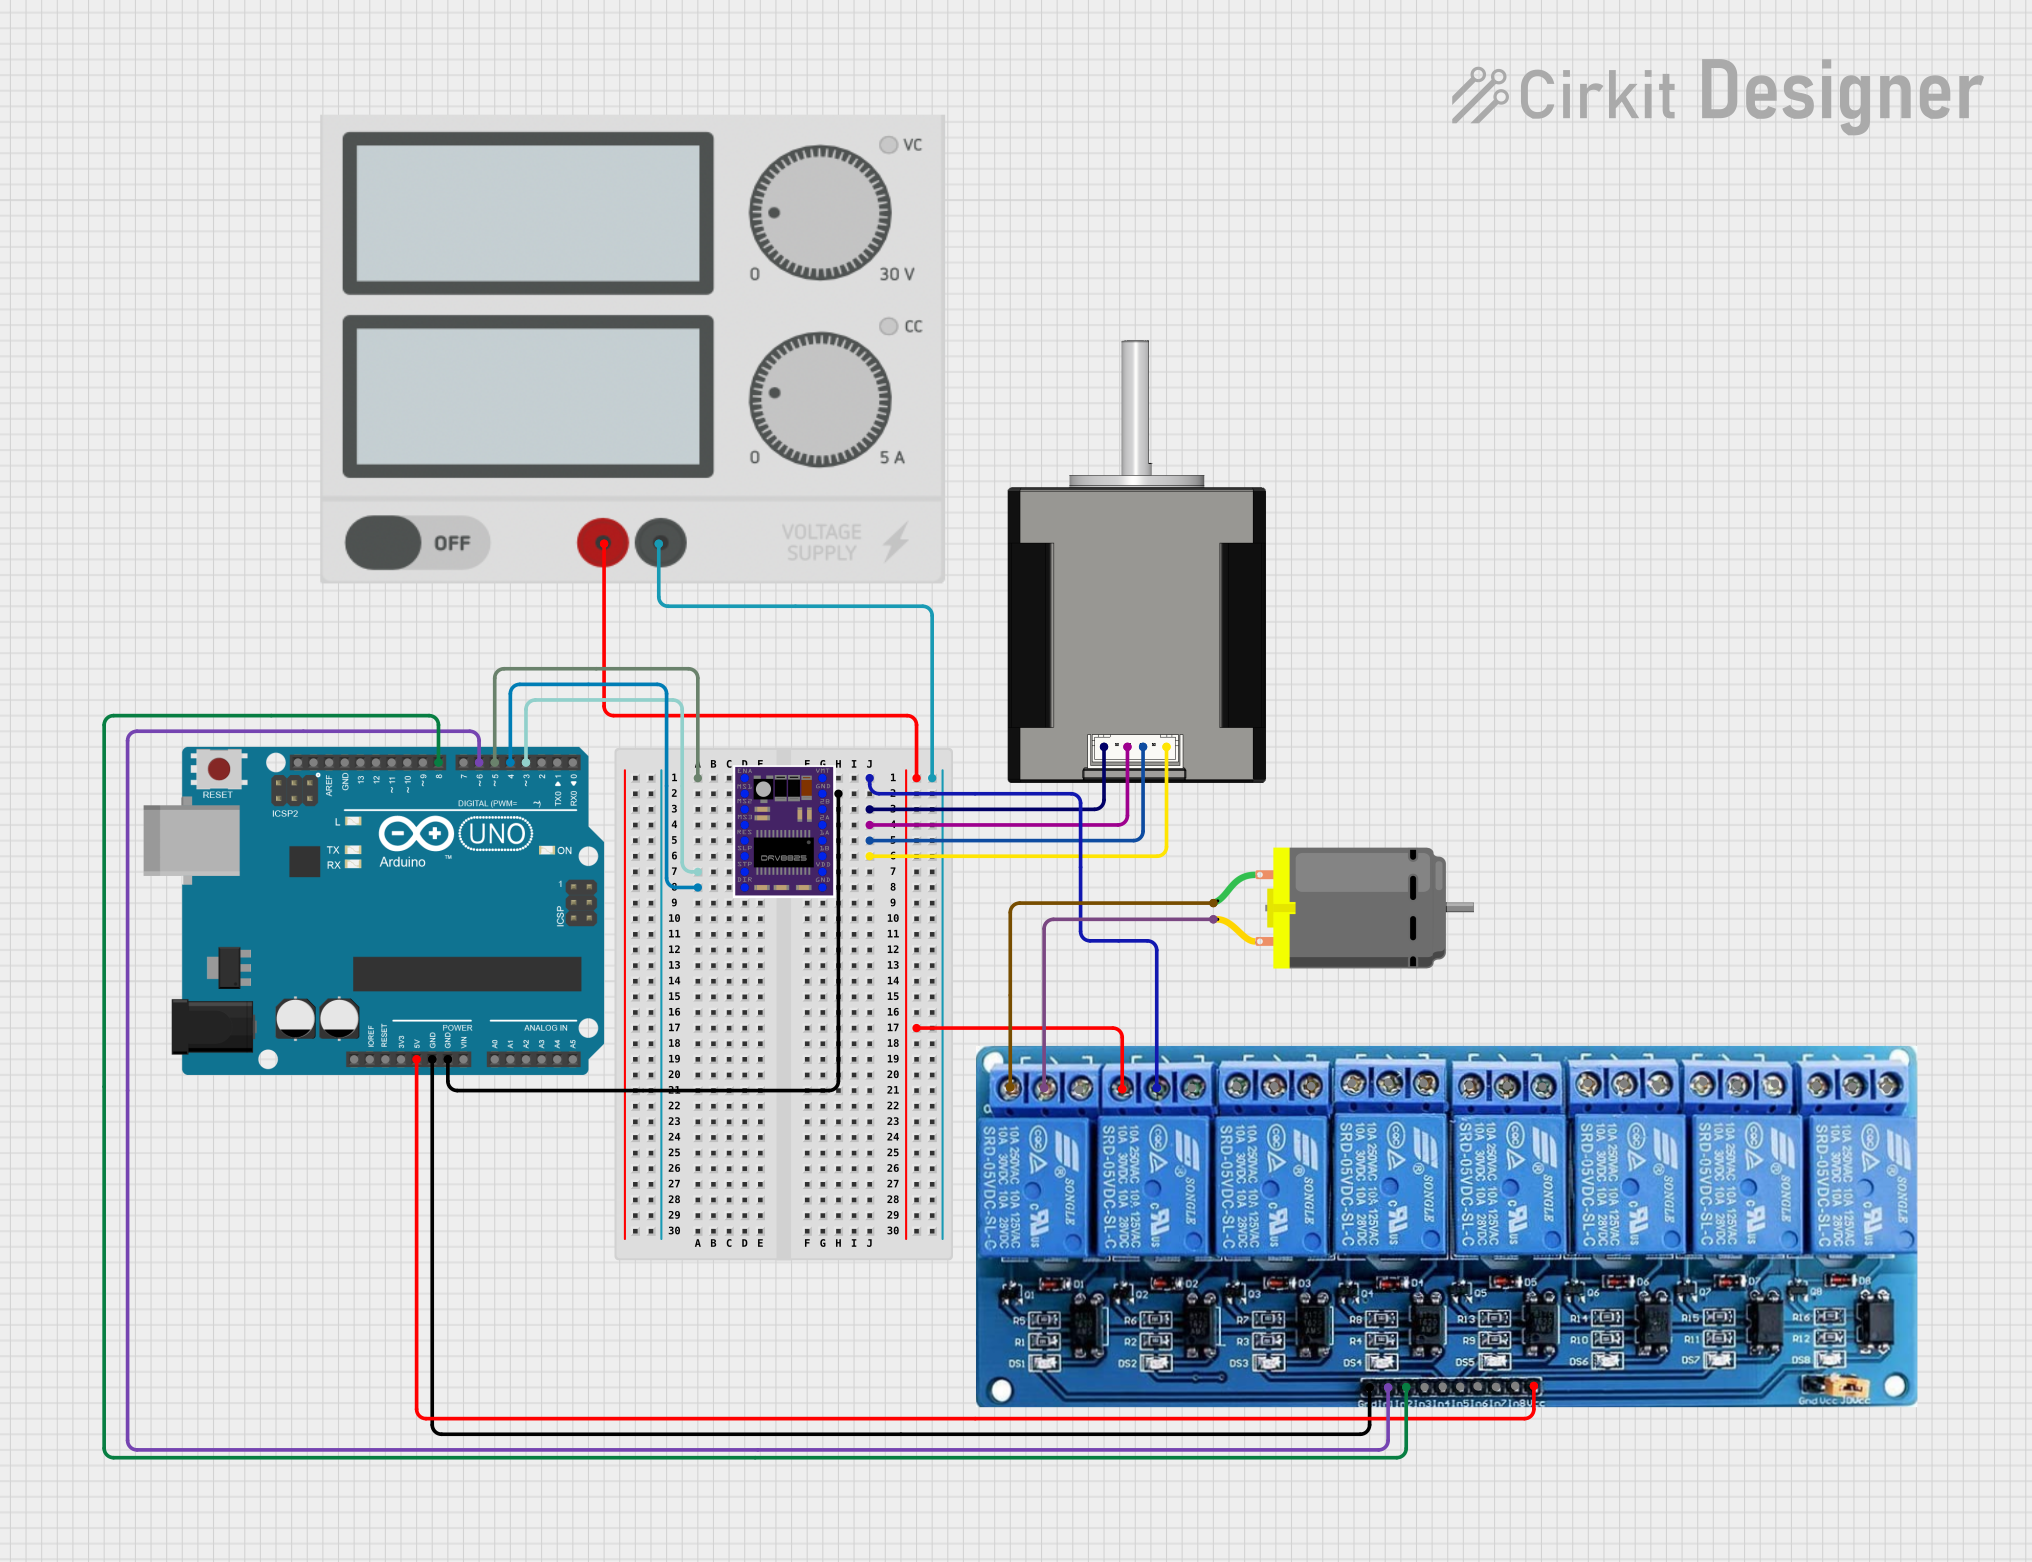
 Open Project in Cirkit Designer
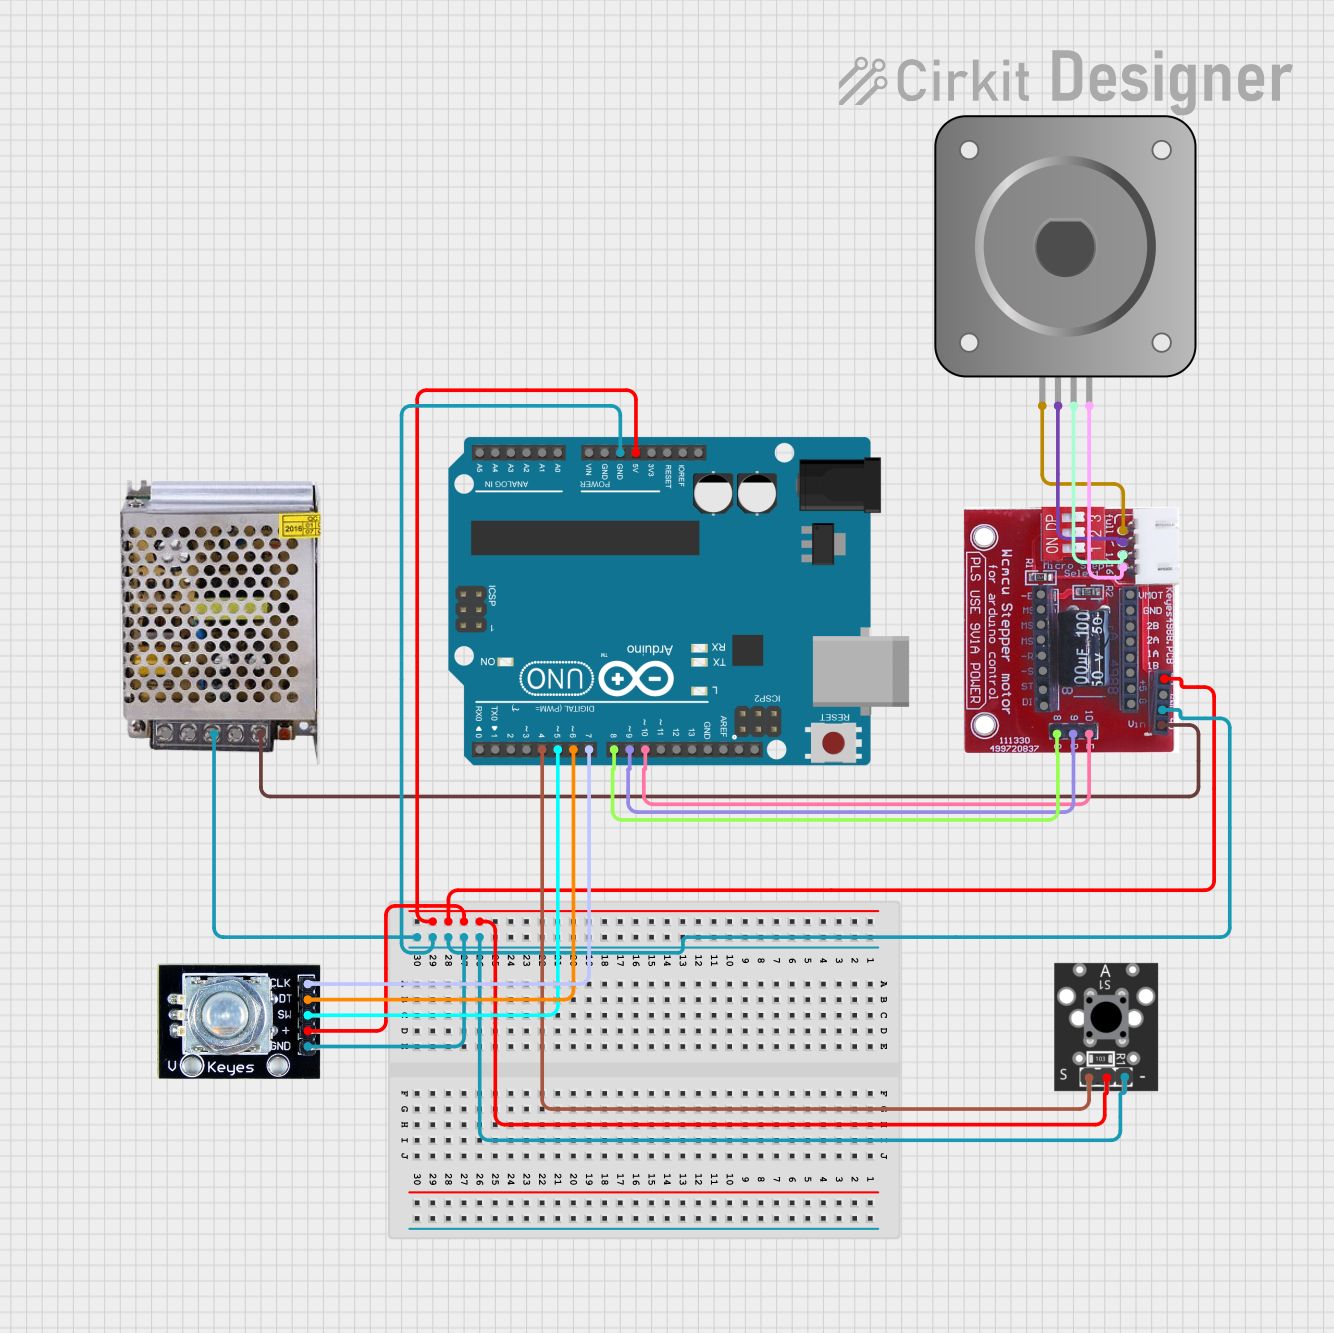
 Open Project in Cirkit Designer
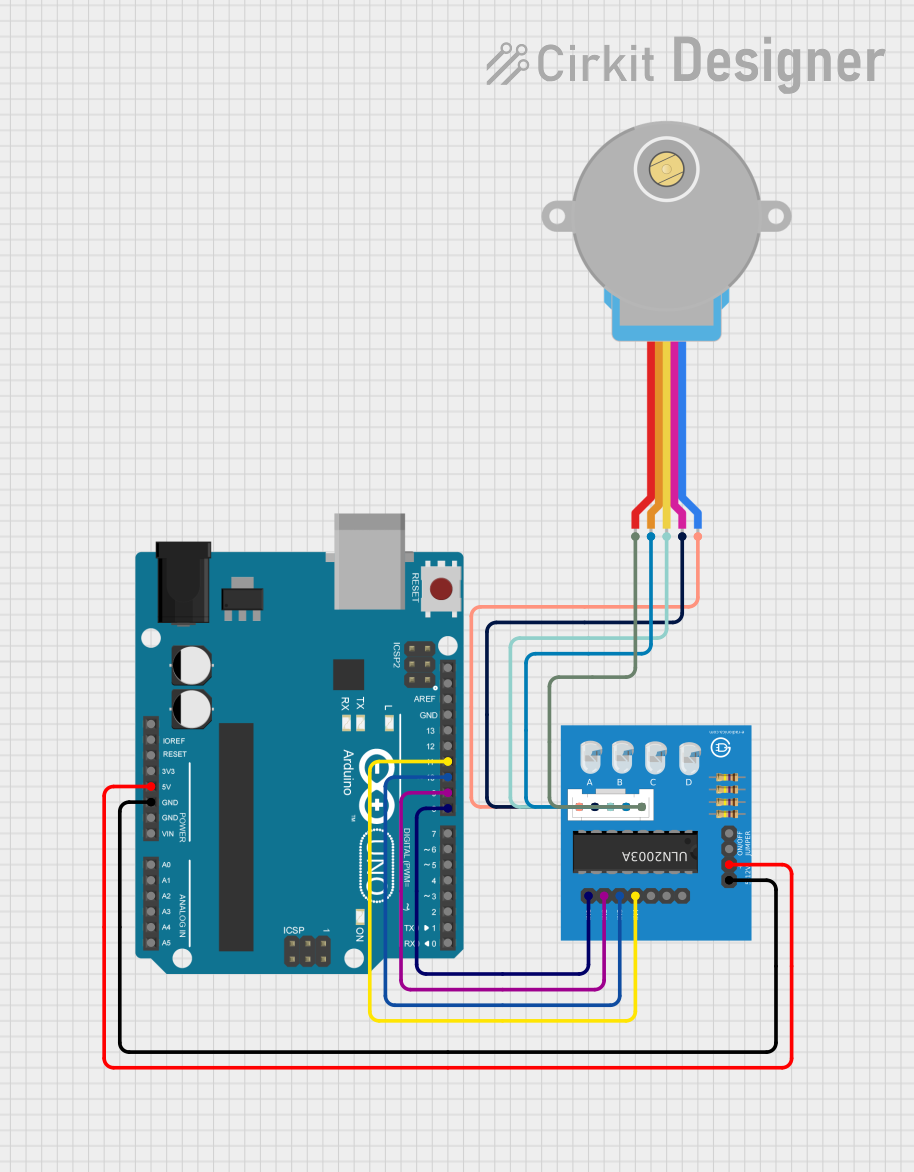
 Open Project in Cirkit Designer
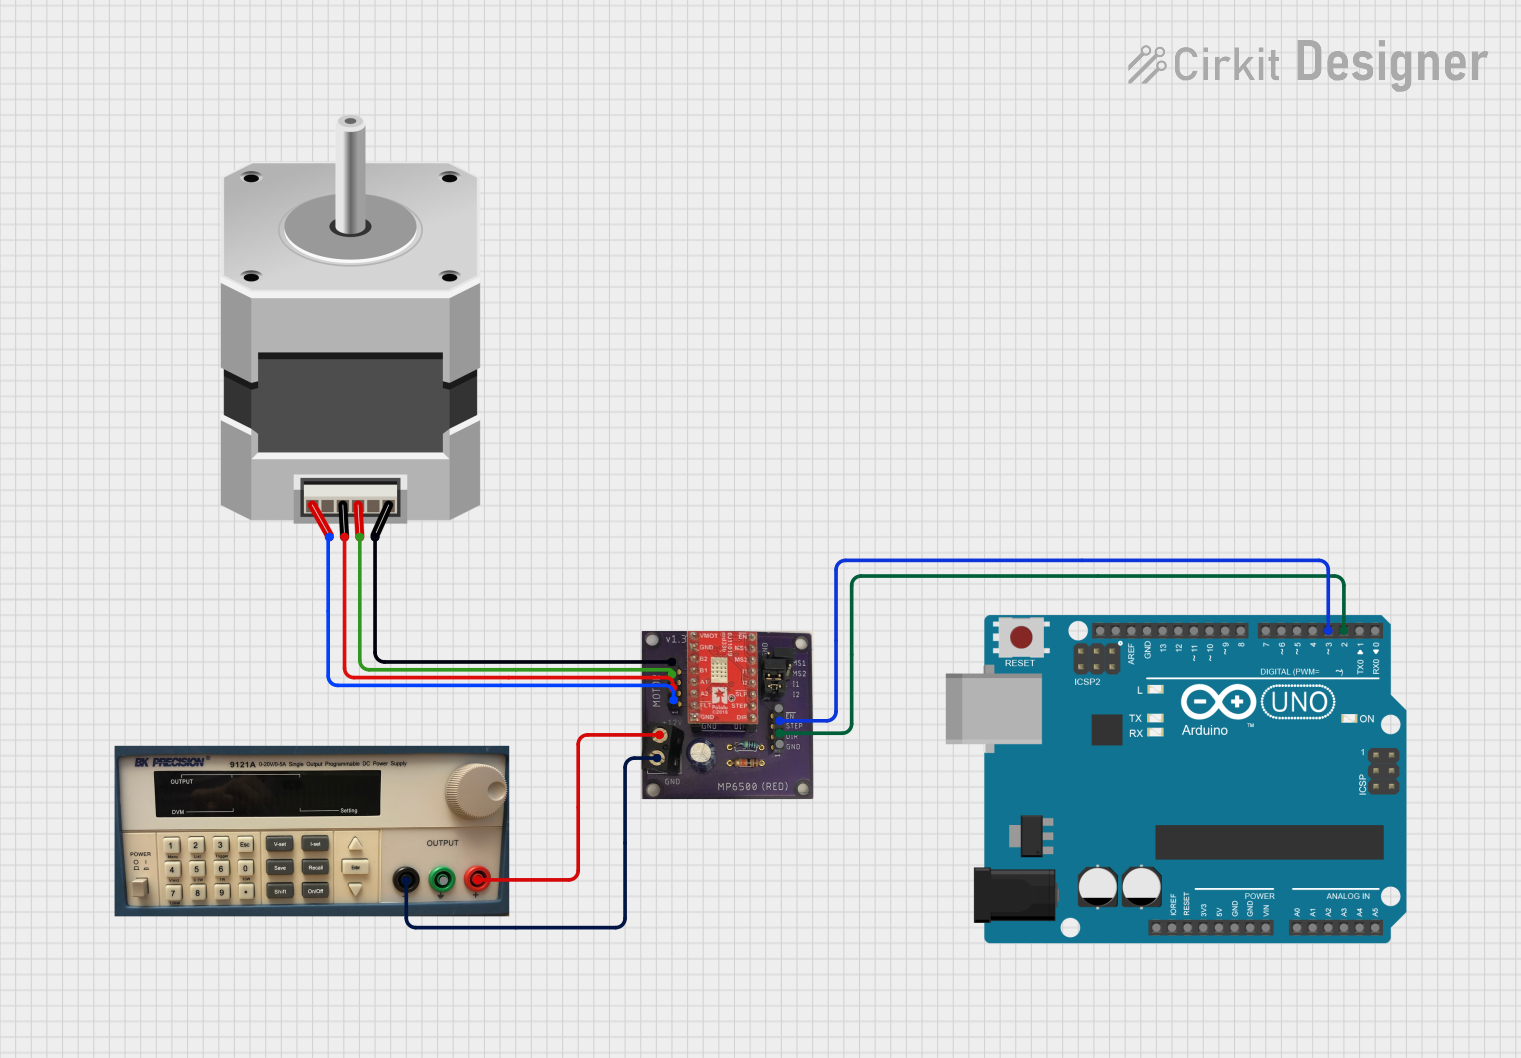
 Open Project in Cirkit Designer
Explore Projects Built with Stepper Motor

 Open Project in Cirkit Designer
 Open Project in Cirkit Designer
 Open Project in Cirkit Designer
 Open Project in Cirkit Designer
Common Applications:
- 3D printers for precise layer positioning
- CNC machines for accurate cutting and engraving
- Robotics for controlled movement
- Automated camera systems for smooth panning and tilting
- Industrial automation for conveyor belts and pick-and-place machines
Technical Specifications
Below are the general technical specifications for a typical stepper motor. Note that specific models may vary, so always refer to the datasheet of your motor.
| Parameter | Value |
|---|---|
| Step Angle | 1.8° (200 steps per revolution) |
| Voltage Rating | 5V to 12V (varies by model) |
| Current Rating | 1A to 2A per phase |
| Holding Torque | 0.2 Nm to 1.5 Nm |
| Number of Phases | 2 (Bipolar) or 4 (Unipolar) |
| Shaft Diameter | 5mm to 8mm |
| Operating Temperature | -20°C to +50°C |
Pin Configuration and Descriptions
The pin configuration depends on whether the stepper motor is unipolar or bipolar. Below is a general guide:
Bipolar Stepper Motor (4 Wires)
| Pin | Description |
|---|---|
| A+ | Coil A positive terminal |
| A- | Coil A negative terminal |
| B+ | Coil B positive terminal |
| B- | Coil B negative terminal |
Unipolar Stepper Motor (6 Wires)
| Pin | Description |
|---|---|
| A+ | Coil A positive terminal |
| A- | Coil A negative terminal |
| B+ | Coil B positive terminal |
| B- | Coil B negative terminal |
| COM1 | Common terminal for Coil A |
| COM2 | Common terminal for Coil B |
Usage Instructions
How to Use the Stepper Motor in a Circuit
- Choose a Driver Module: Stepper motors require a driver module (e.g., A4988, DRV8825, or ULN2003) to control the current and step sequence.
- Connect the Motor to the Driver:
- For a bipolar motor, connect the four wires to the driver module as per the datasheet.
- For a unipolar motor, connect the four coil wires and leave the common wires unconnected (if using a bipolar driver) or connect them to the power supply (if using a unipolar driver).
- Power the Driver: Provide the appropriate voltage and current to the driver module.
- Control the Motor: Use a microcontroller (e.g., Arduino UNO) to send step and direction signals to the driver.
Important Considerations and Best Practices
- Current Limiting: Set the current limit on the driver module to match the motor's rated current to prevent overheating.
- Power Supply: Use a power supply that matches the voltage and current requirements of the motor and driver.
- Step Resolution: Configure the driver for full-step, half-step, or microstepping as needed for your application.
- Heat Management: Ensure proper cooling for the motor and driver, especially during prolonged use.
Example: Controlling a Stepper Motor with Arduino UNO
Below is an example of controlling a bipolar stepper motor using an A4988 driver and Arduino UNO.
// Include the Stepper library for easy motor control
#include <Stepper.h>

// Define the number of steps per revolution for your motor
#define STEPS_PER_REV 200

// Initialize the Stepper library with the motor's step count and pin connections
// Pins 8 and 9 control Coil A, Pins 10 and 11 control Coil B
Stepper myStepper(STEPS_PER_REV, 8, 10, 9, 11);

void setup() {
  // Set the motor speed (in RPM)
  myStepper.setSpeed(60); // 60 RPM
  Serial.begin(9600); // Initialize serial communication
  Serial.println("Stepper Motor Test");
}

void loop() {
  // Rotate the motor one full revolution clockwise
  Serial.println("Clockwise rotation");
  myStepper.step(STEPS_PER_REV);
  delay(1000); // Wait for 1 second

  // Rotate the motor one full revolution counterclockwise
  Serial.println("Counterclockwise rotation");
  myStepper.step(-STEPS_PER_REV);
  delay(1000); // Wait for 1 second
}
Notes:
- Adjust the
STEPS_PER_REVvalue to match your motor's step count. - Ensure the driver module's current limit is set correctly to avoid damaging the motor.
Troubleshooting and FAQs
Common Issues and Solutions
Motor Not Moving:
- Check all connections between the motor, driver, and microcontroller.
- Ensure the power supply is providing sufficient voltage and current.
- Verify the step and direction signals from the microcontroller.
Motor Vibrates but Doesn't Rotate:
- Check the wiring of the motor coils. Incorrect wiring can cause the motor to vibrate instead of rotating.
- Ensure the step sequence is correct for your driver.
Motor Overheating:
- Reduce the current limit on the driver module.
- Allow the motor to cool between prolonged operations.
Inconsistent Steps or Skipping:
- Verify that the power supply is stable and not dropping voltage under load.
- Use microstepping to improve smoothness and reduce skipping.
FAQs
Q: Can I run a stepper motor without a driver module?
A: No, stepper motors require precise current control and step sequencing, which is handled by a driver module.
Q: How do I determine the wiring of my stepper motor?
A: Use a multimeter to measure resistance between wires. Wires with the lowest resistance belong to the same coil.
Q: What is microstepping, and why is it useful?
A: Microstepping divides each full step into smaller steps, improving smoothness and positional accuracy.
Q: Can I use a stepper motor for high-speed applications?
A: Stepper motors are better suited for low to medium-speed applications. For high-speed use, consider a DC or servo motor.