
How to Use LED Sequin - Rose Pink: Examples, Pinouts, and Specs

 Design with LED Sequin - Rose Pink in Cirkit Designer
Introduction
The LED Sequin - Rose Pink (Manufacturer Part ID: 1792) by Adafruit is a decorative light-emitting diode (LED) designed for creative projects. This compact and stylish LED emits a soft rose pink glow, making it ideal for applications in crafts, wearable electronics, and fashion. Its small size and ease of use allow it to be integrated into a variety of projects, from illuminated clothing to artistic displays.
Explore Projects Built with LED Sequin - Rose Pink
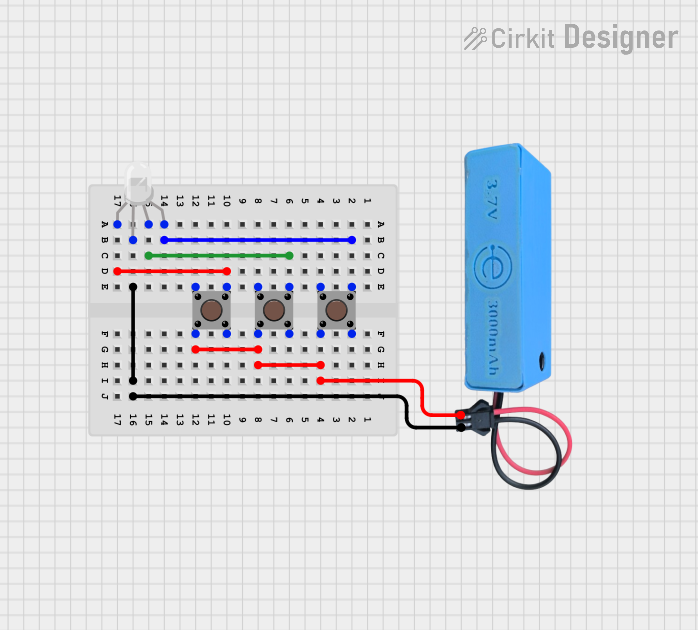 Open Project in Cirkit Designer
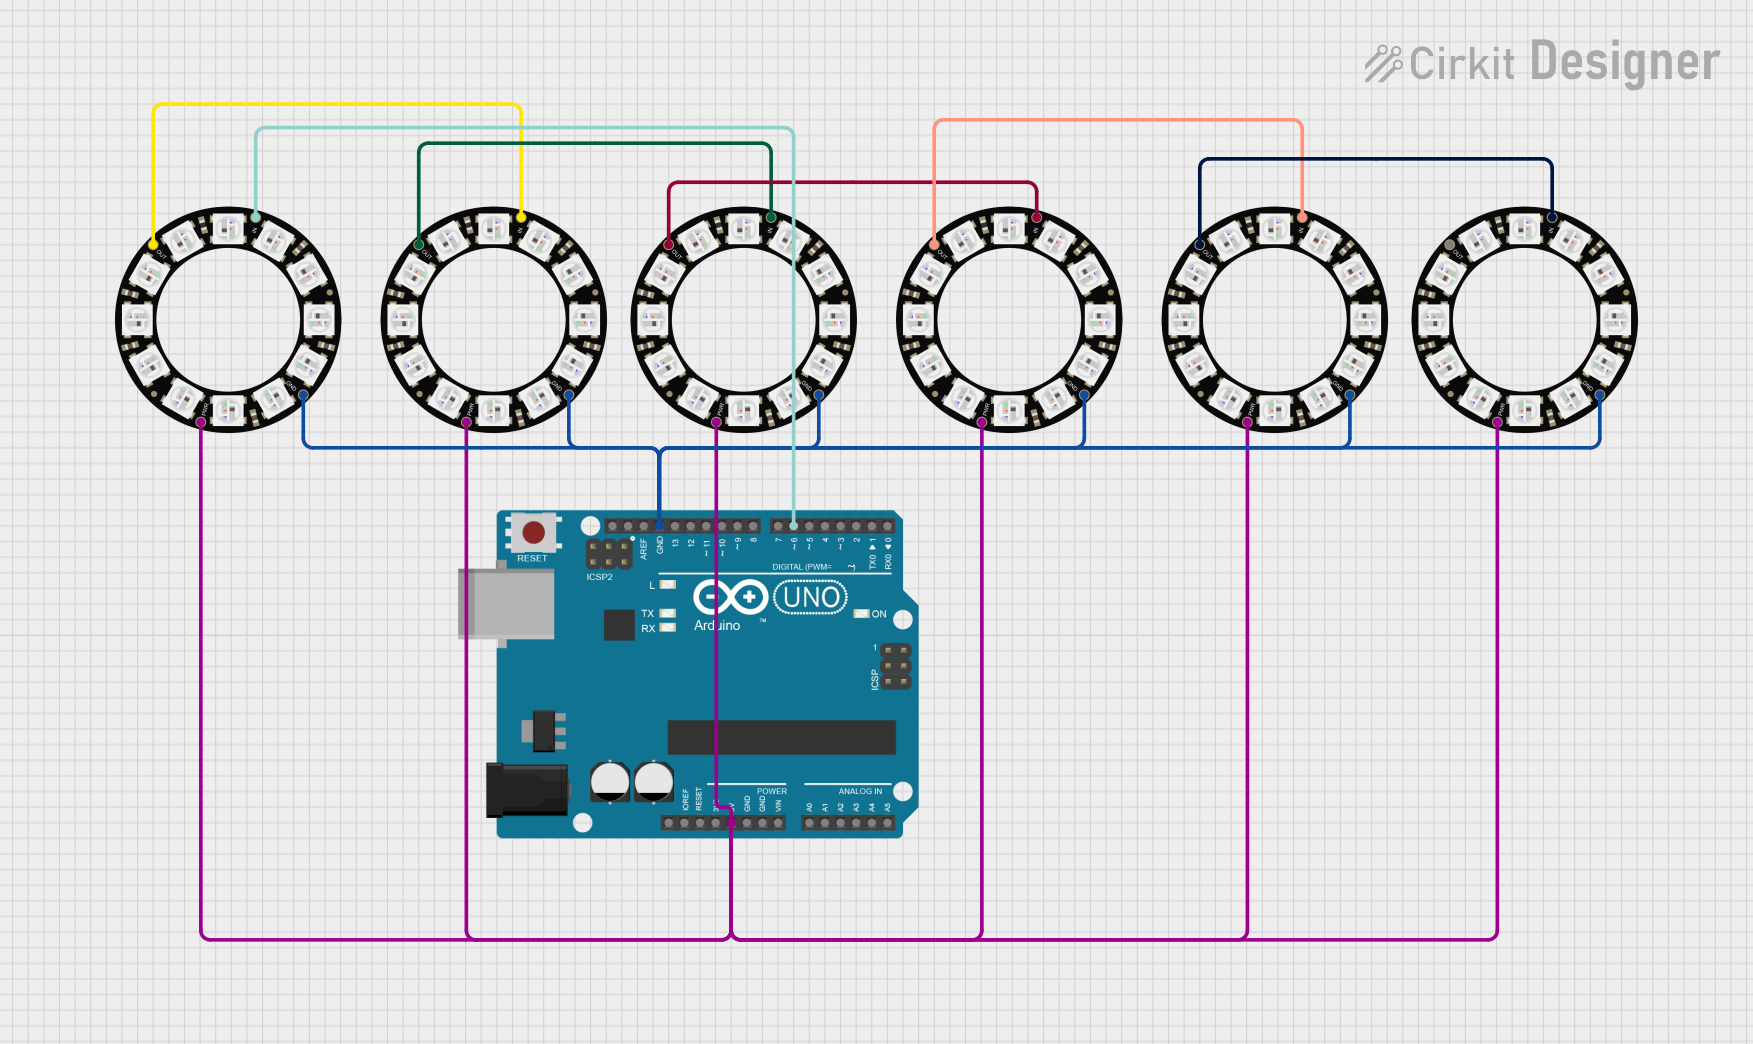 Open Project in Cirkit Designer
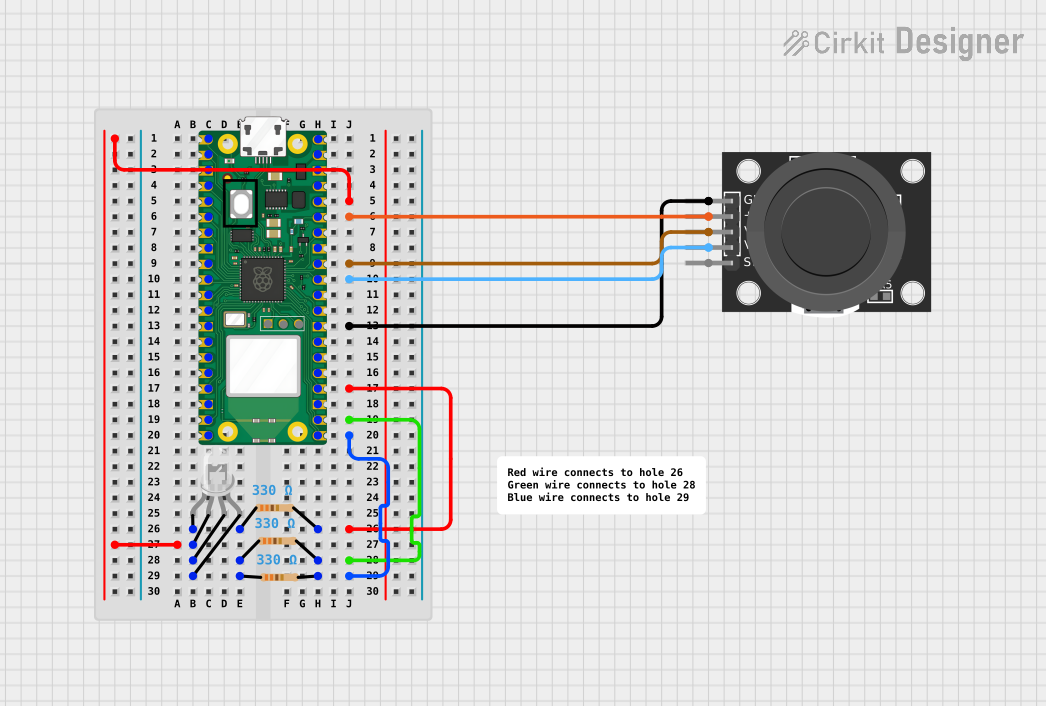 Open Project in Cirkit Designer
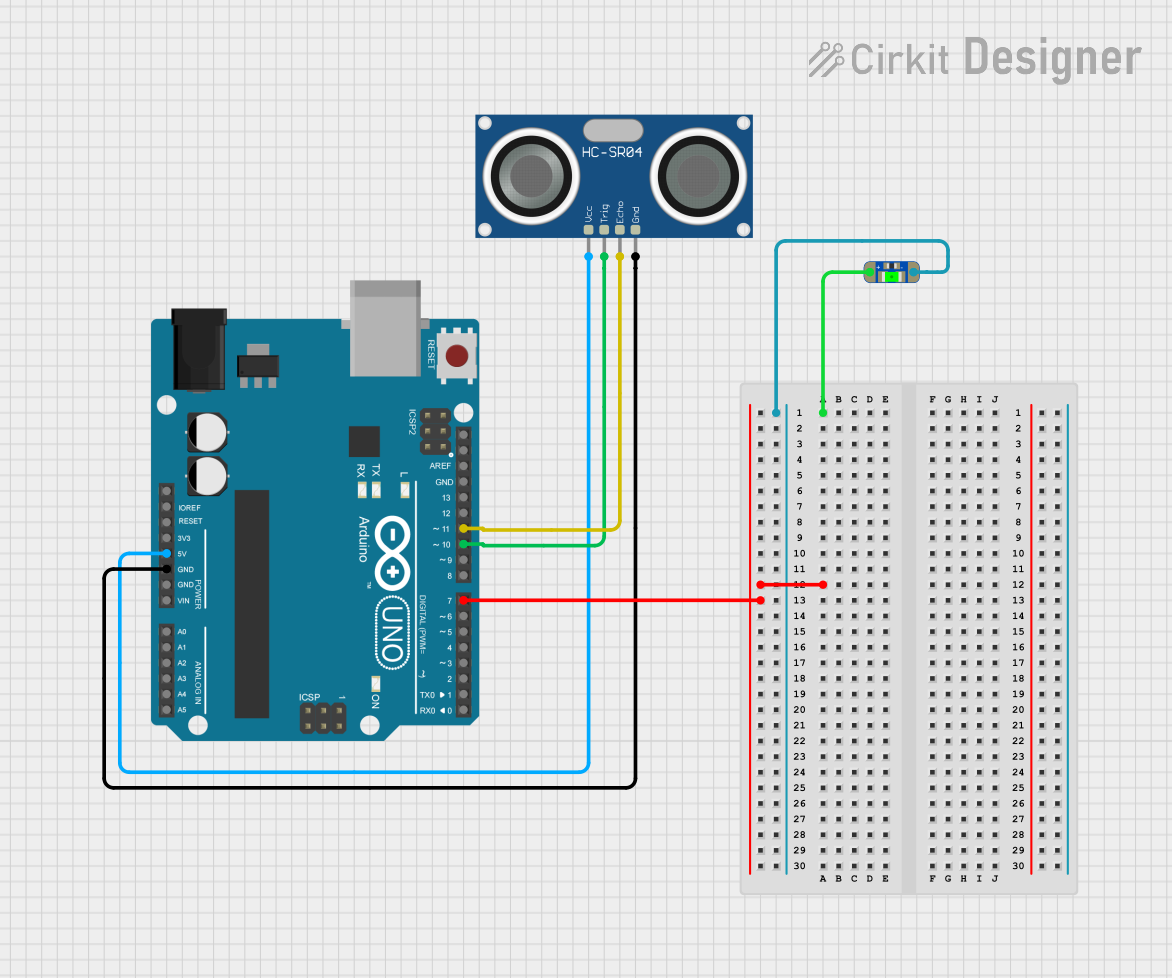 Open Project in Cirkit Designer
Explore Projects Built with LED Sequin - Rose Pink
Open Project in Cirkit DesignerOpen Project in Cirkit DesignerOpen Project in Cirkit DesignerOpen Project in Cirkit DesignerCommon Applications and Use Cases
- Wearable electronics (e.g., light-up clothing, accessories)
- Decorative lighting for crafts and DIY projects
- Artistic installations and displays
- Educational projects for learning about LEDs and circuits
Technical Specifications
The following table outlines the key technical details of the LED Sequin - Rose Pink:
| Parameter | Value |
|---|---|
| Manufacturer | Adafruit |
| Part ID | 1792 |
| LED Color | Rose Pink |
| Operating Voltage | 3V to 6V |
| Typical Current Draw | ~5mA |
| Dimensions | 0.28" x 0.75" (7mm x 19mm) |
| Mounting Holes | 2 x 1.5mm diameter |
Pin Configuration and Descriptions
The LED Sequin has two solder pads for electrical connections. The table below describes the pin configuration:
| Pin | Label | Description |
|---|---|---|
| 1 | (+) | Positive terminal (connect to power supply or GPIO) |
| 2 | (-) | Negative terminal (connect to ground) |
Usage Instructions
How to Use the LED Sequin in a Circuit
- Power Requirements: The LED Sequin operates on a voltage range of 3V to 6V. It can be powered directly from a coin cell battery, a microcontroller (e.g., Arduino), or a regulated power supply.
- Connections:
- Connect the (+) pad to the positive terminal of your power source or the output pin of a microcontroller.
- Connect the (-) pad to the ground (GND).
- Mounting: Use the mounting holes to secure the LED Sequin to your project. Alternatively, solder it directly to a PCB or use conductive thread for wearable applications.
Important Considerations and Best Practices
- Current Limiting: The LED Sequin includes an onboard resistor, so no external resistor is required for typical use.
- Polarity: Ensure correct polarity when connecting the LED Sequin. Reversing the connections may damage the component.
- Power Source: Avoid exceeding the maximum voltage of 6V to prevent damage to the LED.
- Wearable Projects: For wearable applications, use conductive thread to sew the LED Sequin into fabric. Ensure the thread connections are secure to avoid intermittent operation.
Example: Connecting to an Arduino UNO
The LED Sequin can be easily controlled using an Arduino UNO. Below is an example code to blink the LED Sequin:
// Example code to blink the LED Sequin - Rose Pink
// Connect the (+) pad of the LED Sequin to Arduino pin 9
// Connect the (-) pad of the LED Sequin to GND

const int ledPin = 9; // Pin connected to the LED Sequin

void setup() {
  pinMode(ledPin, OUTPUT); // Set pin 9 as an output
}

void loop() {
  digitalWrite(ledPin, HIGH); // Turn the LED on
  delay(500);                // Wait for 500 milliseconds
  digitalWrite(ledPin, LOW);  // Turn the LED off
  delay(500);                // Wait for 500 milliseconds
}
Troubleshooting and FAQs
Common Issues and Solutions
LED Does Not Light Up:
Cause: Incorrect polarity.
Solution: Double-check the connections. Ensure the (+) pad is connected to the positive terminal and the (-) pad to ground.
Cause: Insufficient voltage.
Solution: Verify that the power source provides at least 3V.
LED Flickers or Is Dim:
Cause: Loose connections.
Solution: Ensure all connections are secure, especially when using conductive thread.
Cause: Low battery power.
Solution: Replace or recharge the power source.
LED Overheats:
- Cause: Excessive voltage.
- Solution: Ensure the input voltage does not exceed 6V.
FAQs
Q: Can I use multiple LED Sequins in a single project?
A: Yes, you can connect multiple LED Sequins in parallel. Ensure your power source can supply sufficient current for all LEDs.
Q: Do I need an external resistor for the LED Sequin?
A: No, the LED Sequin includes an onboard resistor, so no additional resistor is required.
Q: Can I control the brightness of the LED Sequin?
A: Yes, you can use PWM (Pulse Width Modulation) on a microcontroller like Arduino to adjust the brightness.
Q: Is the LED Sequin waterproof?
A: No, the LED Sequin is not waterproof. If you need to use it in a wet environment, consider applying a waterproof coating or enclosure.
This concludes the documentation for the LED Sequin - Rose Pink. For additional support, refer to Adafruit's official resources or community forums.